
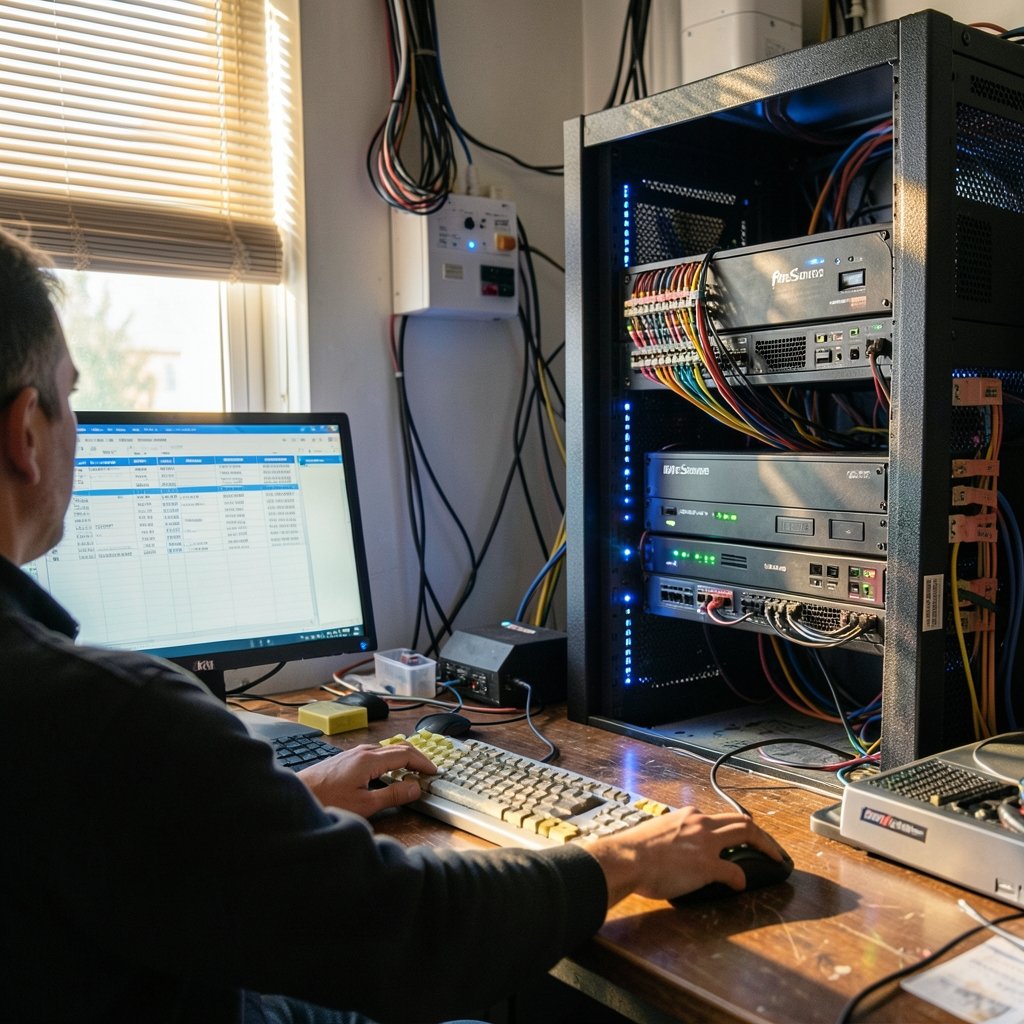
What if the router your internet provider handed you is quietly holding your network back? Most home and small-office routers ship with limited firewall controls, weak logging, and firmware that rarely gets patched. That is exactly why so many people turn to pfSense, an open-source firewall platform that runs on a spare PC or a small dedicated appliance and gives you enterprise-grade control without a subscription.
This guide walks through a clean pfSense install in 2026: choosing hardware, writing the installer, assigning interfaces, running the setup wizard, and locking down the firewall with sensible rules. It also flags the mistakes that trip up first-timers, because a firewall you misconfigure can be worse than no firewall at all.
One honest note before starting: pfSense versions and documentation change between releases. The workflow below reflects the long-stable pfSense CE setup process, but you should always confirm the current version and hardware requirements on the official Netgate documentation site before you flash anything. (PfSense)
What pfSense Actually Does for You
pfSense is a router and firewall operating system built on FreeBSD. It turns generic hardware into a device that handles NAT, DHCP, DNS, VPN, traffic shaping, and granular firewall rules. The Community Edition (CE) is free and open source, while pfSense Plus is Netgate’s commercial edition with a different licensing model. Licensing terms have shifted over the years, so check the current terms on Netgate’s site rather than relying on older forum posts. (Netgate pfSense Products Overview)
Why bother? A few practical reasons come up again and again:
- Visibility. You get real logs of what is being blocked and allowed, per interface.
- Control. Rules can be scoped by interface, IP, port, and protocol, far beyond what a consumer router exposes.
- Longevity. Old desktop hardware that still works fine becomes a capable firewall instead of e-waste.
- Extensibility. Packages add IDS/IPS, ad blocking, and VPN servers without buying new gear.
Step 1: Pick Hardware That Won’t Disappoint You
The official minimum specs for CE have historically been modest: roughly a 600 MHz CPU, 1 GB of RAM, and 1 GB of storage. Those numbers are a floor, not a target. In practice, a machine with a dual-core or better CPU and at least 4 GB of RAM handles a home network comfortably, and more RAM matters if you enable packages like Suricata or pfBlockerNG.
Three hardware paths dominate:
| Option | Best for | Trade-offs |
|---|---|---|
| Old desktop or small form factor PC | Budget builds, tinkerers | Bulky, higher power draw, needs a second NIC |
| Dedicated mini appliance (multi-NIC) | Quiet, low-power home setups | Costs more than spare hardware |
| Virtual machine | Labs and testing | NIC passthrough can be fiddly |
The single most common hardware mistake is only having one network port. pfSense wants at least two: one for WAN (your modem or ISP link) and one for LAN. You can add a cheap Intel-based PCIe network card, and Intel NICs are widely recommended over Realtek for reliability. Avoid USB Ethernet adapters for your WAN link if you can; they work, but they are a known source of flakiness.
Step 2: Write the Installer and Boot
Download the current CE USB memstick image from Netgate’s official download page. Write it to a USB drive with a tool such as balenaEtcher or Rufus. On Windows, Rufus in DD mode is the safer choice for these images.
Then:
- Insert the USB drive and boot the target machine from it.
- Accept the license and choose Install.
- Select ZFS as the filesystem. It has been the recommended option for years because of checksumming and snapshot support. UFS still exists but offers no real advantage on modern hardware.
- Confirm the disk and let the installer run. It takes a few minutes.
- Reboot and remove the USB drive.
If the machine won’t boot from USB, check the BIOS boot order and whether Secure Boot or legacy/CSM settings are interfering. This is the number one reason people think their hardware is incompatible when it isn’t.
Step 3: Assign Interfaces at the Console
On first boot, pfSense drops you into a text console menu. Choose option 1 to assign interfaces.
- It asks whether you want VLANs now. Say no unless you specifically need them.
- Assign your WAN interface to the NIC connected to your modem.
- Assign your LAN interface to the NIC connected to your switch or access point.
- Confirm the assignment.
The console will then show the LAN IP address, typically 192.168.1.1. If your modem hands out addresses in that same range, you will get a conflict. Change the LAN subnet to something like 192.168.10.1 via console option 2 before proceeding.
Connect a laptop to the LAN port and browse to ` The default credentials are admin and pfsense. Expect a certificate warning; that is normal on a fresh install because the web GUI uses a self-signed certificate.
The First Thing You Should Do
Change the admin password immediately, before anything else. A firewall with default credentials is a liability, and this step takes ten seconds.
Step 4: Run the Setup Wizard
The webConfigurator launches a setup wizard on first login. It asks for:
- Hostname and domain. Something like `fw.home.arpa` is fine.
- DNS servers. Use your ISP’s, a public resolver, or your own if you run one.
- Timezone. Set it correctly, because logs with the wrong clock are useless during troubleshooting.
- WAN configuration. Choose DHCP for most cable and fiber connections, PPPoE if your ISP requires a login, or static if you have a fixed IP.
If your ISP modem is in router mode, you may be double-NATed. The cleaner setup is to put the modem in bridge mode so pfSense gets the public IP directly. If bridge mode isn’t possible, double NAT still works but complicates port forwarding and some VPNs.
After the wizard, go to System > Update and apply any available updates. Then immediately take a backup under Diagnostics > Backup & Restore. Save that config file somewhere safe; it is your reset button for every future mistake.
Step 5: Build Firewall Rules That Make Sense
pfSense ships with a sane default: LAN can reach the internet, WAN blocks all inbound traffic. That default is safe. Problems start when people add rules without understanding the order of evaluation.
Key principles:
- Rules are evaluated top to bottom, first match wins. A block rule above an allow rule wins.
- The interface matters. A rule on the LAN tab controls traffic entering from LAN.
- The implicit deny is real. Anything not explicitly allowed is dropped, and that is by design.
For a typical home network, you may want to:
- Allow LAN to any (the default rule).
- Create a separate guest VLAN or interface with rules that allow only internet access, not access to your main LAN.
- Add a block rule for known-bad outbound ports if you want tighter control.
- Configure port forwards under Firewall > NAT only for services you genuinely need to expose.
A Word on Port Forwarding
Every port forward is a door. Before opening one, ask whether a VPN would do the job instead. pfSense includes WireGuard and OpenVPN, and remote access through a VPN is almost always safer than exposing an internal service to the internet. If you do forward a port, restrict the source where possible and keep the target service patched.
Step 6: Add DNS, DHCP, and Optional Packages
Under Services > DHCP Server, set your LAN range and reserve addresses for devices that need stable IPs, like printers and access points. Static mappings beat DHCP reservations you forget about.
For DNS, pfSense runs Unbound as a resolver by default. You can enable DNS Resolver in forwarding mode if you prefer an upstream resolver, or leave it in recursive mode for privacy.
Popular packages worth considering:
- pfBlockerNG for DNS-based ad and tracker blocking.
- Suricata for intrusion detection, though it needs RAM and CPU headroom.
- WireGuard for fast remote access.
Add packages one at a time and test after each. Stacking three packages on day one makes it impossible to know what broke when something does.
Common Mistakes and How to Avoid Them
First-timers hit the same walls repeatedly. Here is what actually matters:
- Forgetting the config backup. Before every change that touches interfaces or rules, export the config. Recovery takes minutes instead of hours.
- Leaving the default password. Non-negotiable.
- Locking yourself out. If you change the LAN subnet or firewall rules from a remote session, you can cut your own connection. Make changes from the LAN side, or set a scheduled rule rollback.
- Ignoring the clock. Wrong timezone equals misleading logs.
- Overcomplicating on day one. Get the basic WAN/LAN setup stable for a week before adding VLANs and IDS.
- Skipping updates. Subscribe to release announcements so you know when security patches land.
If you also run emulators or game servers behind the firewall, the same logic applies: open only the ports you need, and document them. Guides like this walkthrough of how to set up PPSSPP in 2026 are a reminder that most “connection failed” issues trace back to a blocked port, not the app itself. The same is true for Pokemon Fire Red cheats and emulator setup, where local network rules sometimes interfere with patching tools.
Is pfSense Still Worth It in 2026?
For anyone who wants real control over their network, yes. The trade-off is time: pfSense is not a plug-and-play box, and the first setup will take an evening. After that, it mostly runs itself. The platform’s longevity is its strongest argument. Hardware that would otherwise be retired keeps working, and rules you write today remain valid across upgrades.
The broader tech landscape is moving fast, from Apple’s ongoing App Store fee battles to Xbox’s 2026 layoffs and studio sales, and that churn makes owning your own infrastructure more appealing, not less. A firewall you control is one fewer service someone else can change under you. If you are weighing hardware purchases, the same value logic applies as in Black Friday car deals coverage: buy for the long haul, not the spec sheet.
Conclusion
Setting up pfSense in 2026 is less about technical wizardry and more about sequence and discipline. Pick hardware with two solid NICs, write the installer, assign interfaces at the console, run the wizard, then build rules deliberately and back up before every change. The default configuration is already safer than most consumer routers; the rest is refinement.
Start simple. Get WAN and LAN stable, confirm updates apply cleanly, and take that first backup. Add VLANs, packages, and VPNs only once the foundation holds. A firewall is infrastructure, and infrastructure rewards patience.
Frequently Asked Questions
What hardware do I need to run pfSense?
At minimum, a machine with a supported CPU, around 1 GB of RAM, and 1 GB of storage, plus two network interfaces for WAN and LAN. In practice, 4 GB of RAM and an Intel NIC make for a much smoother experience, especially if you plan to run packages. Always confirm current requirements on Netgate’s official documentation.
Is pfSense free to use?
The Community Edition is free and open source. pfSense Plus is Netgate’s commercial edition with separate licensing. Licensing terms have changed over time, so verify the current rules on Netgate’s site before planning a deployment.
Should I choose ZFS or UFS during installation?
Choose ZFS. It has been the recommended filesystem for years thanks to checksumming and snapshot support. UFS remains available but offers no meaningful advantage on modern hardware.
Can I run pfSense in a virtual machine?
Yes, and it is a great way to learn before committing to dedicated hardware. The main caveat is network interface passthrough, which varies by hypervisor. For production use, dedicated hardware with physical NICs is simpler and more predictable.
Why can’t I reach the web interface after installation?
The usual culprits are an IP conflict between your modem and the default LAN subnet, a browser refusing the self-signed certificate, or a cable in the wrong port. Try the console to confirm the LAN address, then change the subnet if it collides with your modem’s range.
How often should I update pfSense?
Apply security updates promptly and check release notes before major upgrades. Always export a configuration backup first, since that file is the fastest path back to a working state if an upgrade misbehaves.



