
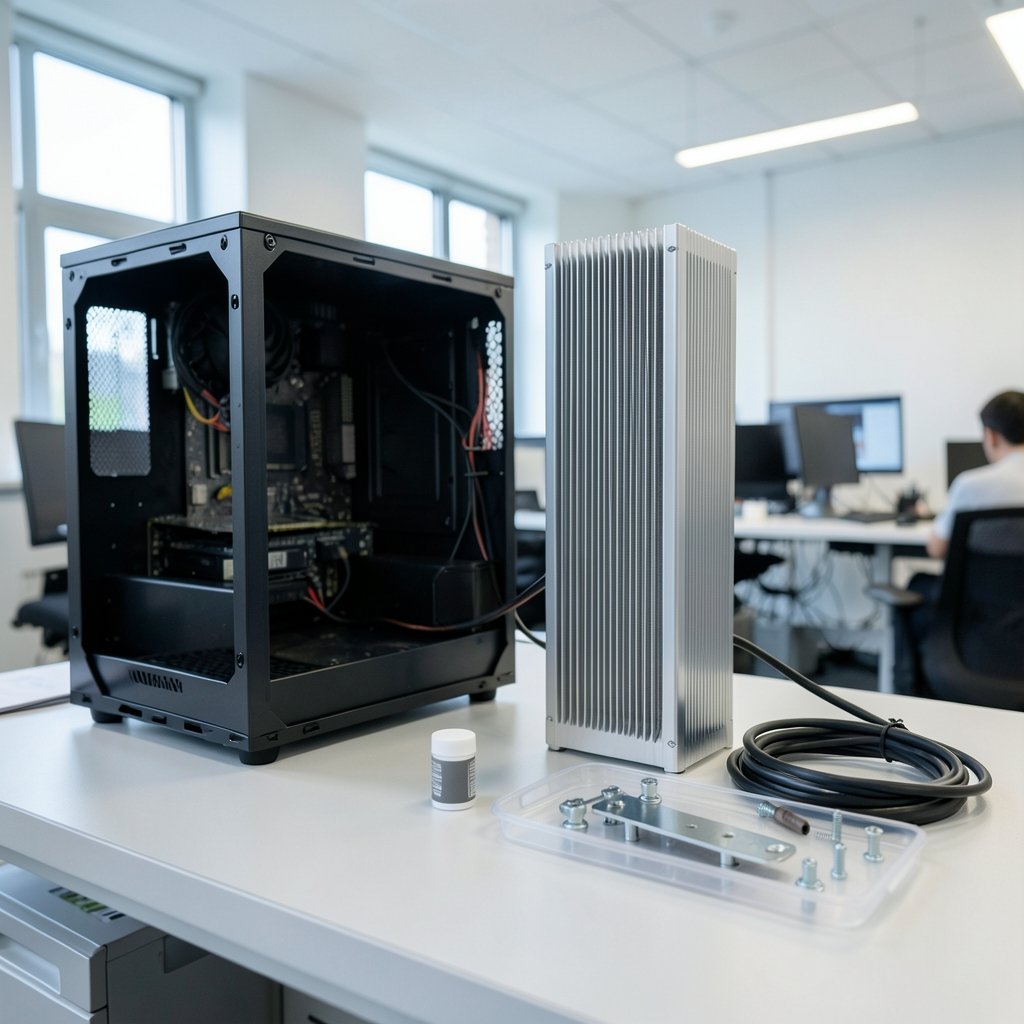
Quick Answer: How do i set up cpu cooler for the best performance?
Setting up a CPU cooler for the best performance comes down to four things: even mounting pressure, the right amount of thermal paste, correct fan or radiator orientation, and clean airflow through the case. Get those right and most coolers land within a few degrees of their rated potential. (Intel support: processor cooling and thermal management)
Air coolers and all-in-one liquid coolers follow the same core rules, though liquid units add radiator placement to the checklist. Both benefit from a properly cleaned CPU surface and a mounting kit that matches your socket.
Before installing, check the socket compatibility, whether a mounting bracket is included, the cooler’s height or radiator size against your case, the fan header count, and your CPU’s rated thermal limit. Those five details prevent most installation failures.
A modern CPU can dump well over 200 watts of heat into a cooler smaller than a paperback book. That tiny cold plate has to pull all of it away, spread it across fins or a radiator, and hand it to moving air. Every part of that chain matters, and one weak link can cost 10°C or more. The good news is that the fixes are simple, cheap, and mostly about patience rather than expensive hardware.
Why Most Cooler Upgrades Disappoint
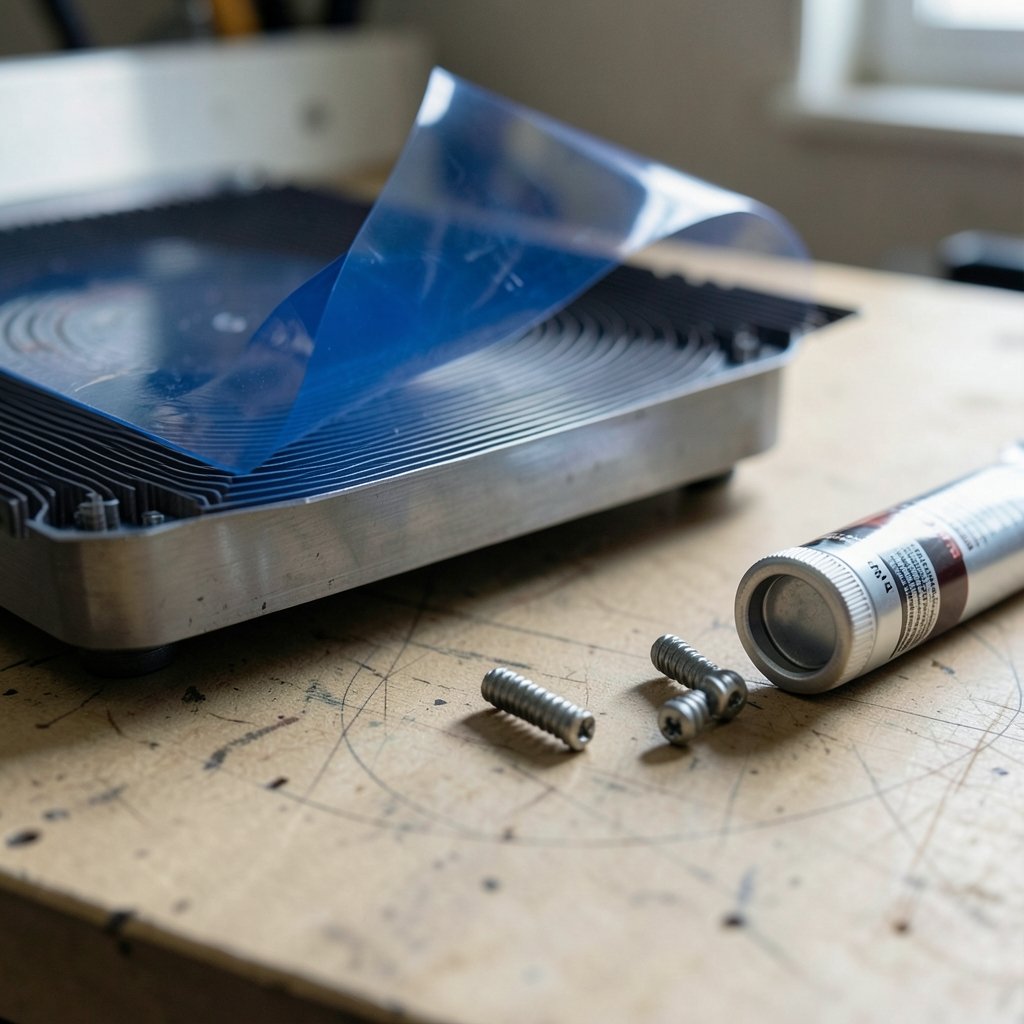
People often buy a bigger cooler and see barely any improvement. The reason usually isn’t the cooler. It’s the installation. A cold plate bolted down unevenly, a forgotten plastic film, or a case with choked intake vents will throttle even premium hardware.
The single most common mistake is uneven mounting pressure. Screws tightened one at a time, all the way down, tilt the cold plate and leave a wedge of air between it and the CPU. The fix is a cross pattern: turn each screw a couple of turns, move diagonally, repeat until snug.
The second most common mistake is leaving the protective film on. It happens constantly, even to experienced builders. Peel it off, then check again.
Step 1: Prep the CPU and Check Compatibility
Before anything gets mounted, confirm the cooler supports your socket. Modern builds mean LGA1700, LGA1851, or AM5, and older coolers sometimes need a free or low-cost bracket from the manufacturer. If you’re still deciding on a platform, a guide to picking the best AM4 CPU can help you match a cooler’s capacity to the chip’s heat output.
Clean the CPU’s integrated heat spreader with a lint-free cloth and a drop of isopropyl alcohol. Old paste acts like a layer of insulation if you mount on top of it.
Then dry-fit the cooler. Check clearance for RAM heatsinks, the top VRM shroud, and the case side panel. Air coolers are tall; measure before you commit.
Step 2: Apply Thermal Paste Correctly
Thermal paste fills microscopic scratches and pits. Its only job is to displace air, which is a terrible heat conductor.
The standard guidance from cooler makers is a pea-sized dot in the center or a thin line across the die area. Both work. What doesn’t work is a thin, scraped-out smear that leaves bare metal at the edges, or half a tube squeezed into the middle.
A few practical notes:
- Too little is worse than slightly too much. A small excess squeezes out harmlessly on most mounts.
- Don’t spread it with a finger. Oils and uneven pressure hurt more than help.
- Modern pastes don’t need a “cure” period worth waiting for. Expect no meaningful change after burn-in.
- Pre-applied paste is fine for a first build. It’s decent, just not optimal.
Step 3: Mount With Even Pressure
Follow the manual’s screw sequence exactly. Most coolers specify a diagonal pattern, a quarter to a half turn per screw, repeated until the mount stops.
Stop when the mount bottoms out or the spring tension feels firm. Over-tightening warps the board and can crack a socket. Under-tightening leaves poor contact. The sweet spot is firm and even.
On liquid coolers, the pump block has its own standoffs. Make sure the backplate sits flat and the thumbscrews are fully seated before you tighten anything.
Step 4: Get Airflow and Radiator Placement Right
An air cooler is only as good as the air moving through it. The conventional layout still works best: intake at the front and bottom, exhaust at the rear and top. That gives a steady stream across the cooler fins and out of the case.
For liquid coolers, radiator position is the big decision. Mounting the radiator above the pump is the safest bet because air bubbles rise to the top of the loop instead of collecting in the pump. A front-mounted radiator with tubes at the bottom also works well. Tubes at the top of a front mount is the arrangement to avoid.
Push-pull fan setups on radiators give modest gains, mostly at higher fan speeds. They also add noise and cost. For most builds, a single set of good fans in the right orientation beats a crowded push-pull stack.
Clear the intake path, too. A front panel packed with foam or a case sitting against a wall can starve the cooler no matter how good it is. Positive pressure, meaning slightly more intake than exhaust, keeps dust out of the fins and keeps performance stable over months.
Step 5: Tune Fan Curves and Consider Undervolting
A cooler can only do so much if the fan curve is lazy. In the BIOS, set a curve that ramps up meaningfully by 70°C and reaches full speed around 85–90°C. A flat curve that stays quiet until 80°C then jumps to maximum sounds worse than a gentle slope.
Here’s a comparison worth knowing:
| Approach | Typical Temp Change | Effort | Notes |
|---|---|---|---|
| Better mounting and paste | 3–10°C | Low | Free if you already own paste |
| Better case airflow | 2–8°C | Low to medium | Helps every component |
| Larger cooler | 5–15°C | Medium | Depends on the original cooler |
| Undervolting or Curve Optimizer | 5–15°C | Medium | Chip-dependent, needs stability testing |
On many modern AMD and Intel chips, a modest undervolt or a negative Curve Optimizer offset drops temperatures more than a cooler upgrade would. It’s worth trying before spending money.
If your system feels sluggish while you’re benchmarking, check background processes too. A runaway service can pin a core and skew your results; the same fix that resolves antimalware service executable high CPU usage will give you cleaner temperature readings.
Step 6: Test Properly and Read the Right Numbers
Idle temperatures tell you almost nothing. Load temperatures under a sustained stress test tell you everything.
Run a 15–20 minute all-core load with a tool like Cinebench or Prime95, and monitor package temperature and throttling with HWiNFO64. Watch for these signs:
- Temperatures climbing steadily and never plateauing usually means poor contact or a mounting problem.
- Hitting the thermal limit within seconds points to a pump that isn’t running or a fan header that isn’t powered.
- One core much hotter than the rest is normal on some chips but worth noting.
Repaste and remount once if numbers look wrong. A second attempt with better pressure often fixes a 10°C gap. This is also the moment to confirm the pump is connected to a header set to full speed or pump mode, not a silent fan profile.
Common Installation Mistakes Worth Avoiding
A short list of the errors that show up again and again:
- Leaving the cold plate film on.
- Tightening screws in a circle instead of a cross pattern.
- Forgetting the backplate or using the wrong standoffs for the socket.
- Mounting the radiator with tubes at the top of a front panel.
- Running the pump off a fan curve that idles it too low.
- Skipping the stress test and assuming silence means success.
None of these are exotic. They’re just easy to rush past when the build is nearly done and you want to press the power button.
A Note on Cooler Choice and Long-Term Care
Coolers age. Dust builds up in fins and on radiator faces, and a clogged cooler can lose several degrees over a year. A quick blast of compressed air every few months, with fans held still so they don’t spin, keeps performance close to day one.
If you’re building a machine for stage or studio use where the case gets moved, a stand that keeps the setup stable matters as much as the cooler itself; the same logic behind choosing the best keyboard stand for stage performance applies to any gear that has to survive handling. And if you’re setting up emulation or other software after the build, a walkthrough on how to set up PPSSPP in 2026 is a good reminder that software tuning and hardware tuning go hand in hand.
For anyone comparing cooling options for a board game or racing game setup on a secondary PC, the same principles apply: a horse racing board game night doesn’t need a 360mm radiator, but a quiet, well-mounted cooler still makes the room more pleasant. (Computer cooling)
Conclusion
Setting up a CPU cooler for the best performance is less about the hardware and more about the details. Clean the surface, apply a sensible amount of paste, tighten in a cross pattern until firm, orient fans and radiators for steady airflow, and then verify with a real stress test. Do those five things and almost any cooler will perform near its ceiling.
The biggest gains usually come free: a remount with better pressure, a cleared intake, a smarter fan curve. Spend an hour on those before spending money on new hardware. Your temperatures, and your ears, will notice the difference.
If you’re still choosing parts, match the cooler’s rated capacity to your chip’s real power draw, not its box label. A 65W-rated tower struggles with a 150W processor under sustained all-core loads, and no amount of paste or fan tuning closes that gap. Check reviews that measure noise-normalized performance, since decibel ratings on the box rarely reflect how a cooler sounds at the speeds you’ll actually run. Also confirm the radiator or heatsink fits your case’s stated clearance with a few millimeters to spare; a 280mm radiator that “should fit” often collides with the top VRM heatsink or the front fan bracket. When in doubt, measure the physical space yourself rather than trusting the spec sheet alone.
One more habit worth building: log your baseline. Before you change anything, record idle and load temperatures, fan RPM, and ambient room temperature. Without a starting point, you can’t tell whether a remount helped or whether a warmer day simply skewed the numbers. Ambient temperature matters more than most people expect, and a 5°C swing in room temperature shifts results by roughly the same amount. Test at the same time of day, in the same conditions, and compare like with like. If a change looks promising, run the test twice before you trust it.
Finally, keep the loop simple. Every extra fan, splitter, and controller adds a failure point and a cable to route. A clean build with two or three well-placed fans and a sensible curve will outperform a cluttered one with twice the hardware. Once the cooler is mounted and verified, leave it alone. The best-performing setup is the one you stop thinking about because it quietly does its job, run after run, without noise or throttling. That’s the real goal: not a benchmark screenshot, but a machine that stays cool, quiet, and predictable for years.



