
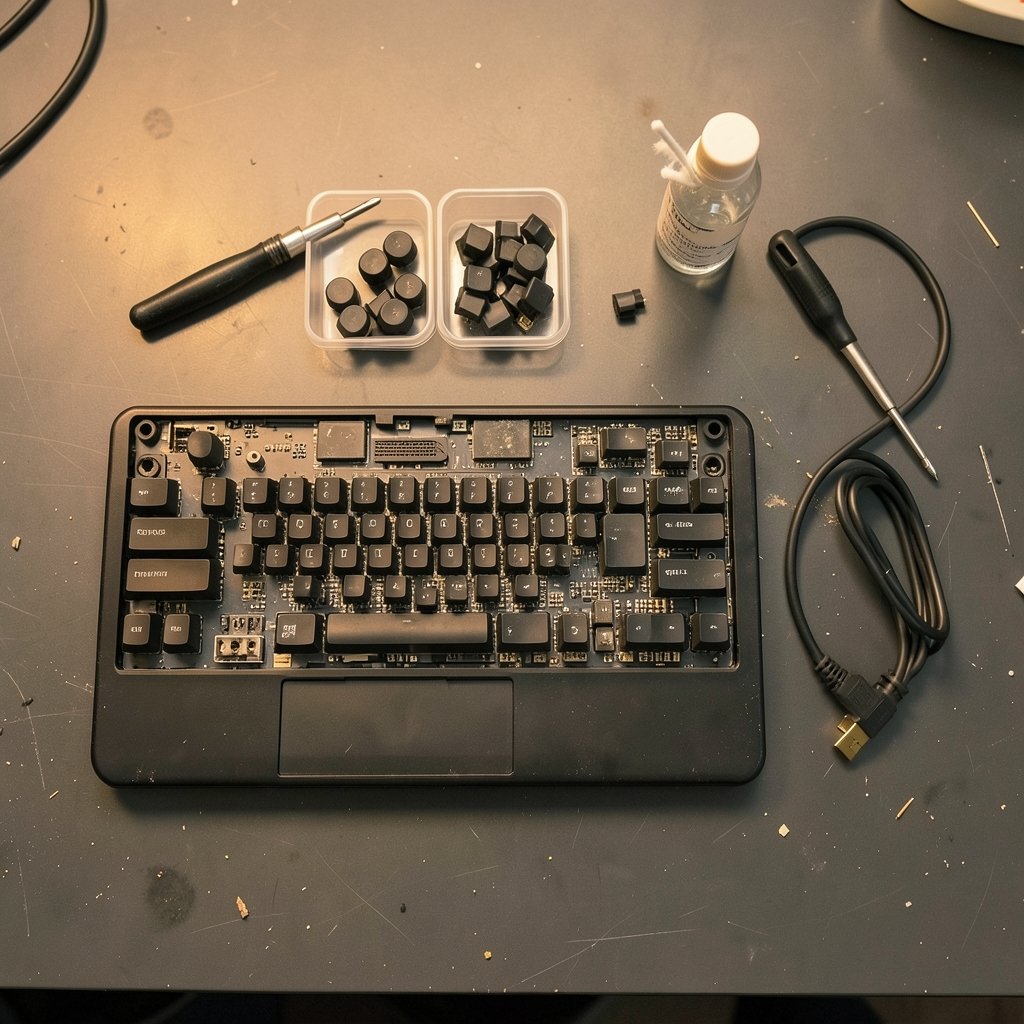
Quick Answer: What are the most common problems with mechanical keyboard and how do i fix them?
The most common mechanical keyboard problems are switch chatter (double-typing), keys that stop registering, sticky keys from spills, faulty cables, firmware glitches, rattly stabilizers, and damaged hot-swap sockets. Most of them can be fixed at home with a switch puller, isopropyl alcohol, a fresh cable, and a firmware reflash.
Some issues are electrical and need soldering, while others are just configuration mistakes that a reset or rebind solves in minutes. Wireless boards add their own layer of trouble: interference, low batteries, and pairing dropouts that wired keyboards never face.
Before ordering parts, check the switch type and whether the board is hot-swap, the age and spill history of the board, the cable and port you are using, the current firmware and keymap, and whether the fault follows the switch or stays in the socket.
Anyone who has typed on a mechanical keyboard for a while knows the feeling. One day the spacebar rattles like a tiny maraca, the next day the “E” key fires twice per press, and a month later a whole column goes silent. According to keyboard firmware documentation, switch chatter is fundamentally a debounce problem — the switch contact bounces microscopically when it closes, and the controller has to decide whether a second signal is a real press or electrical noise. That single detail explains a surprising share of the complaints people blame on “broken” boards. (Best keyboard stand for stage performance) (Keyboard technology)
The good news: mechanical keyboards are designed to be opened, cleaned, and repaired. Unlike a sealed laptop keyboard, almost every part is serviceable. This guide walks through the failures that actually show up in practice, what causes them, and the fix that works — plus the mistakes that turn a small problem into a dead PCB. (How to fix antimalware service executable high cpu usage)
Switch Chatter and Double-Typing: The Most Common Complaint
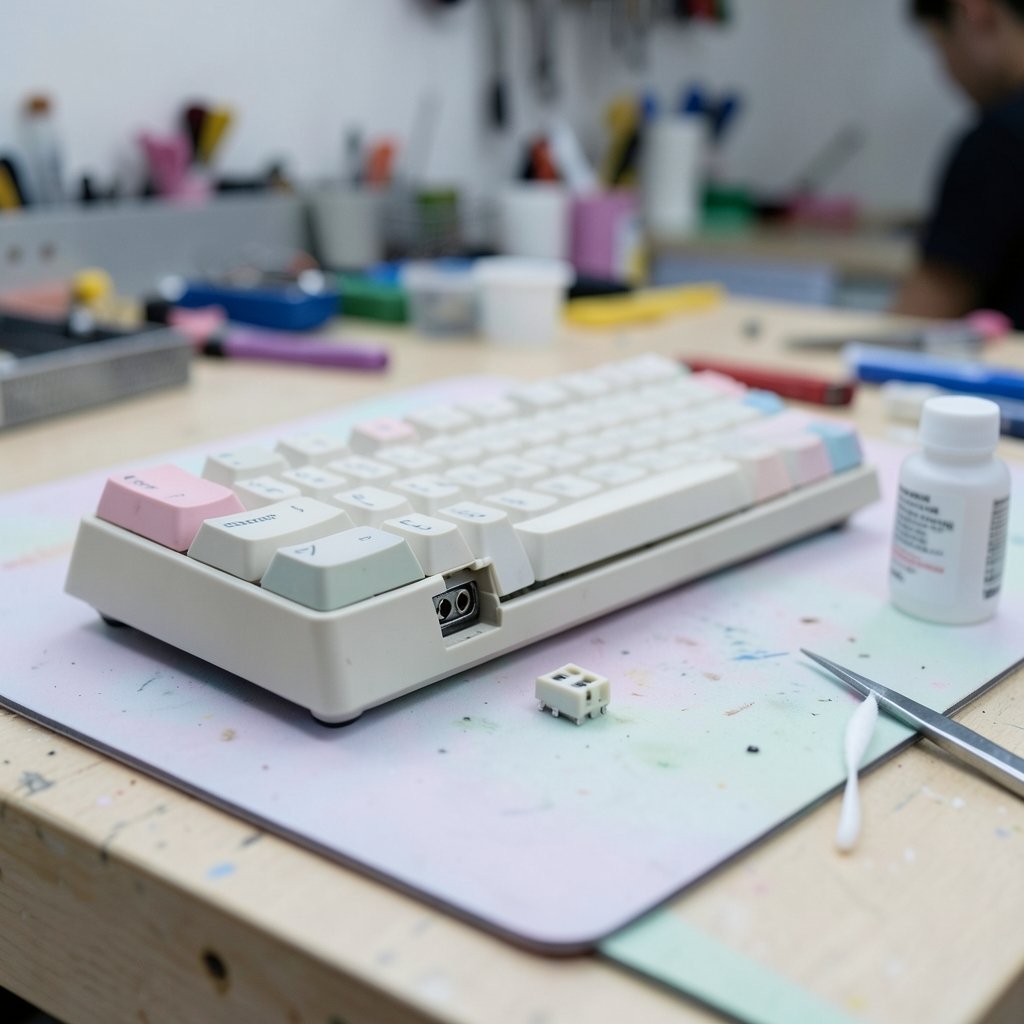
Chatter is when one physical press registers as two. You type “teh” and get “teeh,” or a password fails because a character doubled silently.
Three things cause it. First, worn or contaminated switch contacts, especially on older or heavily used switches. Second, a failing hot-swap socket that no longer grips the pin tightly. Third, firmware debounce settings that are too aggressive for the switches installed.
The fix depends on the cause. On a hot-swap board, pull the switch and swap in a known-good one from a less-used key like Scroll Lock. If the problem moves with the switch, replace the switch. If it stays in the same socket, the socket or its solder joint is the culprit. A drop of isopropyl alcohol into the switch housing and a few dozen actuations can revive mildly contaminated contacts, though it is a temporary measure. For firmware, tools like QMK and VIA let you raise the debounce time in milliseconds; bumping it from 5ms to 10–15ms often silences chatter on aging switches without noticeable input lag. (Decky loader not working steam deck fix 2026)
Do not spray contact cleaner into a whole board while it is plugged in. That is how people short controllers.
Keys That Stop Registering Entirely
A dead key is usually one of four things: a failed switch, a bent hot-swap pin, a cracked solder joint, or a broken trace on the PCB.
Start with the swap test described above. If a different switch also fails in that socket, inspect the socket with a flashlight and magnification. Hot-swap pins bend easily when switches are inserted at an angle, and a pin that misses the socket contact produces a perfectly dead key. Straighten it gently with fine tweezers.
On soldered boards, reflow the switch’s two solder joints before assuming the worst. A multimeter in continuity mode tells you quickly whether the switch closes the circuit. If the switch works but the key does not, the trace between the switch and the controller is suspect — that is when a jumper wire becomes necessary, and a repair shop starts to look reasonable.
Sticky, Grinding, or Slow-Returning Keys
Spilled coffee is the classic cause, but crumbs, pet hair, and dried lubricant also do it. Sticky keys usually feel gummy on the downstroke and return slowly.
Remove the keycap with a puller, then clean the stem and housing opening with a cotton swab dipped in isopropyl alcohol. Work the stem up and down a few times to distribute it, then let everything dry fully before plugging back in. For a serious spill, the affected switches should be desoldered, soaked, dried, and either reinstalled or replaced — sugar and milk residue will keep attracting moisture and corrosion otherwise.
A common mistake is cleaning only the visible top of the switch. The contamination sits on the contact leaves inside the housing, which is why a surface wipe often changes nothing.
Cable, Port, and Connection Dropouts
Intermittent disconnects, missed keystrokes during fast typing, and boards that “sleep” mid-sentence often trace back to the cable or port rather than the keyboard itself.
Try a different cable, then a different port, then a different computer. Avoid unpowered USB hubs and front-panel ports on older cases, which can sag under load. Check the connector for bent pins or a frayed strain relief. If the board works flawlessly on another machine, the keyboard is fine — and if a website-based configurator or testing tool will not load while you diagnose, that is a separate browser problem covered in this guide to fixing a website that will not load.
Wireless boards add battery level, receiver placement, and pairing state to the checklist. USB 3.0 ports and metal desk surfaces are notorious for 2.4 GHz interference; moving the dongle to a rear port with a short extension cable fixes more dropouts than people expect.
Firmware, Layers, and Keymap Confusion
Sometimes nothing is broken at all. A key that “stopped working” may have been remapped, a layer may be stuck, or a macro may be misfiring after a firmware flash.
The fix is boring but effective: open VIA or your board’s configuration tool, check which layer is active, and reset the keymap to default. If the board misbehaves after an update, reflash the correct firmware build for your exact PCB revision — flashing the wrong layout produces wonderfully creative wrong output. Keep a copy of your keymap exported before every flash; nobody remembers their 14 custom layers after a reset.
Anyone who spends hours in configurators should also learn the basics of Windows keyboard shortcuts, since half of “my keyboard is acting weird” reports turn out to be a stuck modifier from a shortcut combination.
Rattly Stabilizers and Noisy Long Keys
Stabilizer rattle on the spacebar, Shift, Enter, and Backspace is a quality issue rather than a malfunction, but it is the single most common complaint from new enthusiasts.
The fixes are well established: relubricate the stabilizer housings and wire ends with dielectric grease or a thick lubricant, check that the wire is not bent, and make sure the stabilizer is seated evenly. Adding a strip of foam or tape under the PCB, often called the tape mod, deadens the hollow ping. A rattly spacebar that sounds like a stapler usually just needs grease and five minutes.
Resist the urge to over-lubricate. Excess grease migrates onto the PCB and collects dust, which creates the sticky-key problem described earlier.
Hot-Swap Socket and PCB Damage
Hot-swap boards are convenient and slightly fragile. Repeated swaps, inserting switches at an angle, or forcing a switch past a bent pin can lift a pad or crack a socket.
Signs include a key that works only when pressed at an angle, or a socket that no longer clicks when a switch seats. The repair is to resolder the socket or, if the pad lifted, to bridge it to the nearest via with a fine wire. This is delicate work; practice on a dead board first.
The preventive habit that actually works: support the back of the PCB with a finger while inserting switches, and always insert straight down. Never wiggle a switch into place. (How-To Geek)
Ghosting, Rollover Limits, and LED Failures
On budget boards without diodes or NKRO support, pressing several keys at once can drop inputs — a real problem for games and fast typing. If the firmware supports NKRO, enable it; if not, it is a hardware limitation and no amount of cleaning will help.
Backlight failures follow a similar logic. A single dead LED is usually a failed diode or a broken solder joint, and on per-key RGB boards one failed LED can knock out a chain of others. Replacing surface-mount LEDs requires hot air or a fine-tipped iron and a steady hand.
Preventive Habits That Save Real Money
Most catastrophic failures start small. A few habits keep boards alive for a decade:
- Keep drinks at least an arm’s length away, and never over the keyboard.
- Dust with a soft brush and compressed air monthly; debris is the root of most chatter and sticking.
- Use a proper switch puller, not pliers, and insert switches straight.
- Export your keymap before any firmware change.
- Store spare switches from your first batch — they become diagnostic tools later.
- Unplug the board before any liquid cleaning.
If a repair involves opening a laptop or a soldered board for the first time, follow a teardown guide for that exact model rather than improvising. The same caution applies to any hardware diagnosis: verify what you are looking at before acting, just as you would verify images before sharing them online.
When to Repair and When to Replace
| Problem | Typical fix cost | Worth repairing? |
|---|---|---|
| Switch chatter | Cost of one switch | Yes, almost always |
| Dead key on hot-swap board | One switch or socket reseat | Yes |
| Dead key on soldered board | Solder reflow or jumper wire | Usually yes |
| Spilled liquid, several switches | Replacement switches plus labor | Depends on board value |
| Lifted pad or broken trace | Professional repair | Only on premium boards |
| Failed RGB LED chain | LED replacement | Cosmetic; often skipped |
The pattern is clear: switch-level problems are cheap and easy, PCB-level problems are where the math changes. A $40 board with a broken trace is usually a donor for parts; a $200 board with the same fault is worth a bench fee.
Conclusion
Mechanical keyboards fail in predictable ways, and almost every failure has a known fix. Chatter, dead keys, sticky switches, cable dropouts, firmware confusion, rattly stabilizers, and damaged sockets account for the overwhelming majority of complaints — and most are solved with a switch puller, some isopropyl alcohol, a spare cable, and fifteen minutes of patience. The trick is diagnosing before disassembling: swap the switch, try another port, reset the keymap, and only then reach for the soldering iron. Treat the board as a serviceable machine rather than a sealed appliance, and it will outlast several membranes. For the software side of keyboard life, a refresher on essential Windows keyboard shortcuts pairs nicely with any hardware repair session.
Frequently Asked Questions
Why does my mechanical keyboard type double letters?
Double letters almost always mean switch chatter: the contact bounces when it closes, and the controller reads two presses. Swap the switch with a known-good one to confirm. If the problem follows the switch, replace it; if it stays in the socket, inspect the hot-swap socket or raise the debounce time in firmware.
Can I fix a mechanical keyboard switch without soldering?
Yes, on hot-swap boards. Pull the faulty switch with a puller, insert a replacement straight down, and test. On soldered boards, cleaning with isopropyl alcohol can help temporarily, but a permanent fix for a failed switch requires desoldering.
How do I clean a mechanical keyboard after a spill?
Unplug it immediately, remove keycaps in the affected area, and blot the liquid. Clean switch stems and housings with isopropyl alcohol on a swab and let everything dry for at least 24 hours. If the spill contained sugar or milk, the affected switches should be replaced rather than cleaned.
Is keyboard chatter a software or hardware problem?
It can be either. Worn contacts are hardware; debounce settings are firmware. Test by moving the switch to another socket. If chatter follows the switch, it is hardware. If it stays in the same position, check the socket and firmware before replacing anything.
Why do some keys not register when I press several at once?
That is ghosting, caused by missing diodes or a lack of NKRO support on budget boards. Check your firmware settings and enable NKRO if available. If the option does not exist, the limitation is built into the hardware and cannot be fixed with cleaning.
How long should a mechanical keyboard last before problems appear?
Most quality switches are rated for tens of millions of actuations, so a well-kept board often runs five to ten years before chatter or dead keys appear. Spills, dust, and repeated hot-swapping shorten that lifespan far more than typing volume does.



