
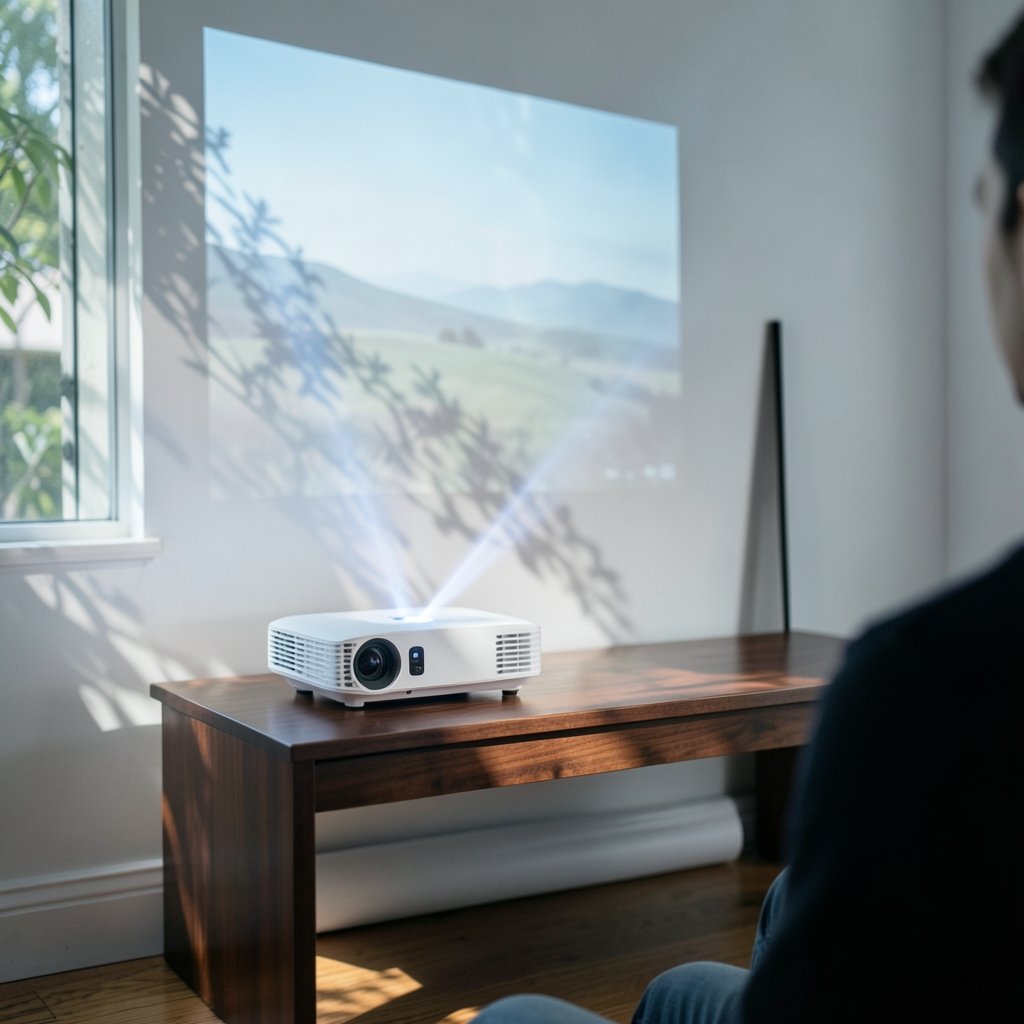
Can you really get a great projector image on a plain white wall, or is a screen just marketing? The honest answer sits somewhere in the middle. A white wall will absolutely work, especially in a dark room. But if you have ever wondered why your projected picture looks gray and flat while the demo at the store looked punchy, the wall is usually part of the story.
This guide walks through what a white wall does well, where it fails, and how to choose a projector screen that suits a white-walled room without wasting money. It covers ambient light rejecting materials, screen gain, paint options, and the practical mistakes that ruin more setups than any spec sheet ever will.
Why a white wall seems like a good idea
A white wall is free, invisible when the projector is off, and available in most rooms. That is a genuinely strong pitch. In a fully dark room, a matte white wall behaves close to a unity-gain (about 1.0) diffuse surface. It bounces light fairly evenly in all directions, so the image looks consistent from almost anywhere in the room.
That last point matters more than people expect. The best screen material in the world is useless if the picture dims the moment someone shifts a seat over. A plain wall forgives bad seating geometry.
The problems appear when light enters the room or when the wall is not actually neutral.
Where white walls fall short
Ambient light washes out black levels
A white wall reflects stray light from lamps, windows, and even a phone screen across the entire image. Black areas stop looking black and start looking gray. Dark scenes in film and games lose depth fast. This is the single biggest reason people upgrade to a proper screen.
Paint sheen and texture show up on screen
Gloss or satin paint creates hot spots, which are bright, uneven patches where the projector beam hits the surface at an angle. Wall texture, roller stipple, and patches from old repairs all become visible once an image is projected. A wall that looks smooth under normal light can look like a relief map at 100 inches.
Off-white walls shift color
Most “white” walls are actually cream, gray, or pinkish. That tint multiplies across every frame. Skin tones go yellow, skies go muddy, and no amount of projector calibration fully fixes it.
Gain is not adjustable
You cannot tune a wall. If the projector is dim, you cannot add brightness. If it is too bright in a dark room, you cannot tame it. A screen gives you a lever the wall never will.
The screen types that suit white-walled rooms
| Screen type | Best room condition | Strength | Weakness |
|---|---|---|---|
| Matte white screen | Dark, light-controlled room | Accurate color, wide viewing angle | No ambient light rejection |
| Grey screen | Some light, moderate walls | Deeper blacks, better perceived contrast | Slightly dimmer, narrower sweet spot |
| ALR (ambient light rejecting) | Lit room, white walls nearby | Rejects off-axis light, holds contrast | Expensive, narrow viewing cone, needs careful placement |
| Painted wall coating | Dark room, budget setup | Cheap, no visible seams, wall looks unchanged | Hard to get uniform, limited gain options |
The key insight: ALR screens are designed for rooms with light coming from the sides or above, not from behind the screen. If your white walls are bouncing light back onto the screen from the same direction as the projector, an ALR screen helps less than the marketing suggests. (Projection screen)
Understanding screen gain before you buy
Gain measures how much light a surface reflects toward the viewer compared with a perfect diffuse reference. A gain of 1.0 is neutral. Higher gain, say 1.3 to 1.5, concentrates reflected light toward the viewer, making the image brighter on-axis. The trade-off is a narrower viewing cone, so seats off to the side see a dimmer, sometimes color-shifted image.
For white-walled rooms, here is the practical rule most installers follow:
- Dark room, white walls: matte white at gain 0.8 to 1.1. Accuracy beats brightness.
- Dim room with some light: grey screen at gain 0.8 to 1.0 to deepen blacks.
- Lit room with side windows: ALR material, accepting the narrower cone.
- Very bright projector in a dark room: a grey or negative-gain screen tames the image.
Higher gain is not automatically better. It is a trade, and in a white-walled room that trade usually costs you seating flexibility.
Painted wall coatings: do they work?
Screen paint is the middle path. It is cheap, leaves no visible seams, and keeps the wall looking like a wall. It can genuinely help, but only under specific conditions.
What works in practice:
- Matte finish, always. Gloss paint is the most common DIY mistake. It creates hot spots that no amount of projector adjustment hides.
- A neutral grey tint for dark rooms where blacks look washed out. A light grey, not charcoal, or you lose too much brightness.
- Careful surface prep. Fill and sand every imperfection. Skim coating a textured wall is often worth the effort.
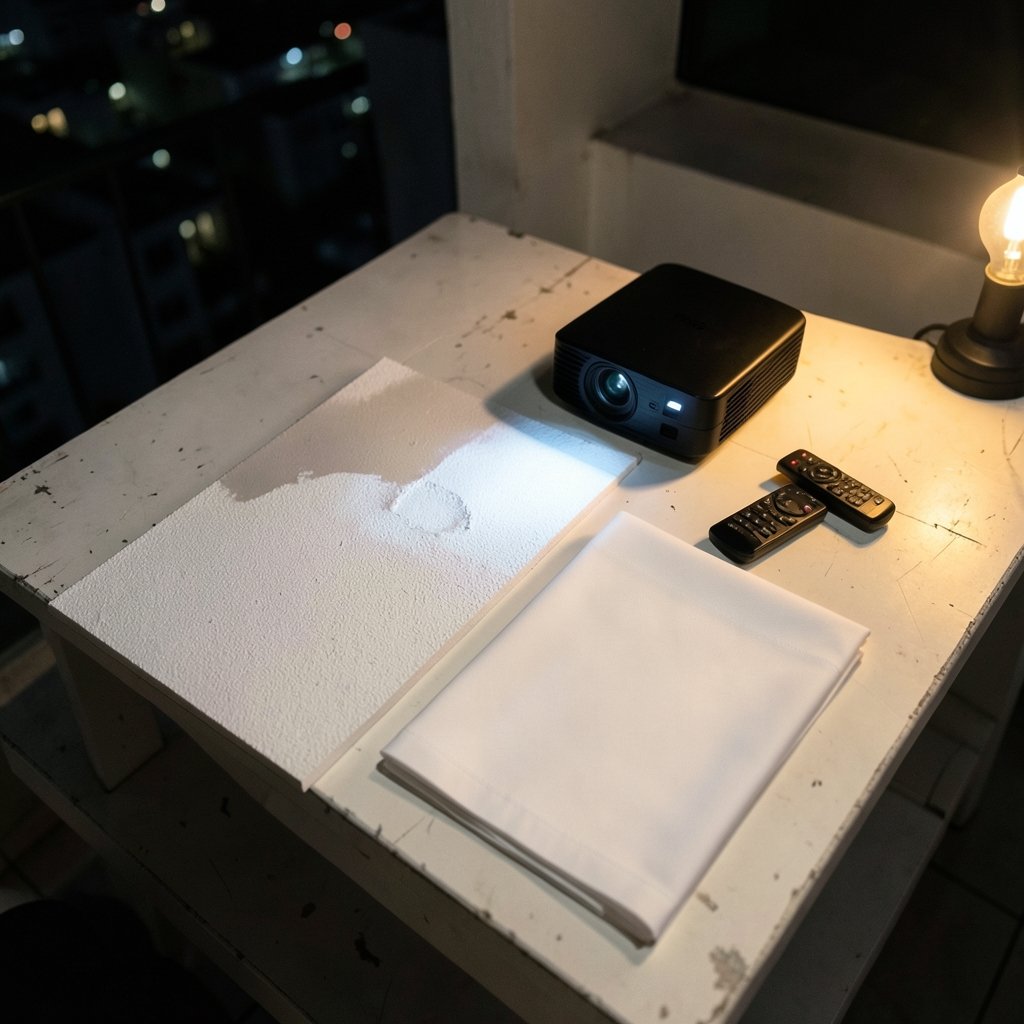
- A test patch first. Paint a one-meter square, project onto it at night, and judge before committing to the whole wall.
What usually fails:
- Buying “screen paint” at a premium without checking gain specs or test conditions.
- Painting over a wall with a visible seam or patch and expecting the image to hide it.
- Using a dark grey in a room with a modest projector, then wondering why the picture looks dim.
If you want to see the difference a controlled surface makes, it helps to compare setups side by side. The same discipline applies when you learn how to record your computer screen for comparison shots: consistent conditions reveal what actually changed.
Matching screen size to the room and projector
Screen size is where enthusiasm beats physics most often. A bigger image spreads the same light over more area, so brightness per square foot drops. The result is a large but dull picture.
A practical approach:
- Measure the throw distance from lens to wall.
- Check the projector’s throw ratio to find the maximum image width at that distance.
- Estimate room brightness. A projector rated around 2,000 to 3,000 lumens suits a dark room at 100 to 120 inches diagonal.
- Sit roughly 1.2 to 1.5 times the image width away for comfortable viewing.
- Leave at least 30 cm of border around the image, or use a screen with a black frame to anchor the eye.
That black border is underrated. A dark frame around a bright image makes contrast look better even when the measured numbers have not changed. It is a perceptual trick, but a legitimate one.
Placement rules for white-walled rooms
White walls bounce light. That is the core problem, and it shapes every placement decision.
- Keep the screen away from side walls. Light from a nearby white wall reflects back onto the screen and lifts the black levels.
- Control ceiling and floor reflections. A white ceiling above a bright screen throws light back down. Dark curtains, a dark rug, and matte surfaces near the screen all help.
- Angle the projector carefully. Off-axis projection on a matte screen causes keystone correction, which softens the image. Center the lens where possible.
- Avoid pointing the screen at a window. Even a covered window leaks light that a white wall amplifies.
If you are weighing display options for a multi-use room, the same trade-offs show up in e-readers, where matte versus glossy surfaces change the experience. A comparison like Kindle vs Kobo Paperwhite vs Libra Colour 2026 covers that ground well.
Fixed frame, pull-down, or portable?
| Format | Best for | Notes |
|---|---|---|
| Fixed frame | Dedicated rooms | Best tension and flatness, permanent install |
| Pull-down | Mixed-use rooms | Convenient, but cheaper models develop waves |
| Portable/tripod | Rentals, occasional use | Fast setup, least rigid surface |
| Painted wall | Budget, dark rooms | Free, no visible seams, hard to perfect |
For a white-walled living room that doubles as a cinema at night, a fixed frame with a black velvet border is usually the best value. It stays flat, blocks edge reflection, and makes the image look intentional rather than improvised.
Common mistakes people make
These come up again and again in real setups.
- Buying an ALR screen for a dark room. You pay a premium for a property you do not need, and you lose viewing angle.
- Ignoring the projector’s brightness. A screen cannot create light. Match the screen to the projector, not the other way around.
- Skipping the black border. The cheapest contrast upgrade available.
- Projecting onto a glossy wall. The single most common cause of hot spots.
- Placing the screen opposite a white wall. Reflected light undoes the screen’s work.
- Judging in daylight. Evaluate the image at night, in the conditions you will actually use.
There is a parallel in handheld displays. Dual-screen devices live or die on how their panels handle reflection and angle, which is why reviews like this Anbernic RG DDS dual screen 3DS handheld 2026 focus on panel behavior rather than raw specs.
Budget reality check
A decent fixed-frame matte white screen in the 100 to 120 inch range typically costs far less than an ALR screen of the same size. The gap can be several times over. Before spending on ALR, ask two questions: Is there real light hitting the screen during viewing? And are the white walls close enough to bounce light back?
If the answer to both is no, a matte white or light grey screen will outperform a cheap ALR panel and cost less. If the answer is yes, ALR earns its price, but only with correct placement.
Conclusion
A white wall is a perfectly reasonable starting point, and in a dark room with a neutral matte finish it can look genuinely good. The upgrade path is not about buying the most expensive material. It is about matching three things: the room’s light, the projector’s brightness, and the screen’s gain and viewing angle.
Start with light control. Then fix the wall’s finish. Then choose a screen size the projector can actually fill. Only after that does an ALR or grey screen make sense. Get the order right and a white-walled room can deliver a picture that looks deliberate, deep, and sharp, without a single unnecessary dollar spent.
FAQ
Is a projector screen better than a white wall?
In most cases, yes, but the margin depends on the room. A screen offers a controlled surface, consistent color, a black border, and often better gain. In a fully dark room with smooth matte white paint, the difference is smaller than stores suggest.
Can I use an ambient light rejecting screen on a white wall?
Yes, but placement matters more than the material. ALR screens reject light arriving from the sides and above, not from the same direction as the projector. If your white walls bounce light straight back at the screen, the benefit shrinks.
What gain screen should I choose for a dark room?
Matte white at gain 0.8 to 1.1 is the safe choice. It keeps colors accurate and viewing angles wide. Choose grey or negative gain only if your projector is very bright or blacks look washed out.
Does screen paint actually work?
It can, if the wall is smooth, the paint is matte, and the tint is neutral. It fails when applied over gloss, texture, or patches. Always paint a test patch and judge it at night before committing to the whole wall.
How do I stop white walls from washing out the image?
Reduce reflections near the screen. Use dark curtains, a dark rug, and matte surfaces. Keep the screen away from side walls and avoid projecting toward a bright window. A black border around the image also makes contrast read better.
What size screen suits a white-walled living room?
Match size to projector brightness and seating distance. A 2,000 to 3,000 lumen projector typically suits 100 to 120 inches diagonal in a dark room. Sit about 1.2 to 1.5 times the image width away, and leave a border around the frame.



