
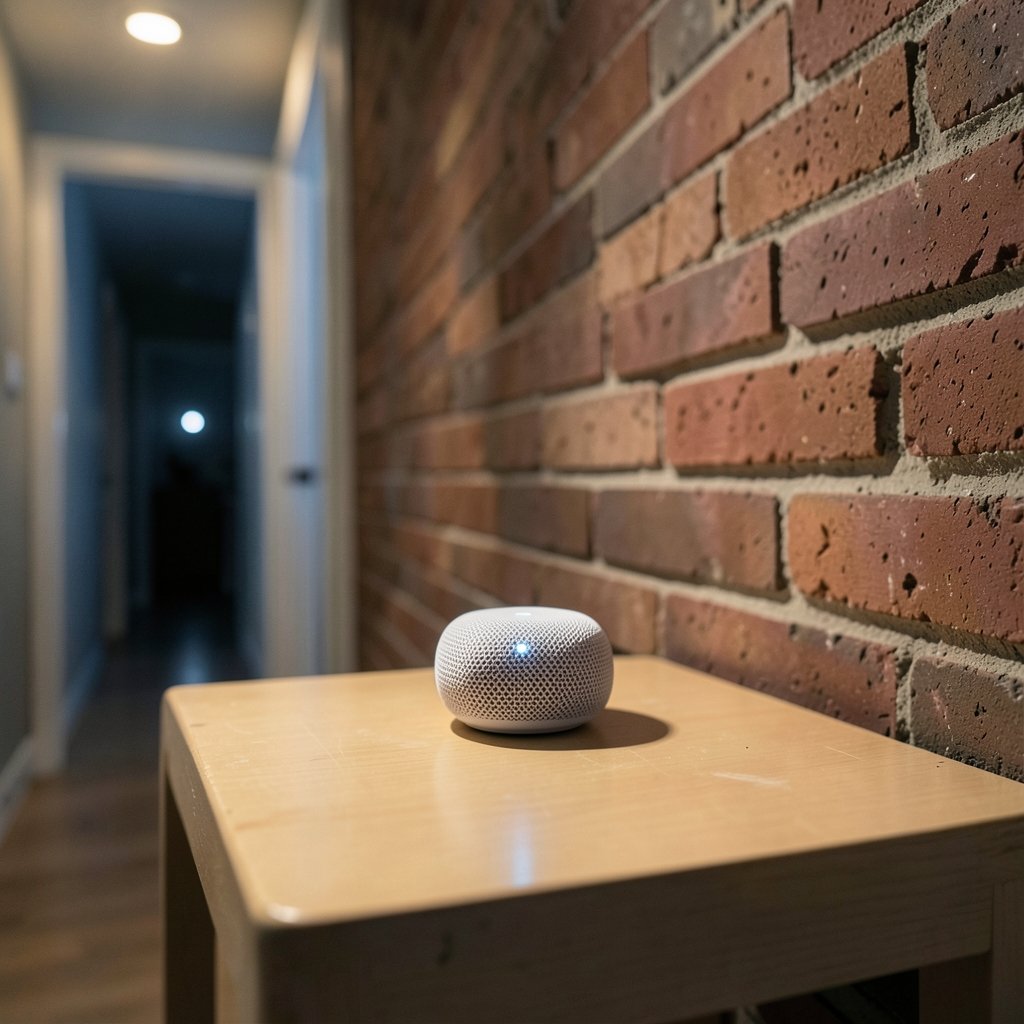
Can a mesh Wi-Fi node really punch a reliable signal through a solid brick wall? The honest answer is yes, but only if you stop treating the node like a magic box and start treating it like a radio transmitter with physical limits. Brick is not the villain most people assume it is. Poor placement usually is. Get the geometry right and a mid-range mesh system will happily serve a room on the far side of a masonry wall. Get it wrong and you will spend an evening rebooting nodes and blaming the hardware.
This guide walks through what brick actually does to a Wi-Fi signal, where to put nodes so the wall stops mattering, and the mistakes that quietly wreck coverage in real homes.
What brick actually does to a Wi-Fi signal
Brick attenuates radio waves, but it does not block them the way metal or foil-backed insulation does. A standard masonry wall typically costs a few decibels of signal strength, and the exact number swings wildly depending on wall thickness, whether the brick is hollow or solid, and how damp it is. Wet brick is measurably worse than dry brick, which is why a wall that performed fine in summer can feel sluggish during a rainy stretch.
Frequency matters just as much as the wall. Lower frequencies bend and penetrate better than higher ones, so 2.4 GHz travels through masonry more easily than 5 GHz, and 6 GHz loses the most of all. That trade-off is not free: 2.4 GHz is slower and more crowded, while 5 GHz and 6 GHz deliver speed but surrender range the moment a wall gets in the way.
The practical takeaway is that “brick wall” is not a single obstacle. A thin interior brick partition and a double-skin exterior wall with a cavity behave completely differently, and no single decibel figure describes both. Treat any universal attenuation number you see online with suspicion.
The placement rule that beats almost everything else
The single most useful habit is to place each node roughly halfway between the router (or the previous node) and the area with weak coverage, in open air, with as clear a path as possible. Not in the dead zone itself. Not tucked into a cupboard. Roughly in between, elevated, and out in the open.
Why the midpoint? Because mesh nodes need a decent link back to the rest of the network before they can help anyone. A node sitting inside the weak room is receiving a weak signal and rebroadcasting a weak signal. A node placed at the boundary receives a strong signal and hands off a strong one. This is the opposite of what most people intuitively do, which is to march the node into the coldest corner of the house and hope for the best.
When a brick wall sits between the router and the far room, look for a path that goes through a doorway, a hallway, or a window opening rather than straight through masonry. Radio waves do not care about your floor plan, but they do respond to openings. A node positioned so the signal slips through a door frame will usually outperform one lined up directly behind the brick.
Where to put the node relative to the wall
Placement relative to the wall itself is where most setups gain or lose the most. A few rules of thumb hold up in practice:
- Keep the node at least a foot or two away from the brick surface. Pressing it against the wall does not help it “push through” and often detunes the antenna.
- Prefer line of sight through an opening over transmission straight through masonry.
- Raise the node off the floor. Waist height or above beats sitting on the skirting board.
- Avoid the far side of a chimney breast, which is often the thickest masonry in the house.
- Keep nodes away from metal: radiators, filing cabinets, mirrors, and foil-faced insulation all reflect or absorb signal.
If the goal is to cover a room behind a brick wall and there is no doorway in line, accept that the node may need to sit on the near side of the wall and serve the room through it. That arrangement usually still works, just at reduced speed on the higher bands. (Wi-Fi)
Wired backhaul changes the whole calculation
Here is the detail that separates a frustrating mesh network from a fast one: backhaul. Wireless mesh nodes that talk to each other over Wi-Fi typically give up a chunk of throughput with every hop, because the radio is busy both receiving and retransmitting. Vendors often quote best-case numbers that assume ideal conditions, which is rarely what a brick-walled house delivers.
Running an Ethernet cable to a node, where the house allows it, sidesteps the problem entirely. A wired node does not need to fight through the brick wall to reach the router, so it can be placed exactly where coverage is needed. Even a single wired node in the worst room can transform a network. If cabling is impossible, consider whether a powerline or coaxial adapter is an option before resigning yourself to a wireless hop through masonry.
For anyone weighing whether a new place is worth the cabling hassle, it is worth thinking about layout before you sign a lease. A home with a sensible floor plan and a central hallway will always beat a rambling layout with thick interior walls, as anyone comparing options on a best place to live shortlist quickly discovers.
Reading the signal instead of guessing
Guessing is the enemy of good placement. A phone walking around the house waving at the ceiling tells you almost nothing. Use a Wi-Fi analyzer app or the mesh system’s own signal-strength readout and measure at the actual spots where people sit: the desk, the sofa, the bed.
Look for RSSI (received signal strength) values in the region of -60 dBm or better for reliable high-band performance. Between -60 and -70 dBm is workable. Below about -75 dBm, expect drops and slow speeds, especially on 5 GHz and 6 GHz. Take a reading on the near side of the brick wall, then on the far side, and the difference tells you exactly what that wall is costing you.
One underrated trick: move the node a foot to the left or right and measure again. Radio coverage is lumpy, and small shifts often produce surprisingly large improvements. It is a five-minute experiment that beats an hour of reading forums.
Common mistakes that wreck brick-wall coverage
Plenty of setups fail for reasons that have nothing to do with the wall. The usual suspects:
Hiding the node. Inside a media cabinet, behind a television, on a bookshelf among paperbacks. Furniture absorbs signal, and a node in a box is a node working with one hand tied behind its back.
Placing nodes too close together. More nodes is not automatically better. Nodes packed into the same room compete for channels and hand off constantly. Space them out so each one has a job.
Ignoring the vertical dimension. Floors are often worse than walls. A node placed to cover the room above may fight through a floor slab and a brick party wall at the same time. Same-floor, straight-line placement usually wins.
Skipping firmware updates. Mesh systems improve their roaming and band-steering logic over time. An out-of-date system can behave like a much older one.
Blaming the wall for a bad router position. The router itself is often jammed into a cupboard in the far corner of the house. Moving it to a central, elevated spot can eliminate the need for an extra node altogether.
Anyone who has tackled a weekend project knows that placement problems reward patience and measurement over brute force, the same lesson that applies when you build a home climbing wall DIY and discover that a few centimetres of adjustment matter more than extra hardware.
When brick is not the real problem
Before buying another node, rule out the impostors. Dense concrete, rebar, metal lath behind plaster, foil-backed insulation, and radiant barriers all hurt far more than ordinary brick. So does interference from neighbouring networks, especially on the crowded 2.4 GHz band. A channel scan will reveal whether your slow room is actually a congested room.
Regulatory settings also shape real-world range. Power limits and available channels differ by country, and the rules are set by bodies such as the Federal Communications Commission in the United States and ETSI in Europe. A router configured for a region with tighter power limits will simply cover less ground, and no amount of node shuffling changes that.
It also helps to keep expectations calibrated. Mesh systems are marketed on coverage area, but those figures assume open-plan spaces. A house full of masonry walls needs more nodes, placed more carefully, than the box suggests. If you are curious how quickly wireless hardware evolves, the steady stream of filings and leaks around devices like the PS Portal 2 Wi-Fi Alliance filing shows just how fast the underlying standards move, which is one more reason to update firmware rather than replace hardware. (Wi-Fi Alliance: Discover Wi-Fi)
A practical placement checklist
Working through a checklist beats trial and error. Before final placement, confirm each of the following:
| Check | Target | Why it matters |
|---|---|---|
| Node height | Waist height or above | Escapes furniture and floor absorption |
| Distance from wall | At least 1 to 2 feet | Avoids antenna detuning |
| Path to router | Through a doorway if possible | Beats transmission through masonry |
| Backhaul type | Wired where feasible | Preserves throughput per hop |
| Signal at the weak spot | -70 dBm or better | Keeps high bands usable |
| Node spacing | One room apart, roughly | Reduces channel contention |
| Firmware | Current version | Improves roaming and band steering |
Run through this list once, measure, adjust, and measure again. Most homes settle within an evening.
Conclusion
Brick walls are a real obstacle, but they are rarely the reason a mesh network fails. The failures usually come from nodes hidden in cupboards, crammed into dead zones, spaced too tightly, or backhauled wirelessly through the very wall they are meant to overcome. Place each node roughly midway between the router and the weak area, keep it out in the open and off the floor, prefer a path through a doorway over a path through masonry, and wire the backhaul wherever the house allows. Measure with an app instead of guessing, and accept that 2.4 GHz will always reach further than 5 GHz or 6 GHz through solid walls. Do those things and the brick stops being a problem worth thinking about.
FAQ
Does a mesh node need line of sight to work through a brick wall?
No. Line of sight helps, but Wi-Fi passes through brick with moderate loss. A node placed on the near side of the wall will usually still serve the room behind it, though speeds on the higher bands will drop. A clear path through a doorway generally beats transmission straight through masonry.
Where exactly should I put a mesh node to cover a room behind a brick wall?
Place it roughly halfway between the router and the weak room, elevated and in open air, ideally lined up with a doorway or opening rather than directly behind the brick. Avoid pressing it against the wall or hiding it in furniture.
Is 2.4 GHz or 5 GHz better through brick walls?
2.4 GHz penetrates brick more effectively because lower frequencies lose less energy passing through dense materials. 5 GHz and 6 GHz are faster but lose more signal through walls. If range through masonry matters more than raw speed, 2.4 GHz is the safer bet.
How many mesh nodes do I need in a brick house?
There is no fixed number, because it depends on wall thickness, floor plan, and where the router sits. A typical brick home often needs two to three nodes beyond the router, placed one room apart. Measure signal strength in the weak spots before buying more hardware.
Why is my mesh node slow even though the signal looks strong?
Strong signal does not guarantee speed. Wireless backhaul through a wall, channel congestion on 2.4 GHz, and outdated firmware all cut throughput. Wired backhaul and a channel scan usually reveal the culprit faster than moving the node around.
Can I put a mesh node directly against a brick wall?
It is not recommended. Pressing a node against masonry can detune its antennas and reduce performance. Leave at least a foot or two of clearance, and position the node so the signal can travel through an opening where possible.



