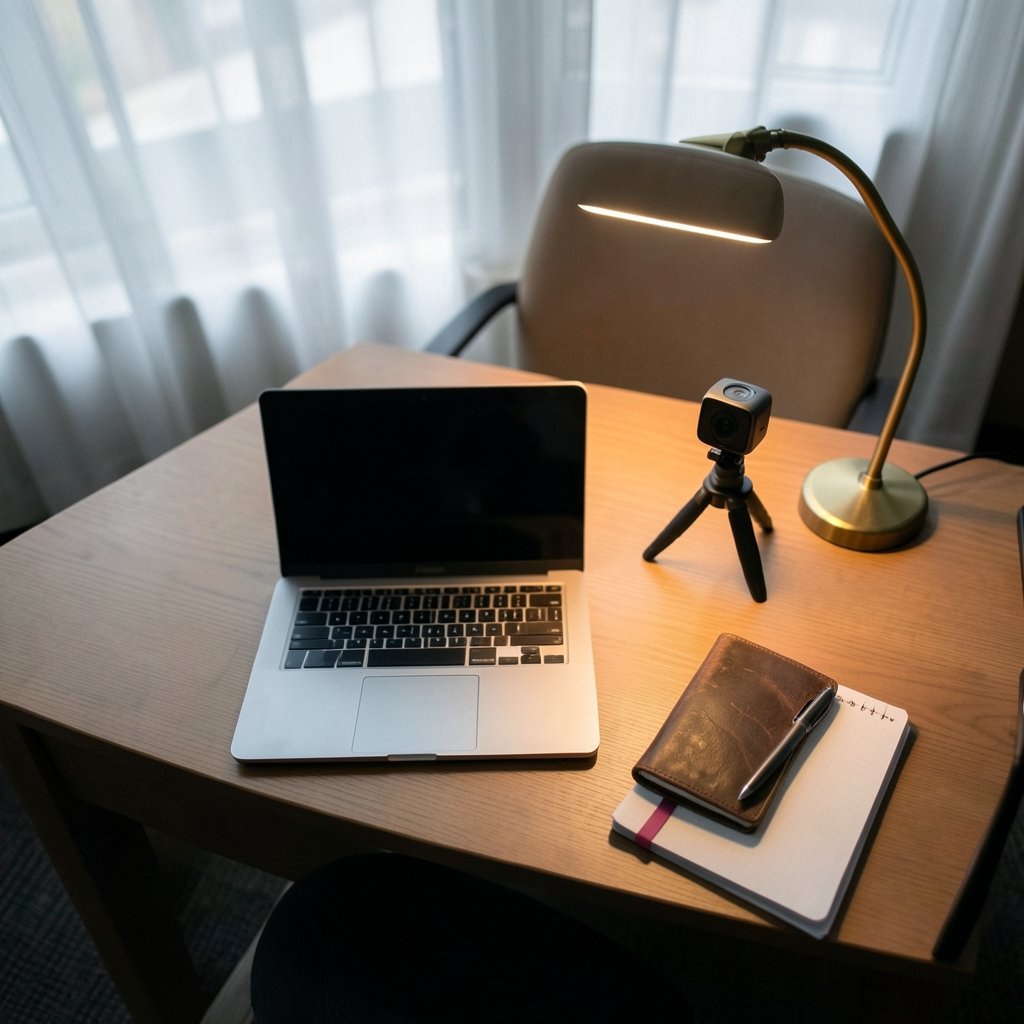
Has your face ever turned into a shadowy silhouette the moment a bright window slid into frame behind you? One second you look normal, the next you resemble a witness in a crime documentary. That frustrating flip is the classic symptom of webcam auto exposure gone wrong, and it is one of the most common video call complaints in the world.
The good news: this is rarely a broken camera. It is almost always a metering decision made by firmware that you can outsmart. This guide explains why webcams darken your face, what settings actually fix it, which mistakes make it worse, and when it is time to stop fiddling and change hardware.
Why Does Auto Exposure Make Your Webcam Image Too Dark?
Every camera, from a phone to a cinema rig, needs to decide how bright the final image should be. Auto exposure does this by sampling the scene and adjusting shutter speed, gain, and sometimes aperture until the average brightness lands near a middle value. That middle value is often described as middle gray, a convention borrowed from photography where roughly 18 percent reflectance is treated as the “correct” exposure.
Here is the problem. A webcam does not know what matters in your frame. It only measures light across the whole sensor. If a bright window, a ring light, or a white wall fills a big chunk of the picture, the camera concludes the scene is very bright and darkens everything to compensate. Your face, sitting in the dimmer foreground, gets dragged down with it. The result is a perfectly exposed window and a face that looks like it is hiding in a cave.
Most consumer webcams also lack face-priority metering, a feature phones have used for years. A phone finds your face and exposes for it. A budget webcam typically averages the entire frame and calls it a day. That single design difference explains why your laptop camera struggles while your phone camera handles the same room without drama.
There is a second layer too. Many webcams implement the USB Video Class (UVC) standard, which defines how exposure controls are exposed to your computer. The official specification is maintained by the USB Implementers Forum, the same body that oversees USB standards generally, and you can read background on the organization on Wikipedia’s USB Implementers Forum page. When your operating system shows an “Exposure” slider, it is usually talking to the camera through those UVC controls. If the driver exposes them poorly, the camera stays stuck in a bad auto mode. (Canon official site)
The Real-World Causes Behind a Dark Webcam Image
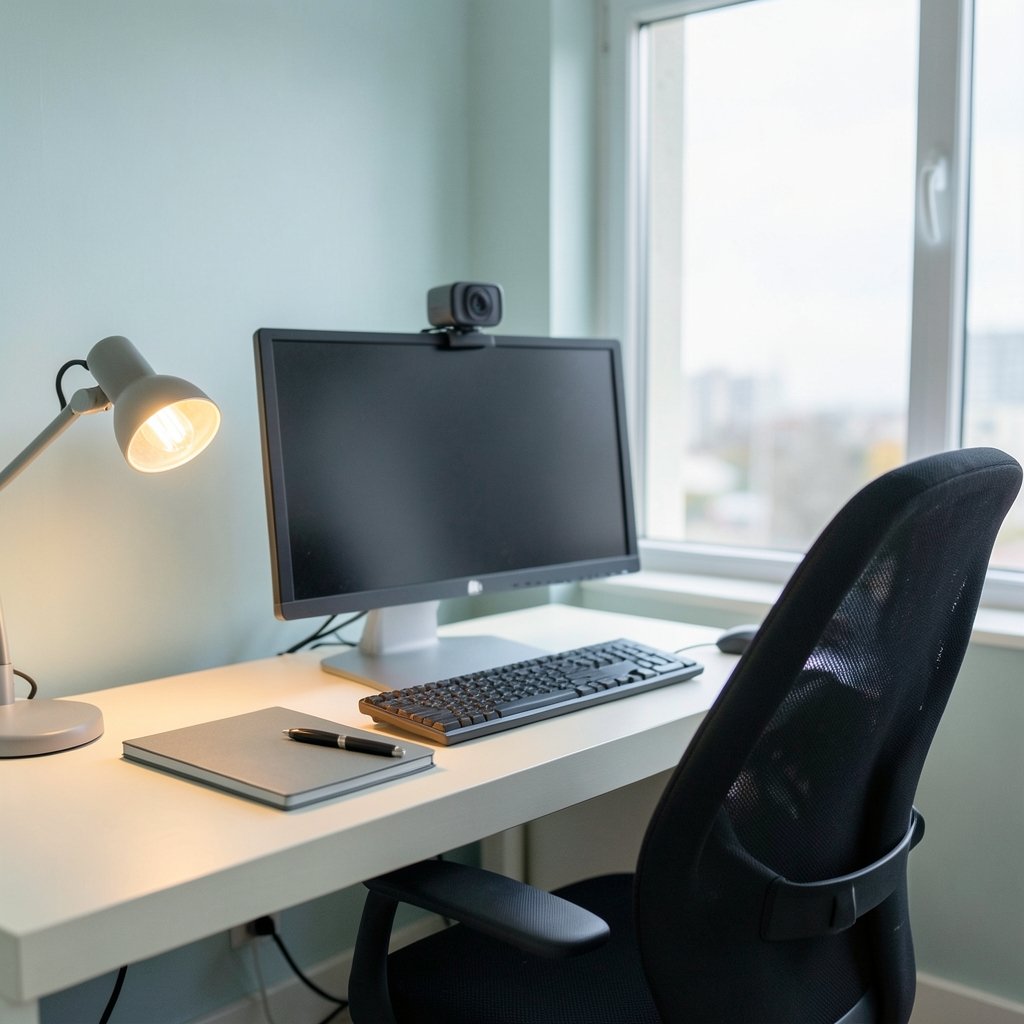
Before changing settings, it helps to know which of these common culprits is actually at play. In practice, most dark-webcam complaints trace back to one of the following.
| Cause | What You See | Typical Fix |
|---|---|---|
| Bright backlight (window, lamp behind you) | Face dark, background blown out | Reframe or add front light |
| Auto exposure locked to a bright region | Image darkens when you move | Switch to manual exposure |
| Low light with high gain | Grainy, muddy, dim image | Add light rather than boosting gain |
| App-level processing override | Fix works in one app, not another | Adjust inside the app itself |
| Driver or firmware quirk | Slider moves but nothing changes | Update driver or use vendor software |
Backlighting Is the Number One Offender
If someone sits with a window behind them, no amount of slider tweaking will fully rescue the shot. The camera is doing exactly what it was told: exposing for the brightest part of the frame. The practical fix is boring but effective. Turn the desk so the light source is in front of the face, not behind it. A $20 desk lamp aimed at the subject beats an hour of driver troubleshooting.
Low Light and Gain Are Not the Same as Exposure
People often crank brightness or gain when the image looks dark. Gain amplifies the signal electronically, which also amplifies noise. The picture gets brighter and uglier at the same time. Exposure, by contrast, controls how long the sensor collects light. Longer exposure means a brighter, cleaner image, but too long and motion turns into a smear. For a talking-head video call, a modest exposure increase plus real room light is the winning combination.
Some Apps Ignore Your Camera Settings
This trips up almost everyone. A user adjusts exposure in the Windows camera settings, sees improvement, then joins a browser-based meeting and looks dark again. The browser or conferencing app may apply its own processing pipeline and override hardware controls. The lesson: test the fix inside the app you actually use, rather than only in the operating system’s preview window. If you bounce between several tools, check out the latest platform changes covered in Dealer Daily: Major Auto News and Industry Updates for a sense of how quickly software stacks shift, and apply the same skepticism to your video stack.
How to Fix a Webcam That Is Too Dark: Step by Step
Work through these steps in order. Most people solve the problem by step four.
- Fix the lighting first. Put the brightest light source in front of you, behind the camera. Close blinds that sit behind your chair. This alone resolves the majority of cases.
- Open your camera’s control panel. On Windows, look under Settings, then Bluetooth and devices, then Cameras, and select your webcam to find brightness, contrast, and exposure sliders. On macOS, most webcams expose limited controls, so vendor software matters more.
- Turn off auto exposure. Find the toggle labeled Auto or the exposure mode dropdown and switch to Manual. This stops the camera from re-metering every time you move.
- Set exposure manually, then adjust gain. Raise exposure until your face looks natural, not washed out. Only nudge gain upward if the image is still dim, and accept a little noise as the trade-off.
- Test inside the actual meeting app. Join a test call and compare. If the app looks darker than the system preview, hunt for a video settings menu inside the app itself.
- Update drivers and firmware. Camera vendors periodically fix exposure bugs. A five-minute update has rescued plenty of stubborn webcams.
Manual Exposure on Windows, macOS, and Linux
On Windows, the built-in camera settings page covers basic sliders for many UVC webcams. Vendor utilities such as Logitech’s camera software usually offer finer control, including separate exposure and gain values.
On macOS, third-party tools fill the gap because Apple exposes limited UVC controls natively. Apps that communicate directly with the camera hardware can set manual exposure where the system settings cannot.
On Linux, the command-line tool `v4l2-ctl` is the workhorse. Running `v4l2-ctl –list-ctrls` shows every control your camera supports, including exposure modes. Setting `exposure_auto` to manual and then dialing in `exposure_absolute` gives precise control. It is not pretty, but it works, and it proves whether the hardware even supports manual exposure. If the control list has no exposure entries, no amount of software will add them. (Exposure (photography)))
The Reframe Trick That Costs Nothing
Sometimes the fastest fix is physical. Slide the camera so the bright window occupies less of the frame, or angle it slightly downward so the ceiling light stops dominating the meter. A camera pointed at a plain, evenly lit wall behind the subject meters far more predictably than one staring into a sunlit window. Small geometry changes often outperform every slider in the driver panel.
Common Mistakes That Keep Webcam Footage Dark
People repeat the same handful of errors, and each one makes the problem harder to diagnose.
Cranking brightness instead of fixing light. Brightness lifts the whole image, including the shadows where noise lives. It looks better for ten seconds and worse forever after.
Leaving auto exposure on and blaming the camera. Auto exposure will keep re-metering whenever the scene changes. If a cloud passes or a colleague walks past a window, your face dims again. Manual mode ends the guessing game.
Testing in the wrong app. The system camera preview and the meeting app can behave like two different cameras. Always verify in the app that matters.
Ignoring the monitor. A dim or badly calibrated display makes a fine image look dark. Before chasing camera settings, check whether the same footage looks normal on another screen.
Skipping driver updates. Exposure bugs get patched quietly. A camera that misbehaved a year ago may behave fine after an update.
If you enjoy tinkering with settings and want a lighter way to pass the time between calls, there are free online auto games that scratch the same tuning itch without touching your webcam drivers.
When Hardware Is the Real Problem
Sometimes the camera genuinely cannot do better. Signs include a sensor with poor low-light performance, a fixed-focus lens that never looks sharp, or firmware with no manual exposure control at all. Built-in laptop webcams are the usual suspects because manufacturers prioritize thin bezels over sensor size.
The upgrade path is straightforward. A dedicated USB webcam with a larger sensor and documented manual controls solves most of these issues in one purchase. If you are already shopping for a new vehicle and thinking about in-car camera quality too, the local pricing and service options covered in this Kia auto dealer near me guide show how dealerships present trim-level differences, and the same logic applies to webcams: the spec sheet tells you more than the marketing photos.
For buyers comparing brands, it also helps to see how dealers and manufacturers frame their feature sets. A Mazda auto dealer page, for example, lays out new and used inventory with clear trim comparisons, which is exactly the discipline you want when comparing webcam sensor sizes and frame rates.
There is a broader lesson here about automation generally. Automatic systems, whether in a camera or a car, make decisions based on averages and assumptions. When those assumptions do not match your situation, the fix is usually to take manual control. That principle shows up everywhere, from exposure settings to the way AI automation handles repetitive tasks: it is brilliant until the context shifts, and then a human override saves the day.
A Quick Checklist Before Your Next Call
Run through this list five minutes before an important meeting.
- Bright light in front of you, not behind you
- Blinds closed on any window facing the camera
- Auto exposure switched off, manual value set
- Gain kept low to avoid grain
- Test call completed in the actual meeting app
- Drivers updated within the last few months
That checklist takes less time than troubleshooting mid-call while colleagues watch your face fade to black.
Conclusion
A webcam that renders you too dark is rarely defective. It is a metering system doing exactly what it was designed to do, averaging a scene that includes a bright window and a shadowed face. Once you understand that auto exposure optimizes for the whole frame rather than for you, the fixes become obvious: move the light, switch to manual exposure, keep gain modest, and verify the result inside the app you actually use. When the hardware truly cannot keep up, a better sensor is a legitimate answer rather than a defeat. Take control of the settings, and your next call will show a face instead of a silhouette.
Frequently Asked Questions
Why does my webcam go dark only when I sit in front of a window?
The camera meters the entire frame. A bright window raises the average brightness, so the firmware darkens the image to compensate, dragging your face down with it. Closing the blinds or turning your desk so the window is behind the camera fixes it in seconds.
Can I fix webcam auto exposure without extra software?
Often yes. Windows exposes basic camera sliders in its settings app, and many webcams include a control panel in their driver package. If your camera supports manual exposure through UVC controls, those built-in tools are enough. If the sliders are missing, vendor software or a third-party utility is the next step.
Is it better to raise exposure or brightness when the image looks dark?
Exposure. It controls how much light the sensor collects and keeps the image relatively clean. Brightness and gain amplify the existing signal, which brightens the picture but also amplifies noise. Use exposure first, add light to the room second, and treat gain as a last resort.
Why does my camera look fine in one app but dark in another?
Conferencing apps and browsers sometimes apply their own video processing and may override hardware exposure controls. The operating system preview and the meeting app can therefore behave like two different cameras. Always test your fix inside the app you will actually use.
Does a more expensive webcam really fix dark video?
It can, mainly through a larger sensor that performs better in low light and firmware that exposes proper manual controls. Price alone is not a guarantee, though. Check whether the model documents manual exposure and gain before buying, and read reviews that mention low-light performance specifically.
What should I do if my camera has no manual exposure control at all?
Work with what you can control. Improve the lighting, reposition the camera so bright sources leave the frame, and check for a driver or firmware update that might add controls. If the hardware simply lacks the feature, a replacement webcam with documented manual settings is the reliable long-term answer.