Ever sat in a line of traffic watching a driver attempt the same parking spot four times while the queue behind them grows? Or been that driver? Parallel parking has a reputation as the hardest basic driving skill, and plenty of licensed drivers will openly admit they avoid it. Yet the maneuver itself is not complicated. It is a repeatable geometry problem, and once you learn the reference points that suit your car, it stops being scary. (Parallel parking)
This guide walks through the full method, from checking whether a space is even worth attempting to the final straightening move. It also covers the mistakes that trip people up, what the law expects in different places, and how much you can lean on cameras and sensors.
Why Parallel Parking Feels Harder Than It Is
Most of the difficulty is psychological. Drivers judge the gap from the driver’s seat, where depth perception is poor, and they feel pressure from traffic behind them. That combination produces rushed steering and the classic too-early turn-in, which ends with the rear wheel bumping the curb.
There is also a genuine skill gap. Parallel parking is one of the few maneuvers where you have to reverse into a tight space with limited visibility, and it is tested in many licensing regimes precisely because it exposes car control. The UK driving test, for example, includes parking maneuvers as part of the assessed routine. Anyone who wants to see exactly what examiners expect can review the official breakdown of UK driving test maneuvers and what you’ll be asked to do.
The good news: the maneuver has a standard shape. Once you understand the shape, the wobble disappears.
Step One: Decide Whether the Space Is Big Enough
Before you signal, size up the gap. A widely repeated rule of thumb is that you want roughly one and a half times your car’s length for a comfortable single-move entry. That is a heuristic, not an official standard, and it varies with turning circle and car length. Shorter gaps are possible with multi-point maneuvering, but they demand more confidence and more time in the road. (Road safety)
Practical checks that matter more than the math:
- Look for a gap that leaves room for your car plus a little breathing space at both ends.
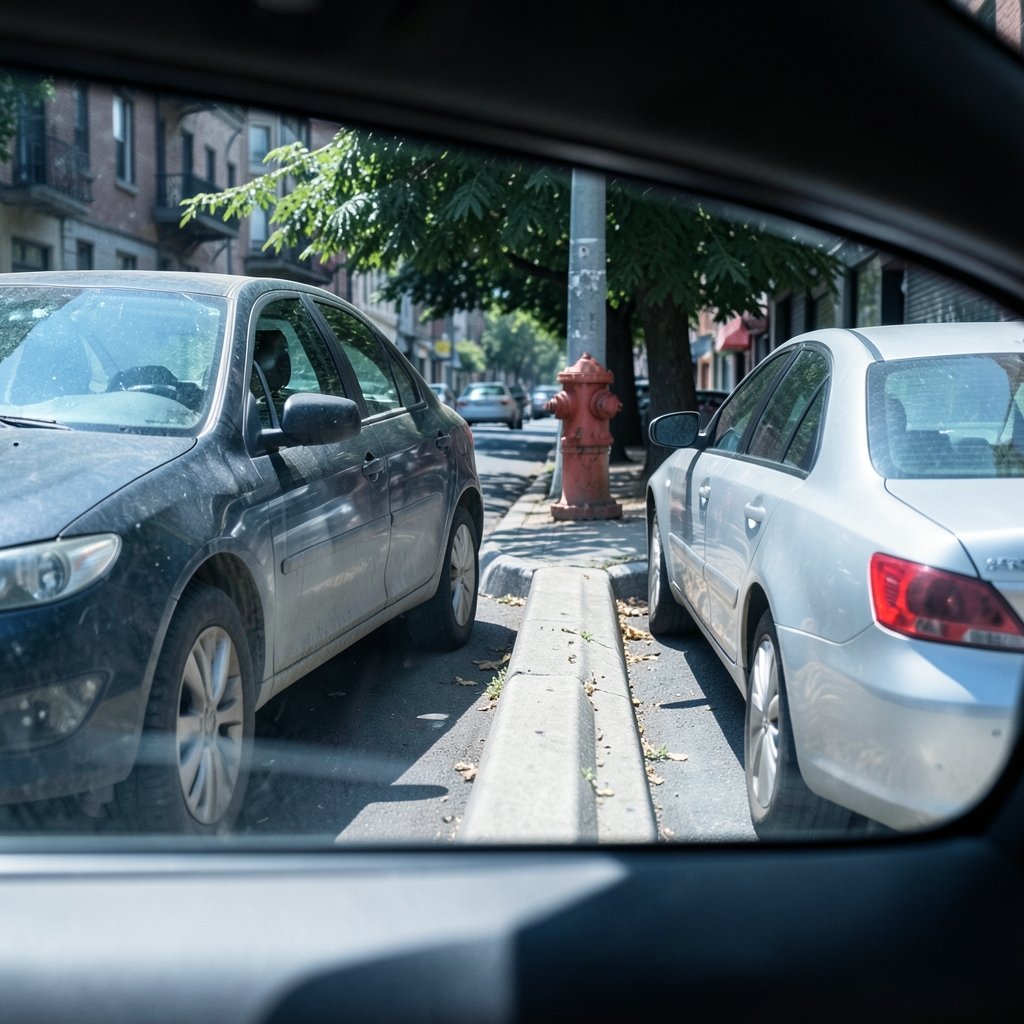
- Check the curb for dropped kerbs, hydrants, driveways and loading restrictions before you commit.
- Look up. Low branches, signs and overhanging loads ruin otherwise perfect spaces.
- Check behind you for a car that has already stopped close, which will limit your swing.
If the gap looks tight from the start, it almost certainly is. Skipping a marginal space costs thirty seconds. Wedging yourself into one costs several minutes and your composure.
Step Two: Set Up Alongside the Front Car
Pull up parallel to the car in front of the space, roughly half a meter to a meter out from it. Your rear bumper should be about level with that car’s rear bumper, or slightly past it if your car has a long rear overhang.
This setup step is where most successful parks are won or lost. If you start too far forward, you will clip the front car on the way in. If you start too close, you cannot swing your nose out enough to get the angle. (Best national parks to visit)
A few practical adjustments:
- Use your passenger-side mirror to judge the gap to the car beside you.
- Sit square in the seat. Leaning over to look changes every reference point.
- Signal before you stop. It tells the driver behind what you are about to do, which buys you patience.
Step Three: Reverse to About 45 Degrees
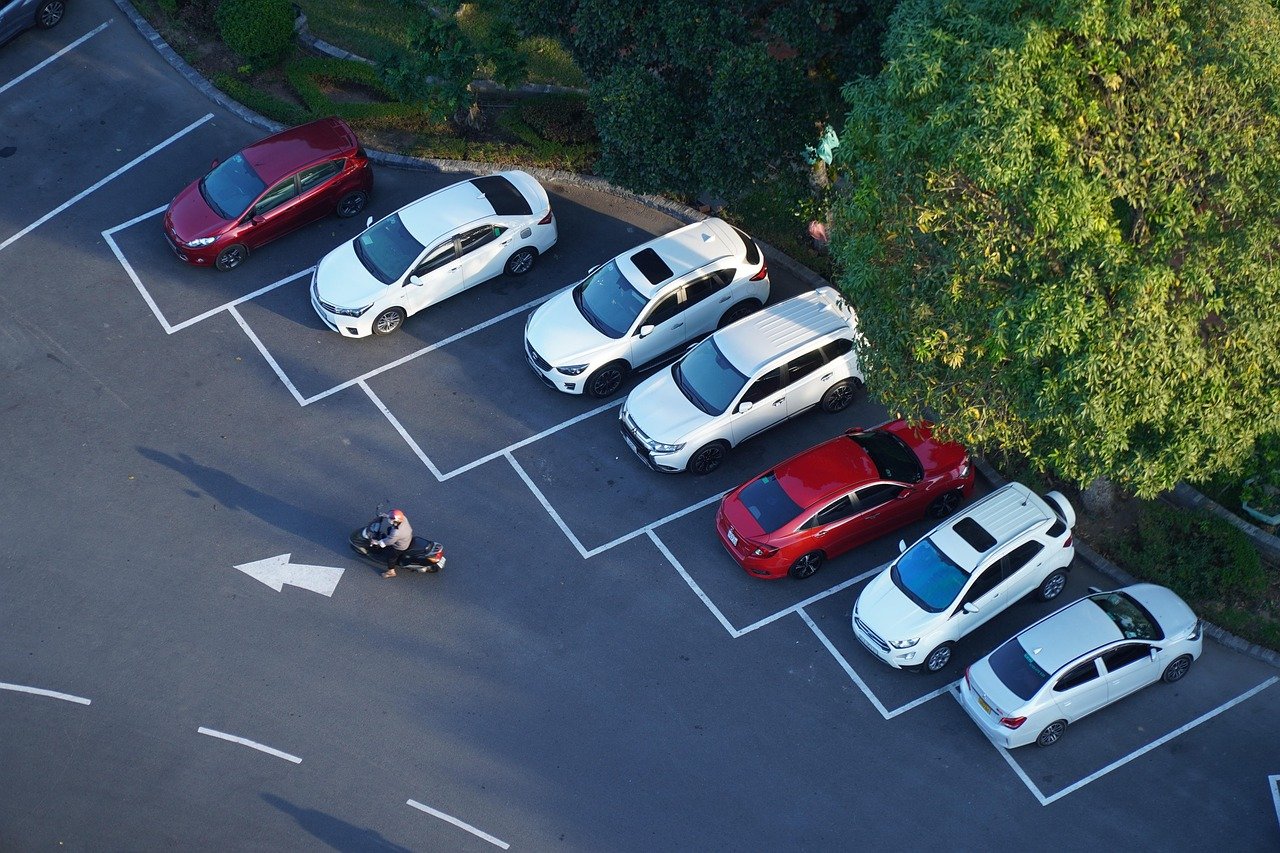
Select reverse, check all around, and begin backing slowly. Keep the wheel straight for the first meter or so, then steer firmly toward the curb. The aim is to bring your car to roughly a 45-degree angle to the curb, with your rear end swinging into the space.
The general geometry of this maneuver, including the angle and the reversing path, is described in the overview of parallel parking. What that overview cannot give you is your own car’s reference point, because every car has a different turning circle, rear overhang and mirror position.
Here is how to find yours in practice. Take cones, buckets or empty boxes to a quiet car park and run the maneuver slowly. Note where the curb appears in your passenger mirror at the moment you start turning the wheel. That visual cue is your personal reference point, and it is worth more than any number quoted online.
Step Four: Straighten and Reverse In
Once you are at the angle, turn the wheel the other way to bring the front of the car around and straighten the body. Reverse slowly until your car is parallel with the curb.
Speed control is everything here. An automatic will creep; a manual needs clutch and brake work. Either way, aim for walking pace or slower. At that speed, a misjudgment is a small correction rather than a jolt.
Watch three things at once:
- The passenger mirror for the curb and rear wheel.
- The front corner of your car relative to the car ahead.
- Your rear camera or rear window for anything behind.
If the nose is going to clip the car in front, stop, reverse slightly, and adjust. Nobody is scoring style points.
Step Five: Adjust and Finish
Most parks need one small correction. If you are too far from the curb, pull forward slightly and reverse again with a touch more steering. If you are too close, ease forward and straighten. (Best national parks to visit in march)
Finish by:
- Centering the car in the space so both neighbors can get out.
- Straightening the wheels.
- Setting the parking brake and engaging park.
- Checking for cyclists before opening the door.
Then take a breath. You did the hard part.
The Mistakes That Sink Most Attempts
Experienced instructors see the same errors repeatedly, and most of them come from rushing rather than from a lack of skill.
| Mistake | What it looks like | The fix |
|---|---|---|
| Turning in too early | Rear wheel hits the curb | Reverse further before steering |
| Turning in too late | Car ends up far from the curb | Start steering as the rear bumper clears the front car |
| Starting too far forward | Nose clips the car ahead | Line up rear bumpers before reversing |
| Too much speed | Jerky corrections, near-misses | Walking pace, brake control |
| Ignoring the front corner | Scraped bumper | Check it in the mirror each time you swing |
| Over-relying on sensors | Beeping, hesitation, no plan | Learn the visual reference points first |
The last one deserves emphasis. Parking sensors and rear cameras are genuinely useful, and rear visibility requirements have pushed cameras into most new cars in many markets, as the US rear visibility standard explains. But sensors beep at a fixed distance regardless of your angle, and cameras distort depth at the edges. They confirm what your eyes already told you. They cannot replace a plan.
Automated parking assist follows the same logic. Systems that steer into a space still expect the driver to control speed and watch the surroundings, and their capabilities differ enormously between manufacturers. The overview of automatic parking systems is a useful reality check on what these features can and cannot do.
What the Rules Expect of You
Parking law is local. In the United States, signs, meters, time limits and curb markings are set by municipalities rather than by a single national code, and even curb color conventions are not uniform from city to city. A general background on parking regulations helps, but the sign on the street always wins.
In the UK, the Highway Code sets out expectations about not parking where you would obstruct access or endanger others, along with rules about direction of parking on certain roads at night. The current Highway Code guidance on parking and positioning is worth reading once, because the rules are periodically updated and rule numbers shift.
Two habits travel well:
- Never park across a dropped kerb, driveway or pedestrian crossing point.
- Leave enough room for other vehicles and for people with pushchairs or wheelchairs to pass.
How to Get Better Fast
Improvement comes from repetition with feedback, not from reading. A short practice plan works better than an hour of vague attempts:
- Run five parks in a quiet area with markers, focusing only on the setup position.
- Run five more focusing only on the 45-degree angle.
- Then run ten full parks at walking pace, narrating each step out loud.
- Finally, practice with a passenger watching the curb side and giving calm cues.
If you are learning for a test, practice the exact maneuvers your licensing authority assesses. If you are simply out of practice, start in quiet residential streets at off-peak times and build up to busier roads. Drivers who park confidently once a week stay confident. Drivers who avoid it for a year lose the feel entirely.
One more tip that sounds trivial but works: clean your mirrors and check your mirror adjustment before you start. A passenger mirror angled too high hides the curb exactly when you need it most.
When to Walk Away From a Space
There is no prize for squeezing into a gap that requires six moves while traffic waits. If a space demands more than two corrections, or if the road is busy and your visibility is poor, drive on. The next block almost always has something easier, and a dented bumper costs far more than a two-minute walk.
The same applies to unfamiliar vehicles. Rental vans, borrowed SUVs and cars with poor rear visibility all change the reference points you have memorized. Give yourself extra room and extra time in anything you do not drive regularly.
Conclusion
Parallel parking is a geometry problem dressed up as a confidence test. Line up your rear bumper with the car ahead, reverse to about 45 degrees, straighten, then adjust. Do it at walking pace, use your mirrors properly, and learn the reference points for your own car rather than trusting generic numbers. Cameras and sensors help, but the plan comes first. Practice in a quiet spot with markers until the sequence feels automatic, and the busy-street version becomes just another park.
Frequently Asked Questions
How much space do I need to parallel park?
A common rule of thumb is about one and a half times your car’s length for a comfortable single-move entry. That figure is a heuristic rather than an official standard, and tighter gaps are possible with multi-point maneuvering. Turning circle and rear overhang matter as much as raw length, so judge by feel as well as by measurement.
Should I turn the wheel before or after reversing?
Reverse a short distance with the wheel straight first, then steer toward the curb. Turning the wheel immediately as you select reverse usually swings the rear end in too early and puts the rear wheel against the curb. The brief straight section gives you room to build the angle cleanly.
Can I rely on parking sensors and a rear camera?
They are useful aids but not substitutes for the visual method. Sensors beep at a set distance regardless of your angle, and cameras distort depth near the edges of the frame. Learn the mirror reference points first, then treat the technology as confirmation rather than as your primary guide.
Why does my car always end up too far from the curb?
The usual cause is turning in too late, which leaves the car sitting out in the road. Try starting your steering a fraction earlier, and check that your passenger mirror is angled low enough to show the curb and rear wheel. A small forward-and-back correction at the end will also close most gaps.
Is parallel parking part of the driving test?
In many places, yes. The UK test includes parking maneuvers as part of its assessed routine, and many US state road tests include parallel parking. Requirements vary by jurisdiction and change over time, so check the current guidance from your local licensing authority before test day. (Rtx spark retail launch doubts grow over arm gaming plans)
What is the biggest mistake learners make?
Rushing. Speed causes early turn-in, jerky corrections and scraped bumpers. At walking pace you have time to spot a problem and fix it with a small adjustment. Slow, deliberate movement looks more confident than a fast park that nearly goes wrong.