Can you remember the last time you did something that made you feel completely uncoordinated? For most adults, stepping onto ice for the first time in years does exactly that. The good news is that ice skating is a learnable skill, not a talent you’re born with. Almost everyone who looks graceful on the rink started out hugging the boards.
This guide walks through the practical side of learning to skate: how to fit and lace skates properly, how to stand and fall without injury, how to stop, and how to build a forward stride. It also covers the mistakes that keep beginners stuck for months and the safety habits worth adopting from day one.
Why Ice Skating Feels So Awkward at First
Ice has very little friction, which is the whole point of skating and also the reason beginners feel unstable. On land, the ground pushes back when you step. On ice, a thin steel blade sits on a surface that offers almost no resistance, so the body has to learn a new way of balancing.
The instinct to stand upright and stiff is exactly wrong. Coaches teach beginners to bend the knees, keep weight over the middle of the blade, and lean slightly forward rather than backward. A slightly crouched, athletic posture puts the center of gravity where it belongs and makes recovery from a wobble far easier.
Arms matter too. Holding them out to the sides, roughly at hip or waist height, gives the body a counterbalance. It looks a little silly for the first ten minutes. It works.
Choosing and Fitting Skates Correctly
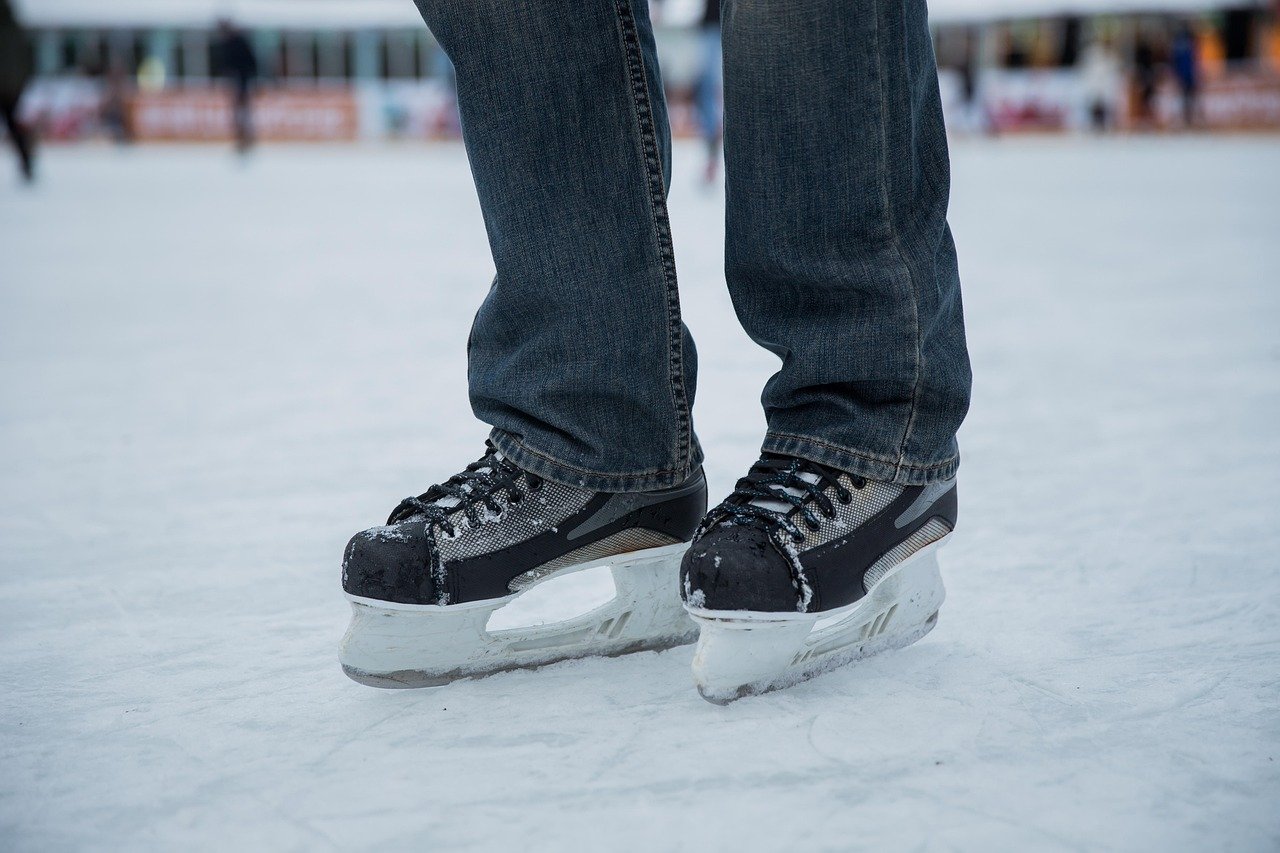
Bad rental skates are one of the biggest reasons first-timers have a miserable session. A skate that is too big lets the foot slide, which ruins balance and can cause blisters. A skate that is too small cuts off circulation and makes the feet ache within minutes.
The fit test is simple. With the skate unlaced, push the foot forward until the toes brush the inside front of the boot. There should be roughly a finger’s width of space behind the heel. When laced, the heel should stay locked down when the skater stands and bends the knees.
Lacing is where many beginners go wrong in two opposite directions. Some pull every eyelet as tight as possible, which locks the ankle and prevents the flex needed to push. Others leave the whole boot loose and lose all support. The practical approach is a graduated tightness:
- Keep the lower foot section snug so the foot does not slide.
- Tighten the mid-section firmly to support the arch and instep.
- Leave the top one or two eyelets slightly looser so the ankle can bend forward.
Hockey skates and figure skates differ in blade shape and boot stiffness, but the fit principles are the same. A beginner on rental skates should ask for a different size rather than settle for a poor fit. Most rinks will swap them without complaint.
Standing Up and Finding Your Balance
Before any gliding, a new skater needs to be able to stand still without gripping the boards. The drill is straightforward: feet about hip-width apart, knees bent, weight centered, arms out, eyes looking ahead rather than down at the feet.
Looking at the ice is a common mistake. It tilts the head down, pulls the shoulders forward, and shifts weight toward the toes. Looking toward the horizon keeps the posture tall and the balance centered.
A useful first exercise is a gentle march: lift one foot slightly and set it back down, then the other, without trying to glide. This teaches the body that lifting a foot on ice does not mean falling. Once marching feels steady, the skater can let each foot slide a few inches before lifting it.
How to Get Up After Falling
Falling is part of learning, and the skill that matters is getting up efficiently. From a seated position, the standard method is to roll onto hands and knees, bring one knee forward and plant the blade flat on the ice, then push up through that leg while leaning forward over the planted skate. Pushing straight up from a seated position rarely works and often results in a second fall.
How to Fall Safely
The single most useful safety habit is learning to fall in a controlled way. The instinct to throw the arms back and land on the hands or tailbone is the one to unlearn, because it is how wrists and hips get hurt.
Coaches generally teach beginners to drop toward the side, landing on the padded outer thigh and hip, and to keep the chin tucked so the head never strikes the ice. Falling forward onto the knees and padded forearms is also far safer than falling backward. Practicing a controlled fall at low speed, on a quiet patch of ice, removes much of the fear that makes beginners stiffen up.
Protective gear changes the calculus. A helmet is strongly recommended for beginners and is required in many youth programs, and wrist guards are common for recreational skating. Requirements vary by venue, so it is worth checking the rink’s rules before arriving.
The Snowplow Stop: Your First Braking Skill
Being able to stop is more important than being able to go fast. The beginner-friendly stop is the snowplow, and it is the same shape a skier makes.
To snowplow, the skater glides forward slowly, then turns both toes slightly inward and pushes both heels outward, so the blades form a narrow V. The inside edges scrape the ice and friction slows the glide. The knees stay bent and the weight stays centered. Pressing harder stops faster; easing off lets the skater glide again.
The most common error is trying to stop with straight legs. Locked knees make the blades chatter and the skater tips forward. Another frequent mistake is turning the toes in too sharply on the first attempt, which causes the blades to catch and the skater to pitch forward. Small angles first, then more pressure as confidence grows.
The hockey stop, where both skates turn sideways to the direction of travel, is a later skill. It requires edge control that most beginners do not have in the first few sessions, and attempting it too early is a reliable way to end up on the ice.
Building a Forward Stride
The forward stride is the foundation of everything else in skating. It alternates pushing with one skate while gliding on the other, with weight transferring from side to side.
The mechanics break down into a sequence:
- Start from a balanced stance with knees bent and arms out.
- Push one skate out and back at an angle, using the inside edge to grip the ice.
- Transfer weight fully onto the gliding skate as the pushing leg extends.
- Bring the pushing foot back under the body and set it down.
- Repeat on the other side, letting the hips shift over the gliding skate.
The mistake almost every beginner makes is pushing backward rather than out to the side. A backward push makes the skate slip. A push that travels out and slightly back, with the blade angled so its inside edge bites, produces real propulsion.
A second common error is standing up between strides. Skating is a continuous crouch-and-extend cycle. The lower the skater stays, the more powerful and stable the stride.
Turns and Backward Skating Come Later
Once forward stride and stopping are comfortable, turning and backward skating become much easier. A basic turn starts with looking in the direction of travel and leaning slightly into the turn while the outside skate crosses over. Backward skating begins with a simple waddle, pushing the heels out and in. Programs such as Learn to Skate USA structure these skills into a progression, which is why group lessons suit beginners so well.
Ice Conditions and Rink Basics
Ice quality affects how a session feels. Rinks typically hold recreational ice somewhere around −5 to −7 °C, roughly 20 to 25 °F. Colder ice is harder and faster; warmer ice is softer and grippier but cuts up more quickly. A freshly resurfaced rink is noticeably easier to skate on than one that has been chopped up by an hour of public session traffic. (Ice skating)
Rink size matters mainly for context. Under USA Hockey rules a standard rink is 200 feet by 85 feet, about 61 by 26 meters, while international dimensions under IIHF rules run somewhat different. For a beginner, the practical point is simply that public sessions are busy and edges of the rink are crowded, so the center is usually the calmest place to practice.
Common Beginner Mistakes That Slow Progress
Most stalled beginners share a handful of habits. Fixing these speeds up learning more than extra hours on the ice.
| Mistake | Why it hurts | Better approach |
|---|---|---|
| Looking down at the feet | Pulls weight forward and kills balance | Eyes up, looking ahead |
| Standing upright with straight legs | No stability, no push power | Knees bent, slight forward lean |
| Over-tightening the whole skate | Ankle cannot flex to push | Snug lower, looser top eyelets |
| Pushing backward instead of out | Blades slip, no propulsion | Push out and slightly back |
| Skipping the stop | No way to control speed | Learn the snowplow early |
| Gripping the boards the whole session | Prevents balance from developing | Use the boards to start, then let go |
One more practical tip: shorter, more frequent sessions beat one long exhausting outing. Twenty to thirty minutes of focused practice, with breaks, keeps the legs fresh and the concentration high.
Conclusion
Learning to ice skate comes down to a small number of habits repeated until they feel natural: a snug skate with a flexible ankle, knees bent and eyes up, a controlled fall to the side, an early snowplow stop, and a stride that pushes out rather than back. None of it requires talent. It requires a few sessions of deliberate practice on decent skates.
The first ten minutes on ice are always the worst. The twentieth session is a different experience entirely. Start slow, protect the wrists and head, and let the balance come.
Frequently Asked Questions
How long does it take to learn to ice skate?
Most adults can stand, glide, and perform a basic snowplow stop within two to four sessions of focused practice. A comfortable forward stride usually takes a few more weeks of regular skating. Children often progress faster because they fall without fear and recover quickly.
Do I need my own skates to learn?
No. Rental skates are fine for the first several sessions, provided they fit properly. The main limitation of rentals is inconsistent sharpening and fit. Once a skater is committed to regular practice, owning skates makes a noticeable difference because the blade and boot stay consistent.
Is it better to learn on hockey skates or figure skates?
Either works for a beginner. Figure skates have a toe pick and a flatter blade, which some find helpful for balance. Hockey skates have a rounded blade with no toe pick, which suits a forward-leaning stride. The best choice is usually whichever pair fits best and is comfortable.
How do I stop without falling?
Learn the snowplow stop first. Glide slowly, turn the toes slightly inward, push the heels outward, and keep the knees bent while the inside edges scrape the ice. Start with small angles and gentle pressure, then increase as control improves. Avoid straightening the legs, which causes the blades to chatter.
What should I wear for my first skating session?
Wear warm, flexible clothing that allows the knees and hips to bend, such as leggings or track pants rather than stiff jeans. Thin socks that fit snugly work better than thick ones that bunch up. A helmet is strongly recommended, and wrist guards are a sensible addition for beginners.
How do I fall safely on ice?
Try to fall to the side, landing on the outer thigh and hip, with the chin tucked so the head never hits the ice. Avoid throwing the arms back to catch yourself, since that is how wrists get injured. Practicing a controlled fall at low speed makes the real thing far less frightening.