

Your Dell laptop powers on, the Dell logo appears, and then a black screen delivers the bad news: “No bootable device found.” What does that message actually mean, and why does a computer that worked fine yesterday suddenly act like its hard drive vanished?
The short answer is that the message comes from the firmware, not from Windows. It means the system finished its power-on self-test but could not find a storage device with a valid boot entry or a bootable partition. The good news is that this is one of the most fixable errors in computing, and the fix usually takes minutes rather than hours. The less good news is that a handful of causes produce the exact same message, so the real skill is telling them apart before you start reinstalling anything.
What “No Bootable Device” Actually Means
Every time a Dell computer starts, a small piece of firmware runs first. On modern machines that firmware is UEFI (Unified Extensible Firmware Interface), which replaced the older BIOS. Its job is simple: check the hardware, then hand control to an operating system stored on a drive.
When the firmware cannot find anything to hand control to, it stops and displays the error. That is all the message means. It is not a Windows error, it is not a virus warning, and it does not automatically mean your data is gone. It means the firmware looked at the boot order, found no usable entry, and gave up.
The distinction matters because it splits the problem into two very different families. Either the drive is not being seen at all, which points to hardware, or the drive is seen but not considered bootable, which points to configuration or software. Everything below flows from that fork.
First Step: Find Out Whether the Drive Is Detected
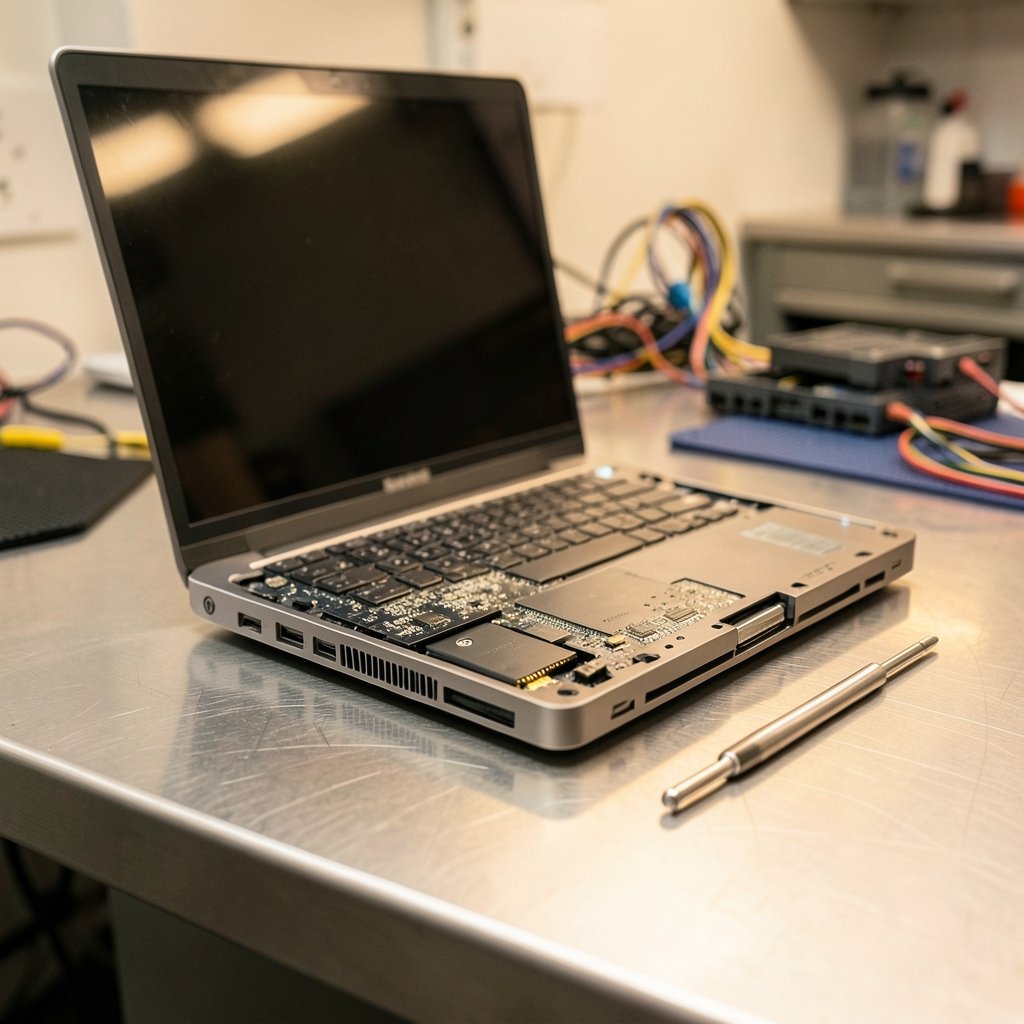
Before touching a single setting, confirm whether the firmware can see the drive. Restart the machine and press F2 repeatedly during the Dell logo to enter BIOS or UEFI setup. Look for a section labeled Storage, Drives, SATA Operation, or NVMe Configuration.
| What you see | What it means | Where to go next |
|---|---|---|
| Drive listed with model name and capacity | Hardware is fine; the problem is boot configuration or the bootloader | Boot mode, boot order, and bootloader repair |
| No drive listed at all | The firmware cannot talk to the drive | Physical connection, drive health, diagnostics |
| Drive listed intermittently | Loose connection or failing drive | Reseat the drive, then run diagnostics |
If the drive is missing entirely, shut down, unplug the battery if it is removable, and reseat the storage device. On a desktop, that means checking both the data cable and the power cable on a SATA drive. On a laptop with an M.2 NVMe stick, it means removing the single screw and pushing the card firmly back into its slot. It sounds almost too simple, but a drive that has shifted a millimeter after a drop or a bumpy commute produces exactly this error. If reseating does not help, the drive itself may have failed, and no amount of BIOS tweaking will bring it back.
Dell machines also include built-in diagnostics. Press F12 at startup to open the one-time boot menu, then choose Diagnostics. This runs hardware tests, including a storage test, completely independently of the operating system. It is the fastest way to get a verdict on whether the drive is healthy before you spend time on software fixes.
Check the Boot Mode: UEFI Versus Legacy
This is the single most common cause of the error on machines that were working fine until something changed. Firmware can operate in UEFI mode or Legacy mode (sometimes called CSM, or Compatibility Support Module). The two are not interchangeable.
If Windows was installed in UEFI mode, the drive uses a GPT partition table and includes a small FAT32 partition called the EFI System Partition, which holds the bootloader. If the firmware is later switched to Legacy mode, it looks for a completely different boot structure and finds nothing. The reverse is equally true. The result is a perfectly healthy drive that the firmware refuses to boot.
The UEFI specification defines how this handoff is supposed to work, and the overview of the Unified Extensible Firmware Interface is a useful primer if you want to understand why the two modes cannot see each other’s installations.
In BIOS setup, find the Boot Sequence or Boot List Option setting and check whether it says UEFI or Legacy. Then check how the drive is partitioned. If the drive shows a small FAT32 partition of roughly 100 to 500 MB alongside the main volume, it is almost certainly a UEFI installation, and the firmware should be set to UEFI. If it shows a small “System Reserved” partition instead, it is a Legacy installation.
Common mistake: people flip this setting while troubleshooting something unrelated, restart, hit the error, and then assume the drive died. If the machine worked before a BIOS update, a CMOS battery replacement, or a settings reset, suspect the boot mode first.
Boot Order and Missing Boot Entries
A drive can be perfectly healthy and still not boot because it is not in the boot order, or because its UEFI boot entry was deleted. This happens after a failed Windows update, a firmware update, or a full BIOS reset, which can wipe the list of registered boot entries even though the drive is untouched. (Boot sector)
In BIOS setup, open the boot order list. If your drive appears, move it to the top and save. If the list is empty or shows only a network option, the entry is gone and needs to be rebuilt, either by browsing to the drive’s EFI file manually or by repairing the bootloader from recovery media.
While you are in there, two settings are worth checking. Secure Boot can block a bootloader it does not recognize, so temporarily disabling it is a legitimate diagnostic step, though it should be re-enabled afterward. And Fast Boot occasionally skips drive initialization on some configurations; turning it off costs a few seconds at startup and removes one variable.
Repairing the Bootloader Without Losing Data
If the drive is detected, the boot mode is correct, and the boot order is right, the bootloader itself is probably damaged. The fix is to rebuild it, and this does not touch your personal files.
Create Windows installation media on another computer, boot the Dell from it, and choose Repair your computer instead of Install now. From there, open the command prompt and use the boot configuration tool. Microsoft’s documentation for the bcdboot command-line options explains exactly which switches rebuild the boot files and where they get written. For a typical UEFI system, the command points at the Windows folder and the system partition, and it recreates the missing boot files in seconds.
If the bootloader is intact but the partition table is damaged, the repair gets more involved. Microsoft’s guide to UEFI and GPT-based hard drive partitions lays out the required partition layout, including the EFI System Partition and the recovery partition, so you can compare it against what your drive actually contains.
Before any of this, back up what you can. If the drive mounts on another machine or through a USB adapter, copy important files off first. A guide on how to back up an iPhone to a computer using Finder or iTunes on Windows covers the phone side of the same habit, and the principle applies to any device: get a second copy before you start repairing anything.
When the Problem Is Not the Drive at All
A few causes catch people off guard because they have nothing to do with storage.
A USB drive or memory card left in a port can occasionally be picked as the first boot device, especially if the boot order was reset. Remove all removable media and restart. This costs five seconds and resolves a surprising share of cases.
A failing CMOS battery on a desktop causes the firmware to forget its settings every time the machine loses power, so the boot mode and boot order reset themselves. If the error appears only after the machine has been unplugged, replace the coin cell.
Malware is a rare but real cause, because some threats overwrite boot records. If the error followed a suspicious download or a run of strange behavior, scan the drive from another system. Understanding what a computer virus actually is helps here, since boot-sector infections behave differently from ordinary adware. Once the machine boots again, it is worth reviewing how to choose the best antivirus for your computer so the same door stays closed, and the basics of protecting your devices and accounts from malware in 2026 cover the habits that prevent reinfection.
Finally, if the drive is genuinely dead, the fix is replacement plus reinstallation. Dell’s recovery tools can build a USB recovery drive, and a clean install on a new SSD is often faster than the old machine ever was.
Practical Tips That Save Time
Work in order and resist the urge to skip ahead. The sequence that resolves most cases is: run diagnostics, check drive detection, verify boot mode, check boot order, then repair the bootloader. Reinstalling Windows first is the most common mistake, and it destroys data that a five-minute bootloader repair would have preserved.
Write down every BIOS setting before you change it. If a fix makes things worse, you can walk it back. And keep a Windows installation USB on hand, because the moment you need one is the moment you cannot create one.
Conclusion
A Dell computer reporting no bootable devices is telling you something specific: the firmware could not find anything to start. That message narrows the problem to a short list of causes, and most of them are configuration issues rather than dead hardware. Confirm whether the drive is detected, match the boot mode to how Windows was installed, check the boot order, and rebuild the bootloader if needed. Do those things in order and you will usually be back at your desktop within the hour, with your files exactly where you left them.
FAQ
Why does my Dell say no bootable device when the hard drive is fine?
Because the message is about bootability, not health. A drive can be physically perfect and still be ignored if the firmware is in the wrong boot mode, the boot entry was deleted, or the bootloader is damaged. Confirm the drive appears in BIOS, then check the boot mode and boot order.
Can I fix this without reinstalling Windows?
Usually, yes. Reseating the drive, switching between UEFI and Legacy mode, restoring the boot order, and rebuilding the boot files with recovery media all preserve your data. Reinstallation is a last resort for when the drive has actually failed or the partition structure is beyond repair.
How do I know if my Dell drive has failed?
Run the built-in diagnostics from the F12 boot menu and check whether the drive appears in BIOS at all. A drive that is absent from firmware, fails the storage test, or makes clicking noises is likely failing. A drive that appears normally but will not boot points to software instead.
Why did this happen after a BIOS update or battery change?
Both events can reset firmware settings to defaults, which may switch the boot mode or clear the registered boot entries. Go back into BIOS setup, restore the correct boot mode, and re-add the drive to the boot order. If the error returns every time the machine loses power, replace the CMOS battery.
Does removing a USB drive really fix this?
Sometimes, yes. Removable media can take priority in the boot order, especially after a settings reset, so the firmware tries to boot from a stick that has no operating system. Unplug everything except the keyboard and monitor, then restart before trying anything more involved.
Is my data lost when this error appears?
Almost never. The error happens before any operating system loads, so the drive’s contents are untouched. If the drive is healthy, your files are still there. If the drive has failed, professional data recovery is an option, which is why it is worth copying important files to a second location as soon as the machine boots again.



