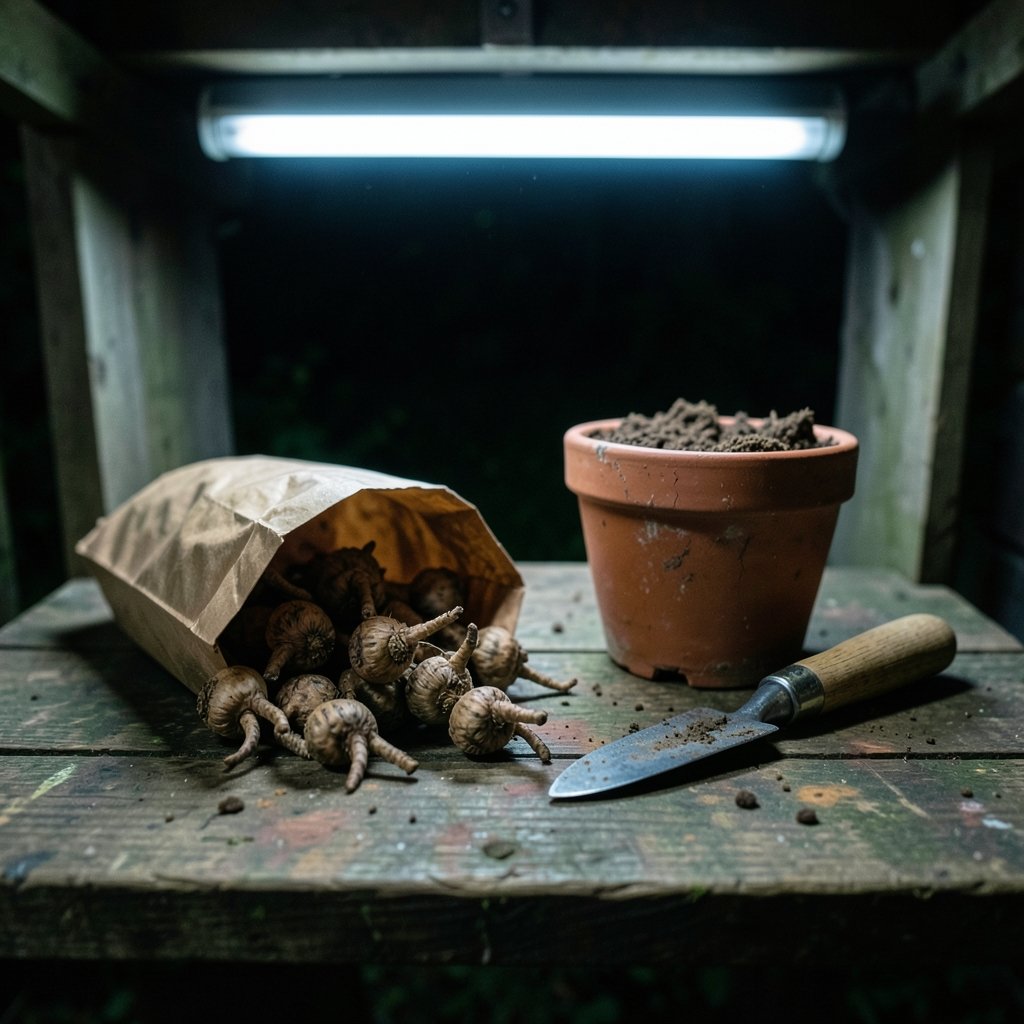
What if the secret to a spring garden packed with ruffled, rose-like blooms is sitting in a paper bag on your shelf right now, looking like a handful of dried claws? That is exactly what ranunculus corms are, and they are one of the most rewarding investments a gardener can make. Get a few basics right and each little claw can turn into a plant loaded with blooms. Get them wrong, and you will be staring at mushy rot or a no-show flower bed. This guide covers what ranunculus corms actually are, how to plant them, the mistakes that trip up even experienced growers, and how to store them so they perform again next season.
What Ranunculus Corms Really Are
Ranunculus asiaticus is a tuberous-rooted perennial in the buttercup family, native to the eastern Mediterranean. The underground structures sold as corms are technically tuberous roots or claw-like tubers, though “corm” is the trade term everyone uses. If you want to sound precise at a garden club meeting, feel free to call them tubers. If you want to buy them online without confusion, search for corms.
Each corm looks a bit like a small, dark, shriveled spider or a bunch of tiny fingers joined at a hub. Those “fingers” are the claw-like points where roots and shoots emerge. That detail matters enormously at planting time, because getting the orientation wrong can slow emergence or cause the corm to rot.
The flowers are the payoff. Modern varieties come in doubles and semi-doubles, with layers of petals in whites, creams, yellows, oranges, reds, and pinks. They hold up well in borders, containers, and cut-flower arrangements, which is why market growers treat them as a staple crop. For anyone building a cut-flower garden, they pair well with other spring bloomers and are worth planning for alongside the general growing advice at
Why Ranunculus Corms Beat Seed for Most Gardeners
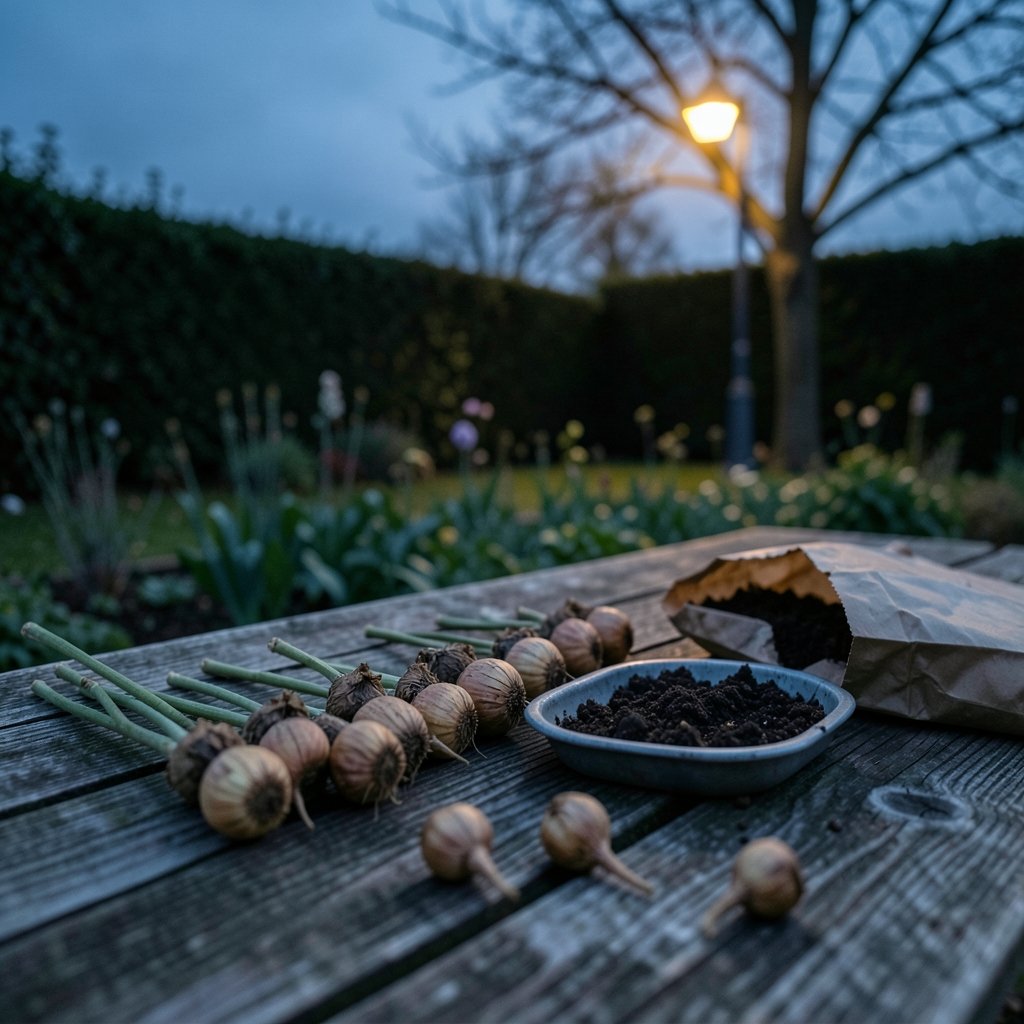
You can grow ranunculus from seed, but it is slow, uneven, and fussy. Corms are the practical choice for several reasons:
| Factor | Corms | Seed |
|---|---|---|
| Time to bloom | One season | Often a full season or more |
| Uniformity | High; each corm is a clone | Variable |
| Ease for beginners | Forgiving if drainage is right | Requires careful moisture control |
| Cost per plant | Moderate | Low, but higher failure rate |
| Best use | Home gardens and cut-flower beds | Breeding and large-scale propagation |
The trade-off is cost and storage. Corms need cool, dry conditions between seasons, and they are not cheap in specialty varieties. Seed is cheaper but demands patience and steady humidity that most home setups struggle to provide.
When to Plant Ranunculus Corms
Timing depends almost entirely on your climate.
In mild-winter regions, roughly USDA zones 8 to 10, plant corms in autumn, typically September through November. The corms establish roots before winter and then bloom in late winter to spring. This is the classic Mediterranean pattern the plant evolved for: cool, wet growing season and dry summer dormancy.
In cold-winter regions, corms cannot survive frozen ground. Start them indoors in late winter in pots, or plant them out only after the risk of frost has passed. Some growers in marginal zones plant in early spring under row cover to buy a few weeks.
Zone ratings vary between sources, and some gardeners report success in zone 7 with heavy mulch or protection. Treat published hardiness ranges as a starting point, not a guarantee. Your soil drainage and winter wet matter as much as the minimum temperature.
How to Plant Ranunculus Corms Step by Step
Here is the sequence that works reliably in practice.
- Soak the corms first. Rehydrate them for a few hours before planting. Recommendations range from two to four hours up to overnight, and growers disagree on the ideal window. A four-hour soak is a safe middle ground. Some growers add a fungicide to the soak water; if you skip it, at least start with clean water and discard the soak liquid afterward.
- Prepare well-drained soil. Ranunculus hates waterlogged ground, and soggy soil is the leading cause of corm rot. Work in compost and grit if your soil is heavy. Raised beds and containers solve drainage problems fast.
- Choose full sun. Aim for at least six hours of direct light. In hot climates, light afternoon shade helps blooms last longer and reduces stress.
- Plant claws down. Set each corm with the claw-like points facing downward, about 2 to 5 cm (roughly 1 to 2 inches) deep. Space them around 10 to 15 cm apart. Depth and spacing figures vary by source and soil type, so lean deeper in sandy soil and shallower in heavy soil.
- Water in gently and then wait. Give the bed one good soak, then hold back until growth appears. Overwatering at this stage is the single most common way gardeners lose corms.
The Claw Orientation Mistake
New growers often plant corms flat or claws up because the shape is confusing. Claws up means shoots have to grow down and around, which wastes energy and invites rot. If you genuinely cannot tell which end is which, plant the corm on its side. It will sort itself out. But do take a moment to look closely, because the difference between a good stand and a patchy one often comes down to this one detail.
Pre-Sprouting for Reliability
In cold climates or uncertain springs, pre-sprout corms in trays of lightly moist potting mix in a cool, bright spot. Once shoots emerge and roots fill the tray, transplant carefully. This adds a few weeks of control and protects your investment from a cold snap. The one rule: keep the mix barely moist, never wet.
Soil, Water, and Feeding in Practice
Ranunculus wants consistent moisture during growth but never standing water. A simple test: dig down a few inches after watering. If the soil is damp but not glistening, you are on target.
Feed lightly. Too much nitrogen produces floppy foliage and fewer blooms. A balanced slow-release fertilizer at planting, plus an occasional liquid feed during bud formation, is plenty for most gardens.
Mulch helps moderate soil temperature and suppress weeds, but keep it pulled back from the crowns to avoid trapping moisture against the stems.
Common Problems and How to Handle Them
Corm Rot
The classic failure. Symptoms include soft, brown, foul-smelling corms and plants that never emerge. Causes are overwatering, poor drainage, or planting in cold, wet soil. Prevention beats cure: raise the bed, plant at the right depth, and water sparingly until growth starts.
Powdery Mildew
White, dusty patches on leaves usually appear when air circulation is poor. Space plants adequately, water at the base rather than overhead, and remove badly affected foliage.
Aphids
These cluster on new growth and buds. A strong blast of water handles light infestations; insecticidal soap works for heavier ones. Check the undersides of leaves weekly during cool, mild weather when aphids thrive.
Failure to Bloom
Usually a light or temperature issue. Too much shade, overly warm conditions during bud formation, or corms that were stored too warm can all reduce flowering. In hot climates, aim for a cool start and accept that blooms may finish earlier than you would like.
Dividing and Multiplying Your Stock
One of the underrated joys of ranunculus is that a single corm can become several plants. At planting time, the claw-like cluster can often be separated into individual fingers, each capable of producing a plant. Smaller divisions may bloom less in their first year, so this is a numbers game rather than an instant upgrade.
Success rates vary by grower and variety, and some gardeners prefer not to divide at all, letting corms bulk up naturally. If you experiment, label the divisions and compare results next season. That kind of simple record-keeping is what separates gardeners who improve year over year from those who repeat the same mistakes.
Lifting and Storing Corms for Next Season
After foliage yellows and dies back, the plants are going dormant. In mild climates, corms can often stay in the ground if drainage is excellent and summers are dry. Everywhere else, lift them.
- Dig carefully with a fork, starting wide of the plant to avoid spearing corms.
- Shake off soil and let them dry in a shaded, airy spot for a few days.
- Trim dead foliage and roots, then discard any soft or damaged corms.
- Store in a cool, dry, frost-free place, commonly cited around 10 to 15 degrees Celsius, in a dry medium such as peat or vermiculite.
- Check periodically and remove anything showing mold.
Label varieties clearly. Once dried, corms look nearly identical, and next autumn you will want to know which was the peach double and which was the scarlet.
A Word on Safety
Like many members of the buttercup family, ranunculus plants contain protoanemonin, an irritant released when plant tissue is damaged. Handling can cause skin irritation, and the plants are generally listed as toxic to pets if ingested. Wear gloves if you are sensitive, wash hands after handling, and keep curious pets away from digging in the corm bed. Severity varies, so check with a veterinary or toxicology source if you have specific concerns.
Conclusion
Ranunculus corms reward a little precision with a lot of flowers. Get the timing right for your climate, plant claws down in well-drained soil, soak before planting, and resist the urge to overwater. Lift and store corms properly in cold climates, divide them when you want more plants, and keep notes on what worked. Do those things and a modest bag of dried claws becomes one of the best returns on investment in the spring garden. For more practical growing guidance and seasonal planning ideas, explore
Frequently Asked Questions
Are ranunculus corms actually corms or tubers?
Botanically, they are tuberous roots or claw-like tubers, but the horticultural trade calls them corms. The label does not affect how you grow them. Plant them the same way regardless of terminology.
Which way up do ranunculus corms go?
Plant them with the claw-like points facing downward, about 2 to 5 cm deep. If you cannot tell which end is which, plant the corm on its side and it will orient itself.
How long should I soak ranunculus corms before planting?
Recommendations vary from two to four hours up to overnight. A four-hour soak is a sensible middle ground. Discard the soak water afterward and plant into well-drained soil.
Can I leave ranunculus corms in the ground over winter?
In mild climates, roughly zones 8 to 10, often yes, provided drainage is excellent. In colder zones, lift and store them dry in a cool, frost-free place, commonly around 10 to 15 degrees Celsius.
Why did my ranunculus corms rot before sprouting?
Overwatering and poor drainage are the usual culprits, sometimes combined with planting in cold, wet soil. Water once at planting, then hold back until shoots appear, and consider raised beds or containers.
Can I divide ranunculus corms to get more plants?
Yes. The claw-like cluster can often be split into individual fingers, each capable of growing into a plant. Smaller divisions may bloom less in the first year, so expect a modest first season from them.
Final Thoughts on Getting Started
If you take only one thing from this guide, let it be this: the difference between a disappointing ranunculus season and a spectacular one is rarely the corms themselves. It is timing, drainage, and restraint with the watering can. Start small with a single packet, note your planting dates and results, and adjust next year. Corms are inexpensive enough to experiment with, and the lessons you learn in your own soil will always beat generic advice. With a little patience, those dried claws will reward you with armfuls of blooms worth far more than their modest cost.