
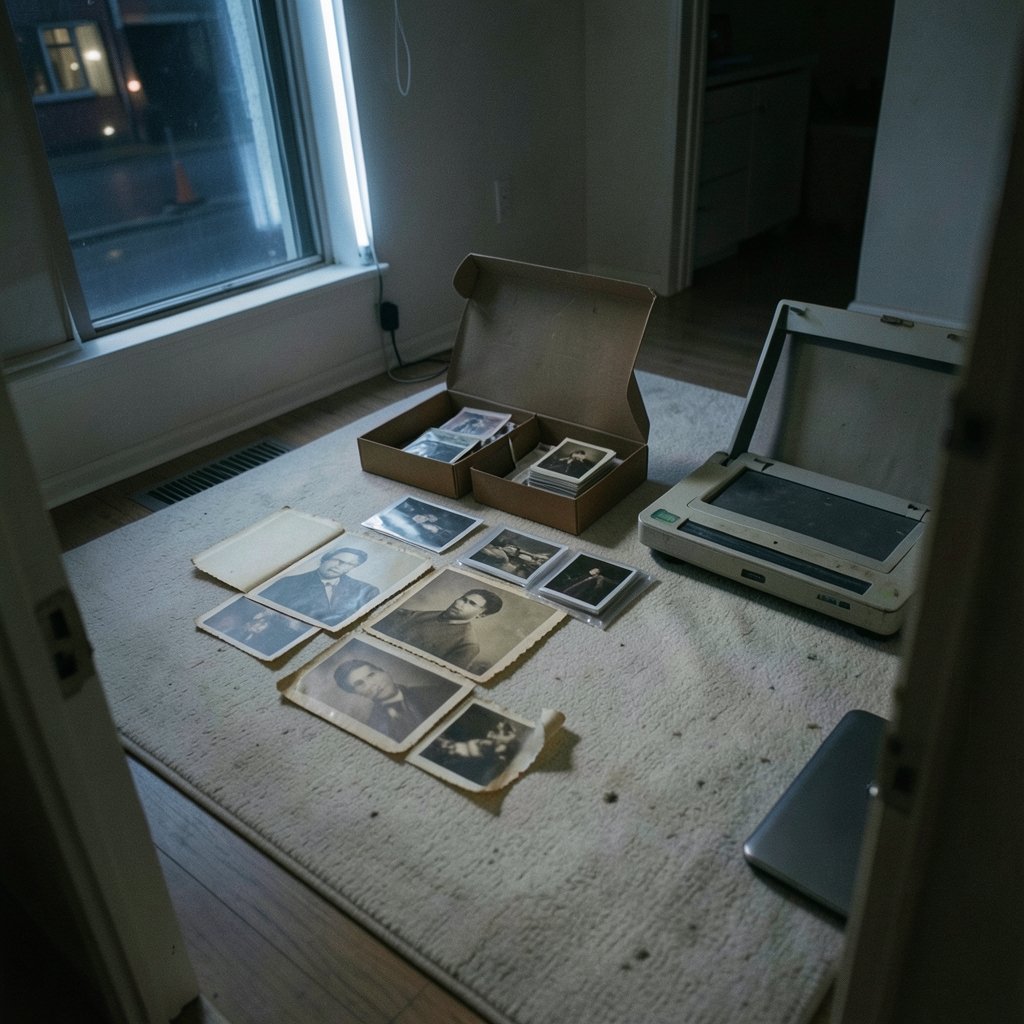
What happens when a tool “restores” a photo by inventing a face that was never there? That question belongs in every decision about AI colorization and photo restoration software, and it is the one most buyers forget to ask. The market is loud with promises of one-click miracles, but the practical differences between tools come down to something quieter: how honestly each one handles the gap between what a photo shows and what a model guesses.
This guide walks through what these tools actually do, where they fail, and how to pick one without wrecking an archive or misleading a family.
What these tools actually do, and what they don’t
Photo restoration and colorization are two different jobs that get bundled together in marketing. Restoration means repairing damage: denoising, deblurring, filling scratches, removing dust, and reconstructing torn edges. Colorization means assigning hues to a grayscale image. The first is largely a reconstruction problem with a checkable answer. The second is a prediction problem with no single correct answer.
That distinction matters more than any feature list. A restoration model that removes a scratch either restored the underlying pixels or it didn’t. A colorization model that paints a coat blue made a guess. It may be a well-informed guess based on lighting, era, and fabric norms, but it is still a guess.
Practical rule: treat colorized output as an interpretation, never as evidence. If someone wants to know what color a uniform or a dress was, the colorized file cannot tell them. Only a document, a physical artifact, or a contemporaneous color reference can.
The verification problem: why “looks great” is a trap

The single most common mistake people make is judging these tools on a handful of dramatic before-and-after examples. That is exactly the test the tools are optimized to pass.
What actually works is testing on your own worst material. Pull five images from your real collection: a low-resolution scan, a faded print, a photo with a large tear, a portrait with fine facial detail, and one with known ground truth (a color photo you can convert to grayscale first). Run all five through each candidate. Then compare the colorized version of the known image against the original color.
That last test is the one almost nobody runs, and it is the most revealing. It tells you whether a model reproduces plausible color or merely attractive color.
A few things to watch for during testing:
- Facial drift. Faces are where models hallucinate most confidently. Compare eyes, teeth, and hairlines at full resolution.
- Texture flattening. Aggressive denoising can turn skin, fabric, and foliage into plastic. Zoom to 100 percent.
- Edge artifacts. Look at boundaries between sky and buildings, or hair and background, where inpainting often smears.
- Metadata handling. Check whether the tool preserves EXIF data and whether it marks output as altered. Losing provenance is a quiet, permanent cost.
If you are evaluating a broader security or scanning stack alongside this, the same discipline applies: the comparison of Wazuh vs security onion vs crowdsec each tool protects 2027 makes the point that tool choice depends on what you are actually defending, not on feature counts.
Where AI restoration genuinely shines
It would be unfair to lead only with warnings. These models do real, valuable work.
Scratch and dust removal is largely solved for typical consumer scans. Modern inpainting handles small defects well, and the time savings versus manual retouching are enormous.
Upscaling is genuinely useful for small prints, though with a caveat: upscaling adds detail that was never captured. It is fine for display and problematic for forensic or archival use.
Faded color recovery works well when the original was color and the dyes have shifted. Here the model is correcting a known distortion rather than inventing information.
Batch processing is the quiet hero. A family archive of 4,000 scans is not a craft project; it is a pipeline problem. Tools that handle consistent output across a batch save months.
For a sense of how much variety exists in this space, the range of vulnerability scanning examples 7 real world tools they find is a useful parallel: different tools in the same category find different things, and the same is true of restoration models.
What to evaluate in 2027, not what to believe
Specific product names and prices shift constantly, and any list of “best” tools ages within months. What does not age is the evaluation framework. Here is how to structure a real comparison.
| Criterion | Why it matters | How to test it |
|---|---|---|
| Disclosure of training data | Tells you whether the model has seen material like yours | Read the documentation; ask support directly |
| Provenance handling | Preserves EXIF and flags altered output | Check output file metadata after a test run |
| Manual override | Lets a human correct bad guesses | Attempt to repaint a region by hand |
| Batch consistency | Prevents style drift across a collection | Run 20 images and compare tone |
| Failure transparency | Shows confidence or flags uncertain regions | Look for any uncertainty signal |
| Export formats | Determines whether output fits your archive | Export to TIFF and check bit depth |
Notice that none of these are “quality.” Quality is the output of the other six.
A useful mental model comes from software architecture debates: the GraphQL vs rest workflow differences that matter 2027 discussion is fundamentally about whether a system gives you exactly what you asked for or a fixed shape you must work around. Restoration tools have the same split. Some give you granular control over regions and layers; others give you one button and a fixed output style. Know which you are buying.
Colorization ethics and the archive problem
There is a growing and legitimate concern in archival and museum work about colorized historical images circulating without labels. A colorized photograph of a historical event looks authoritative. Shared online, stripped of context, it becomes a false record.
If you work with family or institutional archives, adopt a simple labeling convention: keep the original grayscale file as the authoritative copy, store the colorized version as a derivative, and name it so the derivative status is obvious. Something like `photo-1921-colorized-derivative.tif` costs nothing and prevents a great deal of confusion later.
The same instinct applies to tool selection in other domains. When teams weigh cloud cost management tools that actually cut your bill, the winning approach is rarely the flashiest dashboard; it is the one that makes the underlying reality visible. Restoration tools should do the same for your images. (Benefits canva alternatives where other tools actually win)
Practical workflow that holds up
A workflow that survives contact with a real collection looks like this:
- Scan at the highest reasonable resolution and save an untouched original file. Never edit that original.
- Catalog before processing. Record filenames, dates, and sources while the material is still in front of you.
- Restore first, colorize second. Repairing damage on a grayscale image is easier to verify than repairing a colorized one.
- Colorize as a separate derivative and label it.
- Review at 100 percent zoom on faces, hands, text, and edges.
- Keep a rejection log. Note which images the model failed on and why. That log becomes your real evaluation data.
- Revisit annually. Models improve, and last year’s failures may now be fine.
Step six is the one people skip, and it is the one that turns a hobby into a process.
Common mistakes worth avoiding
Trusting the demo. Vendor galleries are curated. Your scans are not.
Over-restoring. More aggressive settings are not better. Many images look worse after heavy denoising because the grain was part of the image.
Colorizing before restoring. Damage confuses colorization models, which then paint around defects and bake them in.
Discarding originals. Always keep the unedited scan. Storage is cheap; a lost original is not recoverable.
Ignoring file format. JPEG re-encoding degrades quality with every save. Work in TIFF or another lossless format until final export.
Assuming one tool does everything. Many workflows combine a restoration tool, a colorization model, and a manual editor. That is normal, not a failure.
If you are comparing suites more broadly, the way ClickUp alternatives work changes when you switch tools is a good reminder that migration costs are real and often underestimated. Moving an image archive between tools carries the same hidden labor.
Conclusion
The best AI colorization and photo restoration setup in 2027 is not the one with the most impressive demo reel. It is the one that keeps your originals safe, labels its guesses, and lets a human correct it. Restoration is a repair job with checkable results; colorization is an interpretation with none. Treat them differently and most of the hard decisions resolve themselves. Test on your own worst images, keep a rejection log, and never let a colorized derivative stand in for the original.
Frequently Asked Questions
Can AI colorization tell me the true colors of an old photo?
No. Colorization assigns plausible hues based on learned patterns, lighting, and era conventions. It cannot recover information that was never recorded. Treat colorized output as an interpretation and rely on documents or physical artifacts for factual color questions.
Is AI upscaling safe for archival use?
It depends on purpose. Upscaling is fine for display and printing. For archival or forensic use it is risky, because the model adds detail that was never captured. Always retain the original scan and label upscaled files as derivatives.
Should I restore before or after colorizing?
Restore first. Scratches, dust, and tears confuse colorization models, which may paint around defects and lock them into the output. Repairing damage on a grayscale image is also far easier to verify.
How many images should I test before choosing a tool?
Five well-chosen images are enough to reveal most problems: a low-resolution scan, a faded print, a badly torn photo, a detailed portrait, and one color photo converted to grayscale as a control. The control image is the most important test.
Do these tools preserve my photo’s metadata?
Not reliably. Some strip EXIF data during processing, and many do not flag output as altered. Check the metadata on a test export before committing a large collection, and maintain your own labeling convention as a backup.
Will AI restoration ever fully replace manual retouching?
Not for high-value or historically sensitive material. Models handle bulk defect removal and upscaling well, but human judgment is still needed for faces, text, and any region where a wrong guess would be misleading. The strongest workflows combine both.
Cost and licensing deserve a line of their own. Per-image pricing looks trivial until you run 4,000 scans through it; subscription tiers that cap batch size will throttle exactly the project you care about. Compute the cost per finished image, not per credit, and check whether commercial use, institutional archiving, or redistribution requires an upgraded tier. A tool that is cheap for a hobbyist can be expensive for an archive.
Local versus cloud processing is the other decision that rarely appears in marketing. Cloud models are often stronger and improve without you doing anything, but they mean uploading family or institutional material to someone else’s servers. Local models are weaker today but private, offline, and stable. For sensitive collections, privacy may outweigh a few points of quality.
Finally, write down your acceptance criteria before you test anything, and score each tool against them rather than against each other. A tool that wins on a demo but fails your control image has failed, however impressive its gallery. The framework outlasts every product list, and that is the point: choose the process first, then let the tools compete to serve it.



