
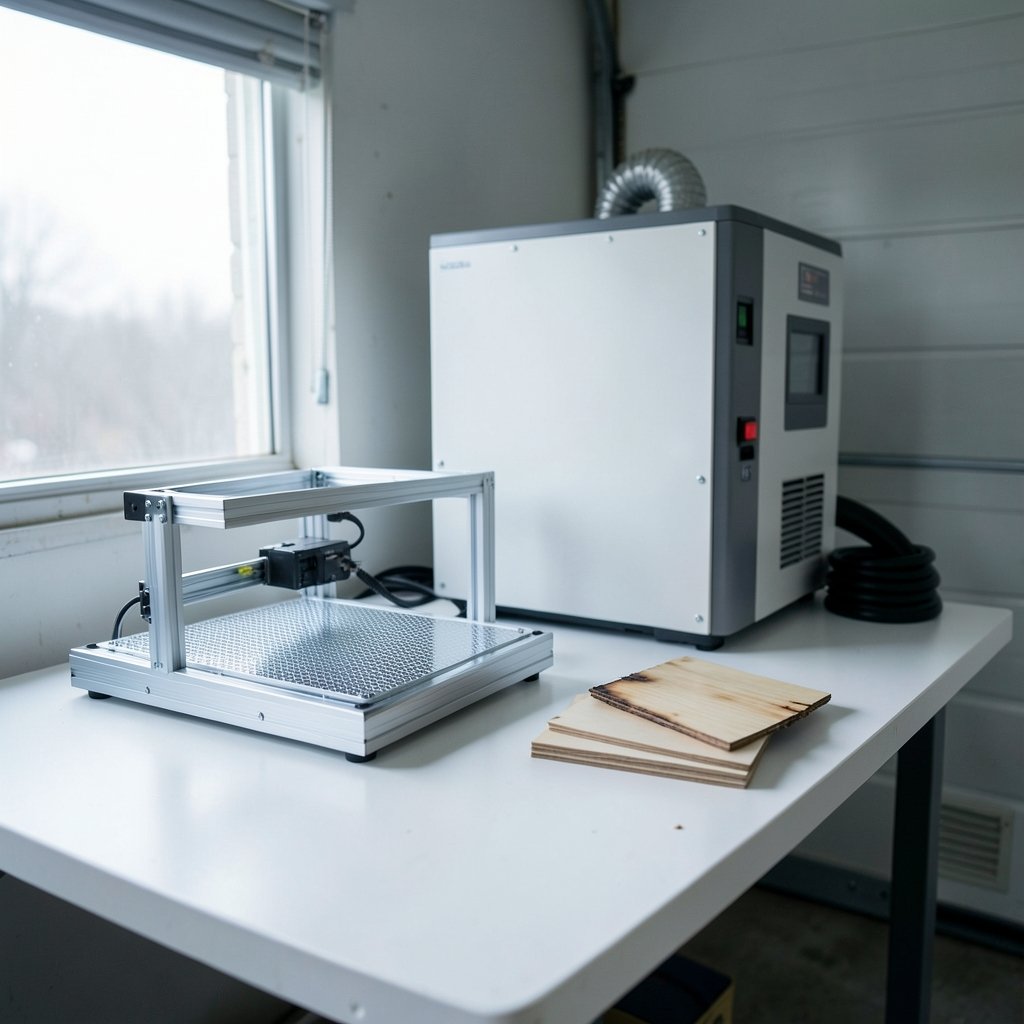
What if the biggest difference between a diode laser and a CO₂ laser has nothing to do with power ratings and everything to do with how you spend your Saturday afternoon? That is the question most beginners never ask before buying. They compare wattage, watch a few cutting videos, and pick the cheaper box. Then the machine arrives, and the workflow turns out to be a different animal than expected. (Laser diode)
This guide focuses on that workflow gap. Not spec sheets, but the day-to-day rhythm: how each machine cuts, how you focus it, how you vent it, and where beginners trip up.
Why Wavelength Drives Everything Else
A diode laser usually emits blue light in the 445 to 455 nanometer range. A CO₂ laser emits invisible infrared light at 10.6 micrometers. That single physical fact shapes almost every workflow difference that follows. (Laser hazards)
Blue diode light is absorbed well by dark, organic materials, which is why diodes engrave wood, leather, and dark-coated metal so nicely. CO₂ infrared is absorbed strongly by a much wider range of non-metals, including wood, acrylic, glass, leather, and textiles. The broader absorption profile is why CO₂ machines cut faster and handle clear acrylic and glass, materials that blue diode light largely passes through.
If you want the full picture of how these laser types fit alongside fiber lasers, the overview of laser cutting technology explains the categories and where each one earns its place.
The practical takeaway: choose a machine based on the materials you actually plan to work with, not on the number on the box.
The Real Workflow Comparison
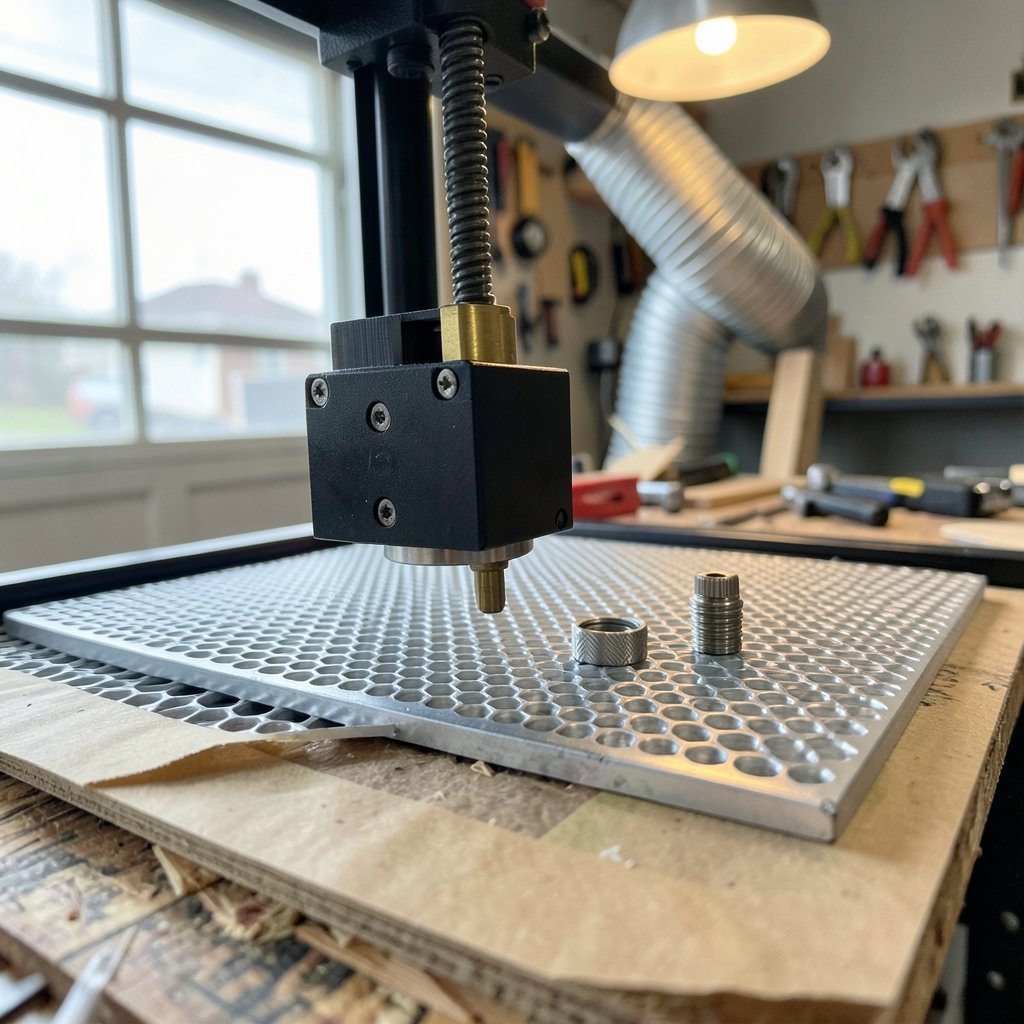
Here is how the two machines differ in daily use, stripped of marketing language.
| Workflow Area | Diode Laser | CO₂ Laser |
|---|---|---|
| Typical setup | Open-frame, user adds shielding and extraction | Usually enclosed Class 1 with built-in extraction |
| Cutting speed on wood and acrylic | Slower, thinner stock | Faster, thicker stock |
| Engraving dark materials | Excellent | Good |
| Clear acrylic and glass | Poor absorption, limited | Strong absorption, reliable |
| Coated metal marking | Works with marking spray or anodized surfaces | Limited without specialty coatings |
| Focus method | Often a sliding ring or manual Z adjustment | Fixed or motorized bed with lens tube |
| Fume handling | User-built ventilation in many cases | Integrated exhaust in most units |
| Common controllers | GRBL-based boards | Ruida controllers |
That table is a rule of thumb, not a spec sheet. Individual machines vary widely, and a well-tuned diode can outperform a neglected CO₂ tube on some jobs. But the pattern holds often enough to plan around.
Setting Up: Enclosure, Siting, and Ventilation
Setup is where beginners feel the first real difference.
Most CO₂ lasers arrive as enclosed systems. The cabinet contains the beam, the exhaust fan pulls fumes out through a duct, and the machine is classified as a Class 1 laser product because the dangerous beam is contained. You still need to route the duct outdoors, but the enclosure work is done for you.
Many entry-level diode lasers are open-frame. The beam travels through open air between the module and the workpiece. That means you supply the shielding, the fume extraction, and the safe siting. Beginners routinely underestimate this. A diode sitting on a workbench in a spare bedroom is a project, not a plug-and-play appliance.
Practical tips that actually work:
- Plan the exhaust route before the machine arrives. A window kit beats a propped-open door every time.
- Never cut PVC or vinyl on either machine. It releases hydrogen chloride, which is corrosive to the machine and harmful to you.
- Keep the laser away from flammable clutter, and never leave a job running unattended.
- Check the class label on the machine before you buy. In the United States, laser products are regulated under the FDA’s performance standard for laser products, which assigns the Class 1 through Class 4 ratings you will see on the label. In Europe, the EN 60825 standard family covers the same classification territory.
For general principles on capturing fumes at the source, government workplace ventilation guidance on local exhaust is written for welding and cutting but the underlying principle applies directly: pull the contaminant away before it reaches your breathing zone.
Safety Eyewear Is Not Interchangeable
This is the mistake that worries me most. Laser safety glasses are rated for a specific wavelength. Glasses that protect against 445 nanometer blue diode light do nothing for 10.6 micrometer CO₂ light, and the reverse is also true.
Beginners who own both machines sometimes grab whichever pair is closest. Do not do that. Label your eyewear, store it with the matching machine, and replace any pair with scratched or damaged lenses. The broader explanation of how laser classes and wavelength-specific protection work is worth twenty minutes of your time before your first cut. (Solid state batteries work step by step beginners)
Focusing and Job Setup
Focusing sounds trivial until you do it fifty times in an afternoon.
CO₂ machines typically use a fixed or motorized bed with a lens tube and air assist. Set the focal distance once, and the machine handles the rest. Many diode modules use a sliding focus ring or a manually adjusted Z height. It is more hands-on, and beginners often get inconsistent results because they focus at the corner and then place material that is not perfectly flat.
A few habits that save grief:
- Focus on the actual spot where the job will run, not the far corner of the bed.
- Use a consistent spacer gauge rather than eyeballing the gap.
- Check that your material is flat. Warped plywood ruins focus across the whole sheet.
- Run a small test cut on scrap before committing a full sheet.
Software is the other half of job setup. Both machine types commonly run on LightBurn, so file preparation skills transfer. Under the hood, though, diode machines often use GRBL-based controllers while CO₂ machines often use Ruida controllers. That affects how jobs are sent, paused, and recovered. If you are learning the software side from scratch, a step-by-step beginner workflow for getting productive with a new creative tool is a useful mental model for how to sequence your first projects. (Use runway ai step by step beginners workflow that actually)
Power Ratings Do Not Translate
Here is a caution that saves money. Diode optical output watts and CO₂ tube watts are measured differently and do not convert one to one. A 20 watt diode is not the equivalent of a 20 watt CO₂ tube. Beginners who buy on nameplate watts alone are frequently disappointed.
Compare machines by test cuts on the materials you care about. Ask for cut speed and thickness on a specific material, not a headline number. If a seller cannot answer that, that tells you something.
Where Each Machine Fits a Beginner’s Shop
A diode laser suits a maker who mostly engraves dark wood, leather, and coated metal, works in small batches, and is willing to build out ventilation and shielding. It is compact, relatively affordable, and forgiving of a small workspace.
A CO₂ laser suits someone who cuts acrylic and wood regularly, wants clear acrylic and glass capability, and values an enclosed, integrated setup. It costs more and takes up more room, but the workflow is more self-contained.
Neither is “better.” They solve different problems. Some makers eventually own both, using the diode for marking and fine engraving and the CO₂ for cutting.
Common Beginner Mistakes Worth Avoiding
A short list drawn from the patterns that show up again and again:
- Buying on wattage instead of material tests.
- Reusing safety glasses across machines.
- Skipping fume extraction because “it’s just wood.”
- Cutting unknown plastics without checking what they release.
- Expecting a diode to cut clear acrylic well.
- Leaving an open-frame diode running unattended.
- Assuming a laser is a plug-and-play appliance rather than a tool with a setup ritual.
If you are building out a workshop more broadly, the same discipline of planning before buying applies to other technologies too. The beginner roadmap for how digital twins work step by step is a good example of mapping a system before committing to it.
Conclusion
The diode versus CO₂ decision comes down to workflow, not wattage. Wavelength determines what each machine cuts well. Enclosure design determines how much setup work lands on you. Eyewear and ventilation determine how safely you operate. Focus method and controller choice determine how your afternoons actually feel.
Beginners who understand those differences before buying tend to end up with the right machine and fewer surprises. Beginners who buy on the biggest number on the box tend to end up learning the same lessons the hard way, one ruined sheet of acrylic at a time.
Frequently Asked Questions
Can a diode laser cut clear acrylic?
Poorly. Blue diode light largely passes through clear acrylic instead of being absorbed, so cutting is unreliable at best. CO₂ lasers handle clear acrylic well because infrared light is absorbed strongly by it. If clear acrylic is central to your projects, that single fact should push you toward CO₂.
Do I need different safety glasses for each machine?
Yes. Laser safety eyewear is rated for a specific wavelength. Glasses that protect against 445 nanometer diode light do not protect against 10.6 micrometer CO₂ light. Label each pair and store it with the matching machine so nobody grabs the wrong one in a hurry.
How does a 20 watt diode compare with a 20 watt CO₂ laser?
No. The two ratings are measured differently and do not convert one to one. Compare machines using test cuts on the specific materials you plan to work with, and ask sellers for cut speed and thickness on those materials rather than trusting a headline wattage number.
Why do CO₂ lasers cost more than diode lasers?
Much of the cost difference comes from the enclosure and extraction system. Most CO₂ machines ship as enclosed Class 1 systems with built-in exhaust, while many entry-level diode lasers are open-frame and leave shielding and ventilation to the buyer. You are partly paying for a more self-contained workflow.
Can I run a laser in a spare bedroom?
Only with real planning. Fumes must be routed outdoors, and an open-frame diode needs shielding you supply yourself. Cutting PVC or vinyl is a bad idea on any laser because it releases hydrogen chloride. If you cannot vent to the outside, reconsider the location before you buy.
Which machine is better for a complete beginner?
It depends on materials. For engraving dark wood, leather, and coated metal in a small space, a diode is a reasonable start. For regular cutting of wood and acrylic, especially clear acrylic and glass, a CO₂ machine’s enclosed, integrated workflow is easier to live with. Match the machine to the material list, not the price tag.
One last habit ties all of this together: keep a simple log. Note the material, thickness, power setting, speed, and result for every job you run. Beginners who log their cuts build a personal reference chart within a few weeks, and that chart is worth more than any spec sheet. It also makes troubleshooting far quicker when a familiar material suddenly cuts differently. Whether you start with a diode or a CO₂ machine, treat the first month as a calibration period rather than a production sprint. Run test cuts, learn your machine’s real limits, and only then take on paid or gift work. The workflow differences covered here will feel obvious by then, and the machine you chose will either fit your habits or show you clearly what to look for next time.



