

What if the secret to better iced coffee isn’t a fancy machine, but a jar, a filter, and a little patience? That’s essentially the whole promise of cold brew concentrate: a strong, syrupy coffee base you dilute to taste, so one batch carries you through a week of mornings. The method is forgiving, but the details matter. Get the ratio, grind, and steep time right and you’ll wonder why you ever paid five dollars for a watery iced coffee.
This guide walks through the practical side of making cold brew concentrate at home, including the mistakes that quietly ruin batches and the numbers worth writing on the fridge.
What Cold Brew Concentrate Actually Is
Cold brew concentrate is coffee steeped in cold or room-temperature water at a higher coffee-to-water ratio than ready-to-drink cold brew, then diluted before serving. That’s the entire definition. The difference between concentrate and a normal batch of cold brew is strength, not technique. (Serverless computing best practices that cut costs cold)
Most published starting ratios for concentrate land somewhere around 1:4 to 1:5 coffee to water by weight. Ready-to-drink cold brew is usually brewed much weaker, roughly 1:8 to 1:15. Those figures come from roaster and brewing-industry guidance rather than a single official standard, so treat them as a sensible starting line, not a law.
The practical payoff is flexibility. A concentrate lets each person in the house dial in their own strength. Someone who likes a bold iced coffee can dilute 1:1. Someone who wants a light, sippable drink can stretch it to 1:3 with water or milk.
The Equipment You Need (and What You Can Skip)
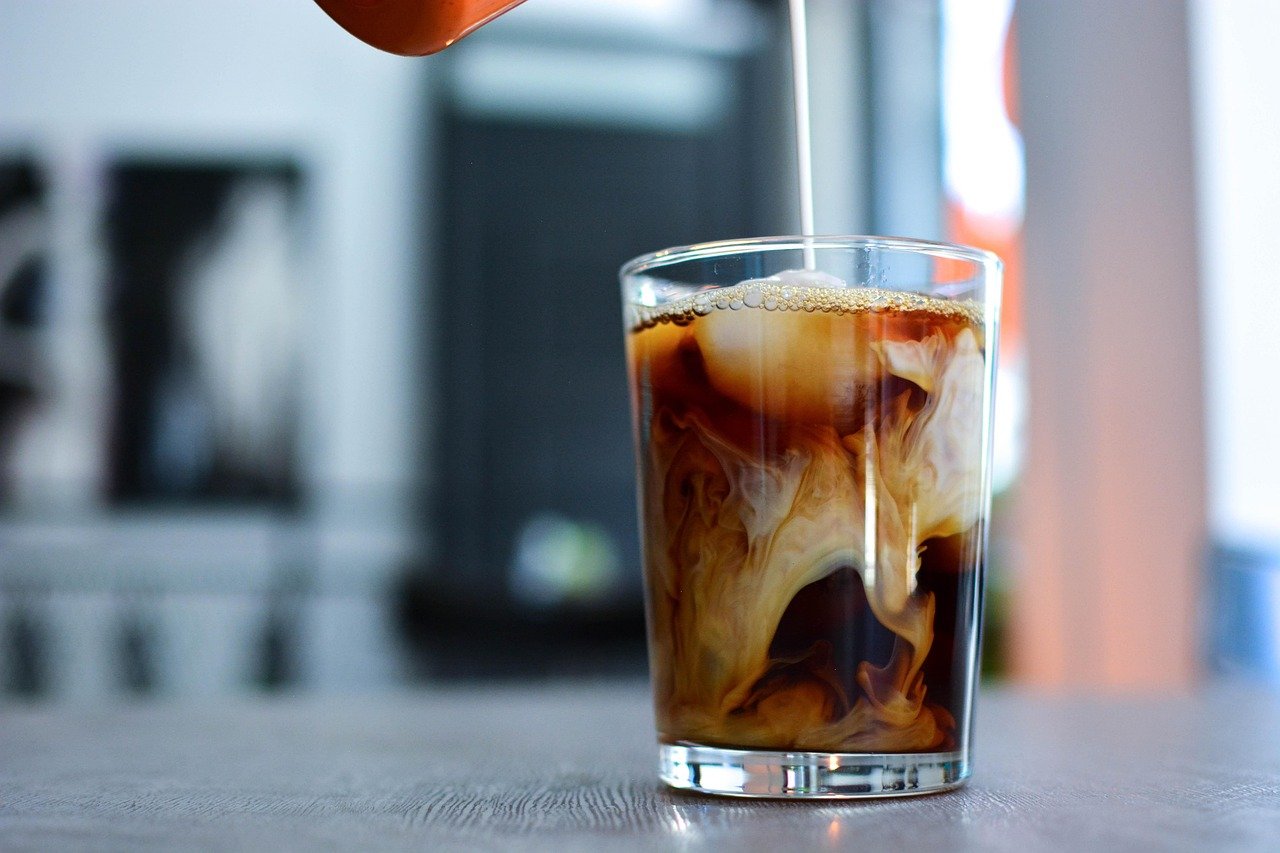
Cold brew has a low barrier to entry. In practice, most people already own everything required.
| Item | Purpose | Notes |
|---|---|---|
| Large jar or pitcher | Steeping vessel | Glass or food-grade plastic, 1–2 liter capacity |
| Coarse-ground coffee | The main ingredient | French press consistency |
| Paper filters or cloth bag | Filtration | Removes fine particles that cause silt |
| Fine-mesh sieve | First-pass straining | Catches the big stuff |
| Scale | Measuring | Grams beat scoops every time |
| Refrigerator | Steeping and storage | Slower, cleaner extraction |
A dedicated cold brew maker is nice, but it is not necessary. A mason jar and a paper filter will produce the same cup. What you should not skip is the scale. Volume scoops of coffee vary wildly depending on grind and bean density, and a concentrate brewed by guesswork is hard to repeat.
Step-by-Step: Making the Concentrate
Step 1: Pick the Right Coffee
Medium to medium-dark roasts tend to work well for cold brew because they extract more readily in cold water. Very light roasts can taste thin and grassy after a long steep, though some drinkers love that brightness. Freshness matters, but cold brew is more forgiving of slightly older beans than espresso is.
Step 2: Grind Coarse
Coarse grind is the standard recommendation, similar to what you’d use for a French press. Fine particles slip through filters and leave a muddy, silty cup, and they also over-extract during a long steep, which reads as bitterness. If your grinder produces a lot of dust, consider sifting out the fines or using a second paper filtration pass.
Step 3: Weigh and Combine
For a concentrate, start with a 1:4 ratio by weight. That means, for example, 100 grams of coffee to 400 grams of water. Stir gently to make sure all the grounds are saturated, then cover the vessel.
Step 4: Steep Cold
Typical guidance is 12 to 18 hours in the refrigerator, or 12 to 24 hours at room temperature. Refrigerator steeping is slower and produces a cleaner, less bitter result. Room-temperature steeping is faster but easier to overdo. There is no authoritative standard here; recommendations differ by source, so taste as you go the first time and adjust.
Step 5: Filter Carefully
Strain through a fine-mesh sieve first, then pass the liquid through a paper filter or cloth bag. A metal mesh alone leaves more sediment. If clarity matters to you, a second paper pass is worth the extra ten minutes.
Step 6: Store and Dilute
Keep the concentrate refrigerated and dilute it 1:1 to 1:3 with water or milk before drinking. Because there’s no standard dilution, the right answer depends on the brew ratio you used. A 1:4 concentrate usually wants more dilution than a 1:5 one.
Getting the Ratio Right: A Practical Table
The table below shows what different starting ratios produce. These are starting points, not rules.
| Coffee : Water (by weight) | Result | Typical Dilution |
|---|---|---|
| 1:4 | Very strong concentrate | 1:2 to 1:3 |
| 1:5 | Strong concentrate | 1:1 to 1:2 |
| 1:8 | Ready-to-drink strength | Little to none |
| 1:15 | Light, tea-like cold brew | None |
If you want a single batch that works for both iced coffee and milk drinks, 1:4 is the safer bet. It gives you room to dilute without the drink turning watery.
Cold Brew vs. Iced Coffee: Why the Method Matters
Cold brew and iced coffee are often used interchangeably, but they are different drinks. Iced coffee is hot-brewed coffee chilled quickly. Cold brew is never heated. That difference changes the flavor profile: cold extraction pulls fewer of the acidic and bitter compounds that heat draws out, which is why cold brew is often described as smoother and less acidic. (Fix 3d printer nozzle clog cold pull)
Caffeine is a separate question. Cold brew concentrate can be higher in caffeine per volume than hot-brewed coffee simply because it uses more coffee per unit of water. But measured caffeine varies with bean, roast, ratio, and steep time, so comparative claims should be treated as variable rather than fixed.
If you enjoy the texture side of cold coffee drinks, the same principles of milk choice and technique apply to cold foam, which pairs well with a diluted concentrate. There’s a useful breakdown of how to make cold foam at home that covers the practical side of texture and milk selection.
Common Mistakes That Ruin a Batch
Most failed cold brew comes down to a handful of avoidable errors.
Grinding too fine. This is the number one problem. Fine grounds create silt and bitterness. If your cup tastes muddy, check the grind before changing anything else.
Steeping too long at room temperature. Twenty-four hours on the counter can taste harsh. Refrigerator steeping is more forgiving.
Skipping the dilution step. Drinking concentrate straight is a quick way to conclude that cold brew is overpowering. It is meant to be diluted.
Storing it too long. Refrigerated cold brew is typically consumed within about one to two weeks, though quality declines sooner. Shelf-life figures are manufacturer and food-safety guidance rather than a single regulated standard. For food-safety framing, the standard reference is refrigeration at or below 40°F (4°C), the threshold public-health bodies use for cold-held foods. If a batch smells off or looks cloudy in a way it didn’t before, discard it.
Using an unclean vessel. Coffee absorbs odors. A jar that previously held garlic will make itself known.
How to Serve and Customize Cold Brew Concentrate
Once you have a good concentrate, serving is where it gets fun.
- Classic iced coffee: Dilute 1:2 with cold water and pour over ice.
- Cold brew with milk: Dilute 1:1 with milk for a smooth, latte-like drink.
- Cold foam topping: Whip a small amount of milk into a foam and layer it on top. A guide to milk frother hot vs cold foam texture, milk choice, and technique explains why cold foam holds differently than steamed foam.
- Sparkling cold brew: Dilute with sparkling water for a lighter, almost tonic-like drink.
- Sweet cream style: Stir in a splash of cream and a little simple syrup before adding ice.
Ice dilution is worth planning for. If you pour a strong concentrate over regular ice, the drink gets weaker as the ice melts. Freezing some of the diluted coffee into ice cubes solves that problem neatly.
For anyone who cares about brew temperature in general, the same physics apply here: extraction is a function of temperature and time. A look at why coffee maker brew temperature matters explains the relationship in hot brewing, and it makes clear why cold brewing needs so much more time to reach a similar strength.
Scaling Up and Storing
Cold brew concentrate scales linearly. Double the coffee and water, keep the ratio, and extend the steep time only slightly if at all. A larger vessel with more thermal mass will stay cold more consistently, which is an advantage.
Store the finished concentrate in a sealed glass bottle or jar in the coldest part of the fridge, not the door. Label it with the date. If you brew two batches with different beans, label those too, because concentrate all looks the same in the dark.
For households that brew a lot of coffee, water quality is an underrated variable. Hard water affects extraction and can leave scale behind, and the same mineral content that troubles a drip machine also shapes how a cold brew tastes. A guide to choosing a coffee maker for hard water covers the water-side issues in more depth, and much of it applies to cold brewing too.
Conclusion
Cold brew concentrate is one of the highest-return kitchen projects available to a coffee drinker. A coarse grind, a 1:4 ratio by weight, twelve to eighteen hours in the fridge, and a careful filter pass will produce a base that beats most café iced coffee. The variables that trip people up are almost always grind size, steep time, and forgetting to dilute.
Start with the numbers, taste critically, and adjust one variable at a time. Within two or three batches you’ll have a house ratio you can brew without thinking, and a fridge that’s never short of good iced coffee.
Frequently Asked Questions
What is the best coffee-to-water ratio for cold brew concentrate?
A ratio of about 1:4 to 1:5 coffee to water by weight is the common starting range for concentrate. Ready-to-drink cold brew is usually brewed at roughly 1:8 to 1:15. These figures come from roaster and industry guidance rather than a single standard, so expect to adjust based on your beans and taste.
How long should cold brew concentrate steep?
Most guidance suggests 12 to 18 hours in the refrigerator, or 12 to 24 hours at room temperature. Refrigerator steeping is slower and generally cleaner-tasting. Longer steeps increase extraction and perceived bitterness, so if your first batch tastes harsh, shorten the time before changing anything else.
Do you have to dilute cold brew concentrate?
Yes, in practice. Concentrate is brewed stronger than a ready-to-drink batch and is meant to be diluted 1:1 to 1:3 with water or milk before serving. Drinking it straight is safe but intense, and most people find it overpowering without dilution.
Why does my cold brew taste bitter or muddy?
The usual culprits are a grind that’s too fine and a steep that ran too long. Fine particles pass through filters, creating silt, and they over-extract during long steeps. Try a coarser grind, a second paper filtration pass, and a shorter refrigerator steep.
How long does cold brew concentrate last in the fridge?
Typically about one to two weeks when stored refrigerated in a sealed container, though quality declines sooner than that. These shelf-life figures are manufacturer and food-safety guidance rather than a regulated standard. Keep it cold, label the date, and discard any batch that smells or looks off.
Is cold brew concentrate higher in caffeine than regular coffee?
It can be, because concentrate uses more coffee per unit of water than a standard brew. But caffeine content varies with bean, roast, ratio, and steep time, so sweeping comparisons are unreliable. If caffeine intake matters to you, dilute consistently and treat each recipe as its own case.



