

What makes someone abandon a tutorial video after forty seconds? Usually it is not the topic. It is the pacing, the audio, or the fact that the presenter spent two minutes saying hello before showing anything useful. Tutorial videos live or die on small production decisions, and most of them are fixable without a studio or a budget.
This article breaks down how tutorial videos work, which formats fit which jobs, how to plan and record one that holds attention, and where accessibility law now forces the issue. It is written for people who need to teach something practical on screen and want the result to be clear, watchable, and compliant.
What counts as a tutorial video?
A tutorial video is an instructional video that teaches a specific task or skill step by step, usually by combining screen recording, narration, and on-screen demonstration. That is a working definition rather than a formal standard, but it captures the key difference from other video types. A product demo shows what something does. A tutorial shows a viewer how to do it themselves.
The screencast format that dominates modern tutorials has a traceable origin. The term screencast was coined by Jon Udell in 2004, as screen-recording tools became practical for ordinary computers. Before that, software training leaned on printed manuals and classroom sessions. After it, anyone with a microphone could record a repeatable walkthrough. (Screencast)
Distribution changed too. YouTube launched in 2005, and its how-to category grew into one of the platform’s largest content verticals, though exact rankings shift year to year and platform-reported figures are volatile. In education, Khan Academy, founded in 2008, popularized short instructional videos for math and science. Those videos later fed the flipped classroom model, popularized between roughly 2007 and 2012 by educators including Jonathan Bergmann and Aaron Sams, in which students watch instruction at home and practice in class.
The four formats and when each one wins
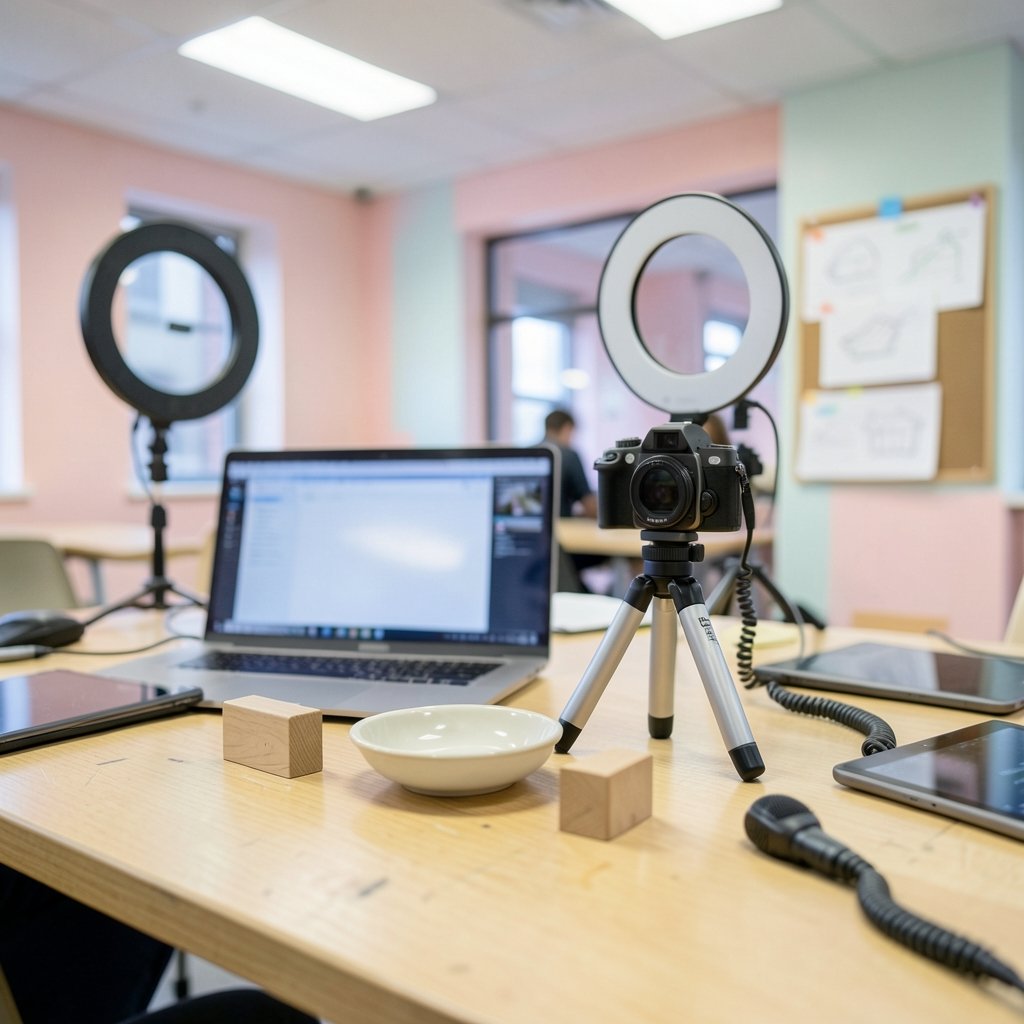
Most tutorial videos fall into one of four formats. Picking the wrong one is the most common structural mistake, because it forces the presenter to fight the format instead of using it.
| Format | Best for | Main weakness |
|---|---|---|
| Screencast | Software, dashboards, coding, settings | Boring visuals if the cursor wanders |
| Live-action demonstration | Physical tasks, hardware, crafts | Harder to light and frame well |
| Animated explainer | Concepts with no visible interface | Expensive to update when things change |
| Interactive in-app tour | Onboarding inside a product | Not shareable outside the product |
A practical rule: if the task happens on a screen, record the screen. If it happens with hands and objects, film it. If it happens inside a concept, animate it. If the viewer needs to do it inside your product right now, build it into the product.
Many teams try to solve everything with one animated explainer and end up with a video that looks polished but teaches nothing. Others record a ninety-minute screencast with no edits and call it a course. Both fail for the same reason: the format was chosen for the producer’s convenience, not the learner’s needs.
Plan the tutorial around one task, not one tool
The single biggest predictor of whether a tutorial gets finished is scope. A video called “Getting started with the platform” has no finish line. A video called “Connect your first data source in five minutes” does.
Before recording, write the finished state as a sentence: by the end, the viewer will have done X. Then list every step required to reach X, in order, and cut anything that is not on that path. Settings that are optional, features that are unrelated, and background context that belongs in a separate video all get removed.
This is where most experienced producers spend their time. Planning takes longer than recording. A tight script means fewer retakes, less editing, and a shorter video, which is the outcome viewers want anyway.
Segment the instruction deliberately
Research on multimedia learning, most associated with Richard Mayer’s Multimedia Learning, first published in 2001, consistently finds that segmenting instruction into short, learner-paced chunks and pairing narration with relevant visuals improves learning outcomes. Effect sizes vary by context, but the direction is stable.
In practice, segmenting means three things:
- Break the tutorial into labeled steps, each with a visible start and end.
- Let the viewer pause between steps rather than racing through.
- Keep each video short enough to finish in one sitting.
A forty-minute tutorial with no chapters is a test of endurance. Six short videos with clear titles are a curriculum. The content can be identical; the completion rate will not be.
Record clean audio before you worry about video
Viewers forgive soft focus and plain slides. They do not forgive echo, hum, or a microphone that clips every time the presenter gets excited. Audio quality is the highest-leverage upgrade in tutorial production, and it is usually the cheapest.
A few things that actually work:
- Record in a small room with soft furnishings. A closet beats a kitchen.
- Put the microphone close to your mouth, off to one side, so plosives do not pop.
- Record a ten-second test and listen back on headphones before the real take.
- Turn off notifications, fans, and anything that beeps.
Common mistakes are predictable. Presenters record system audio and narration on the same track, then cannot fix one without the other. They leave the microphone on a desk, picking up keyboard noise. They record in one long take and lose the ability to fix a single sentence. Separate tracks and short takes cost nothing and save entire afternoons.
If your tutorial involves cloud infrastructure, the demonstration itself needs to be rehearsed as carefully as the narration. Walking through a cloud load balancing tutorial with a practical setup walkthrough on camera without a script is how you end up with twenty minutes of waiting for a console to refresh. Rehearse the clicks, pre-load the slow pages, and cut the dead air.
Show the cursor, the keystrokes, and the result
Screen recordings fail when the viewer cannot tell what the presenter just did. Three small habits fix this almost entirely.
First, highlight the cursor or enlarge it. A tiny arrow moving across a dense interface is invisible on a phone screen, and a large share of tutorial viewing happens on phones.
Second, display keystrokes on screen when shortcuts matter. If the whole point of the video is a keyboard workflow, the viewer needs to see which keys were pressed.
Third, show the result. After every action, pause for a beat on the outcome. The confirmation message, the new row in the table, the changed setting. Viewers use that pause to check their own screen against yours.
One more habit worth building: zoom in. Most interfaces are designed for a person sitting thirty centimeters from a monitor, not for a compressed video stream. Zooming to the relevant panel before interacting keeps the viewer oriented and removes the guesswork.
Keep the script conversational and the pace brisk
A tutorial script should sound like a competent colleague explaining something, not like a manual read aloud. That means short sentences, direct address, and no throat-clearing.
Cut these from the opening: “Hi guys, welcome back to the channel, before we start I just want to say…” The viewer arrived with a specific problem. Start with the problem.
A structure that works reliably:
- State the outcome in one sentence.
- Show the finished result, briefly.
- Walk the steps in order.
- Recap what changed and what to do next.
That opening move, showing the finished result first, is underused. It gives the viewer a mental target and a reason to keep watching, because they now know exactly what success looks like.
Pacing matters as much as wording. Narration that feels natural in the room often sounds slow on playback, so many producers speed up the final cut by five to ten percent. Test it. If the result sounds rushed or chipmunked, back off.
Accessibility is now a legal requirement, not a nicety
Captions and audio description are not optional extras for tutorial videos anymore. The Web Content Accessibility Guidelines, published by the W3C, require captions for prerecorded audio content under Success Criterion 1.2.2, and audio description for prerecorded video under 1.2.5 at Level AA. The current revision, WCAG 2.2, followed the 2.1 version and keeps those requirements in place. (Making Audio and Video Media Accessible)
In the United States, the legal picture has tightened. The Americans with Disabilities Act of 1990 and Section 508 of the Rehabilitation Act, amended in 1998, have long driven captioning for public-sector and federally funded content. In 2024, the Department of Justice issued a rule under Title II of the ADA adopting WCAG 2.1 AA for state and local government web content, with compliance deadlines phased across 2026 and 2027. Organizations in that scope should confirm their exact dates rather than assume a single cutoff.
Practically, this means building captions into the workflow rather than bolting them on. Auto-generated captions are a starting point, not a finish line. They mangle product names, acronyms, and technical terms, which are precisely the words a tutorial viewer needs to read correctly. Budget time for a human pass.
Good tutorials also benefit from accessibility work in ways that have nothing to do with compliance. Clear narration, visible on-screen text, and step labels help every viewer, including the ones watching on mute on a train.
Production mistakes that quietly kill completion rates
Some problems do not show up in analytics as a single drop-off point. They just make a video feel like work.
Too much preamble. Anything before the first useful action is friction.
No chapter markers. Long tutorials without timestamps force viewers to scrub, and scrubbing is where people leave.
Unlabeled steps. If the viewer cannot tell whether they are on step three or step four, they will rewatch, get frustrated, and stop.
Stale content. A tutorial recorded against an old interface teaches the wrong clicks. Version your tutorials and retire them when the product changes. This is the same discipline that makes GitOps with Git as the source of truth work for infrastructure: the record of what is true lives in one place, and it gets updated deliberately.
No next step. A tutorial that ends without pointing somewhere useful wastes the goodwill it just earned.
For technical topics, the same discipline applies to the demonstration environment. A container orchestration tutorial that runs from first pod to production only works on camera if the cluster is already provisioned and the manifests are tested. Nobody wants to watch a presenter debug a typo for six minutes.
Where AI fits, and where it does not
AI tools can now generate a draft voiceover, produce a rough cut, and write a first-pass script. They are genuinely useful for the tedious parts: transcribing narration into captions, generating chapter titles, drafting a shot list.
They are weak at the part that matters most. A tutorial’s value comes from knowing which step trips people up and showing that step clearly. That knowledge comes from watching real users struggle, reading support tickets, and noticing which questions keep repeating. No model has that context unless someone feeds it in.
There is also a trust problem. Viewers are getting better at spotting synthetic narration and generic generated visuals, and a tutorial is a promise that a real person has done the thing being taught. If the demonstration was never actually performed, the promise is broken. Teams experimenting with generated footage should run practical checks for spotting AI-generated video before publishing anything that claims to show a real workflow.
Conclusion
Tutorial videos are not complicated, but they are unforgiving. Scope the video to one finished outcome. Segment it into steps the viewer can pause between. Fix the audio before you fix the lighting. Show the cursor, the keystrokes, and the result. Caption it properly, both because it helps and because the law increasingly says so.
None of that requires a studio. It requires deciding, before you hit record, exactly what the viewer will be able to do when the video ends. Get that right and the rest is craft.
Frequently asked questions
How long should a tutorial video be?
Short enough to finish in one sitting. For most software tasks, three to eight minutes covers a single outcome comfortably. If the task genuinely needs longer, split it into a series with clear titles rather than one long video with no chapters.
Do tutorial videos need captions by law?
It depends on who publishes them and where. Under WCAG, captions are required for prerecorded audio at Level AA, and in the US the 2024 Department of Justice rule under ADA Title II applies WCAG 2.1 AA to state and local government web content, with phased deadlines. Private publishers are not covered by that rule, but accessibility expectations are rising across the board.
What is the difference between a tutorial video and a demo video?
A demo shows what a product does. A tutorial teaches the viewer to do something themselves. Demos are persuasive and usually short; tutorials are instructional and usually step-based. Many product pages need both.
What equipment do I need to record a screencast?
A computer, screen-recording software, and a decent microphone. Audio quality matters far more than camera quality for screencasts, since the viewer is looking at your screen, not your face. A quiet room and a close microphone will outperform an expensive camera setup.
Can I use AI to make tutorial videos?
For supporting tasks, yes: transcription, caption drafts, chapter titles, and rough scripts. For the core demonstration, be careful. The value of a tutorial is proof that the task actually works, and viewers increasingly notice when narration or footage is synthetic.
Why do people stop watching my tutorials?
Usually one of four reasons: the useful content starts too late, the video is too long without chapters, the cursor or keystrokes are invisible, or the audio is hard to follow. Check the retention graph for the exact drop-off point, then watch that section on a phone.



