
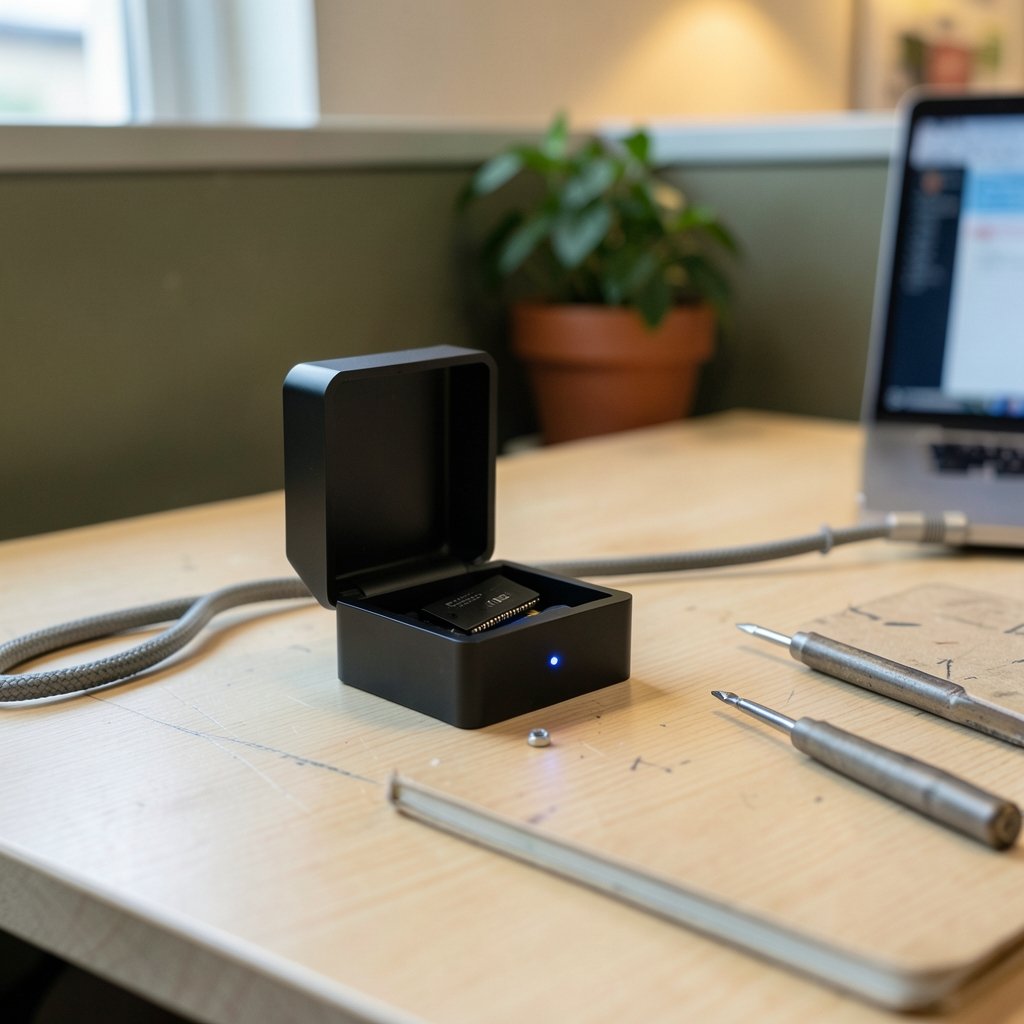
You plug in a shiny new USB enclosure, drop in an NVMe drive, connect the cable, and… nothing. No drive letter, no pop-up, no friendly chime. Just silence and a blinking LED. So what is actually going on when an NVMe enclosure refuses to show up?
The frustrating truth is that “not detected” almost never means “dead drive.” It usually means something in the chain between the SSD and your operating system broke down. That chain has four links: the drive itself, the enclosure’s bridge chip, the cable and port, and the host software. This guide walks through each link in the order that actually saves time, so you stop guessing and start narrowing.
Why an NVMe enclosure goes missing in the first place
An NVMe enclosure is not a simple pass-through. Inside, a bridge chip translates NVMe (a PCIe-based protocol) into USB mass storage or UASP. That translation layer is where most detection failures live. If the bridge chip, its firmware, and the host controller disagree about anything, the drive may never enumerate, or it may appear for a second and vanish. (Bioware closure three statements mass effect future 2026) (Storage drivers)
There’s a second structural issue: NVMe drives require PCIe lanes, while SATA M.2 drives do not. A SATA M.2 SSD placed in an NVMe-only enclosure will not be detected, period. No firmware update fixes a protocol mismatch at the physical connector.
A third issue is keying. M.2 slots come in B-key, M-key, and B+M-key variants. An M-key drive will not seat properly in a B-key-only slot, and even when it physically fits, the pins may not be wired to the controller. People force these in more often than you’d think, and the result is exactly the symptom we’re chasing: power LED on, drive invisible.
Step 1: Confirm the drive is actually an NVMe drive
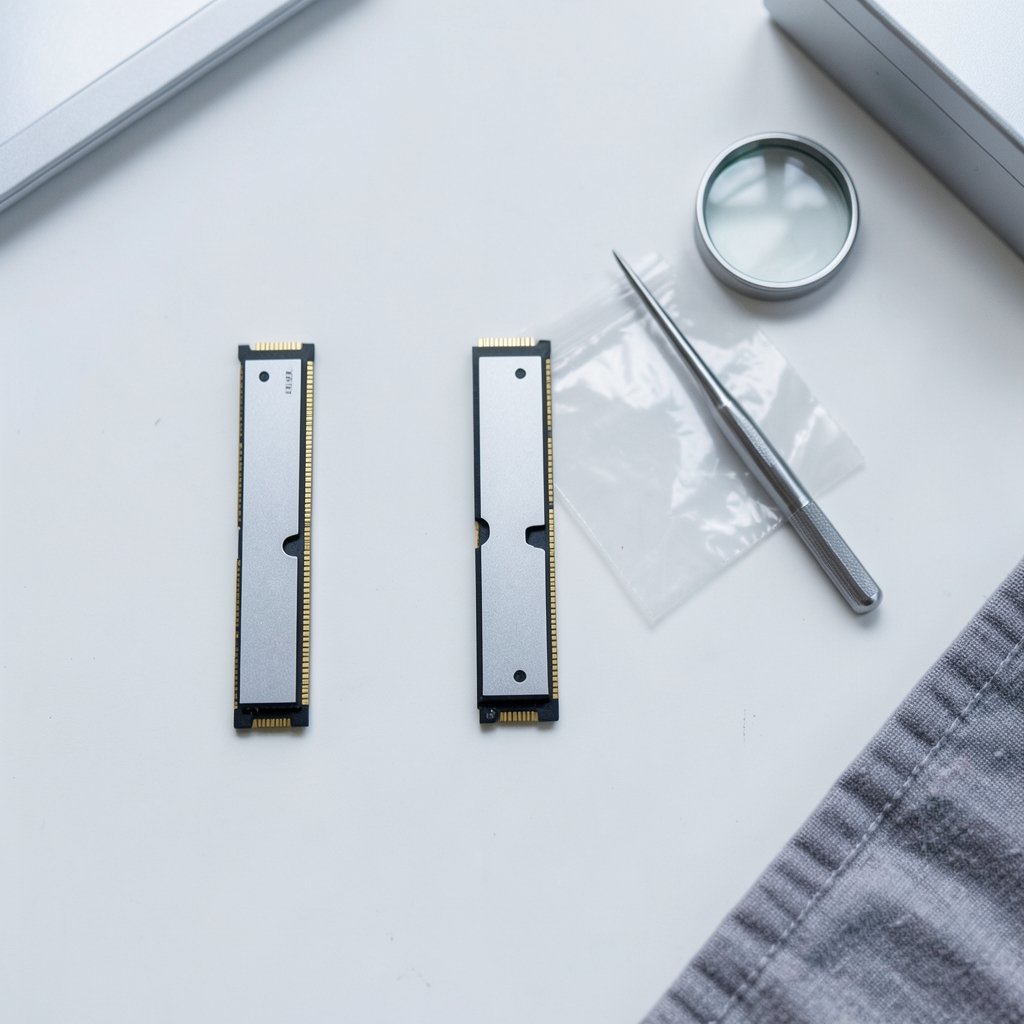
Before touching software, verify what you own. Check the label on the SSD. If it says SATA, it needs a SATA enclosure. If it says NVMe or PCIe, you’re in the right territory.
Also check the notch. An NVMe drive has a single notch (M-key) in almost all consumer cases. If your drive has two notches (B+M-key), it may be a SATA drive in disguise, or an older PCIe x2 design that some enclosures handle poorly. This is the single most common mistake people make, and it costs them an hour of driver troubleshooting for a hardware problem.
Step 2: Check power delivery before anything else
Bus-powered enclosures draw current from the USB port. High-capacity, high-performance NVMe drives can pull more power than a single port comfortably supplies, especially through a passive hub or a long cable. The result is a brownout: the enclosure lights up, the drive spins up or initializes, then drops off the bus.
What actually works in practice:
- Plug the enclosure directly into a rear motherboard port, not a front-panel header or hub.
- Use the short cable that came with the enclosure. Long or thin cables cause voltage drop.
- Try a powered USB hub or a USB-C port that supplies more current.
- If the enclosure has a DC power jack, use it.
If the drive appears for a few seconds and then disappears, power is your prime suspect, not the filesystem.
Step 3: Rule out the cable and the port
Cables fail quietly. A charge-only USB-C cable has no data lines and will power the LED while transferring nothing. Swap in a cable you know carries data, then swap ports. Test on a second computer if one is available, because this single step tells you whether the problem is the enclosure or the host.
Also consider the port’s generation. A USB 3.2 Gen 2 enclosure in a USB 2.0 port will usually still enumerate, just slowly. If it doesn’t enumerate at all, the port itself may be the issue.
Step 4: Look in the right places in your OS
Many people check File Explorer, see nothing, and conclude the drive is dead. That’s the wrong place to look. (NVM Express)
On Windows
Open Disk Management. If the drive shows up there but not in File Explorer, the hardware is fine and the problem is logical: the disk is uninitialized, has no drive letter, or carries a filesystem Windows won’t mount. Disk Management lets you initialize the disk and assign a letter.
If Disk Management shows nothing at all, check Device Manager under Disk drives and Universal Serial Bus controllers. A yellow warning triangle points to a driver problem. An “Unknown device” entry points to enumeration failure, which is almost always hardware or firmware.
On macOS
Open System Information and look under USB and NVMe. If the enclosure appears at the USB level but no storage device appears, the bridge is talking but the drive isn’t. If nothing appears, it’s cable, port, or power.
Newer macOS versions also gate accessory connections behind an approval prompt. If the enclosure was blocked, it may simply never mount until you allow it.
On Linux
Run `lsusb` and `dmesg`. You’ll often see the enclosure enumerate, then a stream of reset or timeout messages. That pattern points to a UASP quirk: some bridge chips are blacklisted from the faster UASP driver and fall back to the older Bulk-Only Transport, which can cause detection failures or timeouts. The kernel’s USB stack documentation explains how these devices are handled, and quirk lists are updated continuously as new chips surface. (How to detect ai generated images)
Step 5: Identify the bridge chip and check its firmware
This is the step most guides skip, and it’s often the decisive one. The bridge chip inside your enclosure has a model number, commonly something like JMS583, RTL9210, or ASM2362. Each has its own firmware history, and several have had documented bugs affecting NVMe detection and sleep/resume behavior.
| Symptom | Likely cause | First fix to try |
|---|---|---|
| LED on, nothing in any OS | Power, cable, or bridge enumeration failure | Direct rear port, known data cable |
| Appears then vanishes | Brownout or bridge firmware bug | Powered hub, firmware update |
| Shows in Disk Management, not Explorer | Uninitialized disk or missing drive letter | Initialize and assign a letter |
| Visible in `lsusb`, resets in `dmesg` | UASP quirk or BOT fallback | Try a different port or kernel quirk |
| Never seats properly | M.2 key mismatch | Verify drive and enclosure keying |
Vendor firmware utilities exist for most major bridge chips, but they’re platform-specific and occasionally risky. Flash only with the drive removed if the tool instructs it, and only from the manufacturer’s own download.
If you’re troubleshooting on the security side of storage and USB devices, a related read on what a keylogger is and how to detect one covers how malicious USB behavior can masquerade as hardware faults. (Wazuh siem detect php2shell 13 steps 2026)
Step 6: Test the drive independently
If the enclosure still won’t cooperate, pull the drive and test it in a known-good slot: a motherboard M.2 slot, a laptop, or a second enclosure. This isolates the variable cleanly.
- Drive works elsewhere: the enclosure is the problem.
- Drive fails everywhere: the drive is the problem, and no enclosure will fix it.
- Drive works in one enclosure but not another: bridge chip compatibility.
This test takes ten minutes and eliminates half the guesswork.
Common mistakes that waste the most time
People repeat the same errors when an NVMe enclosure isn’t detected. Here are the ones that cost the most hours.
Installing drivers before checking hardware. Driver updates rarely fix enumeration failures. Physical checks fix them constantly.
Assuming the LED means success. The LED proves power reached the board. It says nothing about whether the drive initialized or the bridge enumerated.
Buying a cheap enclosure with an unknown chipset. Bridge firmware quality varies enormously. A well-documented chip with active firmware support is worth more than a slightly faster spec sheet.
Ignoring the host’s security posture. On managed machines, endpoint protection can block removable storage entirely. If the drive works on a personal laptop but not a work machine, policy is the answer, not hardware. Check logs before replacing parts.
Skipping the second computer. One test on another machine resolves more cases than any single troubleshooting step.
When the enclosure is genuinely faulty
Sometimes the answer is boring: the enclosure died. Signs include no LED at all on a known-good cable and port, a burning smell, or a bridge chip that never appears in any OS on any machine. In that case, replacement is cheaper than repair. Enclosures are commodity hardware, and bridge chips fail.
Before you discard it, though, try one last thing: reseat the drive. Vibration and thermal cycling can loosen an M.2 screw or shift a drive out of its slot just enough to break contact. It sounds trivial. It fixes a surprising number of cases.
What to buy next time
If you’re shopping for a replacement, prioritize three things over raw speed claims: a documented bridge chip with a firmware update history, confirmed UASP support on your operating system, and adequate power delivery for the drives you plan to use. A slightly slower enclosure that enumerates reliably every time beats a fast one that vanishes mid-transfer.
Also verify the keying and protocol match before you buy. NVMe enclosure, NVMe drive. SATA enclosure, SATA drive. It’s a simple rule, and it prevents the exact failure this article is about.
For readers tracking how hardware and software failures get diagnosed more broadly, the same evidence-first approach applies elsewhere: verify the source, check the metadata, and don’t trust the surface signal.
Conclusion
An NVMe enclosure that isn’t detected is almost always a chain problem, not a dead drive. Work through it in order: confirm the drive is genuinely NVMe, check power and cabling, look in Disk Management or System Information rather than File Explorer, identify the bridge chip, and test the drive independently. Most failures resolve at step two or three. The ones that don’t usually trace back to a bridge chip with bad firmware or an enclosure that simply gave up. Slow down, isolate one variable at a time, and you’ll spend minutes instead of an afternoon.
FAQ
Why does my NVMe enclosure show up but the drive doesn’t?
The bridge chip enumerated successfully, but the drive itself didn’t initialize. This usually means a power shortfall, a loose M.2 seating, or a protocol mismatch such as a SATA drive in an NVMe-only enclosure. Reseat the drive and test it in another slot.
Can a SATA M.2 drive work in an NVMe enclosure?
No. NVMe drives use PCIe lanes and SATA M.2 drives use the SATA protocol. The connectors look similar, but the enclosure’s bridge chip has no way to talk to a SATA drive. You need a SATA-specific enclosure.
Why does the enclosure appear for a few seconds and then disappear?
That pattern points to a brownout or a firmware bug. High-performance NVMe drives can exceed what a single USB port supplies, especially through a hub or long cable. Try a direct rear port, a shorter cable, or a powered hub.
Does the USB cable matter for detection?
Yes, significantly. Charge-only cables carry power but no data, so the LED lights up while nothing transfers. Long or thin cables also cause voltage drop. Always test with a short cable you know carries data.
Why is the drive visible in Disk Management but not File Explorer?
The hardware is working. The disk is likely uninitialized, has no drive letter assigned, or carries a filesystem your OS won’t mount. Initialize the disk and assign a letter, but back up first if any data exists.
Is it worth updating the enclosure firmware?
Sometimes. Bridge chips like JMS583, RTL9210, and ASM2362 have had firmware bugs affecting NVMe detection and sleep behavior. Update only from the manufacturer’s official tool, and only after you’ve ruled out cables, ports, and power.



