
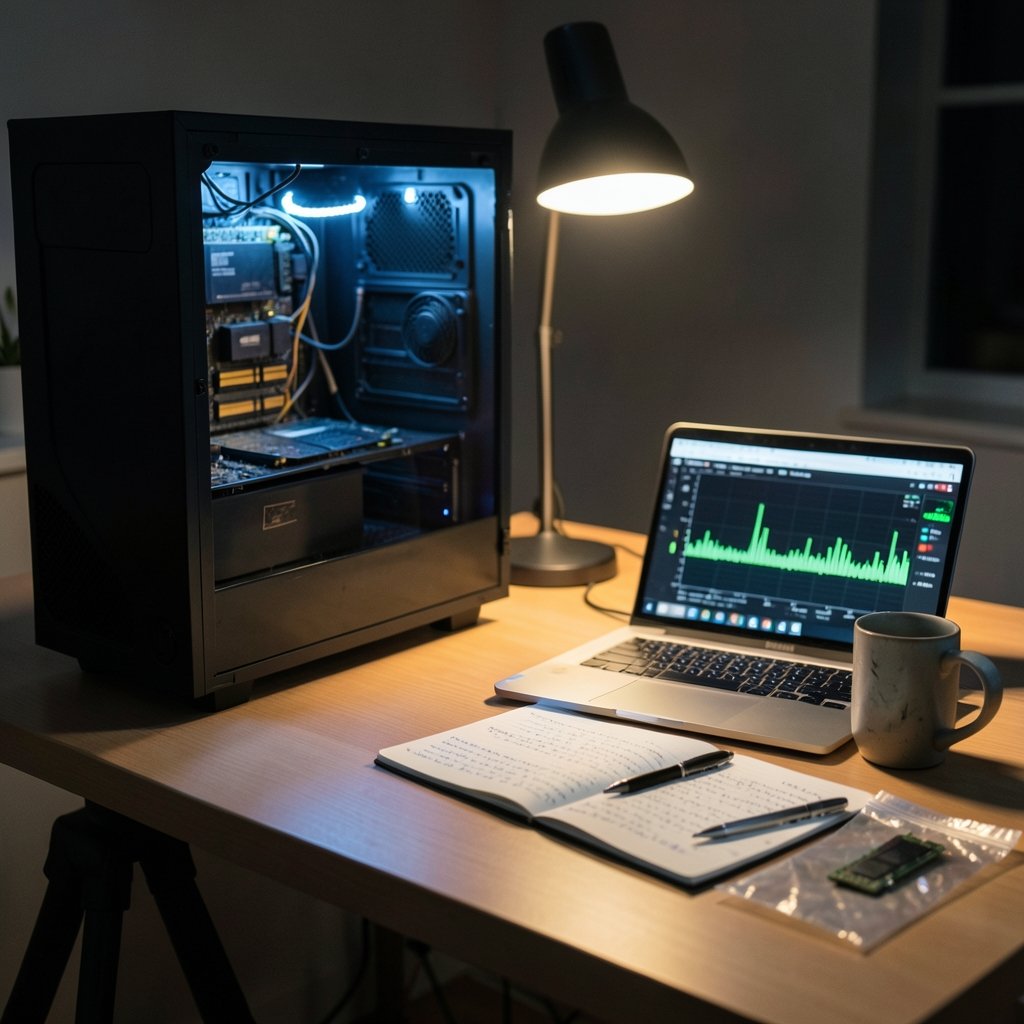
Is your DDR5 kit still running at JEDEC speeds while your CPU sits half-idle waiting for data? That happens to plenty of builders: they pay for 6000 MT/s or 7200 MT/s modules, then boot at 4800 MT/s because they never enabled the memory profile. DDR5 overclocking in 2026 is more approachable than it has been, provided you understand what the knobs actually do. This guide covers the whole process, from enabling XMP or EXPO to stress testing a hand-tuned kit, and flags the mistakes that cost people weekends. (DDR5 SDRAM)
Why DDR5 Tuning Still Matters in 2026
Memory has quietly become one of the cheapest performance upgrades left on the table. On modern platforms, memory-sensitive workloads like simulation, large-file compression, and certain game engines respond well to tighter timings and higher bandwidth. Even a modest bump from JEDEC baseline speeds to a validated profile can change frame-time consistency in CPU-bound titles. (JEDEC DDR5 Standard (JESD79-5))
The catch is that DDR5 raised the complexity bar. Each module now carries its own PMIC (power management IC), splitting power delivery on the stick itself. Each DIMM also runs two 32-bit subchannels rather than one 64-bit channel, which changes how bandwidth and timings interact. Add in Intel XMP 3.0 and AMD EXPO profiles, plus platform-specific memory controller ceilings, and there is more to learn than there was with DDR4.
Know Your Platform Before You Touch a Setting
The single biggest predictor of success is not the kit. It is the combination of CPU memory controller, motherboard topology, and BIOS maturity. Two boards with the same chipset can behave very differently at 7200 MT/s.
| Platform family | Typical daily sweet spot | Voltage levers that matter | Watch out for |
|---|---|---|---|
| AMD AM5 (Ryzen 7000/9000) | 6000 MT/s with tight timings | VSOC, VDDIO | VSOC pushed too high; 4-DIMM boards |
| Intel 12th–14th gen | 6400–7200 MT/s | VCCSA, VDDQ | Silicon lottery on the IMC |
| Two-DIMM boards | Higher stable ceilings | Same as above | Fewer slots, better signal integrity |
| Four-DIMM boards | Lower ceilings | Same as above | Daisy-chain topology limits |
A useful rule of thumb: on AM5, a 2×16 GB kit at 6000 MT/s with tight primary timings often beats a looser 7200 MT/s configuration. On Intel, the ceiling is usually higher, but the gains flatten out once you pass the point where the memory controller starts correcting errors silently.
If you are also weighing a broader hardware refresh, it helps to see how component pricing moves before committing. Coverage of the AMD Ryzen 5 5500F and 7500 launch alongside RAM price trends is a reasonable starting point for budgeting. (Ram Truck Lease Deals: Compare Monthly Costs and Terms)
Step One: Enable XMP or EXPO First
Before any manual tuning, enable the factory profile. This is not overclocking in the traditional sense, but it is the foundation everything else builds on.
- Enter BIOS/UEFI (usually Delete or F2 during POST).
- Find the memory profile setting, labeled XMP on Intel boards and EXPO on AMD boards.
- Select Profile 1.
- Save and exit, then confirm the new speed in BIOS and in a monitoring tool.
- Run a short stability test before moving on.
Common mistake: enabling XMP and assuming the system is stable because Windows boots. Boot success means almost nothing. Plenty of unstable kits pass POST and crash twenty minutes into a game.
Second common mistake: enabling XMP on a four-DIMM configuration and wondering why the board downclocks automatically. Many boards fall back to a safer speed when four sticks are populated, and that behavior is intentional.
Step Two: Learn the Voltages Without Guessing
DDR5 tuning revolves around a handful of rails. Understanding what each one does prevents the classic error of raising everything at once.
- VDD: the primary DRAM voltage. This is the main lever for frequency and timing stability.
- VDDQ: the I/O voltage for the data path. Often tracks close to VDD, but not always.
- VPP: the activation voltage rail, typically left alone unless you are chasing extreme settings.
- VCCSA / VDDIO (Intel) or VSOC (AMD): CPU-side rails that support the memory controller.
The critical caveat is that “safe” limits are not published in one canonical document. They vary by memory die type (Hynix A-die and M-die behave differently from Samsung or Micron parts), by cooling, and by how long you plan to run the system. Community consensus exists, but it is consensus, not gospel. Treat any single number you read online as a starting reference, not a guarantee.
Practical approach: change one rail at a time, in small increments, and re-test. If you change VDD, VDDQ, and VSOC simultaneously and the system crashes, you have learned nothing about which one caused it.
Step Three: Tune Frequency Before Timings
A disciplined order of operations saves hours. Raise frequency first at loose timings, find the ceiling, then back off slightly and tighten timings.
Finding the frequency ceiling
Start from your XMP speed. Increase in one or two steps (for example, 6000 to 6200 to 6400 MT/s), keeping timings loose and voltages at the profile defaults. Test each step. The first step that fails is your rough ceiling. Drop back one step and treat that as your working frequency.
Tightening primary timings
Once frequency is settled, work on the primary timings: CAS latency (CL), then tRCD, tRP, and tRAS. Lower is generally better, but each reduction needs validation. Secondary and tertiary timings offer smaller gains and much higher frustration, so most daily-use tuners stop after the primaries.
One underrated tip: write down every change and the test result. A simple notebook or spreadsheet turns guesswork into a repeatable process.
Step Four: Stress Test Like You Mean It
Stability testing is where most overclocks quietly fail. A single pass of a benchmark proves nothing. Memory errors can be rare enough to appear only after hours of load, and they often manifest as corrupted files rather than crashes.
Use more than one tool. Community standards include TestMem5 with a heavier configuration, Karhu, y-cruncher, and OCCT’s memory test. Running two different tools catches error patterns that a single test misses. A reasonable daily-use validation is several hours of combined testing, plus real-world use for a week.
Watch for the silent failure mode: no blue screen, no reboot, just a file that will not open or a save game that corrupts. That is why “it booted and played for an hour” is not a stability verdict.
Step Five: Watch Temperatures and the Case for Stock Profiles
DDR5 modules run warmer than DDR4 because the PMIC sits on the stick. In a case with poor airflow, or with tall heat spreaders crammed under a large air cooler, temperatures can climb quickly during sustained testing. Monitor memory temperatures alongside CPU and GPU figures.
If temperatures are marginal, the honest answer is often to drop one frequency step rather than add voltage. Heat and voltage compound each other, and a slightly slower stable kit beats a fast unstable one every time.
What Actually Works in Practice
After enough tuning sessions, a few patterns repeat.
Buy the right kit once. A 2×16 GB or 2×24 GB dual-rank or single-rank kit matched to your platform’s sweet spot will outperform a cheap high-speed kit that fights your memory controller. Checking platform-specific guidance before purchase saves more time than any tuning trick.
Update the BIOS early. Memory compatibility fixes arrive through BIOS updates more often than through any other channel. A board that struggles at 6400 MT/s on launch firmware may handle it fine after two updates.
Do not trust the QVL blindly, and do not ignore it either. Motherboard vendor qualified vendor lists lag behind actual compatibility, so a kit missing from the list may still work perfectly. But the list is a useful signal that a given combination has at least been validated once.
Respect the silicon lottery. Two identical CPUs can have very different memory controller ceilings. If your chip tops out two steps below someone else’s identical build, that is normal, not a defect.
Keep a known-good profile saved. Most BIOSes let you store profiles. Save your stable configuration before experimenting further, so a failed attempt costs one reboot instead of an evening.
For readers tracking the broader hardware landscape, the best phones of 2026 roundup shows how memory bandwidth decisions play out on the mobile side, where LPDDR5X tuning is handled entirely by the vendor. Desktop tuning remains one of the few places where the user still holds the controls.
When Overclocking Is Not Worth It
There is a real argument for leaving DDR5 at its validated profile. The gains from hand-tuning are workload-dependent, sometimes in the low single digits. The risks include corrupted data, intermittent crashes that are hard to diagnose, and warranty ambiguity if a module fails.
If the machine is a work system handling important files, the sensible move is XMP or EXPO plus a thorough stability test, and nothing more. Manual tuning belongs on a machine where a crash costs time, not data.
Conclusion
Overclocking DDR5 in 2026 rewards patience far more than bravery. Enable XMP or EXPO, confirm real stability, learn what each voltage rail does, raise frequency before tightening timings, and validate with more than one stress test over several hours. Skip the temptation to change five settings at once, and treat every published voltage number as a reference rather than a rule. The payoff is a faster, more consistent system, and the discipline required is the same discipline that keeps your data intact.
Frequently Asked Questions
Is DDR5 overclocking safe for daily use?
It can be, provided voltages stay within community-accepted ranges for your specific memory die and temperatures stay under control. The real risk is not instant damage but silent data corruption from marginal stability. Validate thoroughly with multiple stress tests before trusting a daily overclock.
Should I use XMP or EXPO, and does it count as overclocking?
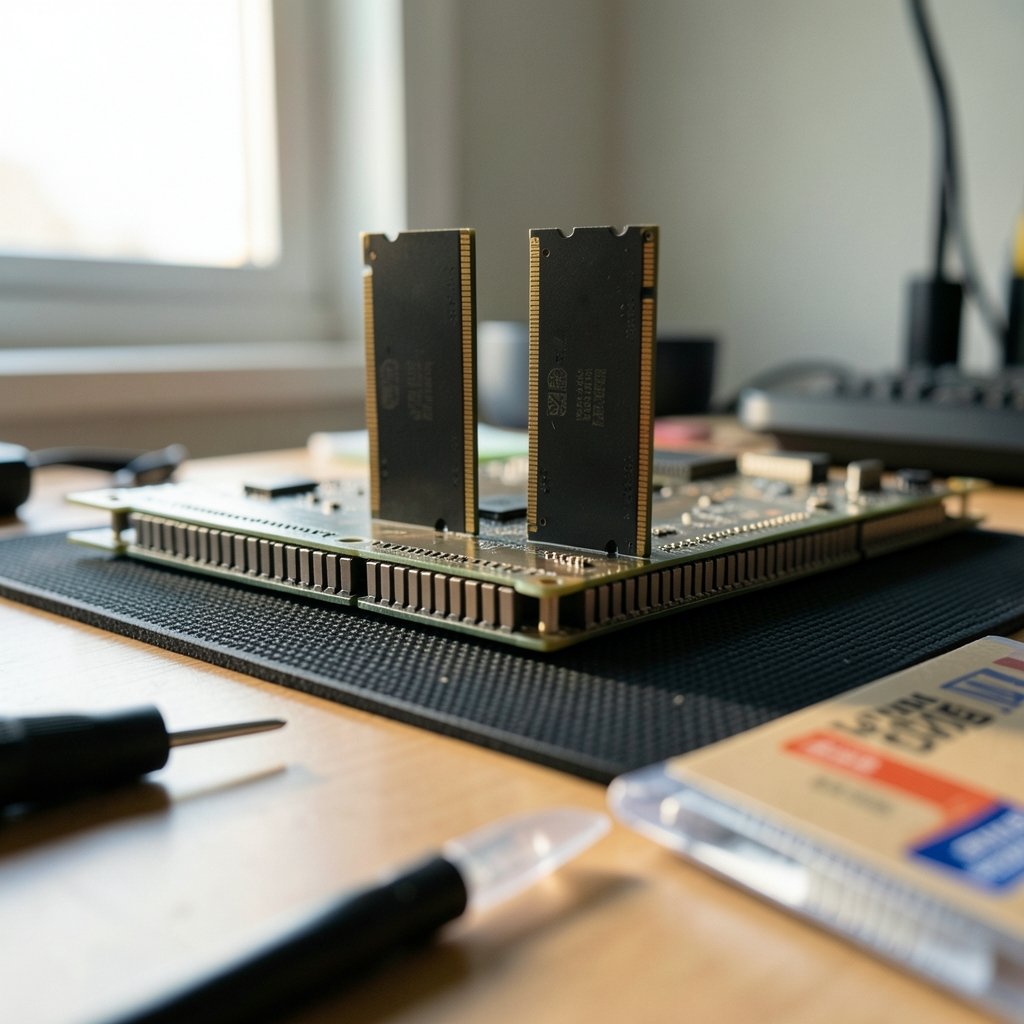
XMP (Intel) and EXPO (AMD) are factory-validated profiles that run memory above JEDEC baseline speeds. Technically that is overclocking, but it is the vendor-sanctioned kind. Enable the profile first, verify stability, and only then consider manual tuning.
How long should a DDR5 stability test run?
For a daily-use overclock, several hours of combined testing across at least two different tools is a reasonable minimum, followed by a week of normal use. Short tests catch obvious failures but routinely miss rare errors that appear only under sustained load.
Why does my RAM run slower than the kit’s rated speed?
Three common causes: the XMP or EXPO profile was never enabled, the motherboard downclocked automatically because four DIMM slots are populated, or the CPU memory controller cannot handle the rated speed on that board. Check BIOS settings first, then firmware updates.
Do tighter timings or higher frequency matter more?
It depends on the platform. On AMD AM5, a moderate frequency with tight primary timings often wins. On Intel, higher frequency usually scales better up to the memory controller’s limit. In both cases, tune frequency first, then tighten timings on top of a stable base.
What is the biggest mistake beginners make?
Changing several voltages and timings at once. When the system fails, there is no way to tell which change caused it. Adjust one variable at a time, record the result, and re-test. That single habit separates a productive tuning session from a lost weekend.



