
Can you make a dull, scratched stainless steel sink look new again without calling a professional? Yes. But only if you understand one thing first: “polishing” means two very different jobs, and mixing them up is the most common way people ruin a perfectly good surface.
The first job is cleaning and shining. You remove grime, water spots, and fingerprints, and the metal looks brighter. The second job is mechanical polishing. You physically abrade the surface with progressively finer grits to remove scratches or raise the finish to a mirror shine. The first is safe for anyone. The second takes patience, the right supplies, and a willingness to practice on something you don’t care about.
This guide walks through both, in the right order, with the mistakes that trip people up most often.
Know Your Finish Before You Touch It
Stainless steel is not one surface. It comes in a range of mill finishes, and each one reacts differently to abrasives. In North America, flat-rolled stainless finishes are classified by a standard numbering system, and the details are spelled out in specifications such as ASTM A480, which covers general requirements for flat-rolled stainless plate, sheet, and strip.
Here is the practical version:
| Finish type | What it looks like | Polish approach |
|---|---|---|
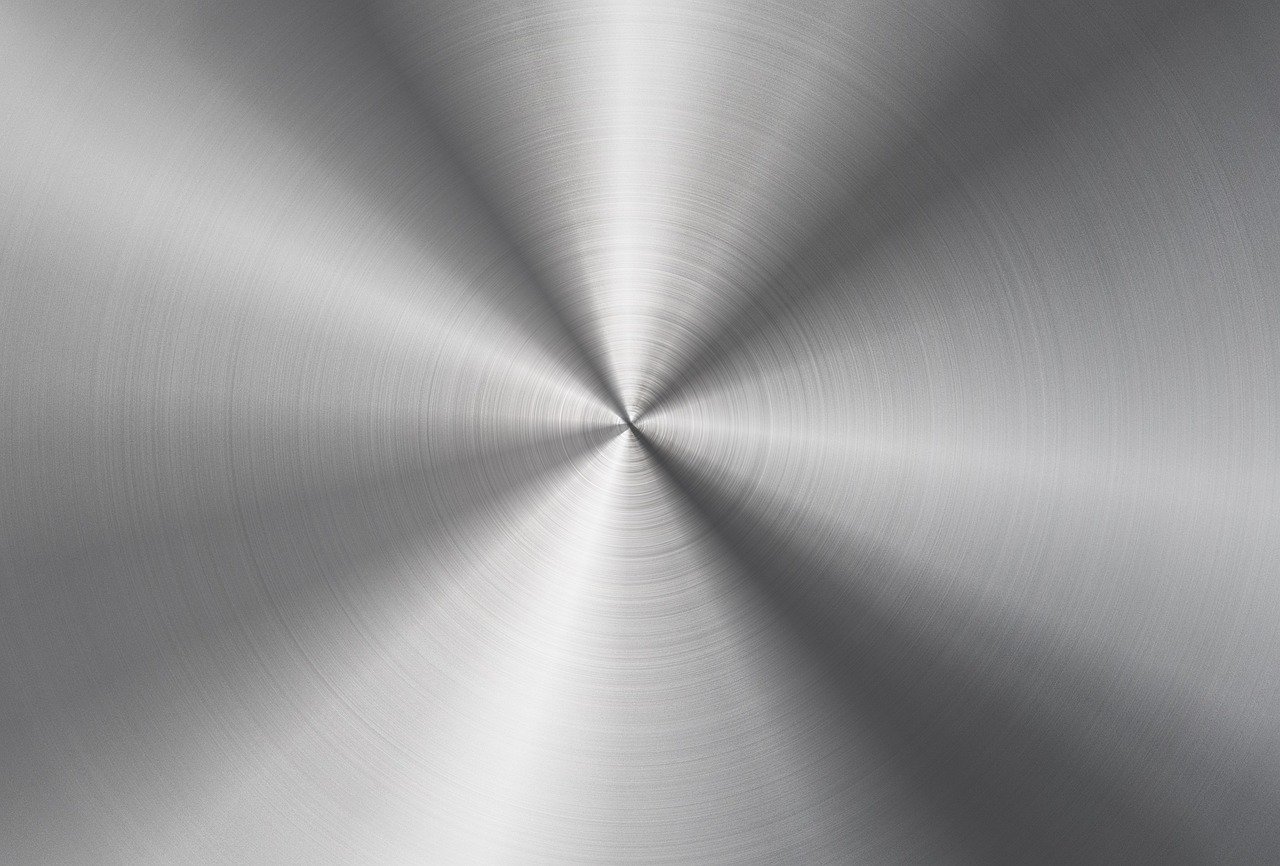
| No. 4 / brushed | Visible directional grain lines | Work along the grain only |
| No. 8 / mirror | Highly reflective, near-mirror | Fine compounds only, high risk of haze |
| 2B / cold-rolled | Smooth, matte-satin | Mild cleaners, then fine polish |
| No. 2D / dull | Matte, non-reflective | Clean and protect, don’t try to shine |
| Embossed or textured | Patterned surface | Clean only; abrasives flatten the pattern |
The single biggest mistake is attacking a brushed finish with a coarse pad in a circular motion. You will cut cross-grain scratches that catch the light and cannot be hidden. On a No. 4 finish, every stroke should run parallel to the existing lines.
European and ISO finish designations do not always map one-to-one onto the American numbers, so if you are matching a replacement panel or appliance part, check the manufacturer’s spec rather than assuming “brushed” means the same thing everywhere.
Step One: Clean Before You Polish
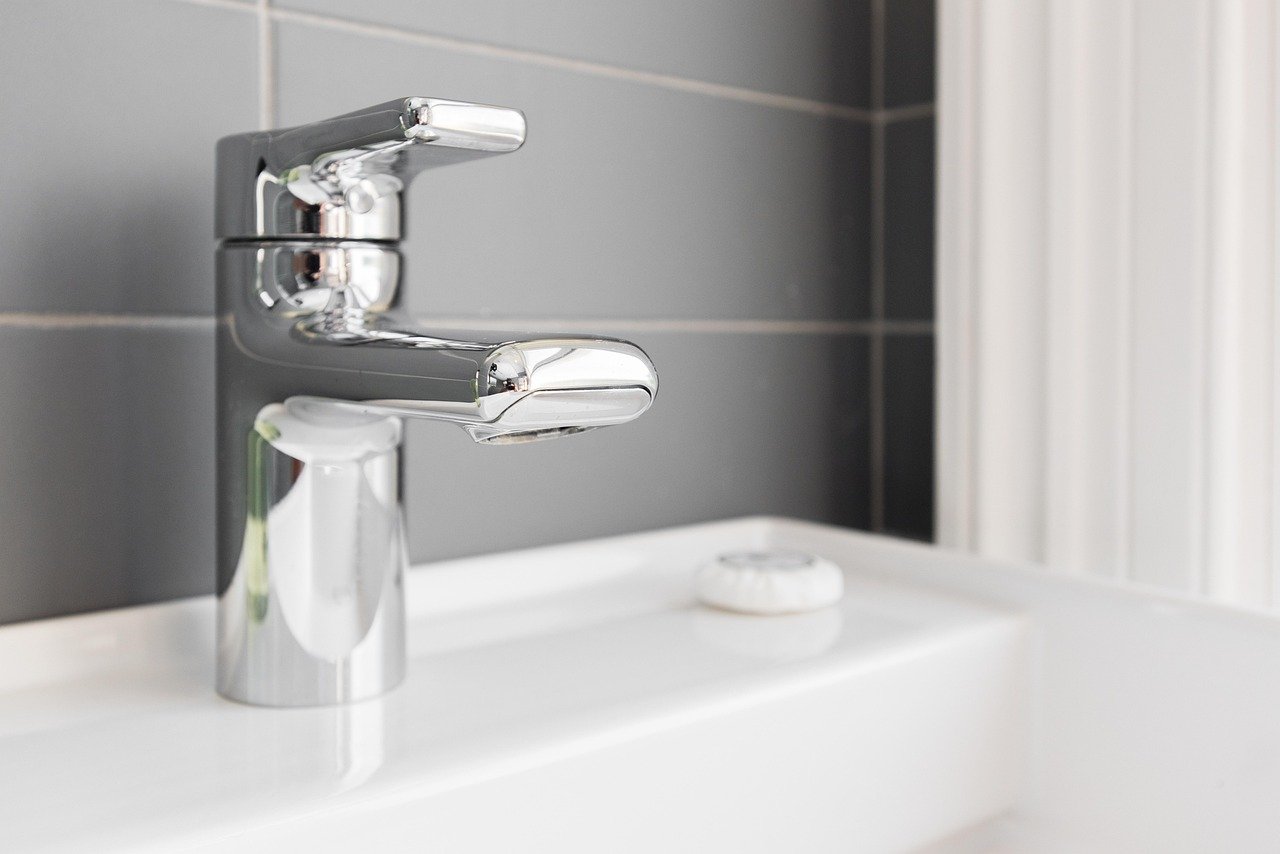
Most dull stainless steel is not damaged. It is dirty. Before reaching for any abrasive, do the boring work.
- Wipe with warm water and a few drops of mild dish soap using a soft microfiber cloth.
- Rinse thoroughly and dry with a clean, dry cloth. Skip the drying step and you get water spots that look like stains.
- Tackle grease with a degreaser made for stainless, not an all-purpose spray with bleach.
- Remove fingerprints and light film with a dedicated stainless steel cleaner, buffing along the grain.
- Reassess. If the surface now looks even and bright, stop. You are done.
A surprising number of “polishing” jobs end here. The metal was fine; the surface was just coated in cooking oil and hard-water minerals.
The Chloride Rule You Should Never Break
Stainless steel resists rust because of a thin, self-repairing chromium oxide passive layer. Chlorides attack that layer, and once it breaks down locally, you get pitting, and in stressed parts, stress-corrosion cracking.
That means household bleach, and many bathroom and kitchen cleaners that contain chloride compounds, are the wrong tool. So are some “miracle” rust removers. If a chloride cleaner does touch the surface, rinse it off with plenty of clean water right away and dry it.
This is also why a stainless sink near a pool, or a railing in a coastal area, ages faster than the same steel indoors. Salt is a chloride.
Tools That Contaminate and Tools That Don’t
Here is a mistake that produces mysterious rust spots weeks later: using a wire brush or steel wool that was previously used on ordinary carbon steel.
Carbon steel particles embed in the softer stainless surface. They then rust, and the rust looks like the stainless itself is failing. The fix is to keep separate, dedicated tools for stainless, or use non-metallic abrasives such as nylon scouring pads and microfiber. If you must use a wire brush, use a stainless-steel brush that has never touched other metals. (Stainless steel)
The same logic applies to work surfaces. Grinding or sanding carbon steel in the same area as stainless parts is a known source of free iron contamination in fabrication shops.
Step Two: Mechanical Polishing, Coarse to Fine
If you actually need to remove scratches or restore a mirror finish, you are now doing abrasive work. The principle is simple and non-negotiable: never jump from a coarse grit to a fine one. Each step must fully remove the scratches left by the previous step.
What you need
- Abrasive papers or pads in a graded sequence, for example 400, 600, 800, 1200, then 2000 grit
- A backing block for flat surfaces
- Polishing compound matched to the final stage (medium, then fine)
- A soft buffing wheel or clean cloths
- Mild detergent, clean water, and drying cloths
- Masking tape to protect adjacent surfaces
The sequence
- Clean and degrease the whole area and let it dry.
- Identify the grain direction and mark it with a strip of tape as a visual guide.
- Start with the finest grit that will remove the damage. Test on a hidden spot first. Going coarser than necessary adds work.
- Sand in straight, parallel strokes along the grain, keeping the block flat. Check your progress by wiping the surface and looking at it under a raking light.
- Change grit only when the previous scratches are gone. Wipe between stages so loose grit does not carry over.
- Switch to polishing compound once the surface is uniformly fine-scratched. Use moderate speed and light pressure.
- Keep the surface cool. Too much speed or pressure overheats the metal, and the surface can smear rather than polish.
- Rinse with clean water and dry completely. Residual compound holds moisture and causes staining.
On a mirror finish, the risk is different. Fine abrasives can leave a faint haze that shows under direct light. Work in small areas, keep the compound wet enough to lubricate, and finish with a clean, dry buff.
Common mistakes worth avoiding
- Circular motion on a brushed finish. It creates a visible swirl that no amount of cleaning will fix.
- Skipping grits to save time. It takes longer overall because you have to go back.
- Dry sanding with loaded paper. Clogged abrasive scratches unevenly.
- Pressing hard on a buffing wheel. Heat and smearing follow.
- Leaving compound in crevices. It traps moisture and stains.
If your polishing work involves a workshop with powered tools and a dust extractor, it is worth thinking about broader equipment protection too, since a workshop is exactly where a sudden ransomware attack can wipe out job records and CAD files. The case for ransomware protection is straightforward: prevention costs less than recovery.
Polishing Is Not Passivation
This distinction confuses a lot of people, including some who write product labels.
Passivation is a chemical treatment that removes free iron from the surface and helps the chromium oxide layer rebuild. It is typically done with citric or nitric acid formulations and is defined in standards such as ASTM A967. It does not remove scratches, and it does not make metal shiny.
Mechanical polishing removes material. It changes the topography of the surface. It can improve corrosion resistance indirectly by leaving a smoother, cleaner surface, but it is not a substitute for passivation.
If a part has been machined, welded, or contaminated with iron, it may need passivation regardless of how nicely it has been polished. Consumer products labeled “passivating” are usually just acidic cleaners. That is fine for light mineral removal, but it is not the industrial process.
Protecting the Finish After Polishing
Freshly polished stainless is not invulnerable. A few habits keep it looking good:
- Rinse and dry after every wet cleaning. Standing water leaves mineral rings.
- Avoid chlorine-based disinfectants on a regular basis.
- Do not let acidic foods or cleaners sit. Citrus, vinegar, and some descalers are fine briefly, not overnight.
- Use a thin coat of mineral oil on brushed finishes if you want an even sheen and easier fingerprint removal. Apply sparingly and buff off the excess.
- Wipe along the grain, always.
If you store tools or parts in a damp workshop, keep an eye on storage conditions. Humidity plus residual polishing compound is a recipe for staining. The same attention to detail applies to your gear in general, and it pays to know what you are actually getting: if your external SSD shows less capacity than advertised, that is usually a unit-conversion quirk rather than a fault, but it is worth understanding before you assume a drive is failing.
Matching the Method to the Object
Different stainless items call for different levels of ambition.
| Object | Realistic goal | Method |
|---|---|---|
| Kitchen sink | Clean and even sheen | Soap, water, stainless cleaner, microfiber |
| Refrigerator door | Fingerprint-free satin | Dedicated cleaner along the grain |
| Exhaust or trim | Restore brushed grain | Graded abrasives, then fine compound |
| Watch case or jewelry | Mirror polish | Fine compounds, low speed, high care |
| Outdoor railing | Remove contamination, protect | Clean, rinse, dry, inspect for pitting |
For anything with a coating, a printed graphic, or a lacquered finish, stop. Abrasives cut straight through the coating and there is no way to blend it back.
When to Stop Polishing and Start Replacing
Sometimes polishing is the wrong answer. Deep pitting from chloride exposure, cracking at weld zones, or thinning from years of aggressive scrubbing are not cosmetic problems. Pitting that has gone through the passive layer will keep growing. If you see rusty pits rather than surface rust, the part may need replacement or professional re-passivation.
The same judgment applies to anything else you maintain. Knowing when a repair is worth it and when replacement is the smarter spend is a skill. It is the same reasoning that applies when you are deciding between brass and hardened steel 3D printer nozzles: which one belongs depends entirely on what you are running through it.
Conclusion
Polishing stainless steel comes down to a few disciplined choices. Clean first, because most dullness is dirt. Identify the finish and respect the grain direction. Never use chlorides, and never let carbon steel tools touch the surface. If you move to abrasives, go coarse to fine, keep the surface cool, and rinse and dry at the end. And keep polishing and passivation in separate mental boxes, because they solve different problems.
Do a small test patch first. It takes five minutes and it will tell you more about your particular piece of steel than any general guide can.
Frequently Asked Questions
Can you polish stainless steel with household items?
Yes, for cleaning and light shining. Warm water, mild dish soap, and a microfiber cloth handle most everyday dullness. A little white vinegar can help with mineral spots if you rinse it off promptly. What household items cannot do is remove scratches or raise a mirror finish. That requires graded abrasives and polishing compound.
Does polishing stainless steel make it rust?
Not if you do it correctly, but careless polishing can. Using steel wool or wire brushes contaminated with carbon steel leaves iron particles that rust on the surface. Polishing with excessive heat can also damage the passive layer. Use dedicated or non-metallic tools, keep speeds moderate, and rinse thoroughly afterward.
What is the difference between polishing and passivation?
Polishing is mechanical. It abrades the surface to smooth it or make it reflective. Passivation is chemical. It removes free iron and helps the chromium oxide layer rebuild, which improves corrosion resistance. Passivation does not remove scratches, and polishing does not replace passivation. Parts that have been welded or machined often need both. (OSHA Chemical Data (hazard reference))
Why did my brushed stainless steel get swirl marks?
Almost always because the polishing motion was circular rather than parallel to the existing grain. Brushed finishes have directional lines, and any cross-grain scratch catches light and stands out. The fix is to work in straight strokes along the grain, starting with a grit fine enough to remove only the swirls, then blending.
Can I use bleach to clean stainless steel?
No. Bleach and other chloride-containing cleaners attack the passive layer and can cause pitting and, in stressed parts, stress-corrosion cracking. If a chloride cleaner does contact the surface, rinse it off with plenty of clean water immediately and dry the metal. Stick to mild detergent or a dedicated stainless steel cleaner.
How do I keep polished stainless steel shiny longer?
Rinse and dry after every wet cleaning, wipe along the grain, and avoid chlorine-based products. A very thin coat of mineral oil on brushed surfaces helps repel fingerprints and even out the sheen. Buff off any excess so it does not attract dust, and deal with water spots early before minerals bond to the surface.



