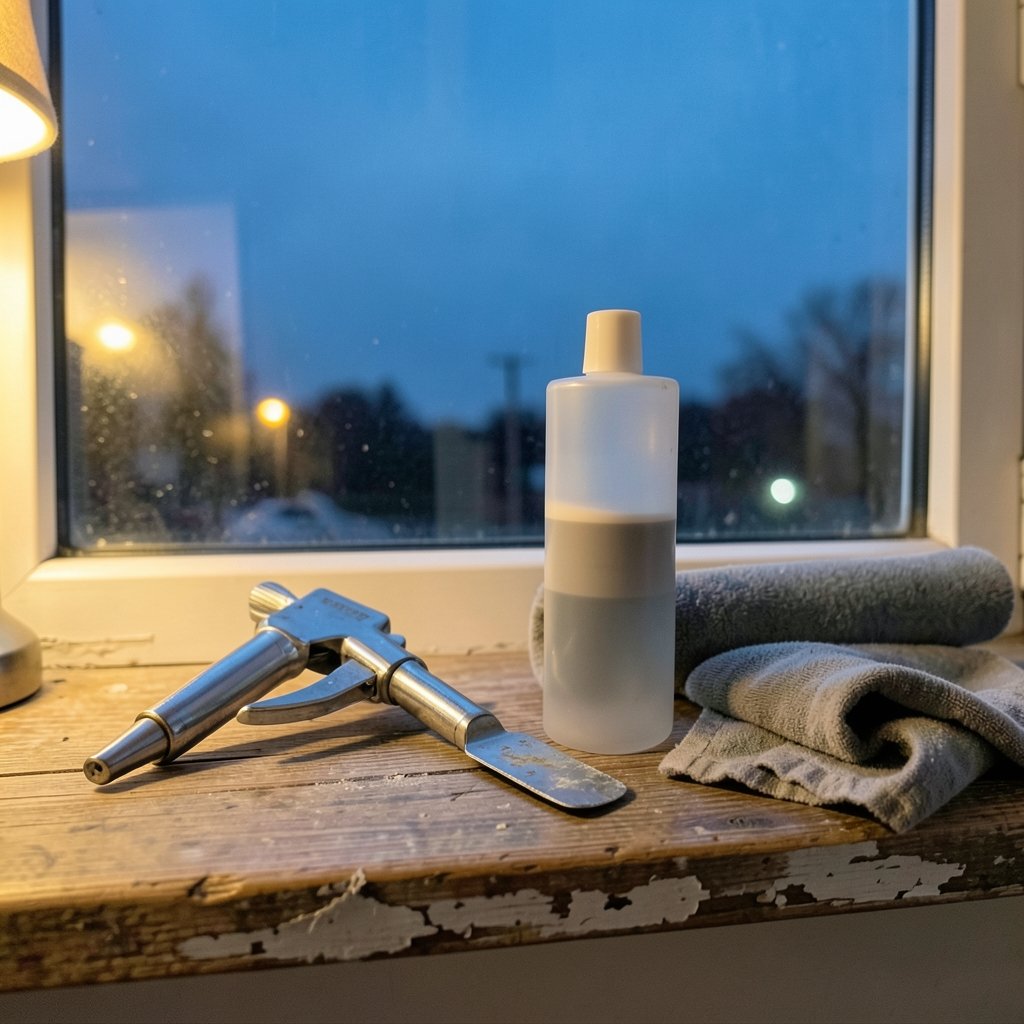
Is your home feeling colder than it should, even with the heating cranked up? If you’ve noticed a chill near your windows or spotted cracks in the sealant around the frame, you’re not alone. Old or damaged window sealant lets in drafts, moisture, and higher energy bills, and resealing is one of the simplest DIY projects a homeowner can tackle. The good news is that it doesn’t require special skills or expensive tools. With a few hours and the right materials, most people can seal a window frame properly and feel the difference immediately.
This guide walks through the whole job in the order it actually happens: what to gather, how to inspect, how to prep, how to apply a clean bead, and what to do when something goes wrong. It’s written for the reader who wants to finish the task, not read a textbook about it.
What You Need Before You Start
Gathering supplies first saves a lot of mid-job frustration. Most of these items are inexpensive and available at any hardware store.
| Tool or Material | Why You Need It |
|---|---|
| Caulking gun | Holds and dispenses the sealant tube evenly |
| Exterior-grade sealant (silicone or hybrid) | Flexible, weather-resistant barrier |
| Putty knife or beveled scraper | Removes old, failing sealant |
| Utility knife | Cuts the nozzle at an angle for control |
| Painter’s tape | Keeps lines crisp and protects the frame |
| Scrub brush, warm water, soap | Cleans the surface so sealant bonds |
| Clean cloth or rag | Dries the joint before application |
| Removable weatherstrip caulk | Optional backup for sash gaps |
The choice of sealant matters more than most beginners realize. Silicone is a classic choice for exterior joints, but hybrid sealants have become popular for older homes because they bond well to a range of materials and tolerate seasonal movement. For highly weather-exposed exterior joints, a quality silicone window and door sealant offers strong adhesion and long-term flexibility. Match the color of the sealant to the surrounding frame or masonry, or choose a paintable option if you plan to paint later.
Step 1: Inspect the Existing Seal
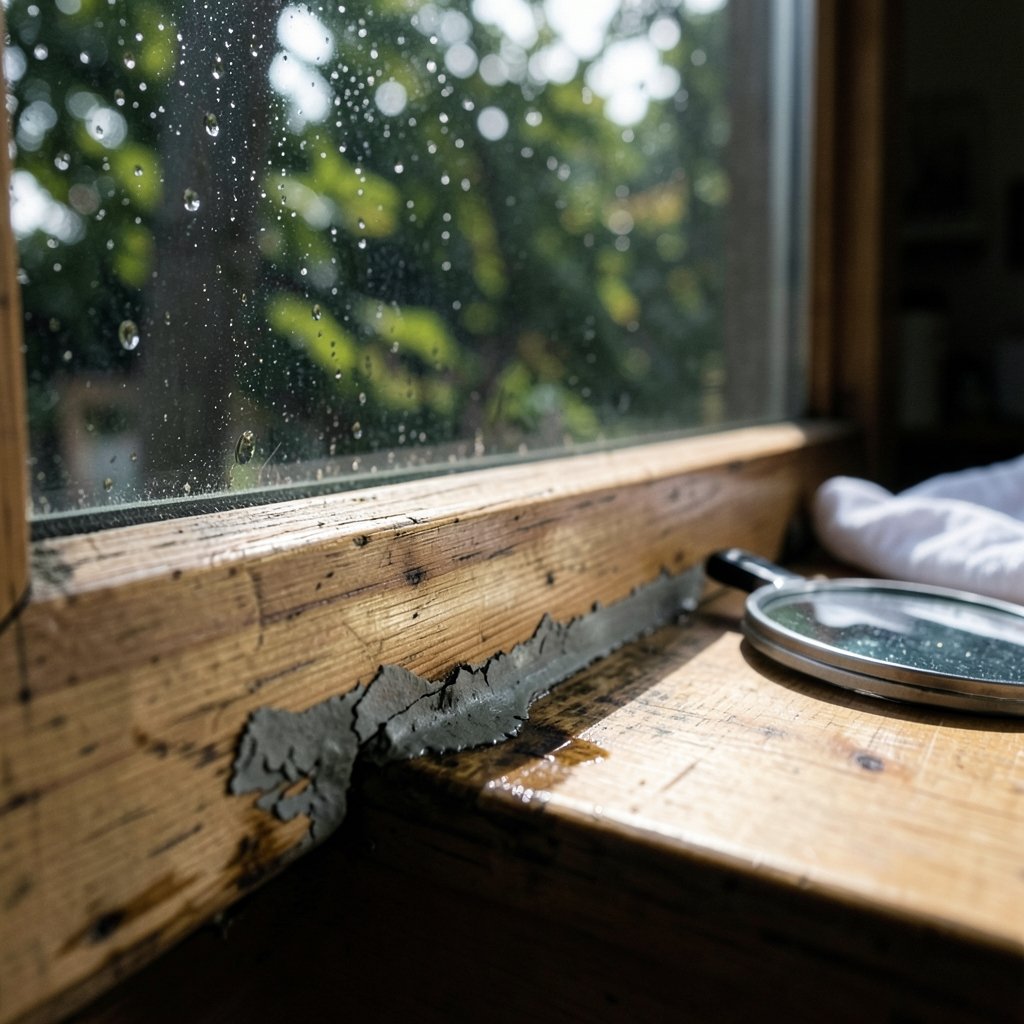
Before touching a caulking gun, walk around each window and look closely. Cracking, peeling, shrinking, or discoloration are all signs the seal has started to fail. Moisture buildup is a red flag too. Condensation between panes can point to air or water infiltration, and mold near the frame edges may signal trapped moisture behind deteriorating sealant.
A useful field test is the “dollar bill” trick: close the window on a bill and try to pull it out. If it slides out with no resistance, air is getting through. Check where the window meets the sill, the sides of the frame, and where the two sashes meet. Note every spot that moves air or shows water staining. That list becomes your work order.
Expected result: a clear map of exactly where the old seal has failed, so you don’t waste sealant on joints that are still sound.
Step 2: Clean and Dry the Joint
Dirt, old paint flakes, and grease prevent new sealant from sticking. Scrub the joint with warm soapy water and a stiff brush, then rinse. Use a putty knife or beveled scraper to lift out loose, crumbling caulk. In older homes, probe the substrate gently; if the wood or casing feels soft or unstable, stop and address the rot before sealing, because a bead of caulk will not fix failed flashing or a rotting frame.
Dry the surface thoroughly. Sealant applied over damp material traps moisture and peels within months. This is the step most people rush, and it’s the one that most often causes a redo.
Expected result: a clean, dry, stable surface that the new sealant can grip.
Step 3: Tape the Frame
Run painter’s tape along the window frame and any adjacent trim, leaving only the gap you intend to fill exposed. This single habit is what separates a tidy result from a smeared mess. Press the tape edges down firmly so sealant can’t creep underneath.
Expected result: a crisp channel for the bead and protection for surfaces you don’t want to scrape later.
Step 4: Load and Cut the Nozzle
Open the sealant tube with a utility knife, attach the nozzle, and load it into the caulking gun. Cut the tip at a 45-degree angle, and size the opening to roughly the width of the gap. A smaller opening gives more control; you can always widen it, but you can’t shrink it. Many pros also pierce the inner foil seal fully so the trigger doesn’t fight back.
Expected result: a smooth, even flow of sealant with no sputtering or air pockets.
Step 5: Apply the Bead
Hold the gun at a consistent angle and push the bead ahead of the nozzle rather than dragging it. Pushing forces sealant into the gap; dragging tends to smear it across the surface. Move steadily and overlap the ends of each pass. For deep gaps, apply in layers and let each layer skin over rather than trying to fill the whole void at once.
Keep weep holes open. These small drainage channels at the bottom of frames exist to let water escape, and sealing them creates a water trap that can lead to rot. Seal the correct plane first, too: if the air path is behind the trim, a perimeter bead on the face won’t touch it.
Expected result: a continuous, gap-free bead seated in the joint, with drainage paths still clear.
Step 6: Tool the Sealant and Remove the Tape
Before the sealant skins over, smooth the bead with a damp finger or a caulking tool. This presses the material against both sides of the joint and gives a professional finish. Peel the tape away while the sealant is still wet, pulling at a sharp angle. If you wait until it cures, the tape will tear the bead’s edge.
Expected result: a neat, uniform line with no ridges or gaps.
Step 7: Let It Cure and Check Your Work
Curing time varies by product, so read the tube rather than guessing. During that window, don’t wash the windows or press on the bead. Once cured, repeat the dollar-bill test and hold a hand near the joints on a windy day. If a spot still leaks air, it likely needs a second pass or a different approach, such as removable weatherstrip caulk for sash gaps.
Expected result: a draft-free window that’s ready for the season.
Common Mistakes That Undo a Good Reseal
Most failed resealing jobs trace back to a handful of avoidable errors. Watch for these:
- Sealing over old caulk. Fresh sealant won’t bond to a crumbling bead. Remove it first.
- Skipping the dry time. Damp surfaces are the number one cause of early peeling.
- Cutting the nozzle too wide. Oversized openings dump sealant you then have to smear.
- Blocking weep holes. Trapped water does more damage than the original draft.
- Using interior caulk outside. It won’t survive sun, rain, and freeze-thaw cycles.
- Ignoring the real air path. If the leak is behind the trim, a face bead won’t fix it.
Troubleshooting: When the Seal Still Leaks
If air or water still gets in after a careful reseal, work through the problem in order. First, confirm the source: repeat staining at corners or paint failure that returns to the same area usually means water rather than air alone. Second, check substrate integrity by probing the lower corners. Third, inspect the sash and glazing rather than the frame; foggy glass or a loose pane points to a different repair. Fourth, consider whether the window itself has shifted or the flashing has failed. A sealant bead cannot correct failed flashing or unstable casing; knowing when to call a professional saves money over repeated DIY attempts.
On the software side of home maintenance, keeping your own repair records and backups organized helps too. If you document your home projects on a PC, learning to back up iphone computer finder itunes windows steps is a handy companion skill for keeping photos and receipts safe.
How Often Should Windows Be Resealed?
Window seals have a very long lifespan. New windows installed less than 10 years ago probably won’t need resealing any time soon, and degradation often doesn’t appear until a window is at least 15 to 20 years old. Repeated heating and cooling across the seasons weakens the material over time, so age plus visible wear is the real trigger. A quick annual inspection in spring or fall catches small failures before they become exterior problems. Spring is a smart time to look, after months of cold, moisture, and seasonal movement have done their work.
Frequently Asked Questions
How do I know if my windows need resealing?
Look for cracking, peeling, shrinking, or discoloration in the existing sealant. Moisture buildup, condensation between panes, and mold near the frame edges are also red flags. A dollar-bill test at the sill and sash confirms whether air is actually getting through.
Can I reseal windows myself, or should I hire a pro?
Most frame resealing is a straightforward DIY job with basic tools and a few hours of time. Hire a professional when the leak comes from failed flashing, unstable casing, soft or rotting wood, or fogged double-pane glass, since those are repair problems rather than sealing problems.
What kind of sealant works best for window frames?
Exterior-grade silicone is a reliable choice for weather-exposed joints because it stays flexible and resists UV damage. Hybrid sealants are a good option for older homes because they bond to a wider range of materials and handle seasonal movement well. Avoid interior-only caulk outdoors.
Why did my new sealant peel off after a few months?
The usual cause is applying sealant over a damp, dirty, or unstable surface. Old caulk left in place, skipped drying time, and cold application temperatures all weaken the bond. Remove the failed bead fully, clean and dry the joint, and reapply.
Do I need to remove all the old caulk before resealing?
Yes, at least everywhere it has failed. Fresh sealant won’t adhere properly to a crumbling or contaminated bead, and a partial bond lets water creep behind the new layer. Scrape out loose material until you reach sound substrate.
What should I do if the window still leaks after resealing?
Confirm whether the leak is air or water, then check the substrate, the sash and glazing, and the flashing. If the air path sits behind the trim, a perimeter bead won’t reach it. Persistent leaks after a careful reseal usually point to a repair issue that a professional should assess.
Conclusion
Resealing windows is one of those jobs that rewards patience far more than speed. The sequence matters: inspect first, clean and dry thoroughly, tape the frame, cut the nozzle small, push the bead, tool it while wet, and let it cure. Skip any of those steps and the sealant will tell on you within a season. Do them in order, and a Saturday morning’s work can shut out drafts, keep moisture where it belongs, and make every room feel warmer without touching the thermostat.
It also pairs well with the rest of your home maintenance routine. If your computer has been sluggish while you research products or log receipts, a guide on how to fix windows 11 running slow after update can clear that frustration in minutes. And if you ever need to move project photos or invoices off a drive before reformatting it, learning to format usb drive windows 11 without losing data keeps your records safe. Small skills, stacked together, keep a home running smoothly, whether the problem is a drafty frame or a laggy laptop.