
What would you actually do if someone collapsed in front of you right now?
Most people freeze. Not because they don’t care, but because they’ve never rehearsed the moment. They picture a dramatic rescue from a movie and forget that real life-saving is usually quiet, awkward, and surprisingly simple. Press hard on a chest. Call a number. Ask a blunt question.
This guide walks through the practical skills that buy time in the most common emergencies: cardiac arrest, choking, severe bleeding, and a mental health crisis. No medical degree required. Just a willingness to act imperfectly rather than stand still.
Why the First Few Minutes Decide Almost Everything
Emergency medicine has a phrase for it: the Chain of Survival. It describes a sequence of links, each of which must hold for a person in cardiac arrest to have a real chance. Recognition and calling for help come first. Then early CPR, early defibrillation, advanced care, and recovery support.
Notice what sits at the front of that chain. Not paramedics. Not hospitals. Bystanders.
Professional responders take time to arrive. The person on the ground doesn’t have that time. Brain tissue starts to suffer within minutes of losing circulation, and every minute without CPR or a shock reduces the odds of survival. This is why public health bodies push so hard on training ordinary people. The American Heart Association’s overview of cardiac arrest and the Chain of Survival explains how each link fits together, and why the bystander links carry so much weight. (Chatgpt prompt ideas work that actually save you time)
The good news: the skills that matter most are learnable in an afternoon and forgettable in a year. The trick is to practice them enough that your hands remember when your brain panics.
Step One: Recognize What’s Actually Happening
Before any heroics, you need a diagnosis. Roughly ten seconds of assessment does it.
- Check for responsiveness. Tap the shoulders and shout. “Are you okay?” Loudly.
- Look at the breathing. Not breathing, or only gasping? Gasping is not normal breathing, and it’s a classic sign of cardiac arrest. People miss this constantly because the gasps look like breathing.
- If unresponsive and not breathing normally, assume cardiac arrest and act.
A common mistake: spending five minutes debating whether the person fainted, had a seizure, or is drunk. Fainting usually resolves. Cardiac arrest does not. If you’re unsure, treat it as the worst case. You will not hurt someone by starting CPR on a person who turns out to be fine; people do occasionally recover consciousness during compressions. You will absolutely hurt someone by waiting.
Another mistake: calling a family member before calling emergency services. Call first, or better, have a specific person call while you start compressions. Point at someone and say “you, call 911 and bring back an AED.” Vague shouts of “someone call an ambulance” get ignored in crowds. Named instructions get followed.
Step Two: Hands-Only CPR for Adults
If you take one skill from this article, take this one.
For an adult who collapses outside a hospital, hands-only CPR is a legitimate, guideline-endorsed option for untrained or unwilling bystanders. That means continuous chest compressions with no rescue breaths. The American Heart Association’s CPR hub explains hands-only CPR and how it fits alongside conventional training. (Cardiopulmonary resuscitation (CPR))
Here’s the technique, stripped to essentials:
- Place the person on their back on a firm surface.
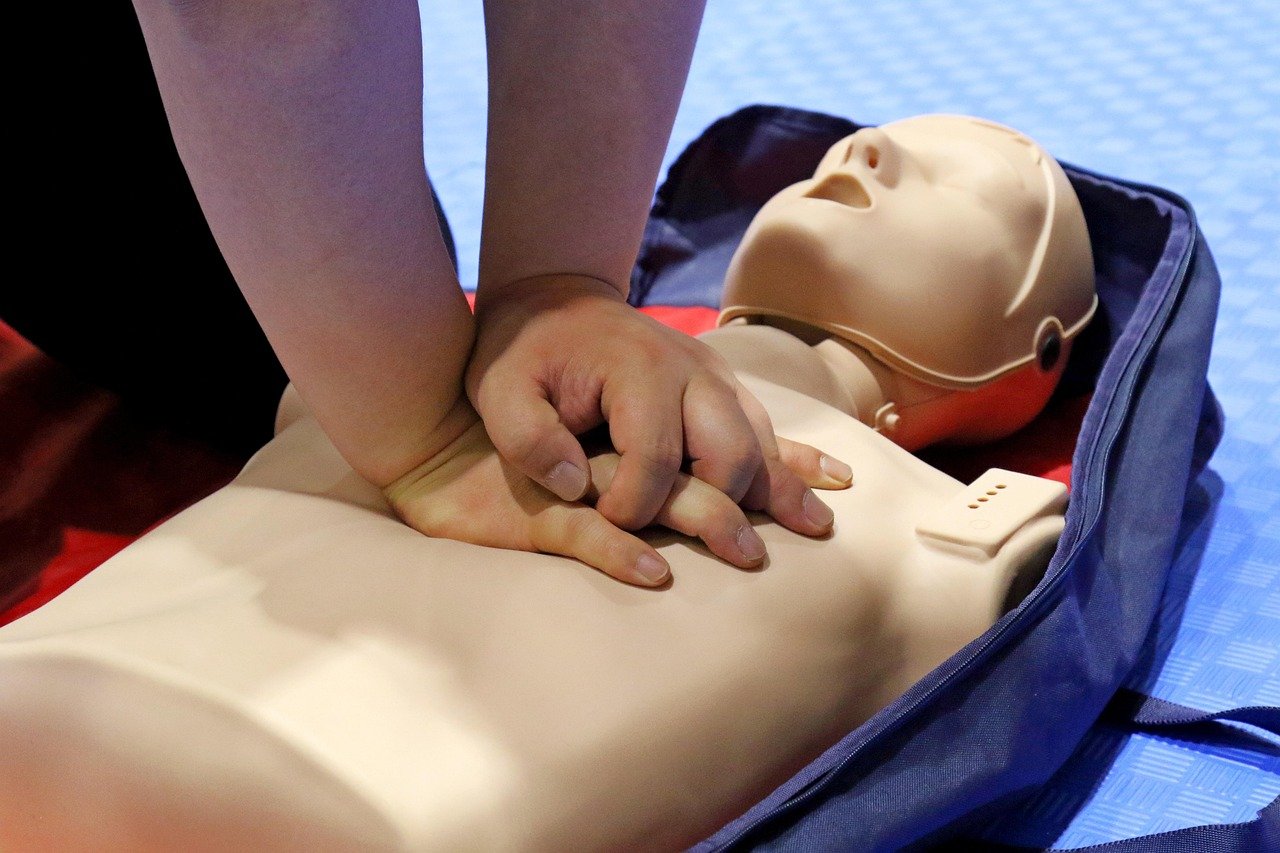
- Put the heel of one hand in the center of the chest, on the lower half of the breastbone. Stack your other hand on top and interlace fingers.
- Keep your arms straight and shoulders directly over your hands.
- Push hard and fast: at least 5 cm (about 2 inches) deep for an adult, at a rate of 100 to 120 compressions per minute.
- Let the chest come all the way back up between compressions. Don’t lean on it.
- Keep going until help arrives, an AED is ready, or the person starts breathing.
The rate matters more than people expect. Too slow and you’re not circulating enough blood. Too fast and the heart doesn’t refill. A useful trick: the beat of “Stayin’ Alive” sits almost exactly in the 100 to 120 range. Hum it. It works.
Common errors worth naming, because they show up in almost every real-world rescue:
- Compressing too shallow. Depth gets lost when people are nervous. Push harder than feels polite. Ribs do break sometimes during effective CPR; that’s a known and accepted risk, not a sign you’re doing it wrong.
- Pausing too long. Every interruption drops blood pressure. Swap rescuers every two minutes if you can, and make the swap quick.
- Forgetting the AED. People get so focused on compressions they never send anyone for the defibrillator.
The compression depth and rate figures come from resuscitation guidelines that are revised periodically. The AHA’s CPR and emergency cardiovascular care guidelines portal is the place to confirm the current edition’s numbers before you rely on memory.
What About Children and Drowning?
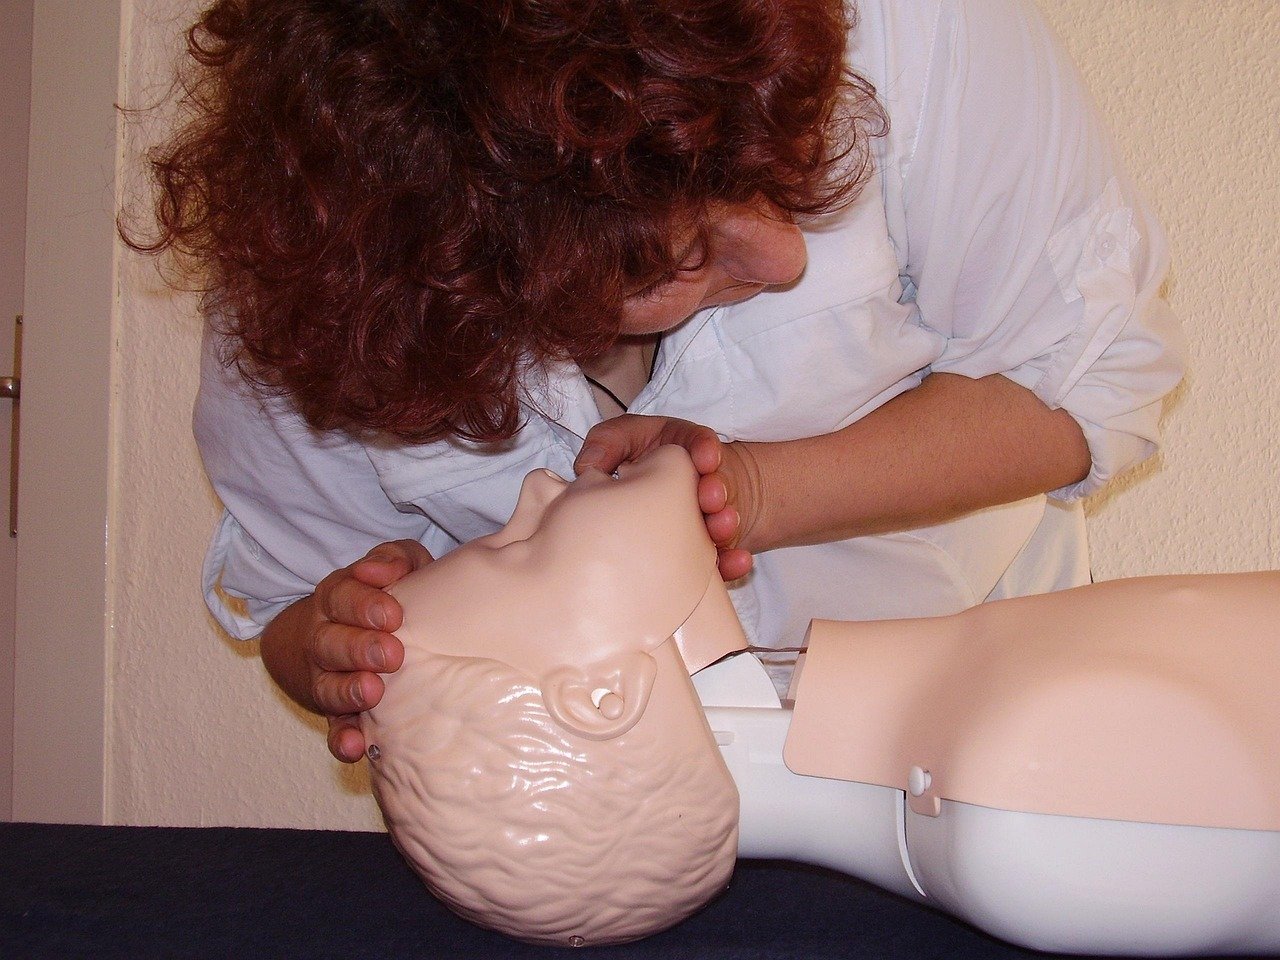
Hands-only CPR is the default for adult collapse. It is not the default for every situation. For children, and for victims of drowning or suffocation, the underlying problem is often a lack of oxygen rather than a sudden electrical failure of the heart. In those cases, rescue breaths matter more, and conventional CPR with breaths is preferred if you’re trained.
If you’re not trained and a child collapses, do compressions anyway. Something is better than nothing. But this is exactly why a basic course is worth the four hours.
Step Three: Find and Use an AED
An automated external defibrillator is a small portable device that analyzes a heart rhythm and delivers a shock if one is needed. They’re designed for complete novices. The machine talks you through every step.
Where they live: train stations, airports, shopping centers, gyms, schools, office lobbies, sports grounds. In many countries they’re registered in public databases or marked with green signage.
How to use one:
- Turn it on. It will start giving voice prompts immediately.
- Expose the chest and attach the pads as shown on the diagrams. Most machines have pictures on the pads themselves.
- Plug in the connector if it isn’t already attached.
- Stand clear while it analyzes. Don’t touch the person.
- If it says shock, make sure nobody is touching the person, then press the button.
- Resume compressions immediately after the shock or if no shock is advised.
Two things people get wrong. First, they delay CPR while hunting for an AED. Don’t. Send someone else to find it while you compress. Second, they hesitate to use the machine in case they hurt someone. The device will not shock a rhythm that shouldn’t be shocked. It’s built to refuse.
Step Four: Choking
Choking is fast and terrifying to watch. The person often can’t speak, may clutch their throat, and their face turns red then grey.
If the airway is only partly blocked and they can still cough forcefully, encourage coughing. It’s more effective than anything you can do with your hands.
If the airway is fully blocked, the standard sequence is back blows followed by abdominal thrusts, sometimes called the Heimlich manoeuvre. Resuscitation Council UK publishes public resuscitation guidelines covering choking technique in detail, and the exact order and hand placement differ slightly between countries. The principle is the same everywhere: create pressure under the diaphragm to force air up and expel the object.
For an adult:
- Lean them forward and give up to five sharp back blows between the shoulder blades with the heel of your hand.
- If that fails, stand behind them, make a fist just above the navel, grasp it with your other hand, and pull sharply inward and upward up to five times.
- Alternate five back blows and five abdominal thrusts until the object clears or they collapse.
- If they become unresponsive, lower them to the ground and start CPR.
For infants under one year, abdominal thrusts are not used. The technique is back blows and chest thrusts instead. This is a genuine difference, not a detail, and it’s worth learning properly rather than improvising.
Step Five: Severe Bleeding
A person can bleed to death from a limb injury in minutes. Faster than an ambulance can arrive in most places.
The response is almost aggressively simple: direct pressure. Press hard on the wound with whatever clean material you have, and keep pressing. Don’t lift to check. Don’t peek. Add more material on top if it soaks through rather than removing what’s there.
If bleeding from a limb is life-threatening and pressure isn’t controlling it, a tourniquet is the next step. The Stop the Bleed campaign, launched in the United States after a 2013 consensus on mass-casualty response, teaches the public to pack wounds and apply tourniquets. The campaign’s site covers the technique and the reasoning behind it. Improvised tourniquets are better than nothing but proper ones work far better; many public first-aid kits now include them.
Step Six: The Emergency Number You Need
Every second spent fumbling for the right number is a second lost. Learn the local number before you need it.
| Region | Emergency number |
|---|---|
| United States and Canada | 911 |
| United Kingdom | 999 (112 also works from mobiles) |
| European Union | 112 |
| Australia | 000 |
| New Zealand | 111 |
The EU’s 112 number works across all member states and connects to English-speaking operators in most of them. The European Union’s official page on the 112 emergency number explains how it works for travelers. If you’re heading abroad, that’s the one number worth memorizing before you land.
Step Seven: When the Emergency Is Invisible
Not every life-threatening crisis involves a body on the floor.
If someone is talking about ending their life, the instinct is often to change the subject, reassure, or panic. The evidence points the other way: asking directly about suicidal thoughts does not increase risk, and it often brings relief. The World Health Organization’s fact sheet on suicide and prevention sets out what’s known about risk factors and what helps.
What actually helps in the moment:
- Ask directly. “Are you thinking about killing yourself?” Plain language, no euphemism.
- Stay with them. Don’t leave a person alone after a disclosure.
- Reduce access to means. Medications, firearms, or anything else they mentioned. This is one of the most effective things a family can do.
- Connect them to crisis support. Most countries run 24-hour lines, and emergency services can respond to immediate danger.
Good Samaritan protections exist in many places for people who step in during a physical emergency, though the scope varies by jurisdiction. The Red Cross summary of CPR and Good Samaritan laws by state gives a sense of how these protections work in the United States. It’s not a blanket immunity anywhere, but it exists precisely so that hesitation about liability doesn’t cost someone their life.
The Skill Nobody Practices
Here’s the uncomfortable truth: reading this article will not make you ready. Reading about swimming doesn’t stop you drowning.
What makes people ready is repetition. A four-hour first aid course, refreshed every couple of years, does more than a hundred articles. Practicing compressions on a manikin until the depth and rhythm feel automatic does more than any video. Knowing where the nearest AED is in your workplace, your gym, and your child’s school costs nothing and takes ten minutes.
There’s a broader point buried in all of this. The tools to save a life are almost embarrassingly low-tech: hands, a phone, a machine that talks, a piece of cloth, a direct question. What’s scarce isn’t the equipment. It’s the willingness to step forward and the muscle memory to do something useful once you have. (Hr 7567 save our bacon farm bill prediction markets whats)
If you’ve been meaning to book a course, book it. If you’ve been meaning to check where the defibrillator is at work, check today. The version of you that freezes is the version that never prepared. The version that acts is the one that practiced once, badly, and remembered enough to start.
Frequently Asked Questions
Can I be sued for doing CPR on a stranger?
In many jurisdictions, no, provided you act in good faith and within your training. Good Samaritan laws exist to protect lay rescuers, though the exact conditions vary by country and state. The realistic risk of legal trouble is very low compared with the risk of doing nothing.
Is hands-only CPR really as good as CPR with rescue breaths?
For adult cardiac arrest outside a hospital, hands-only CPR is a guideline-endorsed option and produces comparable outcomes to conventional CPR in the early minutes. For children, drowning victims, and situations where oxygen was cut off first, rescue breaths matter more. If you’re trained, use full CPR. If you’re not, compressions alone are far better than nothing. (CPR Steps: How to Perform CPR)
How hard should I push during chest compressions?
At least 5 cm, or about 2 inches, for an adult, at 100 to 120 compressions per minute. It will feel too hard. It should. Rib fractures are a known risk of effective CPR and are not a reason to ease off.
What if I’m not sure the person is in cardiac arrest?
Start compressions. If they’re unresponsive and not breathing normally, treat it as cardiac arrest. Gasping counts as not breathing normally. A person who is merely unconscious but breathing will not be harmed by a brief assessment, and a person in arrest has minutes to spare.
Where do I find an AED in an emergency?
Look for green or red signage marked with a heart and lightning bolt, usually near entrances, lobbies, and reception desks in public buildings. Send a specific person to fetch it while someone else starts compressions. Never delay CPR to search for one yourself.
What’s the single most useful thing I can do to prepare?
Take a hands-on first aid course and refresh it every two years. Practical repetition on a manikin beats reading, watching, or memorizing. While you’re at it, note the location of the nearest AED at work, at home, and anywhere you spend regular time.



