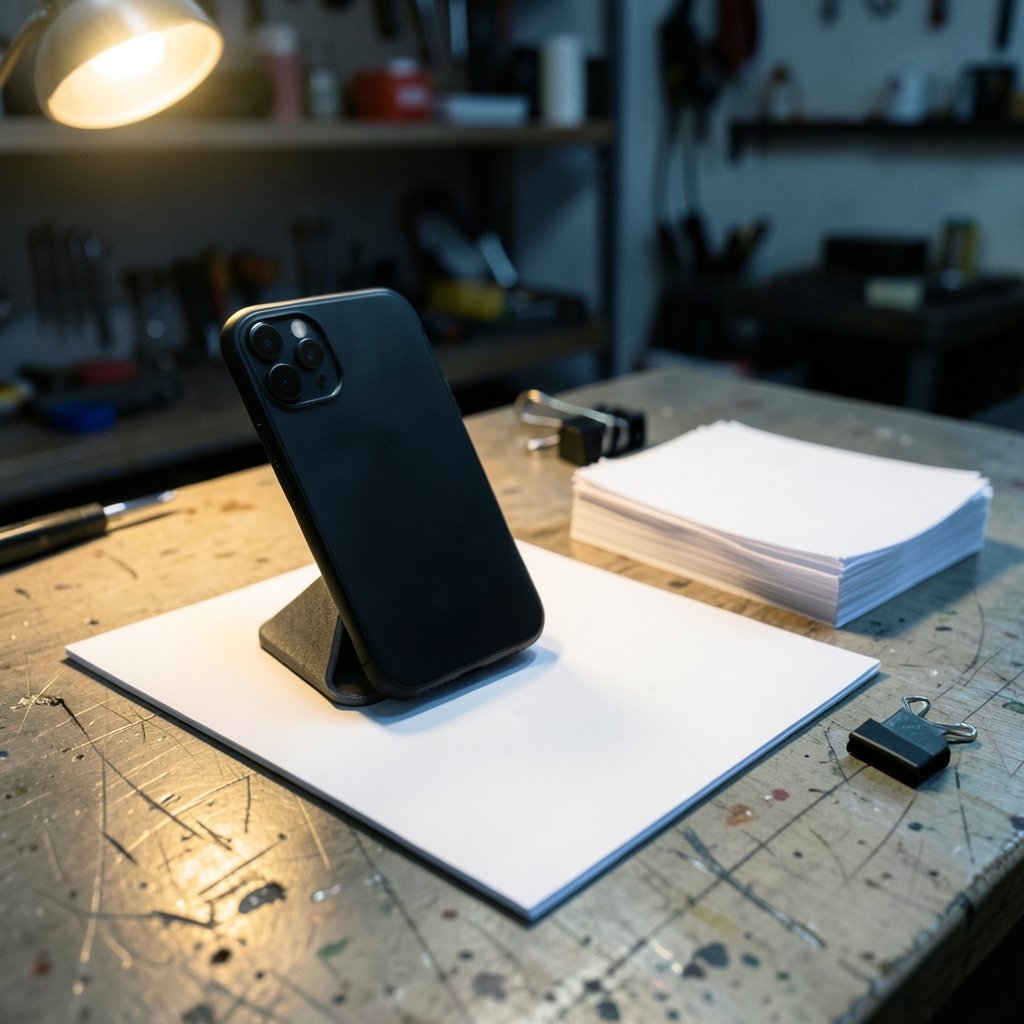
What if the flatbed scanner gathering dust in the closet has been unnecessary for years? For most people, it has. Every iPhone sold since 2017 can turn a paper receipt, a signed contract, or a school permission slip into a clean PDF in under a minute, using nothing but the camera that is already in their pocket. The trick is knowing where the scanner hides, because Apple buried it inside apps people already open every day. (Common iphone problems fix them before you panic) (Image scanner)
This guide walks through the built-in methods step by step, compares them in a table, covers the mistakes that produce blurry or crooked scans, and explains when a third-party app is actually worth installing.
Where the Scanner Actually Lives on iPhone
Apple does not ship a standalone “Scanner” app. Instead, the scanning tool is built into two places: the Notes app and the Files app. Both use the same underlying camera technology, and both output PDF files, but they behave differently enough that the choice matters.
The Notes scanner arrived first, with iOS 11 in September 2017. The Files scanner followed with iOS 13 in September 2019. Because both are part of the operating system, there is nothing to download, no subscription, and no account required beyond the Apple ID already on the device.
A quick way to remember the difference: Notes is for documents you want to find later by searching, while Files is for documents you want to store in a folder structure alongside other files. More on that distinction below.
Scanning a Document in the Notes App
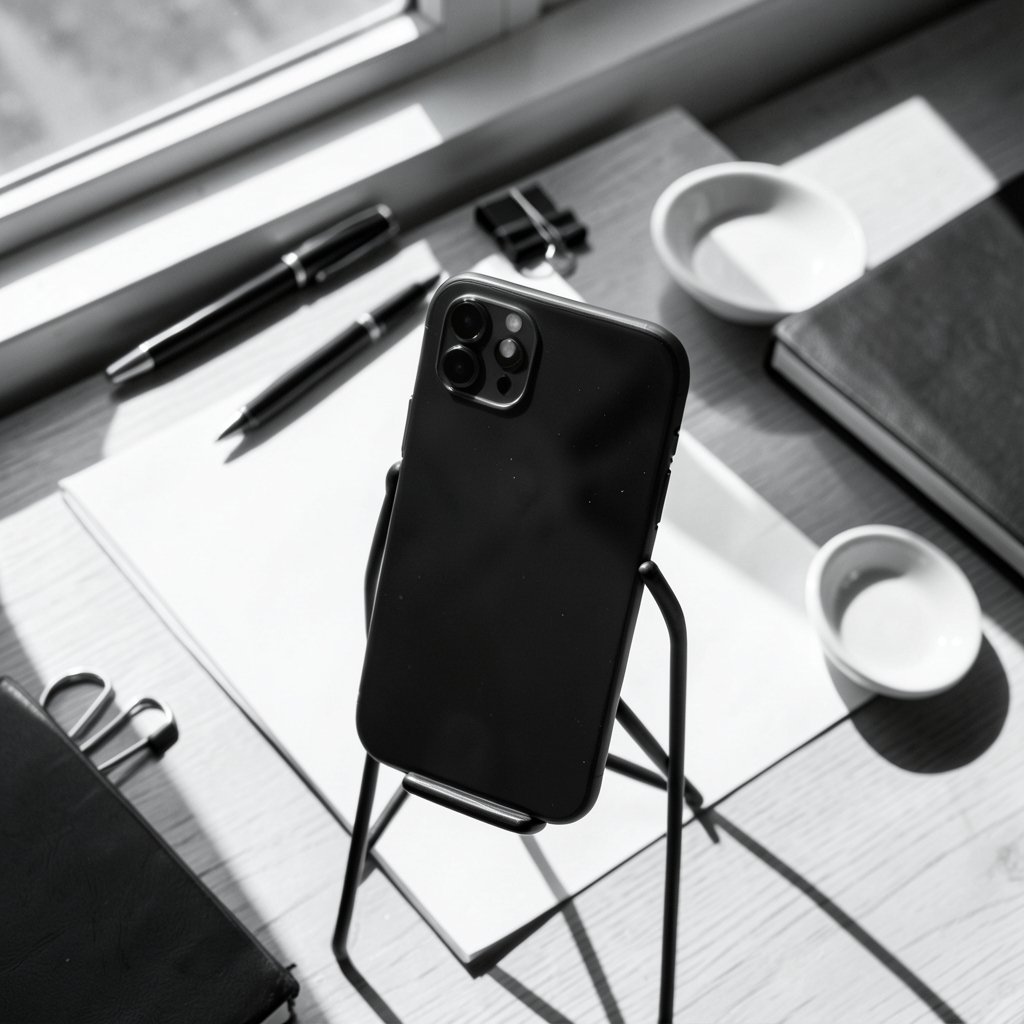
Notes is the fastest route for most people, and it is the one worth memorizing.
- Open Notes and either create a new note or open an existing one.
- Tap the camera icon in the toolbar (on newer iOS versions it may sit behind a small plus or ellipsis button).
- Choose Scan Documents.
- Hold the phone over the page. The camera detects the page edges automatically and fires the shutter on its own when the page is framed.
- Keep going for additional pages. Each capture is added to the same document.
- Tap Save when finished. The scan lands inside the note as a thumbnail.
The auto-capture behavior is the feature people either love or fight with. It works beautifully on a high-contrast page on a dark desk. It struggles with a white page on a white table, where the edge detection has nothing to grab onto. The fix is simple: put the paper on a darker surface, or tap the shutter button manually instead of waiting for the automatic trigger.
After saving, tapping the scanned thumbnail opens it full screen, where a Markup toolbar appears. This is where signatures get added, along with text boxes, shapes, and a magnifier for highlighting a detail. For anyone who signs leases, invoices, or consent forms remotely, the signature tool alone justifies learning this workflow. The signature can be drawn once with a finger and reused indefinitely.
Scanning Into the Files App Instead
The Files route is better when the scan needs to live in a specific folder, such as a “Taxes 2025” folder synced to iCloud Drive, or a shared folder a colleague can access.
- Open Files and navigate to the folder where the scan should be saved.
- Tap the ellipsis (…) button in the top corner.
- Tap Scan Document.
- Frame each page; the camera captures automatically or on a manual tap.
- Tap Save and the PDF is written directly into that folder.
The advantage here is organization. A scan saved to Files behaves like any other file: it can be renamed, moved, duplicated, dropped into a zip archive, or shared through a link. A scan saved to Notes lives inside a note, which is searchable but less flexible as a file.
One practical scenario where Files wins: scanning a stack of receipts for a reimbursement claim. Scan each receipt into a single folder, then share the whole folder at once rather than forwarding a dozen separate notes.
Notes vs. Files: Which Scanner Should You Use?
| Feature | Notes scanner | Files scanner |
|---|---|---|
| Where scans are saved | Inside a note | As a PDF in a chosen folder |
| Best for | Quick capture, searchable text later | Organized storage, sharing folders |
| Multi-page scanning | Yes | Yes |
| Automatic page detection | Yes | Yes |
| Markup and signatures | Yes, via tap on thumbnail | Yes, via markup tools |
| Sync | iCloud Notes | iCloud Drive or other file providers |
| Available since | iOS 11 (2017) | iOS 13 (2019) |
Neither option is “better” in the abstract. The right choice depends on whether the document needs to be found by content later or filed by location.
Scanning Straight Into a Mac With Continuity Camera
There is a third method that surprises even longtime Apple users. Since 2018, with macOS Mojave and iOS 12, an iPhone can act as a scanner for a nearby Mac through Continuity Camera. The scan appears directly in whatever Mac app is open, with no file transfer step.
The workflow: right-click or control-click inside a Mac app that supports it (Finder, Preview, Notes, and several others), choose Import from iPhone, then Scan Documents. The iPhone camera interface opens remotely, the pages are captured, and the finished PDF drops into the Mac document. Apple documents the full set of supported apps in its guide to using Continuity Camera on Mac, which is worth reading if the menu option does not appear where expected. (Samsung galaxy s26 vs iphone 17 which flagship fits your) (Scan a document with iPhone)
This is genuinely useful for desktop workers who keep reference documents on a Mac and do not want to email files to themselves. It requires both devices signed into the same Apple ID, with Wi-Fi and Bluetooth enabled on both.
The Mistakes That Ruin Most iPhone Scans
Most disappointing scans fail for one of four reasons, and all four are avoidable.
Shooting in bad light. The camera compensates by slowing the shutter, which introduces motion blur. A desk lamp angled across the page, or plain daylight near a window, produces dramatically sharper results than overhead room lighting. Avoid casting a shadow from the phone itself, which is easy to do when leaning over a page.
Ignoring the perspective correction. The scanner does more than crop; it applies a perspective transform to square up a page photographed at an angle. That correction has limits. A page shot at a steep angle, or one with a curled edge from a book spine, will come out slightly warped. Flattening the page, or pressing a book flat, matters more than many people expect.
Forgetting the multiple-page mode. People scan page one, save, then start over for page two, ending up with a dozen separate one-page PDFs. Instead, keep capturing within the same session; both Notes and Files support scanning several pages into one document before saving.
Skipping the rename. A file called “Scan 2025-01-14 09.42.13” is unfindable three months later. Renaming takes five seconds and saves minutes of hunting.
A less obvious issue is storage. Scans can be large, and a phone that is nearly full may fail to save mid-scan. Anyone who has hit that wall before knows the frustration. The same housekeeping that keeps the device healthy applies here, and a guide to common iPhone problems and how to fix them covers the storage and performance fixes that head off these failures. Backing up before a big scanning session is also wise; the steps for backing up an iPhone to a computer through Finder or iTunes on Windows are straightforward and worth doing before any bulk document project. (Iphone philippines price)
What About Text Recognition and Searchable PDFs?
A common expectation is that a scanned document becomes searchable text automatically. The reality is more complicated. Apple’s built-in scanner produces image-based PDFs, and text extraction depends on the iOS version and the app used.
Live Text, introduced with iOS 15 in 2021, lets users select and copy text directly from photos and from images inside some apps. That helps when the goal is to grab a paragraph from a scan. It is not the same as producing a fully searchable PDF with an embedded text layer, which is what document-heavy workplaces often require.
For searchable output, a third-party app is usually necessary. Apps like Adobe Scan and Microsoft Lens add OCR, or optical character recognition, which converts the image of text into machine-readable characters. The trade-off is privacy: those apps may process documents on their servers and have their own terms. For sensitive documents such as medical records or financial statements, checking the app’s data policy before scanning is a sensible habit.
When a Third-Party Scanner App Is Worth It
The built-in tools cover the vast majority of needs. A dedicated app earns its place in a few specific situations:
- The document must be searchable as a PDF, with a real text layer.
- Batch scanning of dozens of pages is needed, with automatic cropping and deskewing at speed.
- The scan must be exported to a specific format, such as a Word file or a compressed image set.
- Documents need to be routed into a cloud workflow with naming rules.
For occasional use, the free built-in scanner is faster, more private, and one less app to trust. For heavy professional use, the extra features justify the download.
Getting Sharper Results: A Short Practical Checklist
Before the next scan, run through these five points. They take seconds and consistently improve output.
- Place the page on a surface with contrast, ideally dark.
- Light the page from the side, not from directly above.
- Flatten curled edges and press book spines down.
- Capture all pages in one session before saving.
- Rename the file immediately, and confirm the PDF opens correctly before deleting the paper original.
That last step matters more than it sounds. A scan that was never verified is not a backup; it is an assumption. Opening the file once, zooming in on the smallest text, confirms the capture is legible.
Conclusion
Scanning a document on an iPhone is not a hidden power-user trick. It is a built-in feature that has been sitting in Notes since 2017 and in Files since 2019, waiting for someone to tap the camera icon. Notes handles quick captures that need to be searchable later; Files handles scans that need a home in a folder; Continuity Camera handles the desktop workflow without a single file transfer. The quality gap between a mediocre scan and a professional-looking one comes down to light, contrast, and flattening the page, not the hardware. With those basics in place, the flatbed scanner in the closet can stay exactly where it is.
Frequently Asked Questions
Does scanning a document on iPhone cost anything?
No. The scanners built into Notes and Files are part of iOS and require no purchase, subscription, or account beyond the Apple ID already on the device. Third-party apps may charge for advanced features, but the built-in tools are free.
Can an iPhone scan multiple pages into one document?
Yes. Both the Notes and Files scanners keep capturing pages within a single session, adding each one to the same document. Users simply keep framing pages until finished, then tap Save once.
Are iPhone scans saved as PDFs or images?
They are saved as PDF files. This makes them easy to email, print, or share through Messages and AirDrop, and it keeps multi-page documents in a single file rather than a folder of separate images.
Why does the iPhone camera keep taking the photo before I am ready?
That is the automatic capture feature, which fires the shutter when it detects the page edges. It can be disabled or overridden by tapping the shutter button manually. If it triggers too early, adding contrast under the page, such as a dark folder or desk mat, usually settles it.
Can I sign a scanned document on the iPhone?
Yes. After scanning, tapping the document thumbnail opens Markup, which includes a signature tool. A signature can be drawn once with a finger and reused on later documents, which makes signing forms remotely practical without printing anything.
Is it safe to scan sensitive documents with a third-party app?
It depends on the app’s data policy. Some third-party scanners process documents on remote servers to enable text recognition, which means the file leaves the device. For medical, financial, or legal paperwork, the built-in Notes and Files scanners keep the document on the phone and are the safer default.