
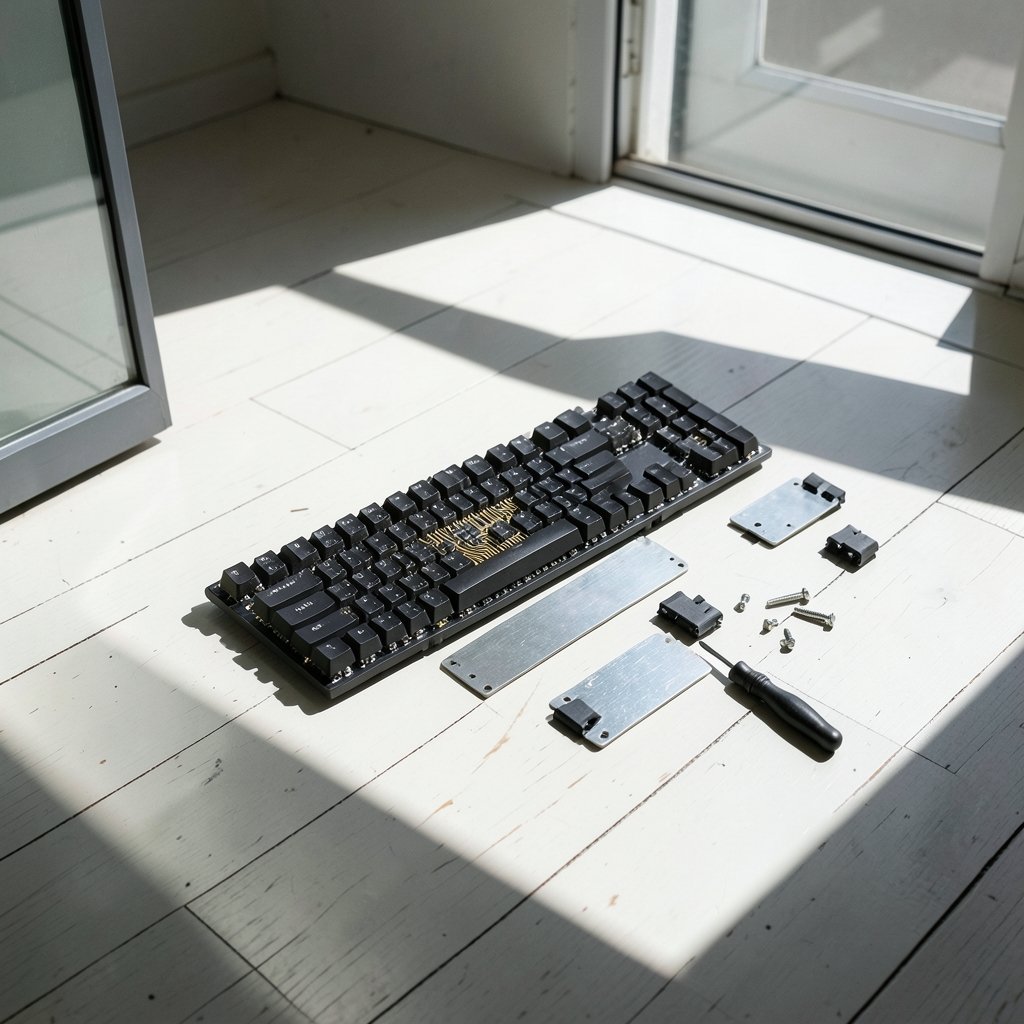
Does a wobbly spacebar really ruin the feel of an otherwise great keyboard? Ask anyone who has typed on a rattly long key, and the answer is usually an emphatic yes. Stabilizers are the small but mighty hardware pieces that keep your shift, enter, backspace, and spacebar keys level when you press them at an angle. Get them right, and your board sounds clean and feels solid. Get them wrong, and every long key becomes a noisy reminder.
The biggest fork in the road for most builders is the choice between screw-in stabilizers and clip-in stabilizers. Both do the same basic job, but they mount differently, feel different, and suit different builds. This guide breaks down the trade-offs in plain language so you can pick with confidence.
What Keyboard Stabilizers Actually Do
Before comparing mounting styles, it helps to understand the job. A standard switch supports one keycap at a single point. Long keys like the spacebar span two or more switch positions, so they need extra support at the ends to stop the keycap from tilting when you press off-center. Stabilizers provide that support.
Most modern stabilizers follow the Cherry MX design lineage, which uses a wire that runs between two housings. When everything is tuned well, the wire glides smoothly and the key returns level. When it is loose, you get rattle, ticking, and a mushy feel. The mounting method matters because it determines how firmly the housings stay in place, and firmness is the foundation of a rattle-free build.
The Core Difference: How They Attach
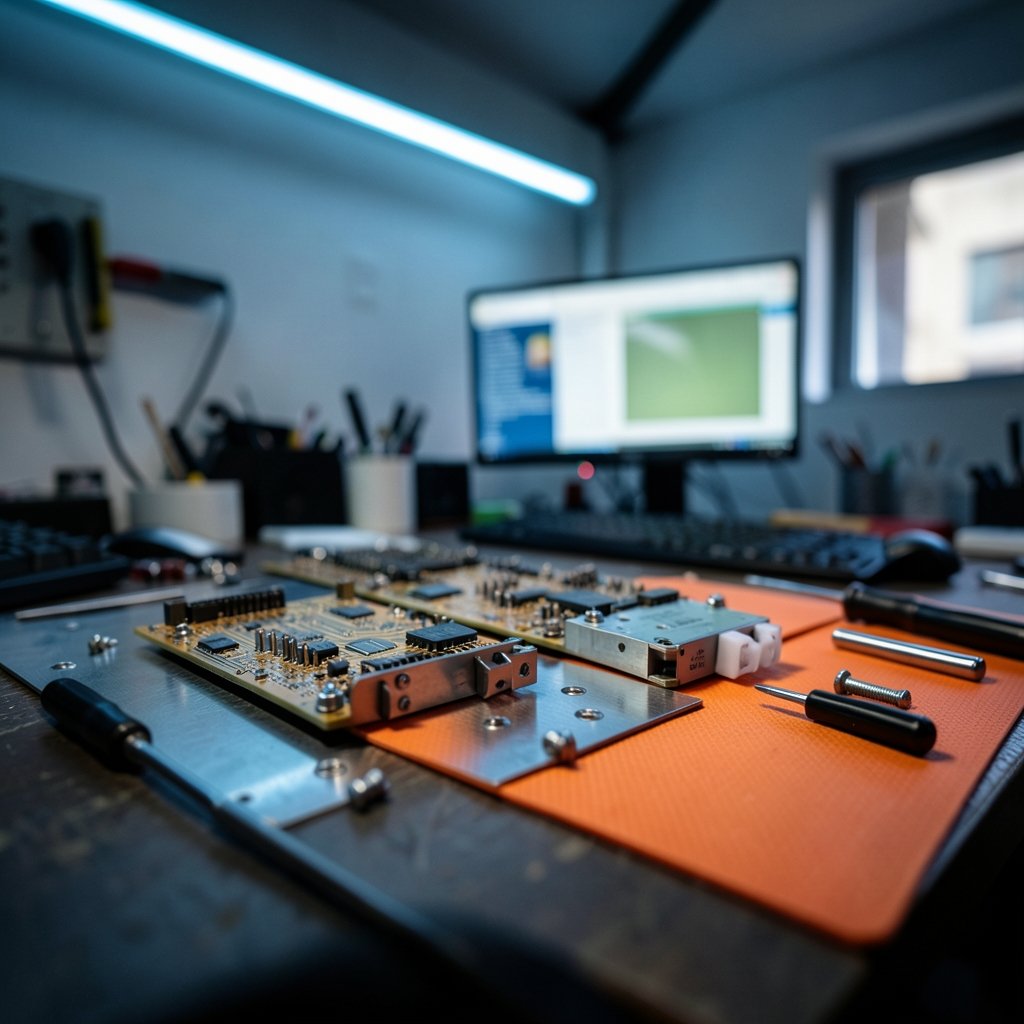
The names tell most of the story, but the details matter.
Screw-in stabilizers fasten to the printed circuit board (PCB) with small screws that pass through the housing and thread into the board. The housing sits flat against the PCB and is held down at two points.
Clip-in stabilizers snap into the plate or PCB using plastic tabs or clips molded into the housing. There are no screws. Friction and the clip geometry hold them in place.
That single mechanical difference drives almost every other trade-off, from installation difficulty to long-term reliability. For a broader look at how keyboard hardware choices affect real-world use, it helps to think about the whole setup, including how you position your board. A stable platform makes small hardware differences easier to notice, which is why stage performers care so much about their best keyboard stand for stage performance. (Computer keyboard)
Screw-In Stabilizers: The Secure Standard
Screw-in stabilizers are the default choice for serious custom builds, and for good reason.
Why builders prefer them
The screws clamp the housing tightly to the PCB, which virtually eliminates the up-and-down play that causes rattle. Because the housing cannot shift, the wire stays aligned, and the key feels more consistent across its full width. Screw-in housings also tend to be easier to tune precisely. When you apply lubricant or a mod like dielectric grease on the wire, the housing stays put while you work.
There is also a practical benefit during assembly. If you need to remove or swap a stabilizer, you simply back out the screws. No prying, no risk of cracking a plate.
The drawbacks
Screw-in stabilizers require a PCB with mounting holes and threads. Not every board has them. Budget pre-built keyboards and some solder-only kits use plates that only accept clip-in hardware. Screws are also small, and losing one mid-build is a classic frustration. A magnetic parts tray solves that problem instantly, and it is one of those small habits that separates a smooth build from a stressful one.
Another consideration: over-tightening screws can strip the threads in the PCB. Snug is enough. If you feel resistance, stop.
Clip-In Stabilizers: Simple and Accessible
Clip-in stabilizers trade screws for clips, and that makes them the friendlier option for many people.
Where they shine
Installation is fast. You press the housing into the plate or PCB until it clicks, and you are done. There are no screws to lose and no threads to strip. For beginners, hot-swap boards, and pre-built keyboards that ship with clip-in hardware, this simplicity is a genuine advantage. Many entry-level kits are designed around clip-in stabilizers because they lower assembly complexity.
Clip-in stabilizers are also common in plate-mount configurations, where the stabilizer grips the plate rather than the PCB. If your board uses a plate-mount setup, clip-in is often your only realistic option.
The weak points
The clips rely on friction, and friction can loosen over time. Heavy use, repeated keycap swaps, and the natural flex of a plate can cause a clip-in housing to work itself loose. When that happens, you get exactly the rattle you were trying to avoid. Some builders address this with a small strip of tape or a dab of hot glue on the clips, but those are workarounds, not fixes.
Clip-in housings can also be harder to remove cleanly. Prying them out risks scratching the plate or snapping a tab, which turns a five-minute swap into a repair job.
Screw-In vs Clip-In: Side-by-Side Comparison
| Feature | Screw-In Stabilizers | Clip-In Stabilizers |
|---|---|---|
| Mounting method | Screws into PCB | Clips into plate or PCB |
| Stability | Very high | Moderate |
| Rattle resistance | Strong | Weaker over time |
| Installation speed | Slower | Faster |
| Removal and swapping | Easy, reversible | Can risk damage |
| PCB requirements | Needs threaded mounting holes | Works with clip-compatible plates and PCBs |
| Best for | Custom builds, enthusiasts | Beginners, plate-mount boards, pre-builts |
| Long-term reliability | High | Depends on clip tension and use |
The table makes the pattern clear. Screw-in wins on stability and longevity. Clip-in wins on convenience and compatibility. Neither is universally better; the right pick depends on your board and your goals.
Compatibility: Check Before You Buy
This is where many first-time builders stumble. Buying screw-in stabilizers for a board that only supports clip-in mounting is a common and expensive mistake.
Check three things before ordering:
- Confirm whether your PCB has stabilizer screw holes. Look at the underside of the board near the long key positions.
- Confirm whether your build is PCB-mount or plate-mount. PCB-mount stabilizers attach to the board; plate-mount stabilizers attach to the plate.
- Confirm the stabilizer size your layout needs. Spacebars, shifts, and enters vary by layout, and a 2u stabilizer will not fit a 6.25u spacebar position.
Some vendors sell hybrid designs that both screw and clip, which blurs the categories and adds flexibility. These can be useful, but read the product description carefully. A hybrid is only helpful if your board supports at least one of its mounting methods.
Installation Tips That Actually Work
Whichever style you choose, the quality of your build depends heavily on installation. These habits make the biggest difference.
Lubricate both the housings and the wire. A thin layer of dielectric grease on the wire and a light application of lubricant inside the housing smooths travel and reduces noise. Over-lubrication attracts dust and can make keys feel sluggish, so use less lubricant.
Seat the stabilizers fully. A partially seated housing is a rattling housing. Press firmly until you feel or hear it settle.
Test before final assembly. Mount the stabilizers, install the keycaps, and press each long key at both ends and in the center. Listen for ticking. Fixing rattle before you close the case saves hours later.
Keep spare screws and clips. Small hardware disappears. A labeled container keeps your build organized, and that same discipline pays off in any detailed hobby. Board game enthusiasts know the pain of a missing piece, which is why careful setup matters in games like the rules for Backgammon board game as much as it does in a keyboard build.
Common Mistakes to Avoid
Even experienced builders slip up. Watch for these.
Forcing a screw into an unthreaded hole. If the screw does not bite, the PCB lacks threads. Stop immediately. Forcing it damages the board.
Ignoring plate flex. On flexible plates, clip-in stabilizers can pop loose under heavy typing. If you type hard, screw-in is the safer bet.
Skipping the wire bend check. A bent wire causes ticking no matter how well you mount the housing. Straighten it before installation.
Assuming pre-built stabilizers are tuned. Factory stabilizers are often dry and rattly. A quick tune-up transforms the typing experience.
Which Should You Choose?
The decision usually comes down to your board and your experience level.
Choose screw-in stabilizers if your PCB supports them, you want the most reliable long-term performance, and you do not mind a few extra minutes during assembly. They are the better investment for a board you plan to keep and maintain. (How-To Geek)
Choose clip-in stabilizers if your board is plate-mount, you are building your first keyboard, or you want fast, low-risk installation. They are perfectly capable of a clean, quiet feel when installed carefully and tuned well.
If you are still assembling your first setup, it pays to think beyond the stabilizers. Understanding your tools helps too, and even familiar habits like Windows keyboard shortcuts everyone should know become more comfortable on a board that feels solid under your fingers. The same principle applies to any hobby you share with others, whether that is a family game night built around the best board games for families or a competitive match of the Twin It board game. Good equipment and good habits make everything more enjoyable.
Conclusion
Screw-in and clip-in stabilizers solve the same problem in different ways. Screw-in hardware clamps firmly to the PCB, delivering the stability and rattle resistance that custom builders prize. Clip-in hardware snaps into place with less fuss, making it the practical choice for beginners and plate-mount boards. Neither option is a mistake. The mistake is buying without checking compatibility or installing without tuning.
If your board supports screws, they are usually the safer long-term bet. If it does not, a carefully installed set of clip-ins will serve you well. Either way, take the time to lubricate, seat, and test. Your spacebar will thank you every time you press it.
FAQ
Are screw-in stabilizers better than clip-in stabilizers?
Screw-in stabilizers are generally more stable and less prone to rattling because screws hold the housing firmly to the PCB. Clip-in stabilizers are easier to install but rely on friction, which can loosen over time. For most custom builds, screw-in is the preferred choice when the board supports it.
Can I use screw-in stabilizers on a plate-mount keyboard?
Usually not. Screw-in stabilizers require a PCB with threaded mounting holes. Plate-mount boards typically accept clip-in or plate-mount stabilizers only. Check your board’s specifications before buying to avoid an incompatible purchase.
Do clip-in stabilizers rattle more?
They can, especially after repeated use or keycap swaps. The clips hold the housing by friction, so any loosening creates play that produces rattle. Careful installation, proper lubrication, and gentle keycap changes reduce the risk significantly.
How do I know which stabilizer type my keyboard needs?
Inspect the underside of your PCB for screw holes near the long key positions. If you see threaded holes, screw-in stabilizers will work. If the stabilizers attach to the plate or snap in without screws, your board uses clip-in or plate-mount hardware.
Are screw-in stabilizers harder to install?
They take slightly longer because you must align and tighten small screws. The process itself is straightforward. The main risks are losing screws or over-tightening and stripping the PCB threads, both of which are easy to avoid with a little care.
Do I need to lubricate stabilizers?
Yes, lubrication makes a noticeable difference. A thin layer of dielectric grease on the wire and light lubricant inside the housings smooths travel and cuts noise. Avoid over-applying, since excess lubricant attracts dust and can make keys feel sluggish.



