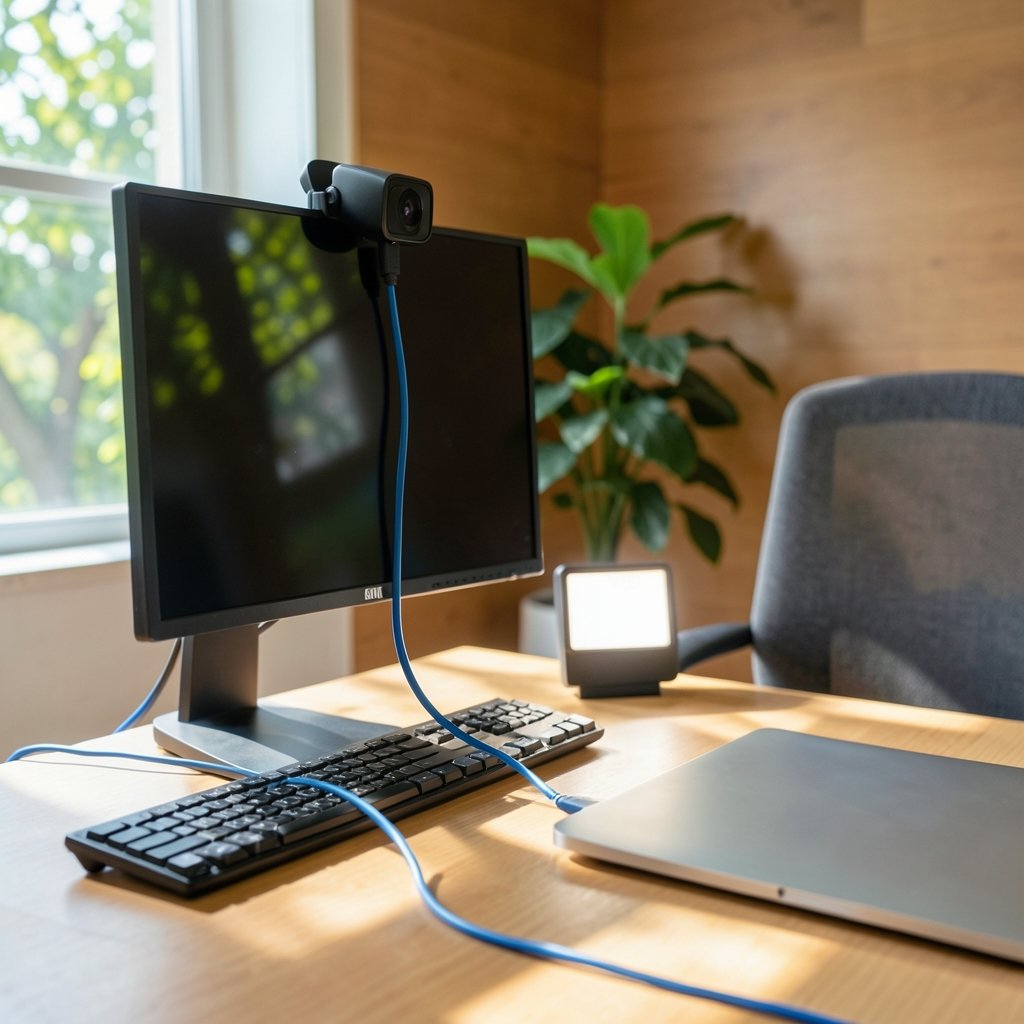
Quick Answer: How do i set up webcam for the best performance?
Setting up a webcam for the best performance means fixing your lighting, connection, and camera settings in that order. Put a soft, front-facing light source behind the camera, plug the webcam straight into a USB 3.x port on the machine rather than a hub, and then lock exposure, white balance, and focus once the scene is stable.
There are trade-offs worth knowing. A 720p feed at 60 frames per second often looks smoother than 1080p at 30 fps, and matching your frame rate to your region’s mains frequency prevents flicker. Some controls live in the camera vendor’s utility rather than your meeting app, so check both.
Before you start, compare your USB port type, room lighting, upload bandwidth, camera resolution and frame rate, and your operating system’s camera permissions.
A quick fact that surprises most people: a raw, uncompressed 1080p video stream at 30 frames per second needs roughly 1 Gbps of throughput. That is more than double what a USB 2.0 port can carry, which is why so many webcams quietly compress their video before it ever reaches your laptop. Understanding that single constraint explains most of the blurry, grainy, stuttering calls people blame on “bad cameras.” The hardware is usually fine. The setup is not.
This guide walks through what actually moves the needle, in the order that matters. No expensive gear required.
Why Lighting Beats Resolution Every Time
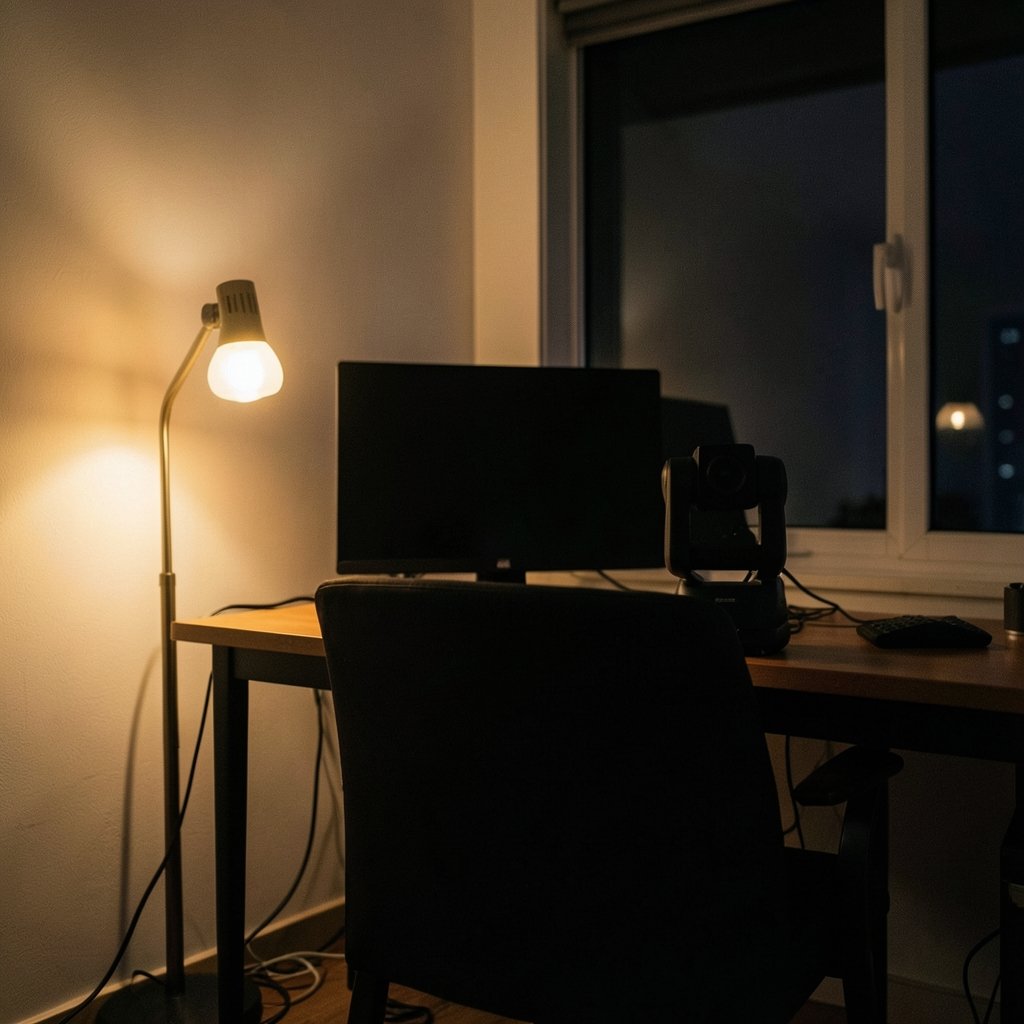
People spend hundreds on a 4K webcam and then sit with a bright window behind them, turning their face into a silhouette. The camera responds by cranking up gain, which amplifies sensor noise, and the result looks worse than a ten-year-old 720p model in good light. (Webcam)
The fix is simple. Put a diffuse light source in front of you, roughly at eye level, and slightly off to one side. A window works if it faces you rather than the wall behind you. A softbox or even a floor lamp bounced off a white wall works too. The goal is soft, even light that fills in shadows under your eyes and nose without creating harsh hotspots.
Once the light is stable, the camera can drop its ISO or gain, and the image cleans up dramatically. This is the single highest-return change most people can make, and it costs nothing if you already own a lamp.
The USB Connection Is the Bottleneck Nobody Checks
Here is where things get technical, and where a lot of “my webcam looks terrible” complaints actually originate.
USB 2.0 has a signaling rate of about 480 Mbps. A 1080p30 uncompressed stream needs around 1 Gbps. Cameras bridge that gap by compressing video using MJPEG on slower ports, then sending raw or YUY2 data when a USB 3.x port is available. The exact behavior varies by model, so check your camera’s spec sheet rather than assuming. (About USB-IF)
Practical rules that hold up in the real world:
- Plug the webcam directly into a USB 3.x port, ideally on the rear panel of a desktop where the controller is dedicated.
- Avoid unpowered hubs. They split bandwidth across every connected device.
- If you must use a hub, choose a powered one and keep bandwidth-hungry devices like external drives and capture cards off it during calls.
- Try a different port if the image looks soft or the frame rate drops. Ports on the same controller share a budget.
The USB Implementers Forum publishes the underlying specifications if you want the details, but for most people the takeaway is simpler: direct connection, USB 3.x, no hub.
Match Your Frame Rate to Your Region’s Power Grid
This one catches people constantly, and it produces a subtle horizontal band that flickers across the image.
In regions with 50 Hz mains power, which covers most of Europe, much of Asia, and large parts of Africa, artificial lights pulse 50 times per second. Set your camera to 25 or 50 fps and the flicker disappears. In 60 Hz regions like North America, use 30 or 60 fps. Most cameras and apps expose this as an anti-flicker or power line frequency setting.
Then there is the resolution question. For a static talking-head call, 1080p at 30 fps is perfectly fine. For anything with movement, like demonstrating a product or gesturing while teaching, 720p at 60 fps frequently reads as smoother and more professional than a sharper but choppier 1080p feed. Streaming platforms often prefer the higher frame rate for the same reason.
| Use case | Recommended resolution | Recommended frame rate |
|---|---|---|
| Video meetings, interviews | 1080p | 30 fps |
| Teaching, demos, movement | 720p | 60 fps |
| Live streaming | 1080p | 30 or 60 fps |
| Weak upload bandwidth | 720p | 30 fps |
Lock Your Settings Once the Scene Is Stable
Auto-exposure and auto-white-balance are helpful when you move between rooms. They are actively harmful during a call, because they constantly hunt for a new baseline and your skin tone drifts.
Once your lighting is set, open your camera’s control utility and lock exposure, white balance, and focus if the model supports it. Logitech’s G Hub and Capture software, Microsoft’s camera settings, and most other vendor tools expose these controls. If your camera lacks a lock, position it so the background brightness stays constant and avoid sitting in front of a window that changes with the weather.
A few setup habits that separate a polished frame from an amateur one:
- Keep the camera at eye level. A laptop on a desk points up your nose and adds unflattering distortion.
- Sit roughly half a meter to a meter away to avoid wide-angle stretching at the edges.
- Frame yourself with a little headroom and look at the lens, not the screen, when speaking.
- Clean the lens. It sounds trivial, but a smudge creates a soft haze that no setting can fix.
Update Firmware, Drivers, and Permissions
Before blaming hardware, run the boring maintenance. Update the camera’s firmware through the vendor’s utility, update your operating system, and confirm the camera is actually permitted to run.
On Windows, check Settings, then Privacy, then Camera. On macOS, open System Settings, then Privacy and Security, then Camera. If a meeting app is not listed or is toggled off, you get a black screen no matter how good your lighting is.
Privacy hardware matters too. A physical shutter or simply unplugging the camera when idle is the most reliable protection there is. Software toggles are convenient, but a sliding cover never gets patched into oblivion.
Set Up the Camera for Your Specific Activity
The “best” configuration depends entirely on what you are doing, and this is where a generic guide usually falls short.
For meetings, prioritize a clean, evenly lit face and stable 1080p30. For streaming, prioritize frame rate, a dedicated capture path, and consistent color. For recording tutorials where you show objects or a board, a second overhead camera helps enormously, and if you are capturing tabletop games or demonstrations, thinking through the physical layout first pays off. The same logic applies whether you are explaining the rules for backgammon board game setup on camera or walking viewers through a horse racing board game — the overhead angle and consistent lighting do more for clarity than any resolution bump.
If your webcam work extends to a stage or performance setup, cable management and stable mounting become the priority, much like choosing the best keyboard stand for stage performance so nothing wobbles mid-show. The same principle applies: a rigid mount and a clean cable run beat fancy specs every time.
And if you are streaming from a phone or handheld device instead of a laptop, the capture pipeline changes, so it helps to know how to set up PPSSPP style emulator and capture tools before you go live.
Common Mistakes That Wreck Image Quality
A short list of the errors that show up again and again:
- Backlighting yourself. A bright window behind you is the number one cause of dark, noisy video.
- Using an unpowered hub. Bandwidth gets shared, frames drop.
- Leaving auto settings on. Your face slowly turns orange over a 45-minute call.
- Overpaying for resolution. A 4K camera in bad light loses to a 1080p camera in good light.
- Ignoring upload bandwidth. If your connection is thin, cap the resolution rather than letting the encoder fight a losing battle.
- Skipping the eye-level check. Camera angle changes how trustworthy and engaged you look.
A Quick Comparison of Setup Priorities
| Priority | Effort | Impact on image quality |
|---|---|---|
| Front-facing diffuse lighting | Low | Very high |
| Direct USB 3.x connection | Low | High |
| Correct frame rate for region | Low | Medium to high |
| Locked exposure and white balance | Low | Medium |
| Camera at eye level | Low | Medium |
| Resolution upgrade | High cost | Low to medium |
Notice that the cheapest changes sit at the top. That ordering is not an accident, and it is the most useful thing to internalize from this entire guide.
Conclusion
Setting up a webcam for the best performance is mostly about removing obstacles rather than adding gear. Get soft light in front of you, plug directly into a fast USB port, match your frame rate to your region, and lock your settings once the scene stops changing. Do those four things and even a modest camera will look sharp, stable, and professional.
The expensive upgrade can wait. The free fixes cannot.
Frequently Asked Questions
Does a higher-resolution webcam always look better?
No. Resolution only helps when light and bandwidth are already adequate. A 4K camera fighting backlighting and a shared USB hub will look worse than a 1080p camera in a well-lit room with a direct connection. Fix the fundamentals first, then consider upgrading.
Why does my webcam image flicker or show moving bands?
That is almost always a frame rate mismatch with your local power grid. Set the camera’s anti-flicker option to 50 Hz if you are in a 50 Hz region, or 60 Hz in a 60 Hz region, and choose 25/50 fps or 30/60 fps accordingly.
Should I use 720p or 1080p for video calls?
For a seated talking-head call, 1080p at 30 fps is ideal. If you move around, gesture a lot, or demonstrate objects, 720p at 60 fps often looks smoother and more natural. Pick based on motion, not on the bigger number.
Why is my webcam blurry even though it is set to high resolution?
Check three things in order: whether it is plugged into a USB 3.x port directly, whether the lens is clean, and whether autofocus is hunting on a low-contrast scene. Compression on a slow port and a smudged lens are the two most common culprits.
Do I need a ring light for good webcam quality?
Not necessarily. Any soft, diffuse light facing you works, including a window or a lamp bounced off a wall. What matters is that the light comes from in front of you rather than behind, and that it stays consistent during the call.
How do I stop my webcam from being used without my knowledge?
Use a physical lens shutter or unplug the camera when idle, and review your operating system’s camera permissions so only trusted apps have access. Software controls help, but a physical cover is the most dependable safeguard.