Quick Answer: How do i update cpu cooler safely without losing data?
Swapping a CPU cooler does not erase data, because storage drives are separate components that the cooler never touches. The real risks come from physical handling, static discharge, and bumped cables, so the safe path is a full backup, powering down and unplugging, grounding yourself, and working slowly around the drive bays.
Most people can do the job at home in under an hour with a screwdriver, isopropyl alcohol, fresh thermal paste, and the mounting hardware that matches their socket. Water coolers and backplate-mounted air coolers take longer because they may require removing the motherboard, which means more cables to disconnect and reconnect.
Before starting, check socket compatibility, cooler height and RAM clearance, whether a backplate is required, your warranty terms, and how your drives are cabled so everything goes back exactly where it came from.
A single misplaced screwdriver slip is all it takes to turn a quiet afternoon upgrade into a very loud panic. That is the strange thing about CPU cooler swaps: the part everyone worries about, data loss, is almost never the actual problem. The cooler is a chunk of metal and fans bolted to the processor. Your photos, tax files, and save games live on an SSD or hard drive somewhere else in the case, completely untouched by the heatsink above it. (Intel processor installation and cooling support)
What actually goes wrong is human. A drive cable gets knocked loose and the machine boots to a “no bootable device” screen. A static zap fries a controller. Someone forgets to plug the SATA power back in and spends an hour convinced the drive died. The fix for all of these is the same: prepare properly, move deliberately, and verify everything after. This guide walks through that process step by step, including the parts most tutorials skip.
Why a Cooler Swap Rarely Threatens Your Data
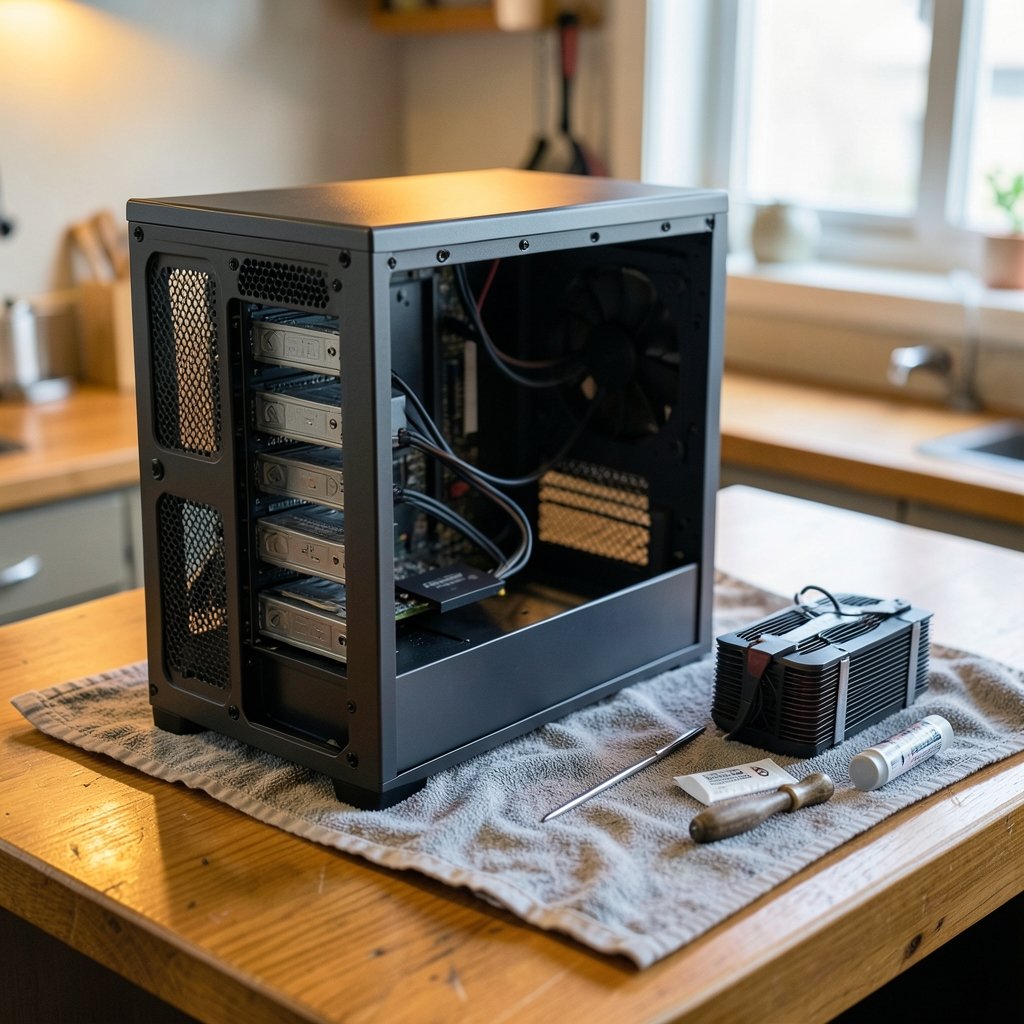
It helps to picture the inside of a typical PC. The CPU sits in its socket under the cooler. Storage drives are mounted in bays or slots on the motherboard, connected by SATA cables or seated in M.2 slots. There is no data path between the cooler and the drives. Removing the cooler cannot delete a file any more than changing a lightbulb can erase a hard drive.
The genuine risks are narrower but real:
- Physical damage during handling. Dropping a screw onto a drive’s circuit board, scraping an M.2 stick with a screwdriver, or yanking a SATA connector at an angle can all cause harm.
- Electrostatic discharge (ESD). Static electricity built up on your body can damage sensitive electronics, including drive controllers. The ESD Association publishes standards on this, and the principle is simple: ground yourself before touching components.
- Disturbed connections. Cables that get bumped and not reseated properly cause boot failures that look like data loss but are just loose plugs.
- Motherboard removal. Some coolers need a backplate installed behind the board, which means disconnecting far more than the cooler itself.
Understanding that distinction changes how you prepare. You are not protecting data from the cooler. You are protecting hardware from clumsy hands.
Back Up First, Even Though Nothing Should Go Wrong
The single best habit before any hardware work is a full backup. It costs nothing but time and turns a worst-case scenario into an inconvenience. Copy important files to an external drive or a cloud service, and if you want belt-and-suspenders protection, create a full disk image so the entire system can be restored in one step.
This is also a good moment to think about what a backup actually protects against. If a drive cable gets damaged during the swap, a backup means you can replace the cable and carry on. Without one, a damaged drive with no copy is a genuine crisis. The same logic applies to any hardware project, whether you are reseating a cooler or troubleshooting a machine that is running hot because of the antimalware service executable high cpu usage issue rather than a failing cooler.
One practical tip: label your drive cables with tape before disconnecting anything. Photos of the open case from two angles take ten seconds and save twenty minutes of guessing later.
Gather the Right Tools and Parts Before You Open the Case
Cooler jobs fail most often because something is missing halfway through. Lay everything out first.
| Item | Why You Need It |
|---|---|
| Screwdriver set (Phillips, sometimes Torx) | Cooler brackets and case panels use different screws |
| Isopropyl alcohol (90%+) and lint-free cloths | Removes old, hardened thermal paste |
| Fresh thermal paste | Old paste cannot be reused after separation |
| Anti-static wrist strap or grounded metal touch | Reduces ESD risk |
| Replacement cooler with correct socket bracket | Intel and AMD sockets use different mounting hardware |
| Paper towel and small container | Catches screws and paste residue |
Compatibility deserves special attention. A cooler built for one socket family may not fit another without an adapter kit, and mounting standards change with new CPU generations. If you are also planning a platform upgrade, it is worth checking whether a best am4 cpu still makes sense for your budget before buying a cooler sized for an old socket.
Clearance is the other silent killer. Tall air coolers can collide with case side panels or block RAM slots. Measure the cooler’s height against your case’s stated CPU cooler clearance, and check RAM height if the cooler overhangs the memory slots.
Step-by-Step: Swapping the Cooler Without Disturbing Your Drives
1. Shut down properly and unplug everything
Use the operating system’s shutdown command, then flip the power supply switch to off and pull the power cable from the wall. Hold the power button for a few seconds to drain residual charge. Unplug USB devices and note where each cable went.
2. Ground yourself
Touch a bare metal part of the case, or clip on an anti-static wrist strap connected to unpainted metal. Do this again any time you walk away and come back, since carpet and clothing build up charge quickly.
3. Photograph the internals
Take clear photos of cable routing, drive connections, and fan headers. This is the cheapest insurance you will ever buy.
4. Remove the old cooler carefully
Follow the manufacturer’s removal order, usually loosening screws in a diagonal pattern. Twist gently rather than pulling straight up; hardened paste can act like glue. If the cooler resists, run the machine briefly beforehand to warm the paste, then power down fully before trying again.
5. Clean the CPU and cooler base
Dampen a lint-free cloth with isopropyl alcohol and wipe away all old paste. Let the surface dry completely. Do not scrape with metal tools.
6. Install the new mounting hardware
If a backplate is required, you may need to remove the motherboard. This is the riskiest step for your drives, so disconnect storage cables gently, keep screws organized, and avoid flexing the board. If your board stays in place, even better.
7. Apply fresh thermal paste and seat the cooler
A pea-sized dot in the center is the most common method, though some manufacturers specify a line or a spread. Follow the instructions that came with your cooler, since the debate over application methods is genuinely unresolved. Tighten mounting screws gradually in a diagonal pattern until snug, not gorilla-tight.
8. Reconnect and double-check everything
Reseat every drive cable you touched, confirm fan headers are plugged in, and verify the cooler is not pressing on RAM or a power cable. Then close the case, reconnect power, and boot.
9. Verify temperatures and drives
Enter the BIOS or a monitoring tool and watch idle temperatures for a few minutes. Then check that every drive appears in the OS. If a drive is missing, power down and reseat its cable before assuming the worst.
Common Mistakes That Actually Cause Problems
The mistakes that matter are rarely about the cooler itself. Forgetting to plug a SATA power cable back in is a classic. So is overtightening mounting screws until the board flexes, or skipping the paste cleanup so the new cooler sits on a crusty layer of old compound. Another frequent one: working on a carpeted floor in socks while wearing a wool sweater, which is basically an ESD generator.
Less obvious but increasingly relevant: people treat hardware work as a chance to reorganize everything at once. If you are also curious about how to use ai for data analysis on the machine afterward, or planning to explore an ai image generator without a prompt, resist the urge to reinstall software mid-upgrade. Change one thing at a time so you always know what caused a problem.
Finally, check your warranty. Prebuilt systems sometimes void coverage when the cooler is removed, and that is worth knowing before the screwdriver comes out.
When to Consider a Professional or a Different Approach
Not every cooler job is a DIY job. If the cooler requires full motherboard removal in a cramped case, if the system is a sealed prebuilt with proprietary mounting, or if you simply are not comfortable handling components, paying a shop is reasonable. The labor cost is modest compared with the price of a damaged board.
There is also a middle path: improving airflow instead of replacing the cooler. Cleaning dust filters, adding a case fan, or adjusting fan curves can drop temperatures meaningfully for free. If temperatures are fine and you are upgrading for quietness, a better cooler helps; if they are fine and you are upgrading for looks, that is a legitimate reason too, just back up first.
Conclusion
Updating a CPU cooler is one of the safer hardware projects a PC owner can take on, precisely because it does not touch your storage. The data loss fear is mostly misplaced; the real hazards are static, clumsy handling, and loose cables. Back up your files, ground yourself, photograph the internals, follow the cooler’s mounting instructions, and verify temperatures and drive detection after boot. Do that, and the whole job becomes a calm hour with a screwdriver rather than a rescue mission. The cooler keeps your processor chilled; a little preparation keeps your peace of mind intact.
Frequently Asked Questions
Do I need to reinstall Windows after changing a CPU cooler?
No. The cooler is not a storage device, so the operating system, programs, and files remain exactly as they were. Windows does not even notice the swap. The only exception is if you also replace the motherboard or CPU at the same time, which can trigger activation prompts.
Can a CPU cooler leak and damage my drives?
Air coolers cannot leak. Liquid coolers contain sealed coolant, and failures are rare but possible, usually at pump or hose joints. If a leak occurs, fluid can reach nearby components, which is one reason to mount radiators carefully and inspect older AIO units for cracking or residue before reinstalling them.
How long should I wait before booting after applying thermal paste?
There is no waiting period. Thermal paste does not need to cure before the system runs; it settles under the pressure and heat of normal operation. You can boot immediately after mounting the cooler and closing the case. Just check temperatures in the first few minutes to confirm good contact.
What temperature should I see after a cooler upgrade?
It depends on the CPU, but a healthy idle range is typically in the 30s to low 40s Celsius, with load temperatures well below the processor’s maximum rating. If temperatures are higher than before the swap, the cooler is probably not seated evenly or the paste layer is uneven. Remount and recheck.
Will removing the cooler void my warranty?
For self-built systems, cooler swaps generally do not affect component warranties, though you should keep the original cooler. For prebuilt machines, some manufacturers void coverage if the cooler is removed. Check the specific warranty terms before starting, especially on laptops and all-in-one systems.
Do I need to disconnect my drives before swapping the cooler?
Usually not. If the cooler installs without removing the motherboard, leave drive cables alone and simply work around them. If a backplate requires board removal, disconnect drive cables gently, photograph their positions first, and reseat each one firmly during reassembly.