

Quick Answer: Which AI dubbing tools are best for beginners?
The best AI dubbing tools for beginners are the ones with a usable free tier, a simple upload-and-review workflow, and no long contract. In practice, that usually means starting with a consumer-friendly tool such as HeyGen, ElevenLabs Dubbing Studio, Rask AI, or Dubverse, and treating CapCut and YouTube’s auto-dubbing as low-effort entry points rather than finished products.
These options differ mainly in how they meter usage. Some count minutes of video, others count credits, and a few reserve lip-sync for paid plans. Enterprise services like Papercup sit at the other end of the scale and rarely suit a first project.
Before committing, compare free-tier limits, per-minute pricing, language coverage, lip-sync availability, voice cloning rules, and how each tool handles your uploaded data.
So You Want to Dub a Video Into Five Languages by Friday
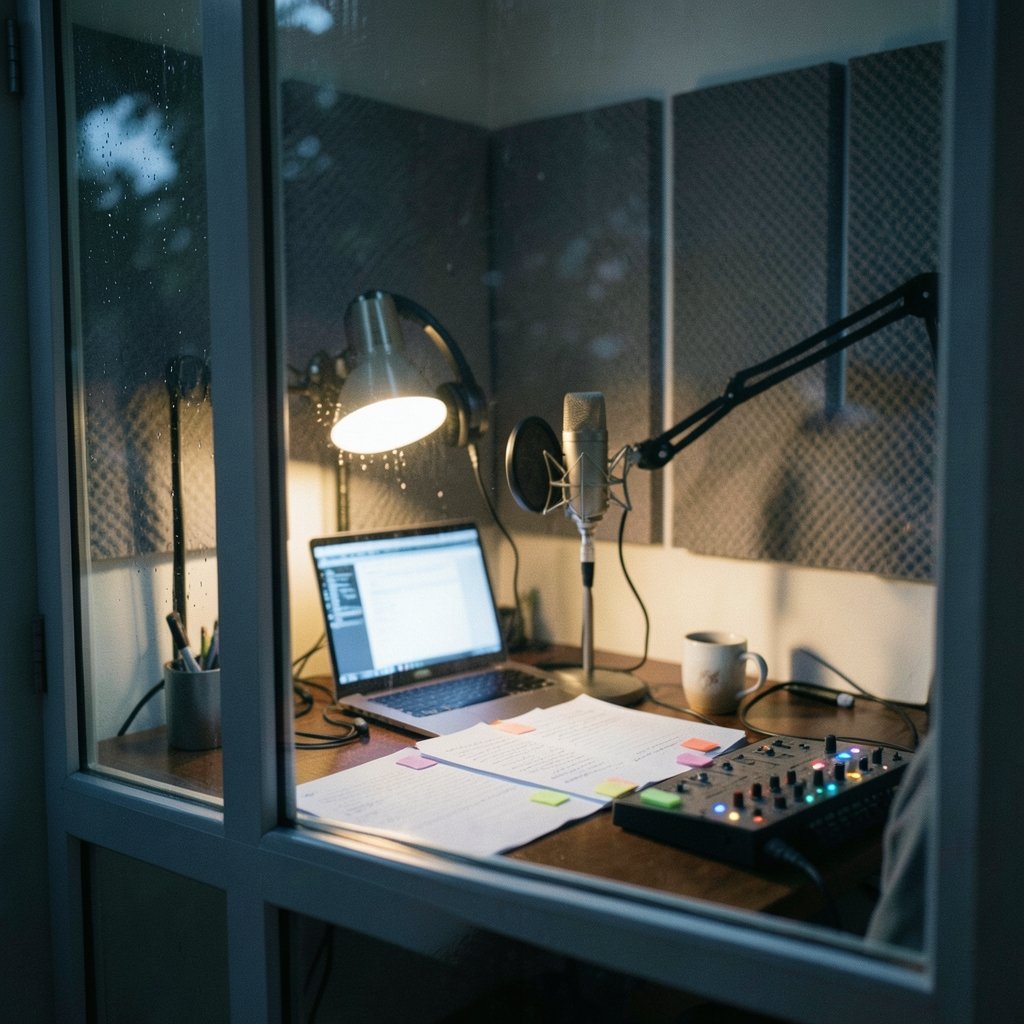
That is the moment most people go looking for AI dubbing tools. Maybe a product demo needs a Spanish version. Maybe a tutorial channel wants Portuguese subtitles that actually speak. Either way, the pitch sounds magical: upload a clip, pick a language, and out comes a fluent voice that sounds vaguely like you.
The reality is more grounded. AI dubbing is a pipeline, not a magic button. It runs your audio through automatic speech recognition to get a transcript, sends that text through machine translation, then rebuilds the speech with text-to-speech. Each stage can fail in its own way, and beginners who understand that tend to get far better results than those who expect perfection on the first export.
What AI Dubbing Actually Does (and Where It Breaks)
Think of the pipeline as three handoffs. The recognizer hears your words. The translator converts them. The voice engine speaks them back. Errors compound at every step.
A few failure patterns show up again and again:
- Names and brands get mangled by the translator, then mispronounced by the voice.
- Idioms translate literally and land flat or confusing.
- Overlapping speakers confuse the recognizer, which merges two voices into one transcript.
- Background music bleeds into the speech track and degrades recognition.
- Fast speech and heavy accents increase transcription errors noticeably.
The single highest-value habit is reviewing and correcting the transcript before the voice is generated. It takes minutes and saves entire re-renders. If you already tinker with creative tools, the workflow will feel familiar; the same trial-and-error patience that applies when you compare AI graphic design tools for beginners applies here too.
Beginner-Friendly Tools
Tool line-ups shift fast, so treat any comparison as a snapshot rather than a permanent ranking. What follows reflects how these tools have generally positioned themselves for consumer use.
| Tool | Typical strength | Beginner friction | Best for |
|---|---|---|---|
| HeyGen | Video translation with optional lip-sync | Credits run out quickly on longer clips | Talking-head videos and demos |
| ElevenLabs Dubbing Studio | Natural-sounding voices, voice preservation | Steeper interface, usage metering | Creators who care about voice quality |
| Rask AI | Broad language coverage, simple upload flow | Paid tiers for higher quality | Multi-language social clips |
| Dubverse | Straightforward dubbing plus subtitles | Fewer advanced controls | Quick subtitle-and-voice jobs |
| CapCut | Built-in, already in your editor | Limited language depth | Casual short-form content |
| YouTube auto-dubbing | Zero setup for eligible creators | Little control over the result | Testing demand before investing |
| Papercup | Enterprise-grade output | Sales-led, not self-serve | Brands with budget and volume |
The pattern is clear: the easiest tools to start with are rarely the most accurate, and the most accurate are rarely the easiest. Beginners should optimize for ease of starting, not for a quality crown nobody can objectively award.
Start With the Free Tier, Not the Paid Plan
Most consumer dubbing tools meter usage by minutes of video or credits per month. That makes the free tier a genuine test drive, not a teaser. Use it deliberately.
A sensible first test looks like this:
- Pick a 30 to 60 second clip with one speaker and clean audio.
- Dub it into a single language you can actually evaluate, ideally one you or a colleague speaks.
- Listen for mispronounced names, dropped sentences, and awkward pacing.
- Check whether the tool lets you edit the transcript before generating audio.
- Export and compare file quality, then check what the next tier costs per minute.
Do not burn your free minutes on your most important video. Burn them on a throwaway clip that reveals how the tool behaves under real conditions.
Clean Audio Beats Clever Models
Here is the least glamorous advice in this article: audio quality matters more than which model you pick. A clean recording with one speaker and low background noise will dub better on a mid-tier tool than a noisy recording will on the best one.
Practical fixes that cost nothing:
- Record with a single microphone close to the speaker.
- Strip background music before dubbing, then re-add it afterward.
- Split multi-speaker videos into segments and dub each speaker separately.
- Normalize volume so quiet passages are not skipped by the recognizer.
Beginners often skip this step, upload a busy clip, blame the tool, and switch platforms. The tool was probably fine. The input was not.
Voice Cloning, Consent, and the Rules You Cannot Ignore
Voice cloning is the feature that sells dubbing tools, and it is also the feature most likely to cause trouble. Cloning a real person’s voice without permission can raise rights-of-publicity and privacy issues, and in some jurisdictions it touches biometric-data rules.
Two legal frameworks deserve attention even for hobby projects. The EU’s General Data Protection Regulation (Regulation (EU) 2016/679) has applied since 25 May 2018 and covers uploading voice and video recordings of identifiable people to a cloud service. Separately, the EU AI Act (Regulation (EU) 2024/1689) entered into force on 1 August 2024 and includes transparency obligations for synthetic media, with obligations phased in over time. Exact deadlines are worth checking against the official text before you publish anything commercial.
Platform rules matter too. Major video platforms have moved toward requiring creators to disclose realistic synthetic or altered content in certain cases. If a dubbed video could be mistaken for an authentic recording of a real person saying something they never said, disclose it. That is simple self-protection.
If you are already careful about which cloud services hold your personal data, the instinct transfers directly. The same caution that guides someone comparing LastPass alternatives for beginners applies to handing over voice recordings: read what the vendor stores, for how long, and whether it trains on your uploads.
Lip-Sync Is a Separate, Harder Problem
Some tools advertise lip-sync, which adjusts mouth movements to match dubbed audio. It looks impressive in demos and inconsistent in practice. Quality varies widely between tools and even between clips on the same tool.
For beginners, the honest guidance is to treat lip-sync as a bonus, not a requirement. It usually sits behind a paid tier, it can make faces look uncanny, and for most tutorial, explainer, or interview content, viewers tolerate mismatched mouths far more than creators expect. Wide shots, screen recordings, and voiceover-style videos do not need it at all.
A Realistic Beginner Workflow
Once you have picked a tool, the workflow that produces usable results is fairly consistent across platforms.
- Prepare the source. Clean audio, one speaker per segment, music removed.
- Upload and transcribe. Run speech recognition first and read the transcript.
- Correct the transcript. Fix names, numbers, brands, and idioms before translation.
- Translate and review. Machine translation output needs a human pass, even if that human is you with a dictionary.
- Generate the voice. Choose voice preservation or a stock voice, then listen end to end.
- Reassemble. Re-add music, adjust timing, and check that captions match the new audio.
- Disclose where needed. Label synthetic speech if the platform or context requires it.
Steps three and four are where quality is won. Skipping them is the most common beginner mistake, and it is the reason so many first attempts sound robotic and slightly wrong.
Where Dubbing Fits in a Wider Tool Stack
Dubbing rarely happens alone. A video project usually involves design assets, project tracking, and sometimes remote collaboration, and the same “start simple, upgrade later” logic applies across all of them. Someone assembling a small content operation might pair a dubbing tool with a board tool, comparing options the way this guide to Trello alternatives for beginners walks through. Design work follows the same pattern as choosing among Figma alternatives for beginners. And if the team meets remotely to review cuts, the trade-offs in this roundup of free Zoom alternatives worth trying will sound familiar: free tiers, usage caps, and features locked behind upgrades.
The common thread is that beginner tools should be judged on how quickly you can produce one finished thing, not on how long their feature list is.
Common Beginner Mistakes Worth Avoiding
A short list of traps, drawn from how these tools actually behave:
- Dubbing the whole library at once. Test one clip first. Always.
- Trusting the transcript blindly. Names and numbers are where errors hide.
- Ignoring pacing. Dubbed audio often runs longer or shorter than the original, so timing needs a check.
- Assuming all languages are equal. Quality varies by language pair, sometimes dramatically.
- Forgetting the music. Stripping and re-adding the soundtrack is standard practice, not an edge case.
- Publishing without disclosure. When in doubt, label it.
None of these require technical skill to fix. They require a checklist and ten minutes of attention.
How to Choose When You Cannot Test Everything
If time is short, rank tools by three questions. First, does the free tier let you finish one real clip? Second, can you edit the transcript before the voice is generated? Third, is the per-minute cost after the free tier something you can live with at your actual volume?
Tools that pass all three are worth a trial. Tools that fail the second question are usually not worth the frustration, no matter how good the demo looked. And tools that only sell through a sales call, like the enterprise end of the market, should wait until you have proven demand.
Conclusion
The best AI dubbing tool for a beginner is not the one with the longest feature list or the most impressive demo reel. It is the one that lets you upload a clean clip, fix the transcript, generate a voice, and export something you would actually publish, all before you pay a cent. HeyGen, ElevenLabs, Rask AI, and Dubverse are reasonable places to start, with CapCut and YouTube auto-dubbing as low-stakes warm-ups. Pick one, test it on a short clip in a language you can judge, and let the results decide. The technology is genuinely useful now, but it still rewards the person who checks the transcript.
Frequently Asked Questions
Can I dub a video for free?
Usually yes, within limits. Most consumer tools offer a free tier metered by minutes or credits per month, and some platforms provide auto-dubbing at no cost for eligible creators. The catch is that free tiers typically cap length, restrict language count, or watermark output. Expect to pay once your volume grows.
How accurate is AI dubbing?
It depends heavily on the language pair, audio quality, and how much you edit the transcript. Clean single-speaker audio with a reviewed transcript can produce genuinely usable results. Noisy multi-speaker recordings with unreviewed machine translation often produce errors in names, idioms, and technical terms. There is no widely accepted public benchmark for dubbing quality, so evaluation remains largely subjective.
Do I need lip-sync for my dubbed videos?
Most beginners do not. Lip-sync adjusts mouth movements to match the new audio, and it usually sits behind a paid tier with inconsistent results. Screen recordings, voiceover-style videos, wide shots, and explainer content work fine without it. Test it on a short clip before paying for it.
Is voice cloning legal?
Cloning your own voice is generally straightforward. Cloning someone else’s without permission can raise rights-of-publicity and privacy concerns, and in some jurisdictions it involves biometric-data rules. Data protection law applies to uploading recordings of identifiable people to cloud services. Get written permission and disclose synthetic media where platforms require it.
Which languages work best with AI dubbing?
Major languages with large training datasets, such as Spanish, French, German, Portuguese, and Japanese, tend to produce more reliable results than low-resource languages. Quality also varies by tool, so test your specific target language on a short clip before committing to a full project.
How long does it take to dub a short video?
A one-minute clip typically processes in a few minutes on consumer tools, but the real time cost is review. Correcting the transcript, checking pronunciation, and re-timing the audio usually takes longer than the generation itself. Budget roughly two to three times the clip length for a careful first pass.



