
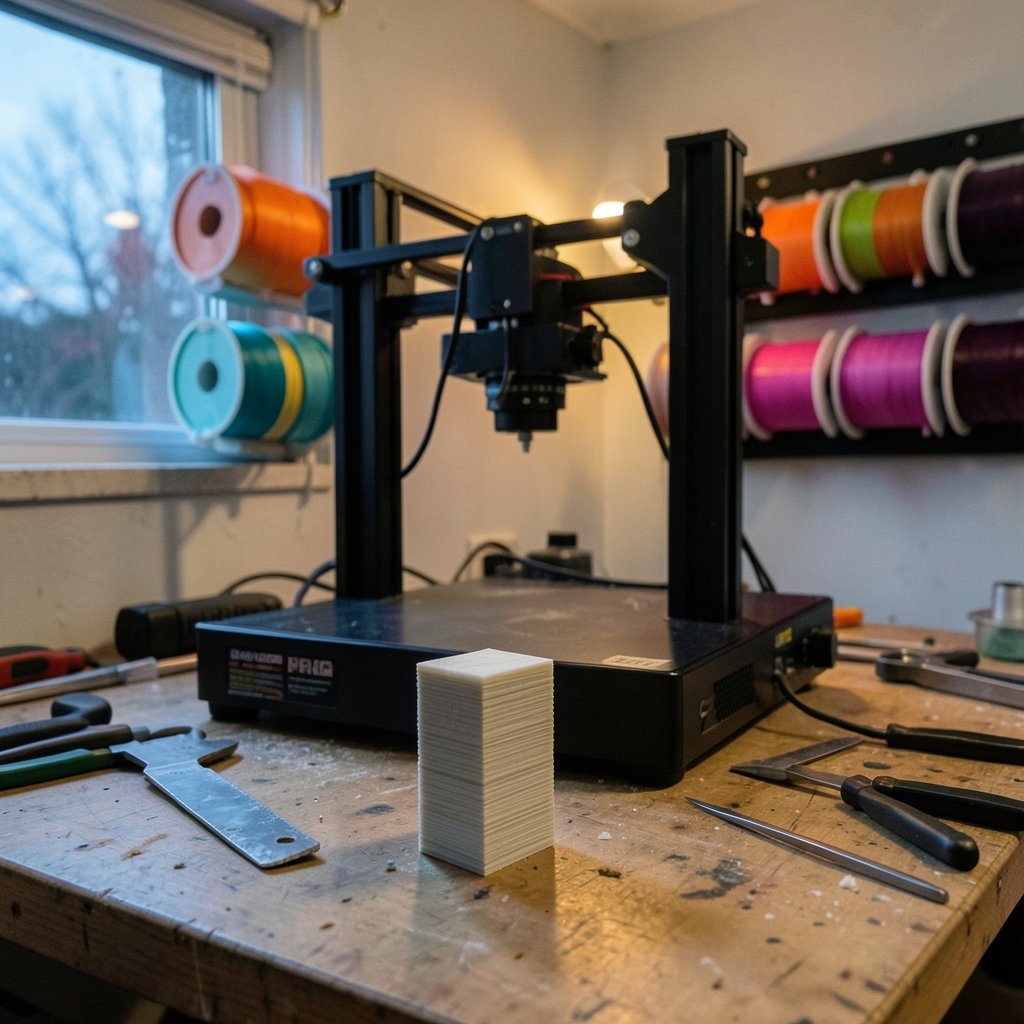
Have you ever watched a print slowly build, layer by layer, only to come back an hour later and find the top half sitting a few millimeters to the left like a badly stacked Jenga tower? That sudden sideways jump is called layer shifting, and it is one of the most frustrating failures in FDM 3D printing because it usually happens deep into a long print. The good news is that layer shifting is almost never random. It is a mechanical or electrical problem with a clear cause, and once you know what to look for, most cases can be traced and fixed in an afternoon.
What Layer Shifting Actually Is
Layer shifting (sometimes called layer misalignment or step loss) happens when the print head or the build plate ends up in the wrong position for one or more layers, then continues printing from that wrong position. The result is a visible offset, a “staircase” edge, or a print that suddenly leans to one side.
There are two distinct mechanisms behind it:
- Skipped steps: the stepper motor is commanded to move but lacks the torque to do it, so the belt or pulley slips and the printer loses its position reference.
- Physical displacement: the nozzle catches the print, a loose part slides, or the print itself gets knocked off its adhesion.
Understanding which one you are dealing with narrows down the fix dramatically. If the shift is a clean, consistent offset in one direction, it is almost always skipped steps. If the top of the print looks smeared or knocked around, you are probably looking at a nozzle collision.
Loose or Under-Tensioned Belts
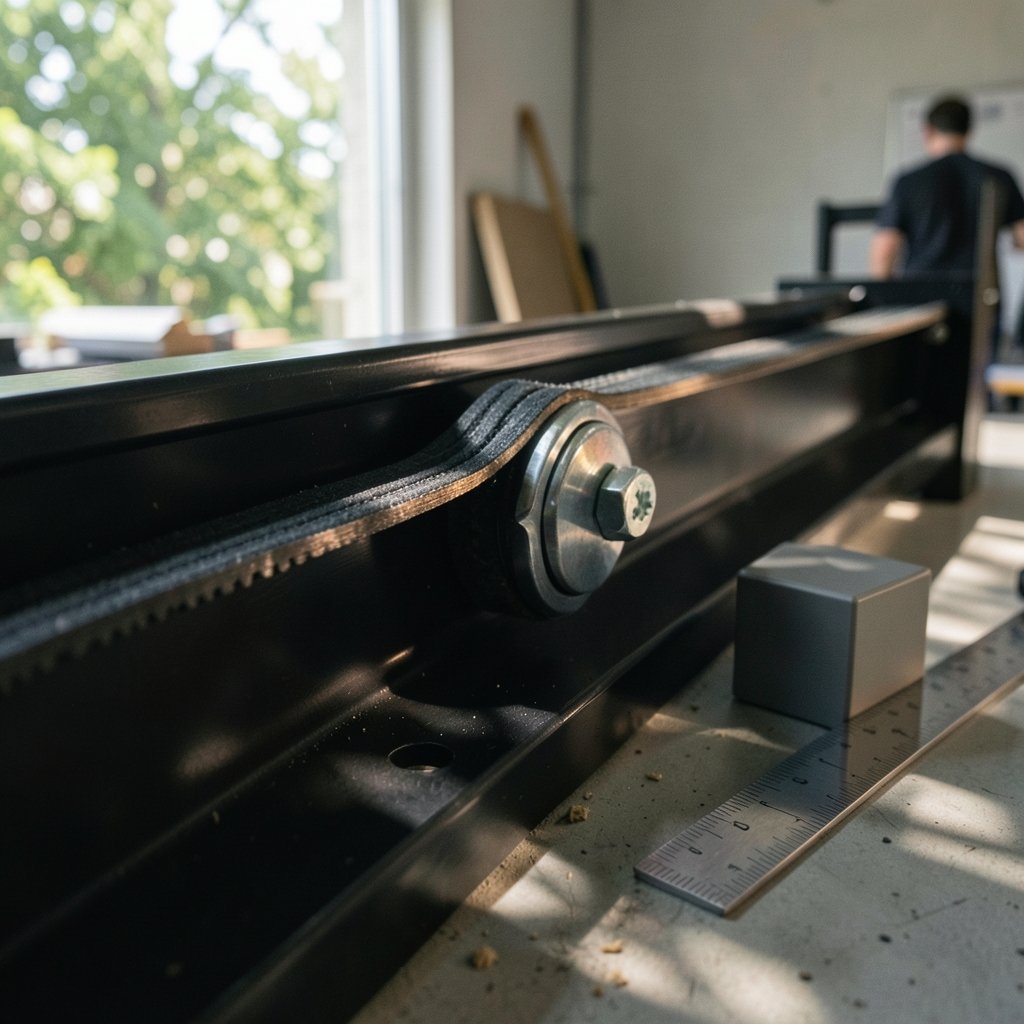
This is the single most common cause of layer shifting on belt-driven printers. The X and Y belts need to be tight enough that they produce a clear, low “twang” when plucked, but not so tight that they stretch the frame or overload the motor bearings.
What actually works in practice: loosen the belt tensioner, push the carriage to one end to seat the belt, then tighten until the belt has no visible slack and deflects only a couple of millimeters under firm finger pressure. Print a small calibration cube and check for clean corners. A belt that feels “fine” by hand can still be too loose under the rapid direction changes of a real print.
Common mistake: over-tightening. People read “tighten your belts” and crank them until the frame flexes. That loads the motor bearings, causes premature wear, and can actually increase the chance of skipped steps under acceleration.
Loose Pulley Set Screws
Here is a sneaky one. The toothed pulley on the motor shaft is held by a small grub screw, and if that screw is not seated against the flat side of the shaft, the pulley can rotate slightly under load. The belt looks tight, the motor sounds fine, and yet the print shifts.
Check every pulley on both axes. Rotate the shaft by hand while holding the pulley still. Any play means the set screw needs tightening, and ideally you should add a second set screw or a drop of medium-strength threadlocker. This is a five-minute check that solves a surprising number of mystery shifts.
Mechanical Binding and Excess Friction
If the carriage does not move freely, the motor has to fight the machine. Over-tightened eccentric nuts, bent smooth rods, dirty linear rails, or debris in the belt path all create drag. When the motor’s available torque is spent overcoming friction, it cannot also accelerate the mass of the toolhead, and steps get lost.
Run a simple test: power off the printer and push the carriage through its full travel by hand. It should glide smoothly with light, even resistance. Any tight spot, grinding, or sudden stiffening is your culprit. Clean and re-lubricate rails, back off eccentric nuts until the carriage moves without wobble but also without drag, and check that no cable or filament tube is snagging at the extremes of travel.
Motor Driver Current Set Too Low or Too High
Stepper drivers deliver a set current to each motor. Too low, and the motor lacks torque to move the load and skips steps. Too high, and the driver or motor overheats, which can trigger thermal shutdown or erratic behavior mid-print.
Most modern printers ship with reasonable defaults, but if you have upgraded motors, changed drivers, or built a machine yourself, current settings matter. The telltale sign of a current problem is shifting that appears only during fast moves or long prints, often accompanied by a hot motor or a driver that is too hot to touch. Adjust in small increments and test with a demanding print, not a small cube.
Overheating Stepper Motors and Drivers
Heat is the quiet killer. A stepper driver running near its thermal limit may shut down for a fraction of a second, and that is enough to lose position. Similarly, a motor that gets painfully hot can lose torque.
Practical checks: touch the motors and drivers after a 30-minute print. Warm is normal; too hot to hold your hand on is not. Improve airflow over the electronics enclosure, add heatsinks or a fan to the drivers if needed, and make sure the printer is not sitting in a hot garage in summer. If you are shopping for a machine that handles heat and long prints well, it is worth reading comparisons of the best 3d printer for beginners before you buy, since thermal design varies a lot between budget and mid-range models.
Print Speed and Acceleration Beyond the Machine’s Limits
Every printer has a torque ceiling. When you push print speed and acceleration past what the motors can deliver, the machine skips steps on sharp direction changes. This is why layer shifts often appear at corners, at infill direction changes, or right after a travel move.
The fix is straightforward: reduce acceleration first (it is usually the bigger culprit), then outer wall speed. Drop acceleration by 25 to 50 percent and reprint the same file. If the shift disappears, you found your limit. Many people chase mechanical causes for hours when the real issue was a slicer profile copied from a faster machine.
Nozzle Collisions and Warping
Sometimes the printer does not lose steps at all. Instead, the print itself moves. Curling overhangs, warped corners lifting off the bed, and “blobs” of over-extrusion can catch the nozzle on the next pass and drag the part or knock it loose.
What works: add a brim or raft for parts with small footprints, improve part cooling for overhangs, calibrate extrusion so you are not over-extruding, and enable Z-hop so the nozzle lifts during travel. If your shifts always happen at the same height, look at the model at that layer. A single curling feature is often the trigger.
Bed Adhesion Failures That Look Like Layer Shifts
A print that breaks free and slides on the bed produces an offset that looks identical to a layer shift. Before tearing into belts, check whether the part is still stuck down. A clean, sharp offset combined with a loose part on the plate means your problem is adhesion, not mechanics. Clean the bed, adjust the first layer squish, and consider a different surface or adhesive.
Firmware, Jerk, and G-Code Problems
Aggressive jerk settings (the instantaneous speed change allowed at corners) can induce skipped steps on some hardware. Lowering jerk values smooths direction changes and reduces peak torque demand. Corrupted G-code files are rare but do happen, especially with failing SD cards or USB transfers. If a file fails at the same spot repeatedly while other files print fine, re-slice and try a different storage medium.
A Quick Diagnostic Table
| Symptom | Most likely cause | First check |
|---|---|---|
| Clean offset in one direction | Skipped steps | Belt tension and pulley set screws |
| Shift only on fast prints | Acceleration too high | Lower acceleration 25 to 50 percent |
| Shift at random heights, motor very hot | Driver or motor overheating | Touch test, improve cooling |
| Part loose on the bed | Bed adhesion | Clean plate, first layer squish |
| Shift at one specific layer | Nozzle collision | Inspect model at that height |
| Shift after a hardware upgrade | Driver current | Recheck current settings |
Step-by-Step Troubleshooting Order
Work through this sequence rather than changing five things at once. Changing one variable at a time is the only way to know what fixed it.
- Confirm the part is still adhered to the bed.
- Power off and push the carriage by hand to feel for binding.
- Check belt tension on both axes.
- Check every pulley set screw for play.
- Touch-test motors and drivers after a 30-minute print.
- Reduce acceleration and reprint the same file.
- Enable Z-hop and inspect the model for curling overhangs.
- Only then adjust driver current or firmware jerk settings.
Prevention Beats Repair
The printers that rarely shift are the ones that get a little routine attention. A monthly five-minute check of belt tension, pulley screws, and rail cleanliness prevents most failures before they ruin a 20-hour print. Keep spare belts and set screws on hand, and save a known-good slicer profile so you can rule out settings quickly. (RepRap Wiki)
If you are still choosing a machine, note that belt quality, frame rigidity, and driver cooling differ enormously across price points. A best budget 3d printer can print beautifully, but cheaper hardware often needs more frequent tension checks. Families buying a first machine should also weigh ease of maintenance, which is why guides to the best 3d printer for kids tend to emphasize enclosed, low-maintenance designs. And if you are setting up a shared printer for a classroom or club, pairing it with a list of the best multiplayer games for the downtime between prints is a nice way to keep everyone engaged while a long job runs.
Conclusion
Layer shifting looks dramatic, but it is one of the most diagnosable problems in 3D printing. In the vast majority of cases, the cause sits in a short list: loose belts, loose pulley screws, mechanical binding, insufficient motor current, overheating electronics, or slicer settings that ask more of the machine than it can deliver. The trick is to troubleshoot in order, change one thing at a time, and test with the same file so you can actually tell whether your fix worked. Spend five minutes on belts and set screws before you touch a single firmware value, and you will solve most shifts faster than you expect.
Frequently Asked Questions
What is the most common cause of layer shifting on a 3D printer?
A loose or under-tensioned belt is the most frequently reported cause. The belt allows the carriage to lag behind the motor’s commanded position during rapid direction changes, so the printer loses its reference and continues printing with an offset.
Can layer shifting be caused by slicer settings?
Yes. Excessively high acceleration and print speed can exceed the motor’s available torque and cause skipped steps. Aggressive jerk settings and over-extrusion leading to nozzle collisions can also produce shifts, even when the hardware is perfectly healthy.
Why does my print shift only at a certain height?
A shift at a consistent height usually points to a specific feature in the model, such as a curling overhang or a blob that the nozzle catches. It can also indicate a tight spot in the belt path or a snagging cable at that particular carriage position.
How tight should my printer belts be?
Tight enough to produce a clear, low twang when plucked, with only a couple of millimeters of deflection under firm finger pressure. They should not be so tight that the frame flexes or the motor bearings feel loaded. Over-tightening causes its own problems.
Can a hot stepper motor cause layer shifts?
Yes. A motor or driver running near its thermal limit can lose torque or briefly shut down, which is enough to lose position mid-print. If motors are too hot to hold your hand on, improve airflow over the electronics and check driver current settings.
Is layer shifting ever a sign of a failing printer?
It can be. Worn belts, stretched springs, failing bearings, and dying drivers all show up as shifting before they fail completely. If a printer that used to print reliably starts shifting despite correct tension and settings, inspect the mechanical parts for wear.



