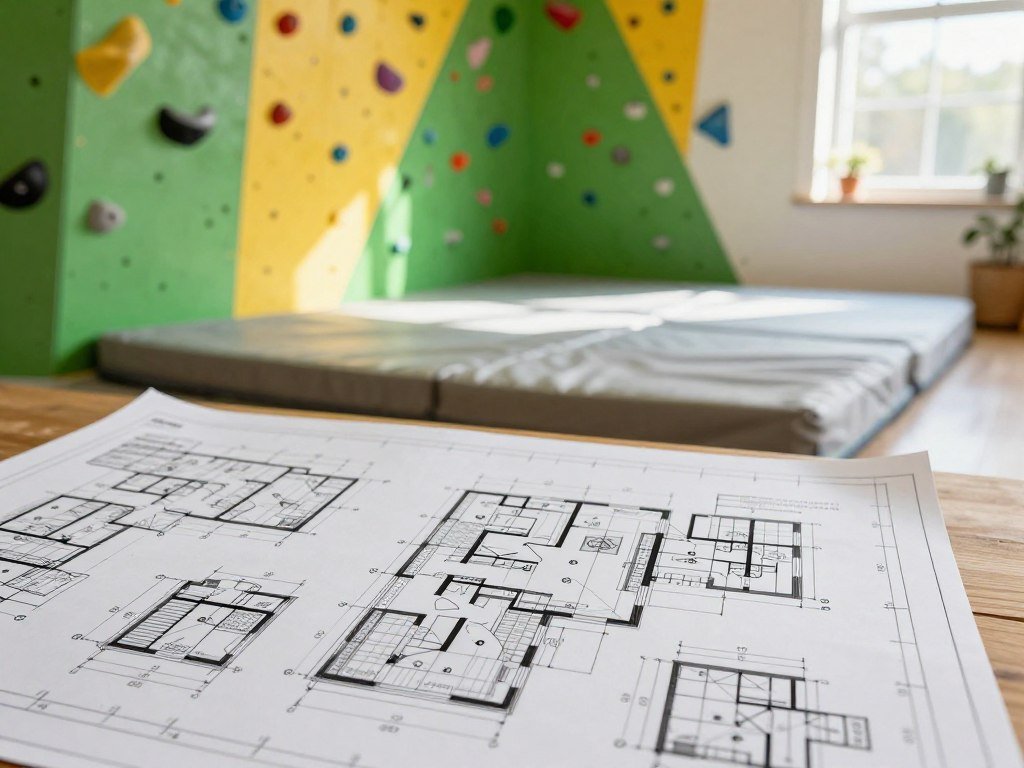
A home climbing wall is a manageable DIY project. Plan the space, build a sound frame, and include its landing area. The fall height is the vertical distance from the highest part of the wall to the surface beneath it.
A safe build takes planning and basic woodworking experience, but you do not need a complex design. These seven steps cover planning, materials, preparation, framing, panel installation, and safety checks. Allow enough time to work carefully, especially if this is your first project.
The right setup depends on who will climb and how much room you can set aside. Decide who will climb and where the wall will go before buying materials.
Key Takeaways
- Measure the wall space and the full fall zone.
- Choose a wall style, angle, and height that fit the climbers.
- Price the frame, panels, holds, and fall-zone mats together.
- Drill T-nut holes before mounting the plywood panels.
- Attach the frame to a sound structure, not drywall alone.
- Check the holds and landing surface before each session.
How to Build a Home Climbing Wall DIY: What Should You Plan First?
A good layout starts by measuring the wall, ceiling, usable floor, and nearby storage before choosing a design. Measure everything, including garage traffic paths, doors, shelves, and other obstacles.
Keep the fall area clear and large enough for the planned wall. Protective surfacing should extend at least 6 ft in every direction from climbing equipment.
Leave at least 6 ft of protective surfacing in every direction from the climbing equipment.
Measure the space and choose a wall style
Step 1 is measuring the full wall and fall area. A garage climbing wall should not block stored items, parked cars, or a path people use each day.
Step 2 is choosing a wall-mounted or freestanding climbing wall. A wall-mounted design needs a sound attachment point; a freestanding climbing wall needs a braced A-frame and extra support to stand firmly.
One 8 × 8 ft A-frame design used two 23/32-in. plywood sheets, 18 2 × 6 × 8-ft boards, about 200 T-nuts, and a 33° wall angle. That is one possible design, not a required plan.
Match the angle and height to the climbers
A 20°-35° overhang suits many climbing styles, while a 45° wall is very steep and better for expert-level footwork. For a preschooler, one suggested approach caps the wall near 6 ft, then adds higher holds later.
A home bouldering wall kit may suit a household that wants a ready-made option. Age ranges and maximum-load ratings do not establish that an installation is safe.
| Product | Mounting type | Listed age range | Maximum load |
|---|---|---|---|
| ComfyBumpy | Wall-mounted | 3 and up | 175 lb |
| Avenlur Everest | Freestanding | 3-10 | 132 lb |
| Costzon | Wall-mounted | 3-8 | 110 lb |
| VEVOR | Wall-mounted | 5 and up | 150 lb |
| Step2 Naturally Playful Climber | Freestanding | 2-5 | 100 lb |
ComfyBumpy’s 175-lb maximum load comes with 10 holds, and its T-nut holds can be removed and repositioned. The listed details can help compare products, but they do not replace a sound setup.
Leave the planned fall area clear of furniture, shelves, pets, and anything else a climber could hit.
Which Materials, Tools, and Budget Fit Your Build?
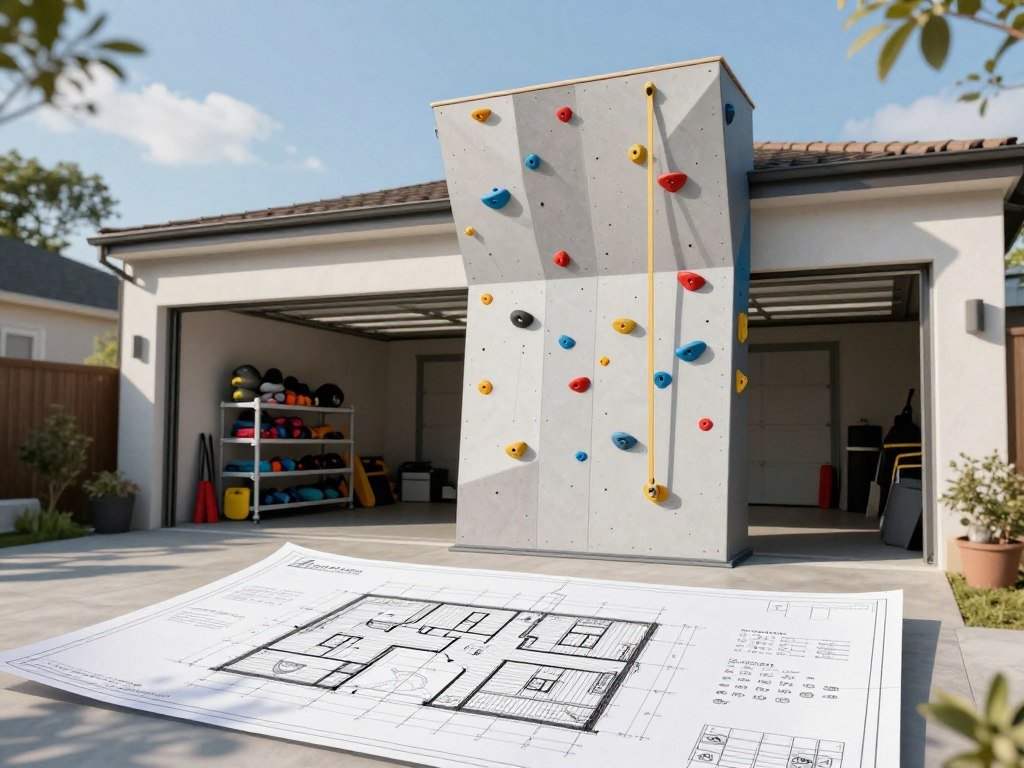
Price the whole setup, including the landing surface, before deciding that the plywood is the main expense. Plan for the full build, because mats, holds, and fasteners add to the total.
A DIY 8 × 8 ft indoor bouldering wall is estimated at $600-$1,200, including mats. A professional children’s wall with mats is estimated at $2,500-$6,000 or more.
Estimate the cost before buying materials
Common climbing wall materials include two 4 × 8 ft sheets of 3/4-in. plywood at $120-$200, framing and fasteners at $80-$160, and T-nuts with 3/8-in. hold bolts at $60-$120.
A starter set of 40-60 children’s holds costs about $100-$300. Finish materials run $30-$80, and fall-zone mats cost $200-$500. Small climbing-wall kits are estimated at $800-$1,500, with extra holds and routes costing $50-$150 per set.
Building a home climbing wall DIY for free is realistic only when usable materials and padding are already on hand. Holds and a safe landing setup still need to be included in your plan.
A modest build may take a weekend, while a complex design can take longer. Allow roughly twice your first time estimate, especially if you have limited woodworking experience.
Prepare plywood and plan the hold layout
Step 3 is pricing materials and comparing DIY with professional construction. Use a circular saw, drill, tape measure, level, and angle finder for common cutting and layout tasks.
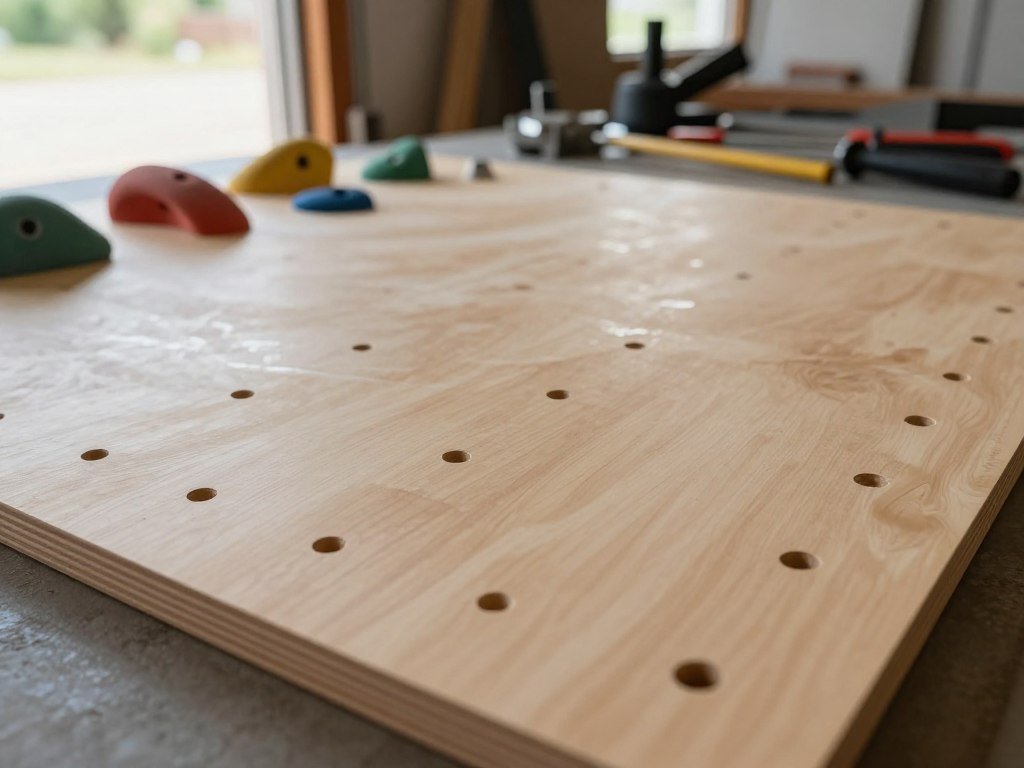
Step 4 is laying out and drilling the T-nut holes before mounting the panels. Atomik recommends at least 72 T-nuts per 4 × 8 ft sheet, in staggered rows 8 in. apart, with each row offset by 4 in.
Drill from the plywood front with a 7/16-in. spade or Forstner bit. The estimated DIY wall cost covers key parts, but a home spray wall may need many holds in a varied, dense layout.
An indoor rock climbing wall for home needs a suitable structural frame, not a decorative panel. The APA guide to plywood grades explains panel ratings and notes that Exposure 1 panels are not for permanent outdoor exposure.
Drill the T-nut holes before attaching the plywood, and check that framing will not block the planned hold positions.
How Do You Install and Pad the Wall Safely?
A climbing wall must transfer the climber’s load into framing, not into drywall or drywall anchors. Use structural support, such as wall studs or added blocking, for a mounted wall.
Match the fall-zone surfacing’s critical fall height rating to the wall’s fall height. ASTM F1292 rates surfacing by critical fall height, and installed performance can change with age, moisture, upkeep, and compaction.
Choose surfacing with a critical fall height rating that matches the wall’s fall height.
Step 5 is building and bracing the frame; Step 6 is fastening panels to it. Atomik recommends garage framing studs at 16-in. centers, or seven joists across an 8-ft section, and #8 × 2-in. deck screws every 6-8 in.
A garage climbing wall needs firm structural attachment. An outdoor build needs a stable structure and materials suited to weather. Keep use to bouldering, without ropes, harnesses, or auto-belays.
Step 7 is installing holds and checking the fall zone. Everlast Standard mats are 2 in. thick, while Premium mats are 3 in. thick; both use foam and 18-ounce polyester-reinforced vinyl.
Everlast’s mat performance claim says its mats meet or exceed ASTM F1292-04 and ASTM F2440-11 requirements. Its 4-ft-wide mats connect with hook-and-loop fasteners; thickness alone does not show suitability for a given fall height.
The ASTM F1292 standard sets impact-attenuation tests for playground surfacing in equipment use zones.
- Structural attachment is secure.
- Panel fasteners are tight.
- Holds are secure and correctly bolted.
- The fall zone is clear and has surfacing rated for the wall’s fall height.
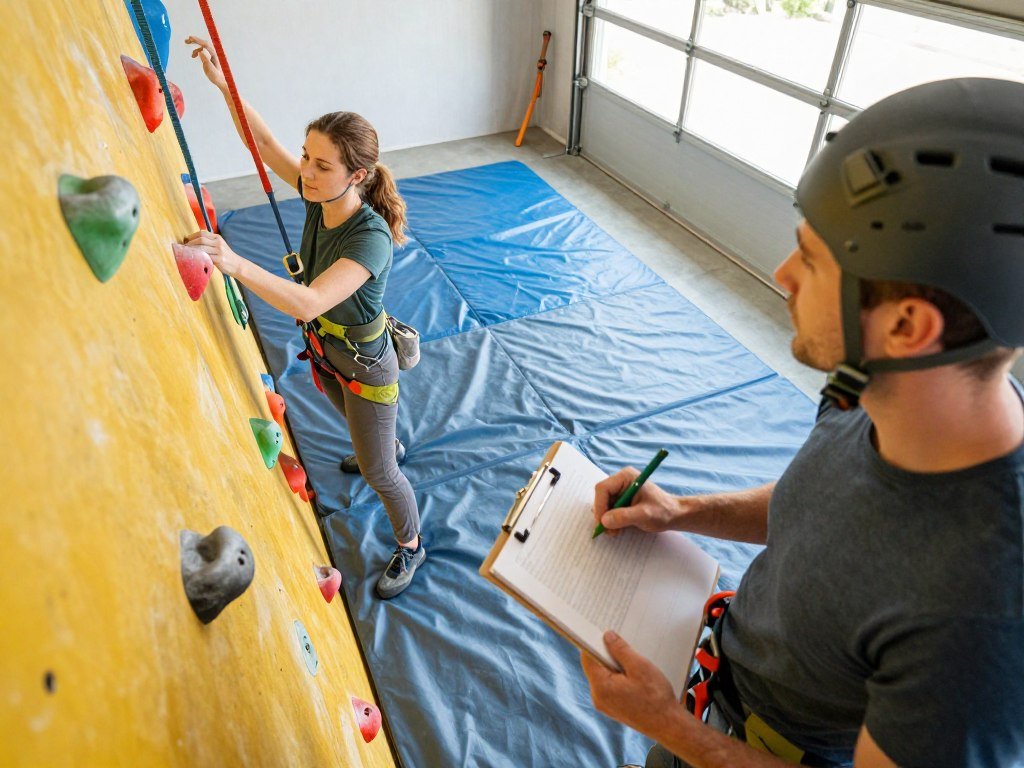
Start with a supervised, low-height check of the holds and landing surface before anyone climbs higher.
Conclusion
A good DIY wall begins with a design that fits both the climbers and the room. Match the wall to the climbers’ experience, and treat the fall zone as an essential part of the setup.
A home climbing wall should fit the space without crowding its landing area. Start by measuring the intended space and sketching both the wall and the fall zone before buying supplies.
Measure the space and draw the wall footprint before buying the first sheet of plywood.
FAQ
How many climbing holds should I start with?
Start with about 40-60 holds for an 8 × 8 ft children’s wall. The wall’s size, route style, and hold size affect how you spread them across the panels. Larger holds take up more room, while small footholds can fit between them. Leave space to change routes as climbers gain skill.
Can I use a 45-degree wall if my child is new to climbing?
No, a 45° overhang is very steep and better suited to expert-level footwork. A newer climber will usually find a less steep wall easier to use. You can also keep the wall low and choose holds that give the child clear places for hands and feet.
Can I build a climbing wall in an apartment?
Yes, but only with permission and a structure that can safely take the load. Do not attach a wall to drywall alone, since drywall cannot provide the needed support. Check the building rules and ask a qualified professional to assess the attachment point before you build.
How often should I check the climbing holds?
Check the bolts and holds before every climbing session. Tighten a loose hold before anyone climbs, and remove any hold that moves or shows damage. A quick check can catch a shifting bolt, a cracked hold, or wear that could affect a climber’s grip.
What should I do if the wall frame wobbles?
Stop climbing until the frame is braced and its structural attachments are checked. Wobbling can signal loose fasteners, weak bracing, or an attachment that does not reach solid framing. Keep the wall unused until it stands firm under a careful inspection.
Can I use reclaimed wood for a home climbing wall?
Yes, if the reclaimed wood is sound, undamaged, and strong enough for the frame. Avoid boards with rot, splits, severe warping, or loose joints. The finished frame must support the plywood and holds without shifting, so reuse questionable pieces only for non-structural tasks.