
Ever downloaded an emulator, double-clicked the installer, and watched three “helpful” toolbars appear out of nowhere? That is the classic Project64 trap, and it is still the biggest reason people get stuck before they ever load a game. The emulator itself is a small, legitimate piece of software. The mess almost always comes from where people get it and how they configure it afterward. (Project64)
This guide walks through the whole process the way it actually plays out on a modern Windows machine: grabbing a clean copy, choosing between the installer and the portable build, wiring up plugins, loading a ROM you legally own, and fixing the handful of problems that trip up nearly everyone. It also flags the parts that change between versions, because a 2026 build may not match the tutorial you watched in 2021.
Why Project64 Still Matters in 2026
Project64 is a Nintendo 64 emulator for Windows. It has been around for decades, and that longevity is both its strength and its weakness. The strength: a huge library of community knowledge, plugin support, and save-state compatibility. The weakness: dozens of outdated guides floating around, each describing menu paths from a different era of the software.
The official home base is project64.org, which hosts downloads and notices. The source code and release notes live on GitHub. Those two places are the only ones worth trusting for version-specific details, because secondary download portals are exactly where bundled junk tends to sneak in. (Project64 Official Website)
One honest caveat before going further: nobody should quote a specific 2026 version number or claim new setup steps without checking the release notes first. Menu labels and plugin defaults have shifted between builds over the years. Treat any guide, including this one, as a map of the process rather than a guarantee of exact button names.
Step 1: Get a Clean Copy From the Right Place
This is the step where most people go wrong, and it is entirely avoidable.
- Go to project64.org directly by typing the address, not by clicking a search ad.
- Look for the download section and note the version number listed.
- Cross-check that number against the releases page on GitHub so you know exactly what you are installing.
- Download either the installer or the portable archive, depending on your preference (more on that below).
- Before running anything, scan the file with your antivirus and check the digital signature if one is provided.
The official site has long carried warnings that third-party “Project64” bundles from download portals may contain adware or malware. That warning has been posted for years, and it is not theater. Download portals make money by wrapping installers, and emulators are a favorite target because the audience is eager and often young.
A practical tip that saves headaches: if a site offers a “download manager” or asks you to accept a browser extension before the file arrives, close the tab. The real download is a plain file, nothing more.
Installer vs. Portable: Which Build Should You Pick?
Project64 has historically shipped in two flavors, and the choice matters more than people expect.
| Build type | What it does | Best for |
|---|---|---|
| Installer (.exe) | Registers the app in Windows, creates shortcuts, may write settings to the system | Casual users who want a normal installed program |
| Portable (.zip) | Runs from a folder with no system changes | Users who want clean removal, testing, or a USB drive setup |
The portable build is the underrated option. Because it makes no system changes, deleting the folder removes the emulator completely. That is a real advantage if you are troubleshooting, comparing versions, or setting up a machine you do not own. The installer is friendlier for everyday use but leaves registry traces behind.
Whichever you choose, keep the folder path simple. Something like `C:EmulatorsProject64` works far better than a deep path with spaces and special characters, which occasionally confuses older plugins.
Step 2: First Launch and the Setup Wizard
The first time Project64 opens, it typically runs a configuration wizard. Do not rush through it.
The wizard usually asks about graphics plugin, audio plugin, and controller input. Defaults have changed across versions, so if the wizard offers a recommended plugin, take it. You can always swap later. The key mistake here is picking a plugin because an old forum post recommended it, when that post predates the current build by five years.
After the wizard finishes, open Options → Settings and look through the tabs. Even if you change nothing, knowing where things live saves time later. Pay attention to:
- Plugins tab: where graphics, audio, input, and RSP plugins are assigned
- Directories tab: where ROMs and save files are stored
- ROM settings: per-game configuration overrides
If your build’s menu labels differ from these, check the official documentation on project64.org rather than guessing. Menu paths are the single most version-sensitive part of the whole setup.
Step 3: Configure Plugins Without Breaking Things
Plugins are where Project64 shows its age and its flexibility at once. A few principles keep this simple.
Graphics: The default plugin usually works. If you see glitches, black screens, or stretched textures, try switching to another graphics plugin before touching any advanced settings. Frame buffer and texture filtering options cause more problems than they solve for most users.
Audio: Audio issues are common and usually fixable by changing the audio plugin or adjusting the buffer size. Crackling often means the buffer is too small; silence often means the wrong plugin is selected.
Input: This is the one place worth spending real time. Map your keyboard or controller deliberately, and test in a game you know well. Analog stick dead zones feel different across plugins, and a poorly mapped stick makes certain games nearly unplayable.
If you are also juggling handheld emulation on the side, the same plugin logic applies elsewhere. Setup routines for other emulators, like the steps in this guide to set up PPSSPP, follow a similar pattern of plugin selection and input mapping.
Step 4: Add ROMs You Legally Own
Project64 ships without games. It needs ROM files in formats like.z64,.n64, or.v64. The long-standing policy is that you should only use ROMs of games you legally own, and the emulator does not include or distribute any game data.
To load a game:
- Place your ROM files in a dedicated folder, not on your desktop.
- Open File → Open ROM and select the file.
- Or point Project64 at your ROM folder via the Directories settings so games appear in the menu.
- Launch the game and confirm it boots before configuring per-game settings.
If a game does not appear or fails to load, check the file extension and whether the file is compressed. Some builds handle zipped ROMs differently, and a mislabeled file will simply not show up.
Step 5: Tune Performance and Save States
Once a game runs, a few small tweaks make the experience much better.
Save states let you save anywhere, which is a lifesaver for games with sparse checkpoints. Learn the hotkeys early. Native saves write to the cartridge-style save file, which is more portable between emulator versions.
Resolution and upscaling are personal taste. Higher internal resolution looks sharper but demands more from your GPU. On a modest laptop, staying near native resolution keeps frame rates stable.
Controller rumble and memory pak emulation matter for a handful of games. If a title asks for a controller pak, enable it in the input plugin settings.
For anyone building a broader retro setup, the same performance-first mindset applies to other hardware. If you have been weighing options like the best phones for mobile emulation or hunting Steam Deck alternatives when stock runs dry, the lesson is identical: match the settings to the hardware instead of maxing everything out and wondering why it stutters.
Common Mistakes and How to Avoid Them
Here are the traps that show up again and again.
Downloading from a portal instead of the official site. This is the number one cause of adware complaints. Type the address yourself.
Following a tutorial for the wrong version. Plugin names and menu paths shift. Check the release notes on GitHub against your build before following any step-by-step list.
Installing plugins from random sites. Plugins are executable code. A plugin from an unknown source is a security risk, not a performance upgrade.
Skipping the input test. Five minutes of mapping and testing saves hours of frustration in games that rely on precise analog input.
Ignoring save file locations. If you reinstall or switch builds, know where your saves live so you can back them up first.
Expecting every game to run perfectly. Compatibility is good but not universal. Some titles need specific plugin combinations, and per-game settings exist precisely for that reason.
When Things Go Wrong: Quick Fixes
A short troubleshooting checklist covers most failures.
- Black screen on launch: switch graphics plugin, then check the ROM file.
- No audio: verify the audio plugin is assigned and the buffer is not set to zero.
- Controller not responding: re-map input in the plugin settings and confirm the device is detected by Windows first.
- Stuttering: lower internal resolution and close background apps.
- Game crashes at a specific point: try a different graphics plugin or enable per-game compatibility settings.
If none of that works, the release notes and official documentation are the right next stop. Community forums help too, but always state your exact version and plugin names, or you will get advice meant for a different build.
Conclusion
Setting up Project64 in 2026 is not hard. It is just easy to do sloppily. Get the emulator from the official site, pick the installer or portable build based on how clean you want the install to be, take the wizard seriously, and resist the urge to tinker with plugins before something actually breaks. Add ROMs you own, test your controller, and learn the save-state hotkeys.
The one habit that separates a smooth setup from a frustrating afternoon is version awareness. Project64 has changed across builds, and the menus you see may not match the guide you are reading. When in doubt, the official site and the GitHub release notes are the source of truth. Everything else is commentary.
Frequently Asked Questions
Is Project64 free to download?
Yes. The emulator itself is free and available from its official site. It does not include games, and users are expected to supply ROMs they legally own.
Do I need a BIOS file to run Project64?
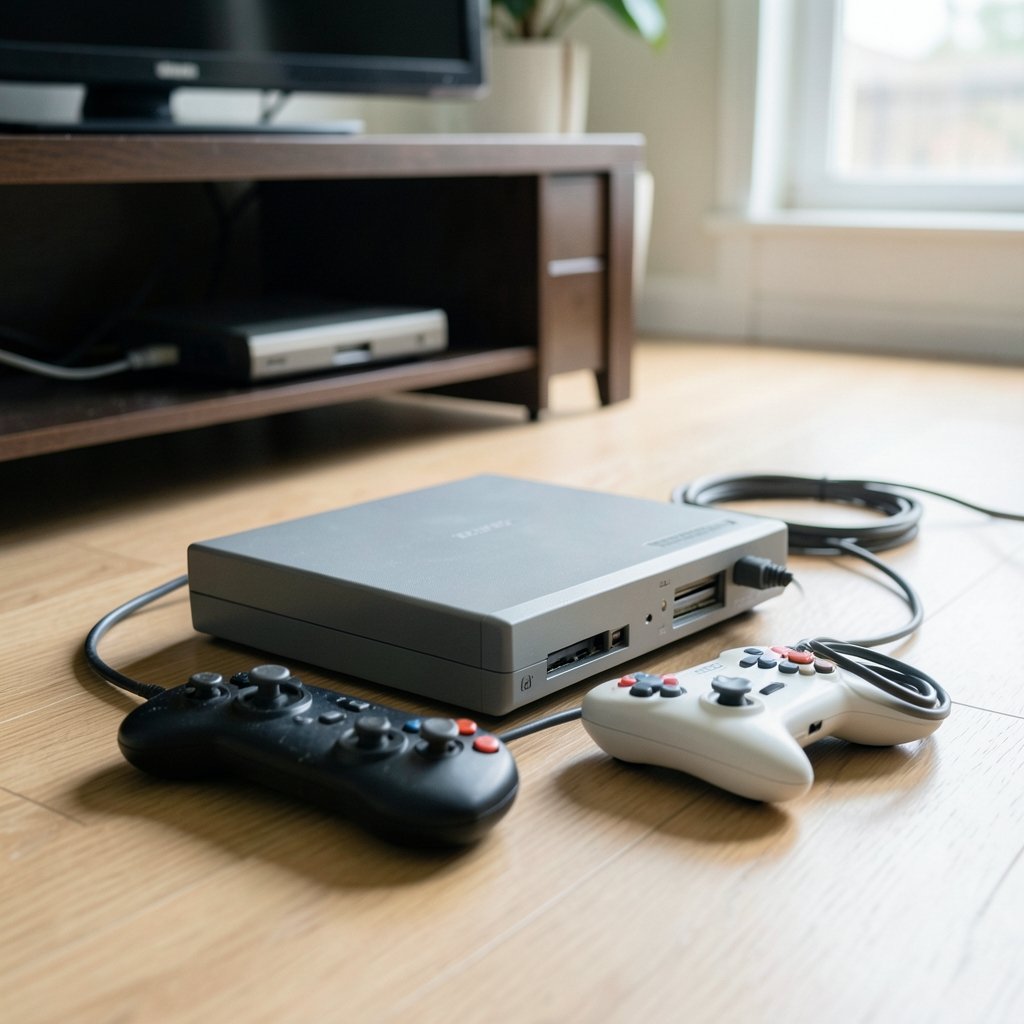
No. The Nintendo 64 did not use a separate BIOS file the way some other consoles did, so Project64 does not require one to boot games.
Why does my antivirus flag the Project64 download?
Emulators sometimes trigger heuristic warnings because they execute game code in unusual ways. Download only from the official site, verify the file, and treat warnings from third-party bundles as a genuine red flag.
Can I run Project64 on a Mac or Linux?
Project64 is built for Windows. Mac and Linux users typically run it through compatibility layers or choose a native emulator instead. Check current platform support on the official site before assuming it will work.
How do I update Project64 without losing my saves?
Back up your save folder and configuration files first, then install the new version over the old one or replace your portable folder. Save states are version-sensitive, so native saves are the safer long-term option.
Which graphics plugin should I use?
Start with whatever the setup wizard recommends for your build. Only switch plugins if you see visual glitches, and change one setting at a time so you know what fixed the problem.