

In October 2007, Apple shipped a feature that quietly changed how millions of people think about data loss: Time Machine), introduced with Mac OS X 10.5 Leopard. Nearly two decades later, it remains one of the few backup tools that ordinary people actually use, largely because it asks almost nothing of them. Plug in a drive, flip a switch, and the Mac handles the rest. The catch is that plenty of users set it up and then never learn how to use it when it counts. That is the gap this guide closes. (Steam machine release date 2026)
What Time Machine Actually Does
Time Machine is the built-in backup system in macOS. Once configured, it creates versioned backups of the entire system: documents, photos, apps, system files, and settings. It is not a simple mirror copy. It keeps multiple versions of the same file over time, which is what makes recovery of an accidentally overwritten document possible.
Apple’s retention pattern has stayed consistent for years: hourly backups for the past 24 hours, daily backups for the past month, and weekly backups for all previous months. When the backup disk fills up, the oldest snapshots are deleted first. That design is deliberate. It gives you dense coverage of recent mistakes and sparse coverage of long-term history.
One point trips people up constantly: Time Machine is a versioned backup, not a bootable clone. You cannot start your Mac from a Time Machine drive the way you could from a duplicate made with cloning software. What you can do is restore files, restore an entire system through macOS Recovery, or migrate everything to a new machine with Migration Assistant. Understanding that distinction early saves a lot of panic later. (Best espresso machine for home)
Setting It Up Correctly the First Time
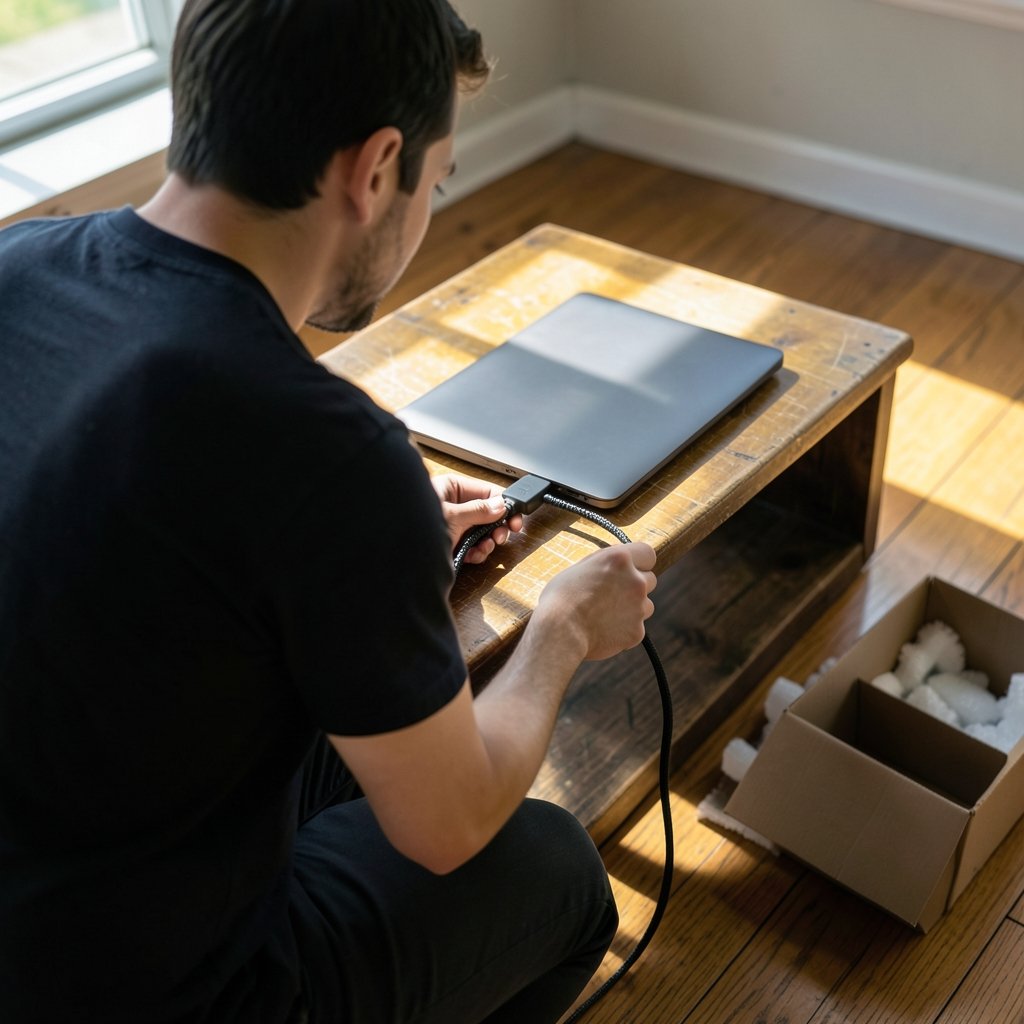
Setup takes about five minutes, and the choices you make here determine how well recovery works later.
- Open System Settings (macOS Ventura 13 and later) or System Preferences (earlier versions), then select General > Time Machine.
- Click Add Backup Disk and choose an external drive or a supported network destination.
- Turn on Encrypt backups if the drive is portable or leaves your desk. An unencrypted backup drive is a readable copy of your entire digital life.
- Confirm that Back Up Automatically is enabled so hourly runs happen without prompting.
A few practical notes from real-world use. Use a drive at least twice the size of your internal storage if your budget allows, because versioned backups grow. Connect the drive directly rather than through an unpowered hub, since dropped connections are one of the most common causes of failed backups. And leave the Mac plugged in and awake periodically so the schedule can actually complete.
Since macOS High Sierra (10.13, released in September 2017), Time Machine also stores local snapshots on the startup disk when the backup drive is not connected. That means recent versions of files may still be recoverable even on a laptop that has been away from its backup drive for days. It is a safety net, not a substitute for the real backup.
Restoring a Single File or Folder
This is the scenario most people face: a document was deleted, overwritten, or corrupted, and they need it back now.
- Open the folder that used to contain the file, or open the app that created it.
- Click the Time Machine icon in the menu bar and choose Browse Time Machine Backups. If the icon is hidden, launch Time Machine from Applications.
- Use the timeline on the right edge, or the up and down arrows, to move back to a date before the problem occurred.
- Select the file and click Restore.
The restored file returns to its original location. If a file with that name already exists, macOS asks whether to keep both, replace, or cancel. Choosing Keep Both is almost always the safer move, because it preserves the current version while giving you the old one for comparison. Restoring into a folder rather than replacing in place is a habit worth building.
Two mistakes show up again and again here. First, people browse the backup drive directly in Finder and drag files out. That works, but it strips away the version history that makes Time Machine useful and can confuse permissions. Second, people restore a whole folder when they only needed one file, then spend an hour cleaning up duplicates. Go narrow first.
Restoring an Entire Mac
When the startup disk fails or macOS will not boot, file-level restore is not enough. You need macOS Recovery.
On Intel Macs, restart and hold Command-R at startup to enter Recovery. On Apple silicon Macs (M1 and later, introduced in November 2020), press and hold the power button until startup options appear, then choose Options. The steps differ by chip, so know which machine you have before you need this.
From Recovery, select Restore from Time Machine Backup and follow the prompts. The process copies the system and your data back to the drive. Expect it to take hours for a large backup over USB, and keep the Mac plugged in throughout.
If your goal is moving to a new Mac rather than repairing an old one, skip Recovery entirely. During setup, Migration Assistant offers to transfer from a Time Machine backup, which brings over accounts, apps, and settings in one pass. It is the smoothest path most users will ever take.
Backup Disks, Formats, and Encryption
Format support has shifted over the years, and generalizing gets people into trouble. Since macOS Big Sur (11.0, released November 2020), Time Machine supports APFS-formatted backup disks, while older HFS+ backup drives remain usable. If you are setting up a new drive today, APFS is the sensible choice. If you have an older drive that still works, there is no urgent reason to reformat it.
Encryption deserves a straight answer. Turn it on. Apple recommends encryption for Time Machine backups, particularly for drives that travel. The performance cost on modern Macs is negligible, and the alternative is a drive that anyone can read if it is lost or stolen. Store the password somewhere other than the drive itself, ideally in a password manager.
Network backups work too, including SMB shares on a NAS. They are convenient for desktops that never move, but slower and more fragile than a direct connection. Note that Apple’s own Time Capsule was discontinued in April 2018, so it should not be part of a new setup plan.
Common Mistakes That Undermine Good Backups
Even a configured Time Machine setup fails people, usually for predictable reasons.
The drive is too small. When the backup disk fills, older versions get purged. A drive barely larger than your internal storage means you keep weeks of history, not months.
Nobody checks the status. Time Machine can silently stop backing up after a failed run. Glance at the menu bar icon occasionally and confirm the last backup timestamp is recent.
The drive lives in a drawer. A backup that is disconnected 90 percent of the time is not protecting you. For laptops, connect it nightly.
There is only one copy. Time Machine is excellent, but it is one layer. A sensible strategy follows the long-standing 3-2-1 principle: three copies of important data, on two different media, with one offsite. That principle traces back to contingency planning guidance published by NIST for federal systems, and it applies just as well to a home photo library.
Nobody tests a restore. A backup you have never restored from is a hypothesis. Once a quarter, pull an old version of a file you still have. It takes two minutes and tells you whether the whole system works.
Time Machine in a Broader Backup Strategy
Time Machine handles the everyday disasters: the deleted thesis chapter, the corrupted spreadsheet, the failed macOS update. It does not handle fire, theft, or ransomware that encrypts both the Mac and the connected drive. For those, an offsite copy matters. Cloud sync services are not backups in the versioned sense, since deletions propagate, but a proper cloud backup service or a rotated offsite drive fills the gap.
The broader lesson is that backup tools only pay off when the workflow around them is boring and automatic. The same logic applies to any appliance in the home: a device that runs unattended needs a plan for when it stops, whether that is a home generator keeping the fridge running through an outage or a network drive holding your archives. Redundancy is the point.
A Quick Reference for Recovery Scenarios
| Situation | Best tool | Where to start |
|---|---|---|
| Deleted or overwritten file | Time Machine browser | Menu bar icon > Browse Time Machine Backups |
| Recent version, drive disconnected | Local snapshots | Time Machine browser, same steps |
| macOS will not boot | macOS Recovery | Command-R (Intel) or hold power (Apple silicon) |
| Moving to a new Mac | Migration Assistant | Setup Assistant > From a Mac or Time Machine |
| Drive physically lost | Offsite or cloud copy | Independent backup service |
Conclusion
Time Machine earns its place because it removes the two biggest obstacles to backing up: effort and cost. Setup takes minutes, the schedule runs itself, and recovery of a single file is genuinely simple once you have done it once. The failure mode is never the software. It is the drive left unplugged, the disk that quietly filled up, the restore that was never tested. Set it up with a properly sized encrypted drive, check the status now and then, restore one file this month just to prove it works, and keep a second copy somewhere offsite. Do that, and the next accidental deletion becomes a two-minute inconvenience instead of a catastrophe.
The habit that matters most. Once the setup is done, the single most valuable practice is a periodic restore test. Choose a file you still have, browse back a few weeks, and restore a copy to a scratch folder. If it opens correctly, every layer of the chain—drive health, encryption, version history, and the macOS restore path—has just been verified. If it fails, you have found the problem while the original still exists. Put a recurring reminder in your calendar for the first weekend of each quarter, and treat it as non-negotiable as a smoke detector check.
A note on drive longevity. External drives fail quietly. Most modern drives report their health through S.M.A.R.T., and macOS surfaces warnings in Disk Utility under the drive’s info panel. Check it when you run your restore test. A drive that has served faithfully for five years is not a reason for confidence; it is a reason to buy its replacement before it stops answering. Rotate the old drive out of service rather than waiting for the click of death, and keep the retired one wiped or stored, not reused for something else.
What Time Machine will not save you from. It cannot recover a file that was deleted before the first backup ran, and it cannot help if the backup drive is sitting next to the Mac when the house floods. It also does not protect against a user who deletes a file and empties the trash weeks before noticing—by then the versioned copies may have aged out. These are not flaws in the tool; they are the boundaries of any single-layer strategy. The answer is always the same: a second copy, somewhere else, on a different schedule.
Final word. Time Machine is the closest thing macOS has to a safety net that requires almost no thought after setup. The thinking belongs up front—right-sized encrypted drive, automatic schedule, direct connection—and in the small rituals afterward: a glance at the menu bar, a quarterly restore test, a second copy offsite. None of that is glamorous, and that is precisely the point. Good backups are boring by design, and the day you need one, boring is exactly what you will be grateful for.



