

Roughly 40 million people have downloaded OBS Studio, the free broadcasting tool that quietly powers a huge slice of Twitch and YouTube content. The catch? Almost everyone who installs it stares at the same black canvas and wonders what to click first. This guide walks through the whole process in plain language, from download to your first finished recording.
Quick Answer: How do i use obs studio step by step for beginners?
Using OBS Studio means installing the free software, running the auto-configuration wizard, adding a video source such as a display or webcam, choosing an output mode, and pressing Start Recording or Start Streaming. The main choices are recording to a local file versus streaming to a platform that supplies a stream key.
Recording is the simpler starting point because it needs no account, no key, and no upload bandwidth. Streaming adds a few extra fields, but the core workflow is identical: sources in, settings checked, one button pressed.
Before going live, check your internet upload speed, your computer’s processor load, your target resolution and frame rate, your storage space, and your audio devices. (Broadband Speed Guide)
Why OBS Is Worth the Learning Curve
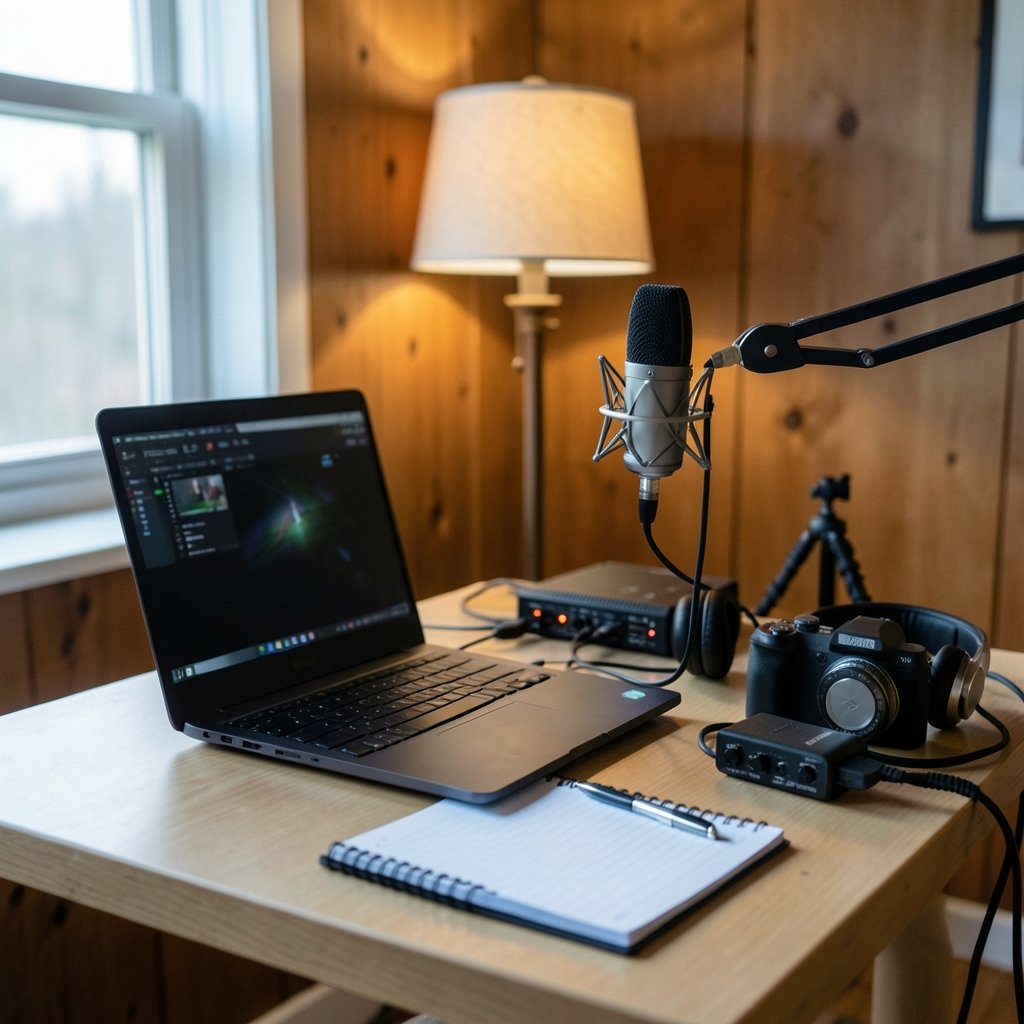
OBS Studio is free, open-source software for recording and live streaming, and it runs on Windows, macOS, and Linux. That cross-platform reach is rare. Paid alternatives often charge monthly fees or cap recording length, while OBS asks for nothing and adds no watermark. (Open Broadcaster Software)
The trade-off is honesty about its audience. OBS does not hold your hand. It presents a canvas, a scene list, a mixer, and a settings menu, then trusts you to assemble the pieces. For a beginner, that blank slate feels intimidating for about twenty minutes. After that, the logic clicks: you stack visual layers, you control volume, you hit record.
The best first move is to treat OBS as a recording tool, not a streaming tool. Recordings let you make mistakes privately. Streaming broadcasts them.
Step 1: Download and Install OBS Studio
Go to the official OBS Project website and download the installer for your operating system. Avoid third-party download portals, which sometimes bundle adware or outdated versions. The official source is the only one worth trusting.
Run the installer and accept the defaults. On Windows you may see a prompt about a virtual camera driver; installing it is safe and useful later. macOS users will need to grant screen recording and microphone permissions in System Settings the first time OBS opens. Skipping that step is one of the most common beginner mistakes, and it produces a black screen with no obvious error message.
Once installed, launch OBS. A setup wizard usually appears on first run. If it does not, you can trigger it manually from the Tools menu.
Step 2: Run the Auto-Configuration Wizard
The wizard asks what you want to do: configure for streaming or configure for recording. Choose recording if you are new. It then tests your hardware and suggests resolution and frame rate settings that your machine can actually handle.
Accept the recommendation unless you have a reason not to. Beginners often crank settings to 1080p at 60 frames per second on a laptop that cannot sustain it, then wonder why the video stutters. A smooth 720p recording beats a choppy 1080p one every time.
If you plan to stream, the wizard also estimates your upload bandwidth and picks a bitrate. Treat that number as a ceiling, not a target. Leaving headroom keeps the stream stable when someone else on your network starts a video call.
Step 3: Understand Scenes and Sources
Everything in OBS rests on two ideas. A scene is a collection of layers you can switch between instantly. A source is one layer inside that scene, such as a screen capture, a webcam feed, a still image, or an audio input.
Think of scenes as camera angles on a TV set. One scene might show your full screen for a tutorial. Another might show just your webcam for a talking-head intro. Clicking a scene swaps the whole arrangement without touching individual layers.
To add a source, click the plus button in the Sources panel and pick a type. The most useful options for beginners are:
| Source type | What it captures | Best for |
|---|---|---|
| Display Capture | An entire monitor | Tutorials, demos, full-screen games |
| Window Capture | A single application window | Focused software walkthroughs |
| Video Capture Device | A webcam or capture card | Talking-head segments |
| Audio Input Capture | A microphone | Voiceover and commentary |
| Audio Output Capture | System sound | Game audio, music, call audio |
| Image | A static picture | Logos, overlays, title cards |
Drag sources up and down the list to change stacking order. Whatever sits at the top renders in front. A webcam placed above a display capture becomes a picture-in-picture bubble; placed below, it disappears entirely. That layering confusion trips up nearly every first-timer.
Step 4: Arrange Your Layout and Check Audio
With sources added, drag the red handles on the canvas to resize and reposition. Hold Alt on Windows or Option on macOS while dragging an edge to crop rather than stretch, which prevents distorted webcam images.
Now look at the Audio Mixer at the bottom. Each source with sound gets a slider and a moving level meter. Speak at your normal volume and watch the meter. Peak levels should sit around minus 12 to minus 6 decibels. If the meter touches the top and turns red, the audio is clipping and will sound harsh and distorted on playback. Lower the gain rather than shouting more quietly.
Click the gear icon next to any audio source and enable noise suppression if your room hums. A fan, a refrigerator, or a keyboard can ruin an otherwise clean recording, and the built-in filter costs nothing to switch on.
Step 5: Set Up Recording Output
Open Settings and go to the Output tab. In simple mode, set the recording path to a drive with plenty of free space, and choose a format. MKV is the safest choice because a crash mid-recording leaves a playable file; MP4 can corrupt if the process is interrupted. OBS can remux an MKV to MP4 afterward from the File menu in seconds.
Video editors, streaming overlays, and animation tools all compete for the same processor, so close anything heavy before recording. If you also dabble in creative software, the same principle applies to AI video generator from images a beginners guide workflows, where rendering hogs resources.
Next, visit the Video tab to confirm base and output resolution plus frame rate. Thirty frames per second suits tutorials and talking heads; sixty suits fast games. Then check the Hotkeys tab and note the default shortcuts, since fumbling for a button mid-session looks amateurish.
Step 6: Record Your First Clip
Click Start Recording. The button turns into Stop Recording and a timer appears in the status bar. Record thirty seconds, stop, and watch the file back before doing anything else.
This test pass catches the classic problems: no microphone audio, a black screen from missing permissions, or a webcam pointed at a ceiling. Every one of those issues is fixable, but only if you discover it before a forty-minute session.
If the file plays fine, you have mastered the core loop. Everything else in OBS is refinement.
Step 7: Go Live With a Stream Key
Streaming adds one crucial ingredient: a stream key, a private code from your platform that authorizes OBS to broadcast to your channel. Find it in your streaming account’s dashboard, then paste it into Settings, Stream. Treat it like a password; anyone with the key can broadcast as you.
Set the service, paste the key, and apply. Return to the main window, confirm your scene looks right, and click Start Streaming. Watch the status bar for dropped frames. A few are normal; a rising count means your bitrate exceeds your upload capacity, so lower it.
New streamers should also rehearse the ending. Raid someone, say goodbye, and stop the stream deliberately rather than closing the laptop mid-broadcast.
Common Beginner Mistakes and Fixes
A few problems appear so often they deserve their own list.
Black screen on display capture. On macOS, screen recording permission is missing. On Windows, a game may be running in a mode that blocks capture; try game capture instead.
Echo or doubled audio. Two sources are capturing the same sound. Mute the duplicate in the mixer.
Choppy video. The encoder is overloaded. Drop the resolution or frame rate, or switch the encoder to hardware acceleration in Output settings.
No game sound. Add an Audio Output Capture source; OBS does not grab system audio automatically on every platform.
Tiny text in tutorials. Capturing a 4K monitor and scaling down makes text unreadable. Change the display resolution before recording instead.
Recording a short test every single time you change a setting is the habit that separates calm creators from frustrated ones.
Making OBS Feel Less Intimidating
The blank canvas problem is universal, and it is not unique to broadcasting. People meet the same wall when learning Roblox studio vs unity vs godot 2026 comparisons, where three engines each present an empty scene and a long menu. The cure is identical: build one small thing, finish it, and expand later.
Similarly, creators who document their setups with AI graphic design tools for beginners often find that a simple overlay and a clean title card do more for production value than any advanced OBS plugin. Start with one scene, one microphone, and one screen capture. Add complexity only when a specific problem demands it.
Conclusion
OBS Studio rewards patience rather than genius. Install it from the official source, let the wizard pick sensible settings, add a display capture and a microphone, watch your audio meter, record a thirty-second test, and then record for real. Streaming follows the same path with one extra field: the stream key.
The software looks dense because it is honest about how many moving parts a broadcast contains. Once the scene-and-source model makes sense, the rest is detail work. Most beginners go from blank canvas to finished recording in a single afternoon, and the recordings only get better from there.
A Short Checklist Before Every Session
Before you open OBS for a real recording, run through a five-point check. It takes under a minute and prevents most wasted takes.
- Confirm the scene. Click the scene you actually want live and glance at the canvas preview. OBS shows exactly what will be captured.
- Test the microphone. Say a sentence and watch the audio meter move. Silence means a muted source or the wrong device selected.
- Clear disk space. Recording eats roughly one gigabyte every few minutes at 1080p. Check the target drive first.
- Close heavy apps. Browsers with dozens of tabs, chat clients, and background sync tools all steal processor time.
- Do a five-second test. Record, stop, and play it back. If it looks and sounds right, record the real thing with confidence.
What to Learn Next
Once the basics feel automatic, add one feature at a time. Studio Mode lets you preview a scene before switching to it live, which removes the panic of a wrong click during a stream. Profiles keep separate settings for streaming and recording, so you never reconfigure the same fields twice. Scene collections let you save a complete setup for one project and load another instantly. Filters such as color correction and a noise gate sit on individual sources and cost nothing but a few clicks.
None of these are required on day one. They are refinements, and refinements only make sense once the core loop is solid. Learn one, use it for a week, then learn the next.
Final Thoughts
OBS Studio is not difficult so much as unfamiliar. Every panel exists because some broadcaster needed it, and you will only ever use the handful that match your work. Ignore the rest without guilt. The creators who succeed with OBS are not the ones who memorized every menu; they are the ones who recorded their first shaky clip, watched it back, fixed one problem, and recorded again. That loop, repeated patiently, is the whole skill. Open OBS, add a screen capture, speak into your microphone, and press record. The first file will not be perfect, and it does not need to be. It only needs to exist.



