
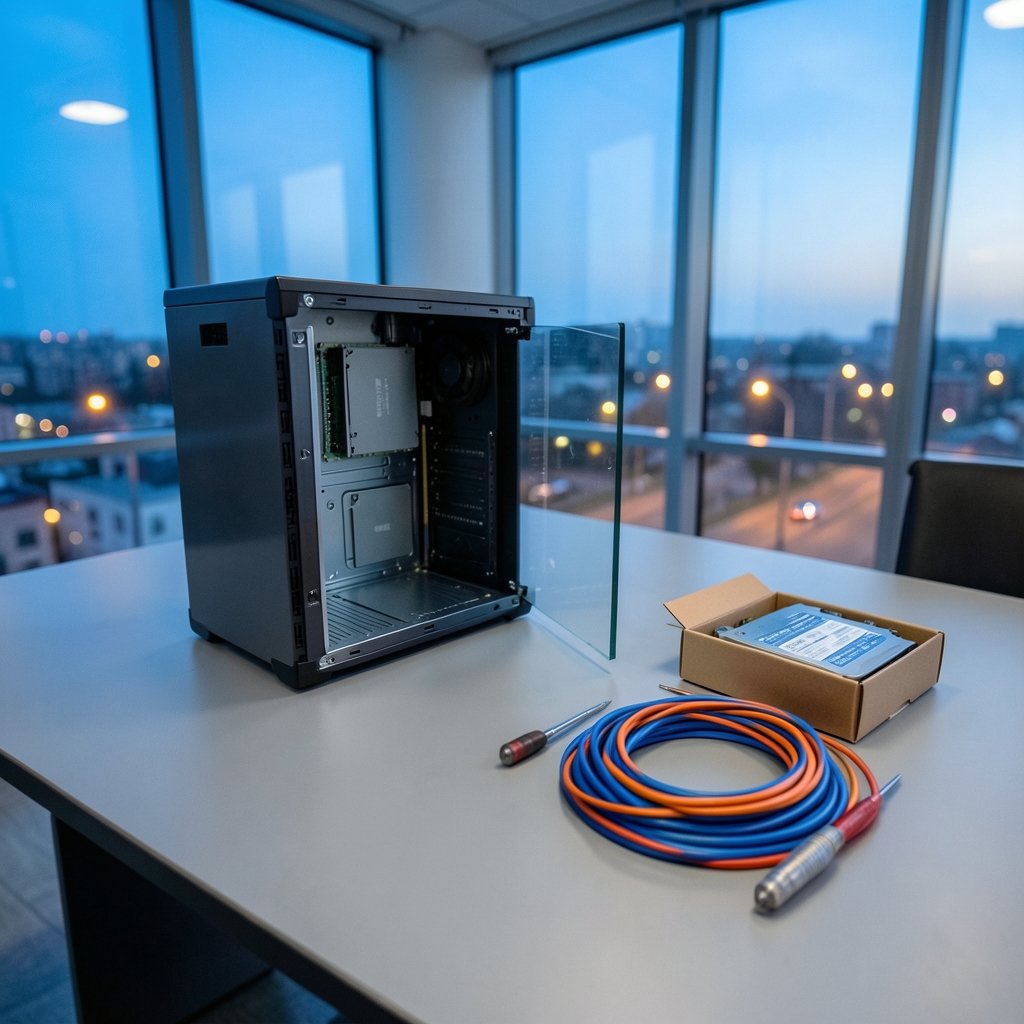
Quick Answer: How do i update power supply unit safely without losing data?
Replacing a power supply unit) (PSU) does not endanger your data, because files live on drives, not inside the power supply. The real risk is an abrupt power cut during an active write, so shut the operating system down cleanly, unplug the AC cord, and drain residual charge before opening the case. Back up critical files first, and never reuse modular cables from a different PSU brand or model.
Desktop towers with standard ATX or SFX units are straightforward swaps, while prebuilt OEM machines (Dell, HP, Lenovo) sometimes use proprietary connectors that require a model-specific replacement. Laptop “power supplies” are simply AC adapters, and swapping one has no effect on storage at all.
Before buying anything, check your wattage headroom, GPU connector type (PCIe 8-pin versus 12VHPWR), physical dimensions, motherboard form factor, and warranty terms.
The first time someone opens a computer case, the fear is almost always the same: will this erase everything? It is a reasonable worry. Storage drives hold years of photos, tax records, and half-finished projects, and a power supply sits right next to them, humming with mains electricity. According to long-standing industry guidance, the PSU is the one component that touches every other part of the system, which is exactly why people treat it with suspicion.
Here is the reassuring part. A power supply delivers voltage; it stores nothing. Swap it out and your data stays exactly where it was, untouched, on the SSD or hard drive. The danger, such as it is, comes from how you do the swap, not from the swap itself.
Why a PSU Replacement Doesn’t Touch Your Data
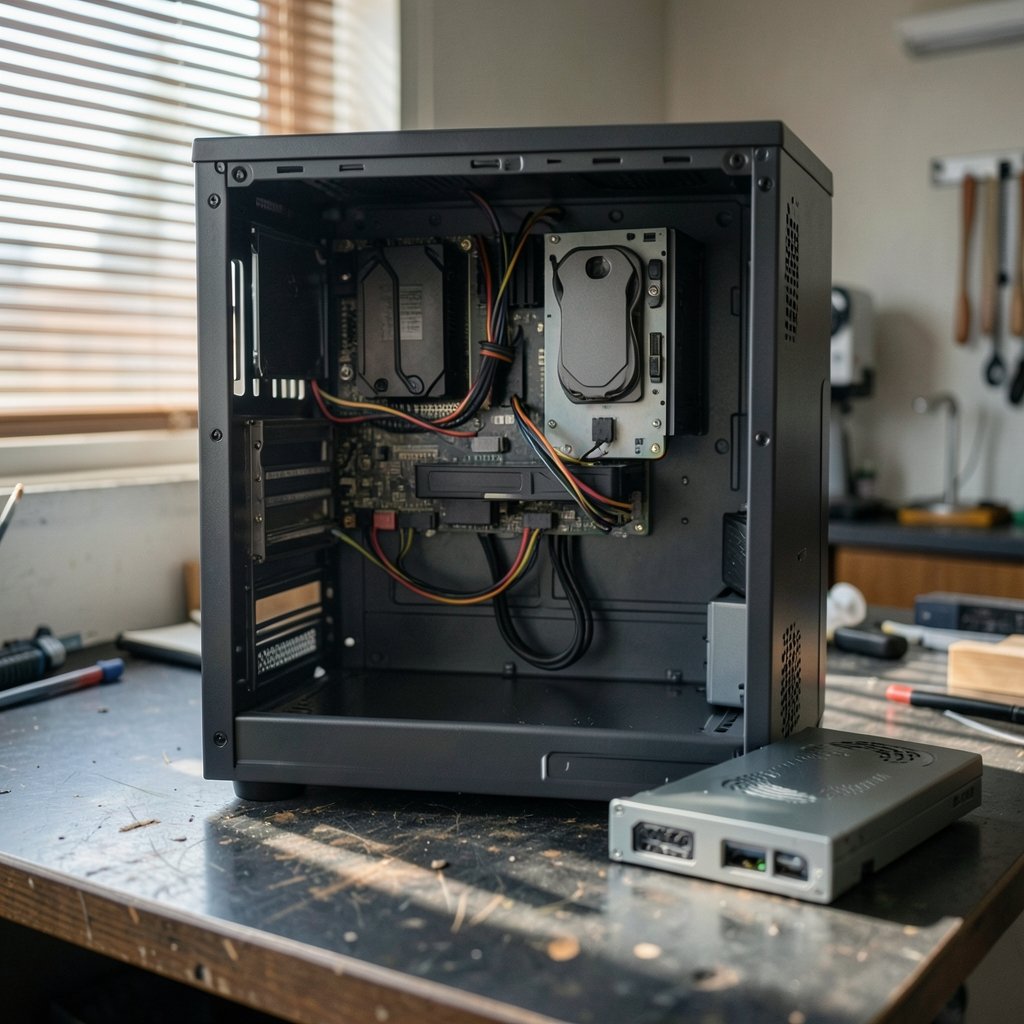
Think about where your files actually live. They sit on NAND flash chips inside an SSD or on magnetic platters inside a hard drive. The power supply is a separate box, usually in the bottom or top rear of the case, connected to the rest of the system by cables. It converts wall current into the 12V, 5V, and 3.3V rails your components need.
When you disconnect and remove that box, you are not touching the drives at all. The drive stays mounted, its SATA or NVMe connection stays intact, and its contents are unaffected. This is why technicians can swap a dead PSU in twenty minutes and hand back a machine with every file intact.
The genuine risk is interrupted writes. If power dies while the operating system is mid-write, a filesystem journal can be left inconsistent, and in rare cases a file being saved at that exact moment is corrupted. That is a power-loss problem, not a PSU-replacement problem. A clean shutdown eliminates it.
The one exception worth knowing
Modular PSU cables are not interchangeable between brands, and often not between models from the same brand. The connector on the PSU end looks identical, but the pinout can differ. Plugging a cable from one unit into another can send 12V down a ground line and kill drives, fans, or the board itself. If you are replacing a modular unit, use only the cables that ship in the new box. This single mistake causes more destroyed hardware than any other part of the job.
Before You Start: The Pre-Swap Checklist
Preparation is where data safety is actually won. A few minutes of checking saves hours of regret.
- Back up anything irreplaceable. Copy critical files to an external drive or cloud service. A full image backup is better, but even a folder of documents and photos beats nothing.
- Note your current PSU specs. Write down the wattage, the model number, and the physical dimensions. Photograph the label on the side of the unit.
- Check connector requirements. Modern graphics cards may need a 12VHPWR or 12V-2×6 connector; older builds use PCIe 6-pin or 8-pin. Count what your components need.
- Confirm the form factor. Most desktops use ATX or the smaller SFX. Prebuilt OEM machines sometimes use proprietary shapes and pinouts, so check the service manual for your exact model.
- Verify clearance. Measure the PSU bay. A 180mm unit will not fit where a 140mm one lived.
- Plan wattage headroom. Add up component draw and leave roughly 20 to 30 percent spare. Power supplies run most efficiently and quietly when not pinned at maximum.
If you are also planning upgrades around the swap, it helps to think about the wider build. Someone comparing backup power options for a home office, for instance, may want to look at best home generators so a blackout does not interrupt work mid-project.
Step-by-Step: Swapping the PSU Without Risking Your Files
Step 1: Shut down properly
Use the operating system’s shutdown command. Do not hold the power button, and do not flip the switch on the back of the PSU while the machine is running. A clean shutdown flushes write caches and closes the filesystem properly. This is the single most important data-safety step in the whole process.
Step 2: Unplug and discharge
Pull the AC cord from the wall. Then press and hold the case power button for about five seconds to drain residual charge from the capacitors. Some manufacturers specify a waiting period before opening the unit; follow whatever your PSU maker states. Note that sources disagree on whether to leave the machine plugged in for grounding. The safer modern practice is to unplug fully and touch an unpainted metal surface on the case to discharge static before handling components.
Step 3: Photograph the cable routing
Before removing anything, take clear photos of every connection. PSU cables snake behind drive cages and through grommets, and memory of the layout fades fast. These photos will save you during reassembly.
Step 4: Disconnect and remove the old unit
Unplug the 24-pin motherboard cable, the 4-pin or 8-pin CPU cable, PCIe cables to the GPU, and SATA power cables to drives. Unscrew the four screws at the rear of the case and slide the unit out. Set it aside; do not open it. Even unplugged, capacitors inside a PSU can hold a dangerous charge, and there is nothing user-serviceable inside. (Ai image generator without a prompt)
Step 5: Install the new unit
Slide the new PSU into the bay, orienting the fan according to the case design (usually downward in a bottom-mounted bay with a floor vent). Secure the four screws. Then connect cables in this order: motherboard 24-pin, CPU power, GPU power, then drives. Route cables behind the motherboard tray where possible for airflow.
Step 6: First boot and verification
Double-check every connection, then plug in and power on. Enter the BIOS or UEFI and confirm the drives are detected. Boot the operating system and open a few files to confirm everything reads correctly. If a drive is missing from the list, power down immediately and reseat its cable; do not keep booting and hoping.
Step 7: Monitor for a week
Watch temperatures and listen for unusual fan noise. A PSU that runs hot or whines under load may be undersized or faulty. If the machine shuts down unexpectedly under heavy load, the wattage may be too low for your GPU.
Common Mistakes That Actually Cause Data Loss
Most “PSU killed my data” stories trace back to one of a handful of avoidable errors.
| Mistake | What Happens | The Fix |
|---|---|---|
| Reusing modular cables from the old PSU | Wrong pinout can send voltage down the wrong line and destroy drives | Always use the cables in the new box |
| Yanking the power cord mid-boot | Filesystem journal left inconsistent; in-flight writes corrupted | Always shut down through the OS |
| Skipping the backup | No recovery path if something else goes wrong | Back up before opening the case |
| Buying by wattage alone | Cheap units may lack connectors or protection circuitry | Check connectors, efficiency rating, and reviews |
| Ignoring OEM proprietary designs | New unit physically will not fit or connect | Check the service manual for your model |
There is a second category of risk that has nothing to do with the PSU: static electricity. Touching a drive’s circuit board after shuffling across a carpet can fry it. Ground yourself on the case chassis before reaching inside.
If your machine doubles as a work machine and downtime is expensive, it is worth thinking about resilience beyond the PSU. The same logic that applies to backup power for a home also applies to a desktop, and readers weighing options often compare notes on storage unit deals when they need somewhere to keep spare hardware and archived drives. (ENERGY STAR Computers)
When to Replace a PSU at All
Power supplies do age. Capacitors degrade, fans wear out, and efficiency drops over years of service. But there is no universal “replace every five years” rule, despite what forum posts claim. Treat any specific interval as manufacturer guidance rather than fact.
Replace the unit when you see concrete symptoms: coil whine that was not there before, random shutdowns under load, a fan that grinds, visible bulging on the label side, or a burning smell. Replace it proactively when you add a power-hungry GPU that exceeds your current headroom. And replace it immediately if a power surge has killed it, since a failed unit can take other components with it.
For laptops, the calculus is different. The “power supply” is an external AC adapter, and the battery buffers the system during a swap. Unplug the adapter, plug in the new one, and nothing on the SSD is affected. Just match the voltage exactly and meet or exceed the original amperage.
Frequently Asked Questions
Will replacing my power supply erase my hard drive?
No. Data lives on the drive’s storage media, not in the power supply. As long as you shut down cleanly, use the correct cables, and do not physically damage the drive during the swap, every file remains exactly where it was.
Do I need to reinstall Windows after a PSU upgrade?
No. The operating system does not care which power supply feeds it. Windows, macOS, and Linux all boot normally after a PSU swap with no reconfiguration, because the PSU is not a device the OS identifies or configures.
Can I reuse the modular cables from my old power supply?
Only if the new unit is the exact same brand and model. Modular cables look identical but frequently have different pinouts between brands and even between model lines. Reusing them is the most common way people destroy drives during a PSU upgrade.
How many watts do I actually need?
Add up the power draw of your CPU and GPU (the two biggest consumers), then add roughly 50 to 100 watts for drives, fans, and the board. Add 20 to 30 percent headroom. A mid-range gaming build typically lands between 550W and 750W; high-end GPUs push toward 850W or more.
Is it safe to replace a PSU myself with no experience?
For a standard ATX desktop, yes, with care. The job involves four screws and a set of keyed connectors. The risks are static electricity, reusing the wrong cables, and forgetting to shut down properly, all of which are easy to avoid. Prebuilt OEM machines with proprietary PSUs are the exception; those may need a professional or a model-specific replacement part.
What should I do if my PC won’t boot after the swap?
Power down immediately and recheck three things: the 24-pin motherboard cable is fully seated, the CPU power cable is connected, and the wall switch on the PSU is on. If drives are missing from the BIOS, reseat their power and data cables. If the machine still will not post, the new unit may be faulty or underpowered.
Conclusion
Updating a power supply is one of the least data-risky upgrades a person can make, provided the job is done in the right order. The drive never moves, the files never leave their chips, and the operating system does not even notice the change. What matters is the discipline around the swap: a clean shutdown, a fresh backup, the correct cables from the new box, and a careful check of connectors before the first boot.
The people who lose data during a PSU swap are almost always the ones who skipped the shutdown, reused modular cables, or never backed anything up in the first place. None of those mistakes are necessary. Take twenty minutes, follow the steps, and the machine comes back to life with a quieter fan, steadier voltage, and every file exactly where you left it.



