
Quick Answer: How do i set up ddr5 ram for the best performance?
To get the best performance from DDR5 RAM, install the sticks in the correct slots, enable the XMP 3.0 or EXPO memory profile in BIOS, and then verify stability with a memory test. Most kits run at slow JEDEC defaults until that profile is switched on, so this single step delivers the biggest gain.
The alternatives are manual tuning, which means adjusting frequency, primary timings, and voltages by hand, or simply accepting the stock profile. Manual tuning can squeeze out extra speed, but it takes time and careful testing.
Before acting, check your CPU generation, motherboard memory QVL, DIMM count and slot layout, memory controller ratio (Gear 1 versus Gear 2), kit voltage, and cooling airflow over the modules.
A modern DDR5 kit can run at DDR5-6000 or faster, yet many systems boot at just 4800 MT/s because nobody ever opened the BIOS. That gap is one of the most common free performance losses in a new PC build, and it takes about five minutes to fix. The guide below walks through slot choice, profile activation, ratio tuning, stability testing, and the mistakes that trip up even experienced builders.
Why DDR5 Defaults Slow and What You Gain by Fixing It
Every DDR5 module carries a small chip called an SPD hub that stores a safe fallback profile. That fallback follows JEDEC standards, which prioritize compatibility over speed, so a 6000 MT/s kit will happily run at 4800 MT/s out of the box. The faster profile is stored separately as XMP 3.0 (Intel) or EXPO (AMD) and stays dormant until someone enables it.
The performance difference is real but workload-dependent. Games with heavy CPU limits, simulation titles, and memory-sensitive applications benefit most, while GPU-bound games at 4K may show almost nothing. Integrated graphics are especially sensitive because the GPU borrows system memory. If a build feels slower than reviews suggested, memory defaults are a prime suspect, right alongside storage and cooling choices.
Step 1: Pick the Right Slots and Seat the Modules Properly
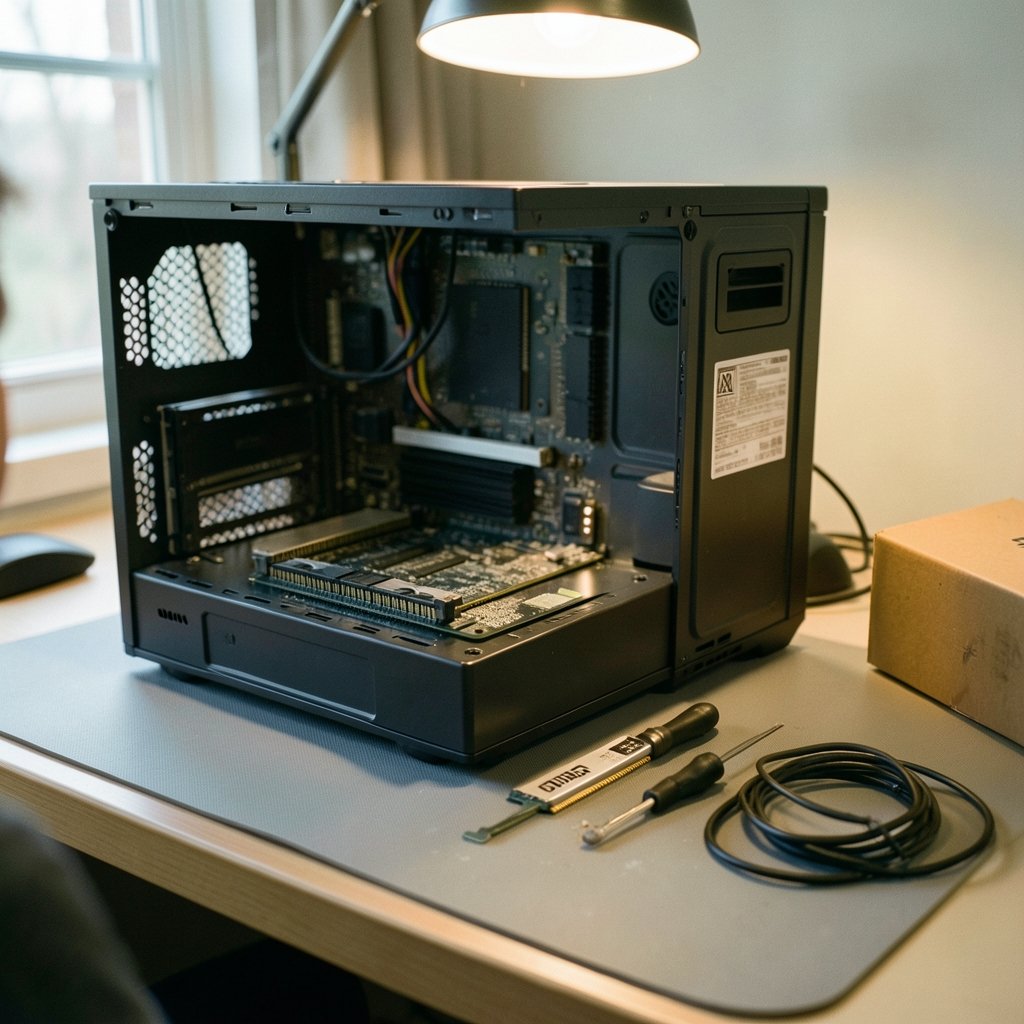
Slot population matters more on DDR5 than it did on DDR4. Most mainstream boards have four DIMM slots, and the correct pair is usually the second and fourth slots counted from the CPU socket, often labeled A2 and B2. Check the manual rather than guessing, because layouts differ between vendors.
- Power down and unplug the PSU, then press the power button once to drain residual charge.
- Open both retention clips on the target slots.
- Align the notch on the module with the key in the slot and press down firmly on both ends until each clip snaps shut.
- Confirm the module sits level, with no gold contacts visible above the slot.
Two DIMMs are generally more stable at high speeds than four, because four modules load the memory controller harder. A 2×16 GB or 2×24 GB kit is the safer path to high frequency than filling all four slots. Also avoid mixing kits bought at different times; matched kits are validated together.
Step 2: Enable XMP 3.0 or EXPO in BIOS
This is the step that actually changes memory performance. Reboot and press the BIOS key (Del or F2 on most boards), then find the memory profile toggle. Menus vary by vendor, but the setting is usually on the main or “Extreme Tweaker” style page.
| Vendor | Common Menu Path | Profile Name |
|---|---|---|
| ASUS | Ai Tweaker | XMP I / XMP II / EXPO |
| MSI | OC Settings | A-XMP / EXPO |
| Gigabyte | Tweaker | XMP Profile 1 |
| ASRock | OC Tweaker | XMP / EXPO |
Select the profile, save, and exit. The board will retrain memory, which can take 30 seconds or more on first boot. If the system fails to post, it will usually fall back to defaults automatically. In that case, drop one frequency step and try again rather than fighting the kit.
Step 3: Understand Gear Ratios and the AM5 Sweet Spot
Frequency alone does not tell the whole story. DDR5 runs the memory controller at a 1:1 ratio (Gear 1) or 1:2 ratio (Gear 2) with the DRAM clock. Gear 1 has lower latency but caps out lower; Gear 2 allows higher frequencies at the cost of some latency. On recent Intel platforms the 1:1 ceiling depends on the individual CPU, so two identical chips can behave differently.
On AMD’s AM5 platform, the coupled memory controller mode generally tops out near DDR5-6000 to 6400 for best latency, which is why DDR5-6000 CL30 has become the widely recommended sweet spot. For Intel builds, roughly DDR5-6400 to 7200 is the common reviewer recommendation. These are community and reviewer consensus figures, not official specifications, so treat them as starting points. (DDR5 SDRAM)
Timings matter as much as frequency. A tight DDR5-6000 kit can beat a loose DDR5-7200 kit in latency-sensitive tasks. Primary timings (CL, tRCD, tRP, tRAS) and subtimings such as tREFI all shape real-world responsiveness.
Step 4: Verify Speed and Run Stability Tests
Never trust an overclock until it survives testing. Boot into the operating system and confirm the new speed in Task Manager (Performance tab, Memory section) or a utility such as CPU-Z. If the reported speed is still 4800 MT/s, the profile did not stick.
Then run a memory stress test. MemTest86, TestMem5 with the anta777 configuration, Karhu RAM Test, and OCCT’s memory test are the tools most enthusiasts use. Run at least one full pass, ideally several hours or overnight for a daily-driver system. Errors mean instability, and instability can corrupt files, so do not skip this. If errors appear, lower the frequency one step, relax timings slightly, or bump voltage within safe limits.
Step 5: Handle Voltages, Thermals, and BIOS Updates Carefully
XMP and EXPO profiles raise voltages, commonly around 1.35 to 1.45 V for VDD and VDDQ on high-speed kits. Running beyond JEDEC limits can affect CPU warranty coverage, so check the current policy text before pushing further. DDR5 modules also carry an on-module power management chip and can run warm, especially with four DIMMs and no direct airflow. A case fan aimed at the memory area helps.
BIOS updates change memory compatibility more often than people expect. AMD’s AGESA updates and board vendor firmware releases have repeatedly shifted achievable speeds and QVL support. Check the motherboard’s Qualified Vendor List and BIOS release notes before buying a kit, and remember that a QVL is a snapshot, not a guarantee. Vendor “optimized for” badges are marketing claims, not independent testing.
Common Mistakes That Undermine DDR5 Performance
The first mistake is never enabling the profile at all, which leaves free performance on the table. The second is filling all four slots with a high-speed kit and then wondering why it will not post. The third is trusting a single quick benchmark instead of a proper stress test. The fourth is ignoring the manual’s slot guidance and installing modules in the wrong pair. The fifth is chasing the highest number on the box rather than the best ratio and timings for the platform.
Practical experience says the boring steps win: correct slots, profile enabled, one frequency step of headroom, and a solid stability run. Builders who also keep an eye on platform quirks, such as the way Ryzen 5 5500F and 7500 launch RAM prices in 2026 shaped kit availability, tend to buy better-matched memory in the first place.
Matching Memory to the Rest of the Build
Memory does not exist in a vacuum. A fast kit paired with a weak cooler or a bottlenecked GPU will not transform a system. If the build includes a truck-style workhorse workload, the same logic applies as when people compare Ram truck lease deals and monthly costs — the headline number matters less than the total package. On the desktop side, that means balancing memory speed against CPU tier, storage, and cooling.
It also pays to know the platform’s ownership story. Just as buyers ask who owns Ram trucks before committing, PC builders should know whether their motherboard vendor ships frequent BIOS updates, because firmware support quietly determines how fast memory will actually run years later.
For readers assembling a first build, a few side quests help build general hardware literacy: setting up PPSSPP in 2026 teaches emulator configuration and performance profiling, while choosing a keyboard stand for stage performance shows how accessory choices affect a working setup. The same mindset — verify, test, adjust — applies to memory tuning.
When to Stop Tuning
There is a point where extra effort stops paying off. If the system passes stress tests at the profile speed, games run smoothly, and no crashes appear over a week of normal use, the job is done. Manual subtiming work can add a few percent in benchmarks, but it also adds risk and hours of testing. For most people, enabling XMP or EXPO, confirming two-DIMM population, and running one overnight stability pass captures nearly all the available gain.
Conclusion
Setting up DDR5 for the best performance comes down to a short, disciplined checklist. Install two matched modules in the slots the manual recommends, enable XMP 3.0 or EXPO, confirm the new speed in the operating system, and prove stability with a real memory test. From there, choose a frequency that respects the platform’s controller ratio, keep voltages and temperatures sensible, and update the BIOS when compatibility notes call for it. The difference between a stock 4800 MT/s system and a properly configured one is often noticeable in daily use, and it costs nothing but a little attention.
FAQ
Does enabling XMP or EXPO void my warranty?
It can affect coverage in some cases. Running memory beyond JEDEC limits may fall outside CPU warranty terms depending on the vendor’s current overclocking policy, so check the official text before pushing voltages. The memory kit’s own warranty usually covers rated XMP or EXPO speeds.
Why does my DDR5 still show 4800 MT/s after I enabled the profile?
The profile likely failed to apply. Causes include outdated BIOS firmware, modules in the wrong slots, or a kit the board cannot train at that speed. Re-enter BIOS, reselect the profile, save, and confirm the setting persists after a full reboot.
Is it better to run two sticks or four?
Two sticks are generally more stable at high frequency because they place less load on the memory controller. Four sticks can work well at moderate speeds, but if maximum frequency and stability matter, a two-DIMM kit in the recommended slots is the safer choice.
What is the best DDR5 speed for gaming?
For AM5 builds, DDR5-6000 with tight timings is the widely recommended sweet spot. For recent Intel platforms, roughly DDR5-6400 to 7200 is common. These figures reflect reviewer consensus rather than official specs, and results vary with the individual CPU.
How long should a memory stability test run?
At least one full pass of a tool like MemTest86 or TestMem5, and ideally several hours or an overnight run for a system used for important work. Errors that appear late in a test still count as instability and should be fixed before trusting the system.
Do I need to update the BIOS before installing faster RAM?
Not always, but it is worth checking. Firmware updates regularly change memory compatibility and supported speeds, and the board’s QVL is only accurate for a specific BIOS version. Check release notes before buying or installing a high-speed kit.



