
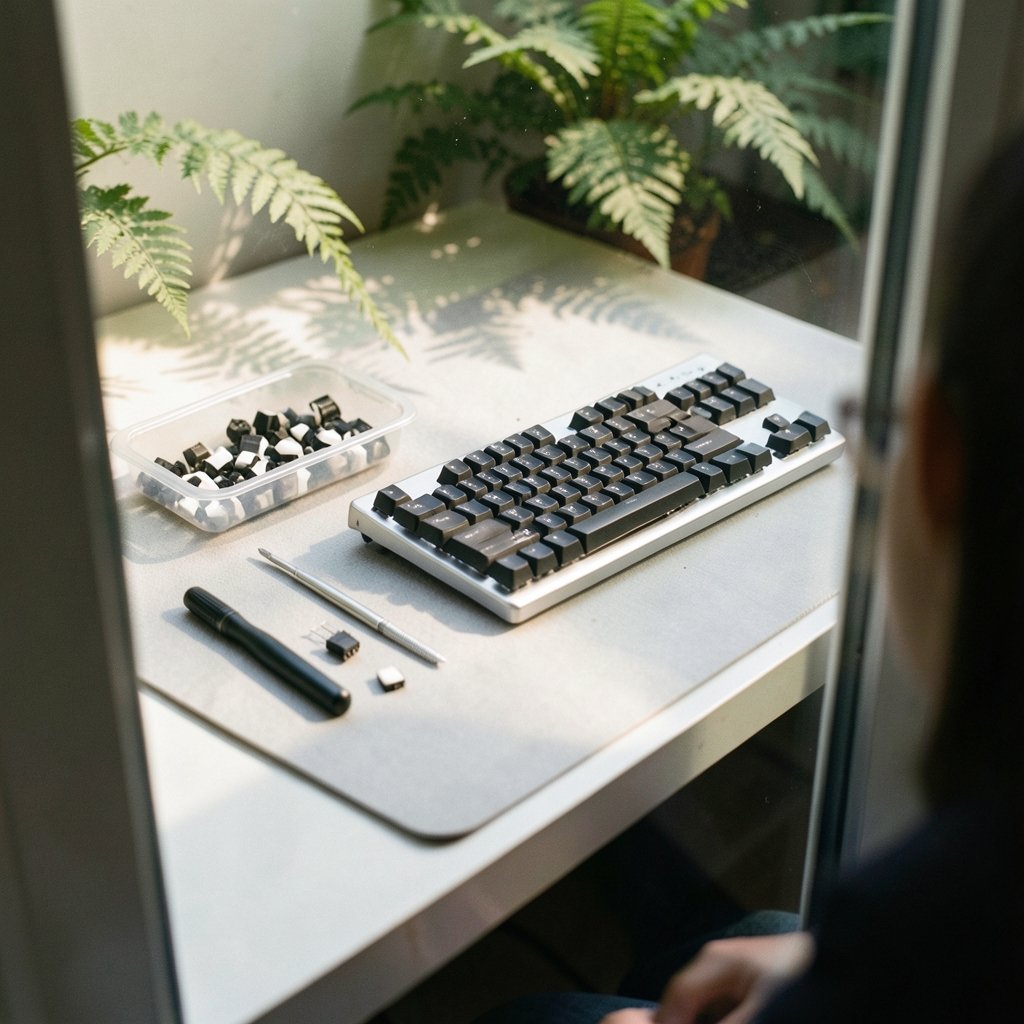
Somewhere in the world right now, a mechanical keyboard is double-typing a password into a login box and locking someone out of their own laptop. It’s a small, maddening failure that captures the appeal and the frustration of mechanical boards in one moment. People love them for the satisfying clack and the ability to swap parts, but that same modularity creates a long list of things that can go wrong. The good news: most of these problems are fixable at a desk with basic tools and a little patience. This guide walks through the failures owners actually run into, what causes them, and the fix that tends to work in practice.
Why mechanical keyboards fail more often than rubber domes
A membrane keyboard is one sealed sheet of plastic. A mechanical board is hundreds of separate switches, springs, stabilizers, and a PCB, all held together by friction and solder. More parts means more failure points, but it also means most failures are local: one bad switch instead of a dead board.
That distinction matters. When a membrane keyboard dies, it usually dies completely. When a mechanical board misbehaves, the problem is often a single switch, a single keycap, or a single cable. Diagnosing the exact part is most of the battle.
Chatter and double-typing: the most common complaint
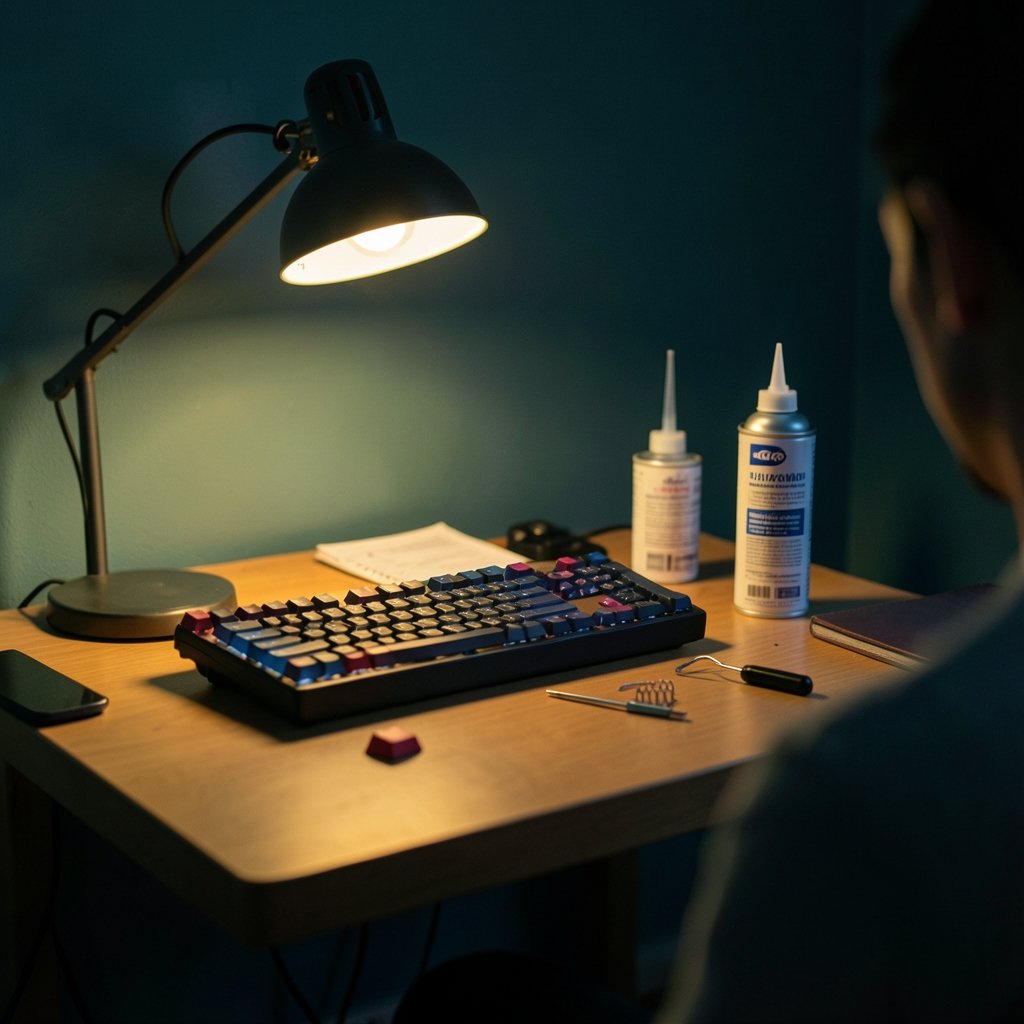
Chatter is when one keypress registers two or three times. It’s the classic mechanical keyboard failure, and it almost always traces back to the switch’s internal contacts. Worn metal leaves, dust, or a thin film of contamination can cause the contact to bounce instead of closing cleanly.
The practical fix depends on the board:
| Board type | Best fix | Difficulty |
|---|---|---|
| Hot-swap | Pull the switch, clean contacts, replace if needed | Easy |
| Soldered | Desolder and swap the switch, or clean with contact cleaner | Moderate to hard |
| Under warranty | Contact the seller for a replacement | Easiest |
Before reaching for a soldering iron, try the cheap route. Unplug the board, remove the keycap, and spray a small amount of electrical contact cleaner into the switch while pressing it repeatedly. Let it dry completely. This rescues a surprising number of chattering switches, especially on older boards where dust has built up. If the chatter returns within a week, the switch is genuinely worn and needs replacing.
A quick diagnostic trick: open a text editor and type the suspect letter slowly, one press at a time. If you see doubles, it’s the switch. If the letter appears only sometimes, it may be a firmware or connection issue instead.
Keys that stop working entirely
A dead key is a different animal from chatter. If one key does nothing, check three things in order: the switch, the socket, and the PCB trace.
On a hot-swap board, pull the switch and look at the socket. Bent pins are common after a swap, and a pin that isn’t seated fully will produce a dead key. Straighten the pin with tweezers and reseat. On soldered boards, a dead key usually means a failed switch or a cracked solder joint, and the fix is a multimeter check followed by a reflow or replacement.
There’s a less obvious culprit too: a key that was remapped by accident. If a key suddenly types a different character, the layout may have changed in software. That’s where firmware tools earn their keep, and it’s worth knowing a few Windows keyboard shortcuts everyone should know so you can quickly tell a hardware fault from a software one.
Sticky, sluggish, or scratchy keys
A key that presses but feels heavy or grindy is usually suffering from one of two things: over-lubrication or debris.
Over-lubing is the most common self-inflicted wound in the hobby. A thin film of lubricant on the switch stem and spring smooths out scratchiness. A thick glob does the opposite: it creates drag, slows the return, and in bad cases makes the key stick down. If a key feels sluggish after a lubing session, the fix is to remove the switch, wipe the excess with a lint-free cloth, and reapply sparingly. Less is genuinely more here.
Debris is the other culprit. Crumbs, pet hair, and dust work their way under keycaps and into switch housings. A soft brush and compressed air handle most of it. For stubborn grit, remove the keycap and blow air into the switch while cycling it.
Stabilizer rattle on the spacebar and shift keys
Long keys use stabilizers, and rattly stabilizers are the single most common complaint from new mechanical keyboard owners. The spacebar sounds hollow and clattery while every other key sounds clean.
The fix is well established in the community: lubricate the stabilizer housings and wire with a thick dielectric grease, which dampens the rattle without gumming up the movement. Many owners also add a small strip of foam or a band-aid under the stabilizer housing to absorb vibration. The difference is dramatic, and it’s the highest-value 20 minutes a keyboard owner can spend.
One warning from experience: use grease, not thin switch lube, on stabilizers. Thin lubricant migrates, collects dust, and eventually makes the spacebar feel mushy.
Connection problems: disconnects, not detected, and lag
If the whole board drops out, freezes, or isn’t recognized, the problem is rarely the switches. Work through this order:
- Try a different USB cable. Cables fail far more often than people expect, especially braided ones that get bent at the connector.
- Try a different port, ideally directly on the computer rather than through a hub.
- Test the board on another machine to rule out driver issues.
- Reflash the firmware using the manufacturer’s official tool.
Wireless boards add their own failure modes. Interference from USB 3.0 ports, Wi-Fi routers, and even monitors can cause dropped keystrokes on 2.4GHz connections. Moving the receiver to a front port with a short extension cable solves a surprising number of “random lag” complaints.
Spilled liquid: the emergency protocol
Liquid damage is a top cause of dead boards, and the response in the first five minutes decides the outcome. The steps are not negotiable:
- Unplug immediately. Do not test whether it still works.
- Flip the board upside down to let liquid drain away from the PCB.
- Remove keycaps and, if possible, the case.
- Clean affected areas with isopropyl alcohol and a soft brush.
- Let everything dry completely, ideally for 24 to 48 hours, before powering on.
Sticky keys after a spill are usually dried sugar or coffee residue, not a broken switch. A proper cleaning often restores full function. Powering on a wet board, on the other hand, can short the controller and kill the whole thing.
Keycaps that crack, shine, or come loose
Keycaps are consumable parts. ABS plastic develops a glossy shine on the most-used keys within a year or two, and stems can crack if keycaps are pulled with the wrong tool. Always use a wire keycap puller, never pliers or fingernails, and never use a switch puller on keycaps. The stems are not designed for that leverage.
If a keycap sits loose, a tiny piece of plastic wrap or a dab of removable adhesive on the stem can restore a snug fit. It’s a temporary fix, but it works.
Firmware and remapping headaches
Modern boards increasingly run open-source firmware, which is a gift and occasionally a curse. A key that types the wrong character, a layer that won’t switch, or a macro that fires twice usually points to a firmware configuration problem rather than hardware.
The fix is to reflash the board with the official firmware tool and reset to defaults, then rebuild the layout one layer at a time. Testing after each change saves hours of confusion. If the board is behaving oddly only in one application, check that app’s own shortcut settings before blaming the keyboard.
When it’s time to replace rather than repair
Not every problem is worth fixing. A board with multiple dead keys, a cracked PCB, or a failed controller is usually a replacement candidate unless it’s a premium model with sentimental value. Single-switch failures, stabilizer rattle, and cable issues are almost always worth the effort.
There’s also a practical angle: a keyboard that works reliably matters more when you depend on it for long sessions. Anyone who spends hours at a desk knows the difference between a board that fights back and one that disappears under your fingers. The same principle applies to any gear you rely on, whether it’s a keyboard on a desk or a best keyboard stand for stage performance holding a synth steady during a set. Reliability is the whole point. (Computer keyboard)
A maintenance routine that prevents most failures
Most mechanical keyboard problems are preventable with a short routine:
- Dust and brush the board weekly, especially between keycaps.
- Keep drinks away from the desk, or use a lidded cup.
- Avoid eating over the keyboard; crumbs are the number one cause of gritty switches.
- Store spare keycaps and switches in a labeled bag so replacements are quick.
- Re-lube stabilizers every year or two if the board gets heavy use.
Owners who follow this routine report far fewer failures, and when something does go wrong, they can isolate it fast because the board is otherwise clean and known-good.
Conclusion
Mechanical keyboards are repairable by design, and that’s the quiet advantage most owners never fully appreciate. Chatter, dead keys, rattle, sticky switches, and connection dropouts all have known causes and known fixes, most of them cheap. The pattern is consistent: isolate the faulty part, clean or replace it, and test before moving on. A board that’s maintained and diagnosed properly can last a decade, and the skills transfer to every keyboard you own afterward. For anyone weighing whether to repair or replace, the answer is usually repair, and the process is more approachable than it looks.
Frequently Asked Questions
Why does my mechanical keyboard double-type letters?
Double-typing is almost always switch chatter, caused by worn or contaminated internal contacts. Try electrical contact cleaner first. If the problem returns quickly, the switch needs replacing, which is easy on a hot-swap board and requires soldering on a fixed one. (How to Stop Snoring at Night Home Remedies: 8 Easy Fixes)
Can I fix a sticky key without replacing the switch?
Often, yes. Sticky keys usually come from over-lubrication or debris. Remove the keycap, clean the switch with compressed air, and if the key was recently lubed, wipe away excess lubricant. Reapply sparingly and test before reassembling.
How do I stop my spacebar from rattling?
Rattling comes from the stabilizers, not the switch. Lubricate the stabilizer housings and wire with thick dielectric grease, and optionally add foam or a band-aid under the housing to absorb vibration. This is the single most effective fix for a noisy spacebar.
Is it worth repairing a mechanical keyboard with a dead key?
Usually yes, especially if only one key has failed. A single dead key is typically a switch or socket issue and costs little to fix. Multiple dead keys, a cracked PCB, or a failed controller usually justify replacement instead.
How long should I wait before powering on a keyboard after a spill?
Wait at least 24 to 48 hours after cleaning, and only power on once everything is completely dry. Powering on a wet board can short the controller and turn a repairable spill into a dead keyboard.
Do mechanical keyboards need regular maintenance?
Yes, and a light routine prevents most failures. Dust the board weekly, keep drinks and food away, and re-lubricate stabilizers every year or two. Clean boards fail less often and are far easier to diagnose when something does go wrong.
