
Quick Answer: How do i use elevenlabs step by step for beginners?
Using ElevenLabs means creating an account, opening the text-to-speech tool, pasting or typing your script, choosing a voice from the Voice Library, adjusting a couple of settings, and generating audio you can download. Most beginners can produce their first clip in under ten minutes once they understand where each control lives. (ElevenLabs)
The platform also offers separate tools for voice cloning, dubbing video into other languages, and generating sound effects, each with its own workflow. These differ from plain text-to-speech because they require extra inputs like audio samples or video files rather than just typed words.
Before committing, check the free character quota, plan pricing, commercial licensing rights, voice options, supported languages, and output formats.
Most people hear synthetic speech and assume it all sounds the same. Then they hear a well-tuned text-to-speech model read a paragraph and stop scrolling. That gap between robotic and genuinely listenable is exactly what drew millions of creators, podcasters, and developers to ElevenLabs in the first place. The catch? The dashboard throws a lot of options at newcomers, and a clumsy first session can leave a beginner convinced the tool is more complicated than it is. It isn’t. The workflow is short once you know the order of operations.
This guide walks through the whole process in plain language, flags the mistakes that trip people up, and explains what to check before spending money. It stays focused on practical steps rather than marketing claims.
What ElevenLabs Actually Does (and What It Doesn’t)
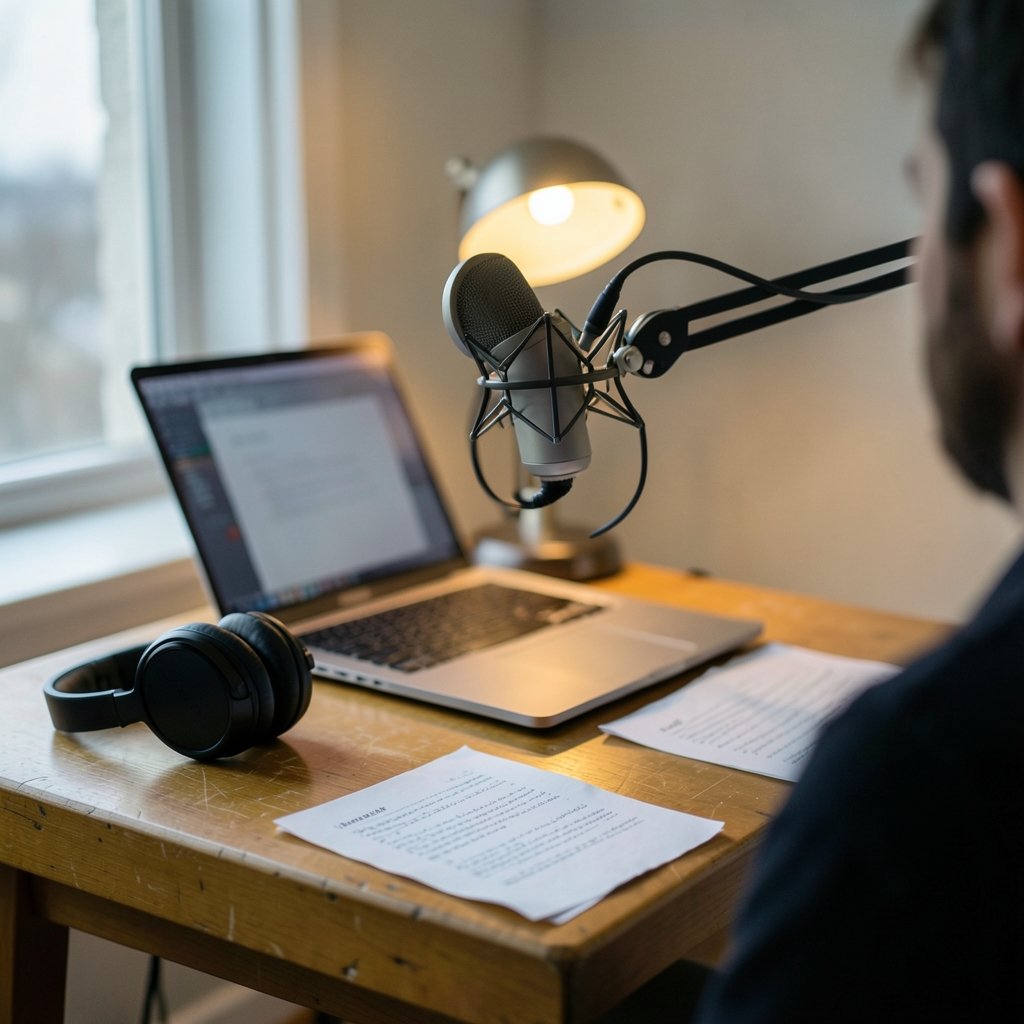
ElevenLabs is primarily a text-to-speech platform. You give it words; it gives back spoken audio in a voice you select. Around that core sit several companion tools: voice cloning from your own recordings, dubbing for video translation, voice design that generates a voice from a written description, and sound effect generation.
What it doesn’t do is act as a full audio editor. There’s no timeline, no multitrack mixing, no music library. Beginners often expect a one-stop studio and get frustrated when they can’t layer a backing track inside the dashboard. The realistic workflow is to generate clean voice audio there, then move it into an editor like Audacity or a video program for assembly. Understanding that boundary early saves a lot of confusion.
The other thing to internalize: models change. Names you see in a tutorial from a year ago may already be retired or renamed. Always trust the model dropdown in your own account over any written guide, including this one.
Step 1: Create Your Account and Learn the Dashboard
Sign-up takes a minute. An email address and password get you in, and the free tier typically includes a monthly character allowance so you can test before paying.
Once inside, ignore most of the sidebar at first. Three areas matter for beginners:
- Text to Speech — the main workspace where words become audio.
- Voices — your saved voices plus the shared Voice Library.
- History — every generation you’ve made, downloadable again later.
A practical tip: generate one short test sentence before touching a real script. It confirms your browser handles playback and that you understand where the download button sits. Small calibration steps beat big frustrating ones.
Step 2: Pick the Right Voice Before You Write Anything
Voice choice shapes the entire result, and beginners routinely get this backward—writing a full script, then discovering the voice doesn’t suit it. Flip the order.
The Voice Library is a catalog of community and professional voices filterable by language, accent, gender, and use case. Preview several against the same sentence so the comparison is fair. A voice that sounds warm reading a greeting may sound oddly intense reading a product spec.
Two practical rules that hold up in practice:
- Match the voice’s native accent to your audience. A mismatched accent reads as uncanny faster than almost any other flaw.
- Test the voice on your hardest sentence, not your easiest. Long words, numbers, and proper nouns expose weaknesses that a simple hello never will.
If you want to build a custom narrator or explore adjacent creative tools, guides like this walkthrough of AI video generators from images for beginners show how voiceover fits into a bigger production pipeline.
Step 3: Write and Format Your Script for Speaking
Paste your text into the synthesis box and the character counter updates instantly. That counter is your budget—watch it.
The bigger skill is writing for the ear rather than the eye. Spoken text needs shorter sentences, spelled-out numbers where pronunciation matters, and punctuation used deliberately. A comma creates a pause; a period creates a stop. Ellipses stretch a pause further. Getting punctuation right does more for naturalness than most settings ever will.
Common mistakes worth avoiding:
- Abbreviations left raw. Write “doctor” instead of “Dr.” if the voice stumbles.
- Numbers without context. “1990” might be read as a year or a quantity depending on phrasing.
- Walls of text. Break long paragraphs into shorter ones; the model breathes better with clear sentence boundaries.
- Homographs unmarked. “Lead” the metal and “lead” the verb need context to disambiguate.
Formatting is not cosmetic—it’s direction.
Step 4: Choose a Model and Adjust the Settings
The model dropdown controls quality, speed, and language support. Newer multilingual models generally handle accents and non-English text better; faster models trade some polish for lower latency, which matters for real-time applications but rarely for pre-recorded content.
Then come the sliders, and this is where beginners overthink. Two matter most:
| Setting | What It Controls | Beginner Guidance |
|---|---|---|
| Stability | How consistent and flat the delivery stays | Higher for narration and tutorials; lower for expressive storytelling |
| Similarity | How closely output matches the source voice | Moderate by default; push higher only if the voice drifts |
The honest truth: defaults are fine for a first project. Tweak one slider at a time and listen back. Changing three settings at once teaches you nothing because you can’t tell which change did what. Practical experience here beats any written explanation.
Step 5: Generate, Review, and Download
Hit generate and the audio appears in seconds for short clips. Listen all the way to the end rather than stopping after the first few seconds. Problems cluster at the end of long generations.
If something sounds off, resist regenerating blindly. Regeneration produces a different take, not necessarily a better one, and it burns characters. Instead, fix the script: add a comma, split a sentence, respell a tricky word. Nine times out of ten the text was the problem, not the model.
Downloads typically come as MP3 or similar compressed formats, with higher-fidelity options on paid plans. Everything also lives in History, so nothing is lost if you close the tab. Name your generations clearly if you’re producing several—future you will be grateful.
Step 6: Try Voice Cloning (Carefully)
Voice cloning is the feature that generates the most excitement and the most confusion. Instant cloning builds a usable voice from a short sample and generally requires a paid tier; professional cloning uses longer recordings for higher fidelity and sits on higher plans.
The practical requirements are simple: clean audio, no background noise, no music, consistent microphone distance. A phone recording in a quiet room beats a noisy studio take every time.
The non-negotiable part is consent. Cloning requires confirming you hold the rights to the voice. Cloning someone without permission is a legal and ethical problem, not a technical one, and platforms increasingly verify consent. Treat a cloned voice like a signature—because functionally, that’s what it is.
Step 7: Explore Dubbing, Voice Design, and the API
Once text-to-speech feels comfortable, three doors open:
- Dubbing takes a video and produces a translated version, aiming to preserve the original speaker’s tone.
- Voice Design generates a brand-new voice from a written description—useful when the library has nothing that fits.
- The API lets developers integrate speech into apps, with keys managed in account settings and SDKs available for common languages.
Beginners exploring the creative side often pair voice work with visual tools; this overview of AI graphic design tools for beginners covers the companion workflow, and this guide to AI animation generators for beginners shows where narration fits into motion projects. For those who prefer a specific tool ecosystem, learning how to use Leonardo AI for beginners follows a similar step-by-step pattern. (Artificial Intelligence)
Common Beginner Mistakes That Waste Credits
Characters are currency, and beginners burn them in predictable ways. The most expensive habit is generating full-length scripts before testing a single paragraph. Always pilot with 50 words, confirm the voice and settings, then commit.
Second is ignoring the character counter until it hits zero mid-project. Third is cloning a voice from messy audio and expecting studio results—garbage in, garbage out, no exceptions. Fourth is treating a free plan as a commercial license; historically, free-tier commercial rights have been restricted, so verify current terms before publishing anything monetized.
Finally, beginners often skip the History tab and regenerate work they already made. Check before you spend.
What to Check Before Paying
Pricing and quotas shift frequently, so treat any figure you read—including in this article—as needing a same-day check on the official pricing page. Compare plans on five factors: monthly character quota, commercial usage rights, cloning tier access, output quality options, and API limits. A creator producing short social clips has different needs than a developer building an app. Buy for the workflow you actually have, not the one you imagine.
Conclusion
ElevenLabs rewards a simple sequence: pick the voice first, write for the ear, test small, adjust one setting at a time, and only then scale up. The platform’s real complexity isn’t technical—it’s the temptation to skip calibration and jump straight to a full production. Beginners who spend five minutes on a test sentence consistently get better results than those who spend an hour tweaking sliders on a flawed script. Start short, listen critically, and let the tool’s strengths do the heavy lifting.
Frequently Asked Questions
How long does it take to make a first audio clip?
Most beginners finish a short clip within ten to fifteen minutes of signing up, including account creation and voice selection. Longer scripts take proportionally more time, mostly for review and script fixes rather than generation itself.
Do I need a paid plan to start?
No. A free tier typically provides a monthly character allowance for testing. Paid plans mainly add quota, commercial rights, and access to cloning features, so upgrading makes sense only once you’ve confirmed the workflow fits your needs.
Why does my generated audio sound flat or robotic?
Flat delivery usually traces back to high stability settings or monotonous source text. Lower stability slightly for more expression, and vary sentence length in the script. Punctuation changes often fix more than slider adjustments do.
Can I use generated audio commercially?
It depends on your plan tier. Free-tier usage has historically been restricted for commercial purposes, while paid plans generally include commercial rights. Check the current terms of service before publishing monetized content.
What audio quality does voice cloning require?
Clean, quiet recordings with no background music or noise, captured at consistent distance from the microphone. Short samples work for instant cloning, while professional cloning needs longer recordings. Poor source audio produces poor clones regardless of plan level.
Does ElevenLabs work for languages other than English?
Yes. Multilingual models support a wide range of languages, and the Voice Library includes voices across many accents. Quality varies by language and model, so test a short sample in your target language before committing a full script.



