

Ever watched a print fail halfway through and wondered if the nozzle is secretly the villain? A 3D printer nozzle clog is one of the most common reasons prints turn stringy, under-extrude, or stop sticking entirely. And while plenty of fixes exist, the cold pull (sometimes called the atomic pull) is the one technique that clears stubborn debris without tearing the hotend apart. This guide walks through what a cold pull actually does, how to perform one safely, which mistakes ruin the process, and when to reach for a different tool instead. It also covers material-specific temperatures, hotend quirks, and the maintenance habits that keep clogs from coming back.
What Is a Cold Pull, Exactly?
A cold pull is a nozzle-clearing method that uses the filament itself as a cleaning tool. The process is simple in concept: heat the nozzle, push fresh filament through, let it cool until it turns rubbery, then pull it out in one firm motion. Any carbonized crumbs, dust, or partial blockages stick to the filament tip and come out with it.
The technique has been in hobbyist use since at least the mid-2010s, though its exact origin is murky. The name “atomic pull” is tied to a published method from Atomic Filament, and the procedure now appears in the maintenance documentation of most major printer brands.
Why does it work? Materials science gives the answer. Below a filament’s melting range, the plastic stays cohesive and slightly flexible rather than liquid. In that state, it can be drawn out as a single piece instead of snapping off inside the melt zone. That single-piece extraction is what carries debris out of the nozzle instead of pushing it deeper.
Why Clogs Happen in the First Place
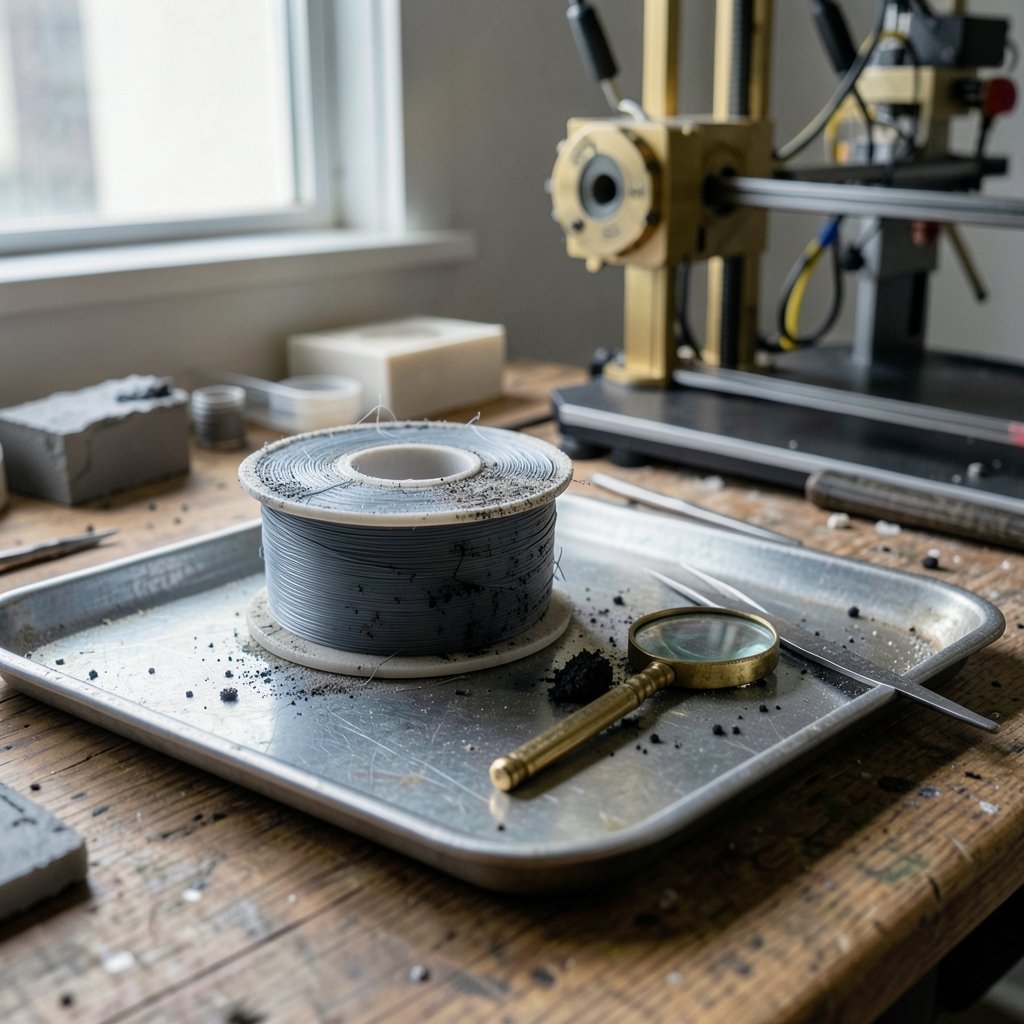
Before reaching for the pliers, it helps to know what actually caused the blockage. Most clogs fall into a few familiar categories:
- Carbonized residue. Filament left hot for too long scorches and forms crusty bits that narrow the nozzle opening.
- Dust and debris. Filament sitting on an open spool picks up lint and grit that accumulates in the melt zone.
- Heat creep. If the cold end gets too warm, filament softens before it reaches the nozzle and jams in the heat break.
- Material switching. Going from a high-temperature filament to a low-temperature one without purging leaves behind residue that never fully melts again.
- Poor-quality filament. Inconsistent diameter or contaminated pellets create partial blockages that worsen over time.
A cold pull handles the first two categories beautifully. It is far less effective against heat creep, which is a cooling problem rather than a contamination problem.
What You Need Before You Start
The tool list is short, which is part of the appeal:
- A length of cleaning filament, nylon, or the same material you were printing with.
- A pair of pliers or tweezers for gripping the filament.
- A printer interface that lets you heat the nozzle and extrude manually.
- A clean, lint-free cloth for wiping the pulled tip.
Nylon is the gold standard for cold pulls because it grips debris tightly and releases cleanly from the nozzle walls. Cleaning filament sold specifically for this purpose works nearly as well. Plain PLA is acceptable in a pinch but tends to snap during the pull, which defeats the purpose.
Step-by-Step: Performing a Cold Pull
The procedure varies slightly between printers, but the core sequence is consistent. Here is the version that works on the widest range of machines:
- Heat the nozzle to normal printing temperature for the material you are using. For PLA, that is typically around 200 to 215 °C.
- Load the cleaning material. Feed filament manually until a steady stream extrudes. This purges loose contamination.
- Cool down. Set the nozzle to the pull temperature for your material (see the table below). Let it stabilize for a few minutes.
- Pull firmly and steadily. Grip the filament above the extruder and draw it out in one smooth motion. Do not yank. A slow, even pull lets the plastic stretch slightly and release from the walls.
- Inspect the tip. A good pull leaves a pointed or mushroom-shaped tip with a dark ring of debris at the end. That ring is the clog coming out.
- Repeat if needed. Two or three cycles usually clear even a stubborn partial blockage.
Some printers include a built-in cold pull routine in their firmware menus. If yours does, use it. The manufacturer has already tuned the temperature ramp for that specific hotend.
Temperature Guide by Material
Recommended pull temperatures vary widely between sources, so treat these as starting points and adjust based on results:
| Material | Print Temp | Typical Pull Temp | Notes |
|---|---|---|---|
| PLA | 200–215 °C | 90–110 °C | Most forgiving; good for beginners |
| PETG | 230–250 °C | 120–140 °C | Stickier; pull slowly |
| ABS | 230–250 °C | 130–150 °C | Needs higher pull temp to stay cohesive |
| Nylon | 250–270 °C | 140–160 °C | Excellent debris grip; preferred cleaning material |
| TPU | 220–240 °C | 100–120 °C | Flexible; pull very gently |
If the filament snaps instead of pulling out, the nozzle is too cold. Raise the temperature by 10 °C and try again. If the filament stretches into a thin thread and breaks, it is too hot. Drop it by 10 °C.
Common Mistakes That Make Things Worse
Plenty of people try a cold pull, fail, and conclude the technique does not work. In practice, the failure usually traces back to one of these errors:
Pulling too fast. A sharp yank snaps the filament at the heat break, leaving a plug deeper in the hotend. Slow and steady wins here.
Skipping the purge. Pulling without first extruding fresh material means there is nothing for the debris to adhere to. Always purge first.
Using brittle filament. Old PLA that has absorbed moisture snaps easily. Fresh nylon or dedicated cleaning filament is far more reliable.
Ignoring the hotend type. All-metal hotends and some coated or plated nozzles carry manufacturer restrictions on cold pulls. Check the hotend maker’s guidance before you start. A coated nozzle that gets scratched is a permanent loss.
Pulling at the wrong temperature. This is the single biggest variable. A pull that is 20 °C off will either snap or smear. Calibrate by feel: the filament should come out like a firm rubber plug, not a liquid drip.
When a Cold Pull Is Not Enough
A cold pull clears contamination, but it cannot fix a nozzle that is physically damaged or a hotend with a mechanical problem. Reach for a different approach when:
- The clog returns within minutes of clearing. That points to heat creep or a failing fan, not debris.
- Extrusion is inconsistent regardless of temperature. The nozzle orifice may be worn or deformed.
- The filament will not feed at all. Check for a snapped piece in the extruder gears before assuming a nozzle clog.
- The printer has sat unused for months. Old filament in the melt zone may need a full hotend teardown.
A needle-clearing tool or a “hot pull” (pulling at full printing temperature) can handle some of these cases. For anything mechanical, replacement parts are usually cheaper than hours of troubleshooting. (3D printing)
Preventing the Next Clog
Maintenance beats repair every time. A few habits dramatically reduce clog frequency:
- Store filament properly. Sealed bags with desiccant keep moisture and dust out.
- Purge between materials. When switching from PETG to PLA, run cleaning filament through at the higher temperature first.
- Do not leave the nozzle hot. Idle hotends scorch filament. Cool down when a print finishes.
- Wipe the filament. A small clip-on cleaner before the extruder catches dust before it reaches the melt zone.
- Run a cold pull monthly. A preventive pull on a clean nozzle is quick and catches buildup early.
For anyone still shopping for a first machine, it is worth checking which models have accessible hotends and published maintenance routines, since those are far easier to keep clog-free. Guides on the best 3D printer for beginners often flag this, and a budget-friendly pick with a standard hotend is usually simpler to service than a proprietary one. Families buying for younger makers may also want a model with tool-free nozzle access, which several of the kid-friendly options offer.
Cold Pull vs. Other Clog-Clearing Methods
It helps to see where the cold pull fits among the alternatives:
| Method | Best For | Risk Level | Skill Needed |
|---|---|---|---|
| Cold pull | Carbonized debris, dust, partial clogs | Low | Beginner |
| Hot pull | Soft jams, material swaps | Low | Beginner |
| Needle clearing | Hard blockages at the orifice | Medium | Intermediate |
| Cold pull with nylon | Stubborn residue | Low | Beginner |
| Hotend teardown | Mechanical failure, heat creep | High | Advanced |
The cold pull wins on safety and simplicity. It requires no disassembly and rarely causes damage when performed at the right temperature.
A Note on Nozzle Materials
Not all nozzles tolerate the same treatment. Brass nozzles are the most forgiving and handle repeated cold pulls without complaint. Hardened steel nozzles work fine but may need slightly higher pull temperatures because steel conducts heat differently. Coated nozzles, including plated copper and ruby-tipped variants, deserve extra caution. The coating can delaminate if filament is pulled at an awkward angle, and some manufacturers explicitly advise against the technique. When in doubt, the hotend maker’s documentation outranks any forum advice. (ASTM Committee F42 on Additive Manufacturing Technologies)
Conclusion
A 3D printer nozzle clog does not have to mean a teardown, a replacement part, or a lost weekend. The cold pull turns the filament itself into a cleaning tool, and when it is done at the right temperature with the right material, it clears the vast majority of partial blockages in under ten minutes. The keys are patience, the correct pull temperature, and a slow, steady hand. Pair the technique with sensible filament storage and a monthly preventive pull, and clogs become a rare annoyance rather than a recurring crisis. For anyone who prints regularly, it is one of the highest-value skills to learn early. Newcomers working through their first setup will find plenty of overlap with general beginner troubleshooting, and the same patience that makes a cold pull work is what makes the hobby stick.
Frequently Asked Questions
Can I do a cold pull with PLA?
Yes, PLA works for cold pulls, though it is less effective than nylon or dedicated cleaning filament. Pull at roughly 90 to 110 °C. Old or moisture-saturated PLA tends to snap during the pull, so fresh filament is strongly preferred.
How often should I do a cold pull?
Monthly preventive pulls suit most hobbyist printers. Do one immediately whenever extrusion becomes inconsistent, prints show gaps, or the extruder starts skipping. There is no harm in pulling more often as long as the temperature is right.
Why does my filament keep snapping during a cold pull?
Snapping almost always means the nozzle is too cold. Raise the pull temperature by 10 °C and try again. Brittle or wet filament is the second most common cause, so switch to fresh nylon or cleaning filament if the problem persists.
Is a cold pull safe for all-metal hotends?
Generally yes, but check the specific hotend manufacturer’s guidance first. Some all-metal designs and coated nozzles carry restrictions. Pulling at the wrong angle or temperature on a coated nozzle can damage the plating permanently.
What is the difference between a cold pull and a hot pull?
A hot pull happens at full printing temperature, when the plastic is liquid. It clears soft jams and material transitions but leaves carbonized debris behind. A cold pull happens at a lower temperature, when the plastic is rubbery, so it grips and removes solid contamination.
Can a cold pull fix heat creep?
No. Heat creep is a cooling failure in the cold end, not a contamination problem. If clogs return within minutes of a successful cold pull, inspect the heatsink fan and the heat break instead of repeating the pull.



