
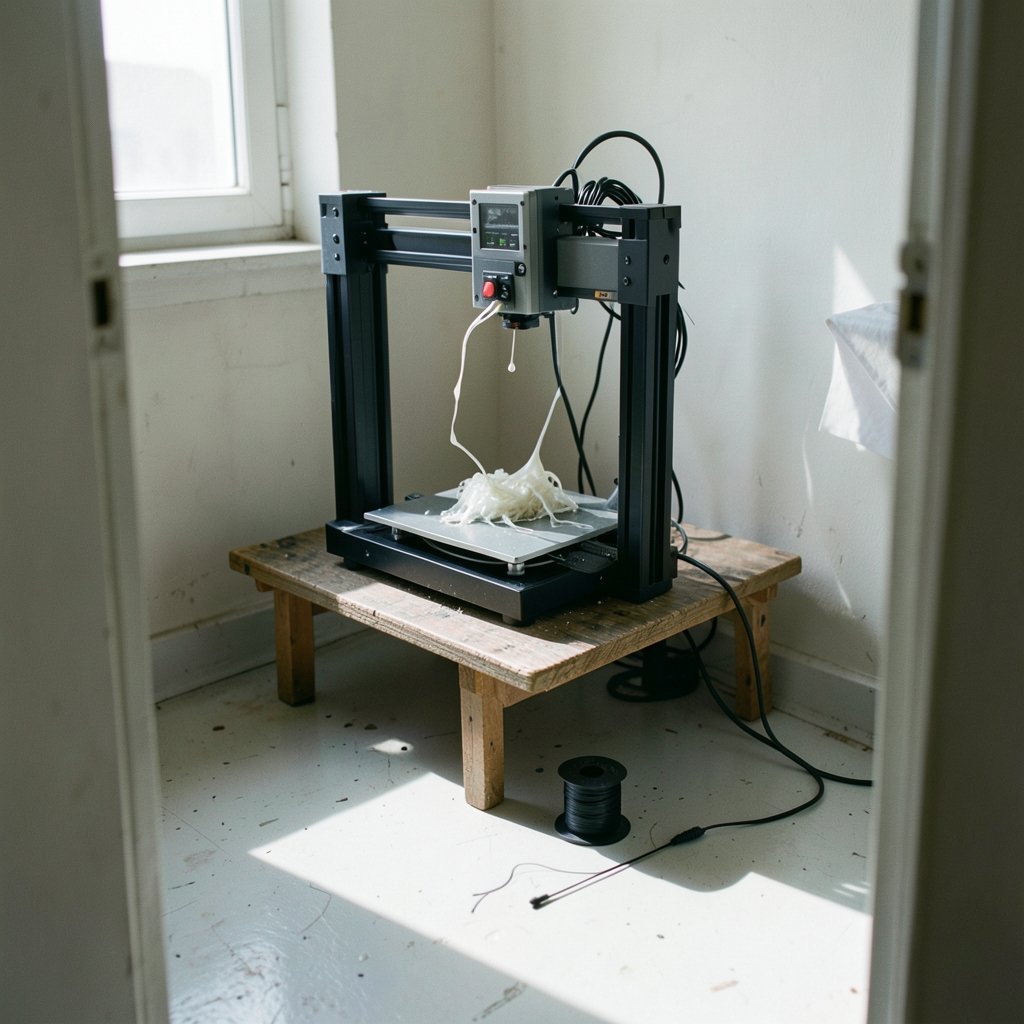
Ever watched a print fail twenty minutes in, then found the filament welded solid inside your hotend? That slow, maddening death is the signature of heat creep, one of the most misunderstood problems in FDM printing. It rarely announces itself with a dramatic error. Instead, it creeps in quietly, ruining prints that looked perfect for the first hour. (3D printing)
This guide breaks down exactly what heat creep looks like, how it differs from a plain clog, and the practical fixes that actually work. Whether you’re tuning a first machine or troubleshooting a heavily modified rig, you’ll walk away knowing what to check first.
What Heat Creep Actually Is
In a normal hotend, heat should stay concentrated at the nozzle. The heater block melts filament at the tip, while a heatbreak and heatsink keep everything above that zone cool. Heat creep happens when that thermal barrier fails. Heat travels upward into the cold side of the hotend, softening filament before it ever reaches the melt zone.
Once filament softens too early, it swells and grips the walls of the heatbreak. The extruder keeps pushing, but the softened plastic can’t slide forward cleanly. Pressure builds, the filament buckles or grinds, and the nozzle starves. The result is a jam that appears mid-print rather than at the start, which is the single biggest clue that you’re dealing with heat creep and not a simple blockage.
The concept maps closely to how heat conducts through any metal assembly: energy always flows from hot to cold, and a well-designed hotend manages that flow deliberately. The Wikipedia entry on thermal conduction explains the underlying physics if you want the deeper engineering picture.
The Core Symptoms to Watch For
Heat creep has a recognizable fingerprint. The trick is knowing which failures point to it and which point elsewhere.
Jams That Appear Mid-Print
The classic sign is a print that runs fine for 10 to 30 minutes and then starts under-extruding or stops extruding entirely. A cold pull often reveals a plug with a bulged or tapered tip, showing where the filament softened above the melt zone. If your jams always happen early in the print, heat creep should be your prime suspect.
Extruder Skipping and Grinding
As back-pressure rises, the extruder gear starts slipping. You’ll hear clicking, and you may see a chewed-up section of filament with a flat spot. This grinding is a downstream effect of the jam, not the root cause, but it’s one of the first audible warnings.
Filament Swelling Above the Nozzle
When you pull the filament after a failed print, examine it closely. A healthy pull shows a clean, narrow shaft with a smooth melt at the tip. A heat-creep pull shows a thickened, swollen section well above the melt point. That swelling is the physical evidence of premature softening.
Under-Extrusion That Worsens Gradually
Rather than failing suddenly, some heat-creep cases produce prints that get progressively thinner and weaker. Walls look fine at the base and turn stringy or incomplete near the top. This gradual decline is easy to misread as a partial clog or a slipping extruder, so check the timeline before assuming either.
| Symptom | Heat Creep? | Other Likely Cause |
|---|---|---|
| Jam after 10–30 min | Very likely | — |
| Jam immediately at start | Unlikely | Nozzle clog, wrong Z offset |
| Swollen filament above melt zone | Very likely | — |
| Grinding extruder gear | Possible (secondary) | Too-tight idler, low current |
| Gradual under-extrusion | Possible | Partial clog, worn gear |
| Jam only on long prints | Likely | Cooling, ambient heat |
Why Heat Creep Happens
Understanding the cause makes the fix obvious. Heat creep almost always traces back to one of a handful of culprits.
Weak or Failing Hotend Cooling
The heatsink fan is the hotend’s first line of defense. A fan that’s undersized, running at the wrong voltage, clogged with dust, or simply dying will let heat migrate upward. This is the most common cause by far. A fan that spins but moves little air is easy to overlook, so test airflow rather than rotation alone.
Poor Heatbreak Design
All-metal heatbreaks rely on a sharp thermal transition and low-conductivity materials to block heat. Cheaper or mismatched designs conduct more heat than they should. A heatbreak with a smooth internal bore and a good bimetal or titanium section resists creep far better than a basic one.
High Print Temperatures and Hot Rooms
Printing at the top of a material’s range pushes more heat into the assembly. Combine that with a hot enclosure or a warm workshop, and the cold side never gets cold enough. This is a frequent trap for anyone chasing strong layer adhesion on materials like PETG or ABS.
Slow, Long Prints
Counterintuitively, slow printing can worsen heat creep. Longer dwell times give heat more opportunity to soak upward through the heatbreak. Fast prints often mask a marginal cooling setup that fails on long jobs.
How to Diagnose Heat Creep Step by Step
Before you start swapping parts, run a quick diagnostic. It saves money and time.
- Reproduce the failure. Print a tall, simple test object and note the exact time the extrusion fails.
- Do a cold pull. Heat to printing temperature, then cool to around 90–100°C for PLA and pull firmly. Inspect the tip shape.
- Check the heatsink fan. Confirm it spins, moves real air, and matches the rated voltage. Clean dust from the blades and duct.
- Feel the cold side. After a few minutes of heating, touch the heatsink carefully. If it’s uncomfortably hot, cooling is inadequate.
- Review slicer settings. Confirm temperature and flow aren’t pushing beyond what the hotend handles.
If steps two and four both point upward, you’ve confirmed heat creep.
Fixes That Actually Work
Upgrade or Repair the Cooling Fan
Replace a weak fan with a proper high-static-pressure unit. Make sure the duct seals against the heatsink so air passes through the fins rather than around them. This single fix resolves the majority of heat-creep cases.
Install a Better Heatbreak
A bimetal or titanium heatbreak with a sharp thermal break dramatically reduces upward heat flow. This is the go-to upgrade for anyone printing hot materials or running long jobs. Pair it with a clean, well-seated assembly.
Tune Temperature and Speed
Drop nozzle temperature 5–10°C if your material allows. Slightly increasing print speed can also help by reducing dwell time. Both changes are free and worth testing before buying parts.
Manage Ambient Heat
Ventilate the printer’s enclosure or add a small fan to move air around the cold side. If you print in a hot garage in summer, expect heat creep to appear where it never did in winter.
Check the Extruder Tension
An over-tight idler grinds filament and worsens the jam. Set tension so the gear grips without chewing. This won’t cause heat creep, but it makes the symptoms far worse.
For anyone still choosing hardware, starting with a machine that has a proven cooling design avoids the problem entirely. Guides like this roundup of the best 3d printer for beginners often flag hotend cooling quality, and a best budget 3d printer can still print reliably if you understand these trade-offs. If a young maker is involved, a best 3d printer for kids with a well-cooled hotend means fewer frustrating jams.
Common Mistakes That Make It Worse
A few habits turn a minor cooling issue into a chronic failure.
- Assuming every jam is a nozzle clog. People swap nozzles repeatedly while the real problem sits in the heatbreak. Match the symptom timeline first.
- Ignoring the fan because it spins. A weak fan can spin freely yet move almost no air. Test airflow with a tissue rather than a glance.
- Over-tightening the extruder. Extra tension grinds filament and hides the true cause.
- Printing too hot to “be safe.” Higher temperatures feel safer for adhesion but push heat creep risk up.
- Skipping the cold pull. It’s the fastest diagnostic available and costs nothing.
Heat Creep vs. Other Hotend Problems
It helps to separate heat creep from look-alike failures.
| Problem | When It Fails | Filament Tip After Pull |
|---|---|---|
| Heat creep | Mid-print, 10–30+ min | Swollen above melt zone |
| Nozzle clog | Often immediate | Clean or debris-filled |
| Wet filament | Random, with popping | Foamy, inconsistent |
| Extruder slip | Any time | Chewed flat spot |
| PTFE gap | After retractions | Blob at gap point |
If the tip looks swollen rather than blocked, heat creep wins. If it’s foamy, dry your filament. If the extruder gear is chewed, fix tension first. (ASTM Committee F42 on Additive Manufacturing Technologies)
When to Replace vs. Repair
Not every heat creep problem needs new parts. A dust-clogged fan, a loose duct, or a slightly high temperature are all free fixes. Reserve hardware upgrades for cases where cooling is fundamentally undersized or the heatbreak design is weak.
A sensible order of operations is: clean and test the fan, verify voltage, reseat the duct, adjust temperature and speed, then upgrade the heatbreak if problems persist. Most printers never need more than the first three steps.
Preventing Heat Creep Long-Term
Prevention beats repair. Keep the heatsink fins clean, check fan performance every few months, and store filament dry. When you change materials, re-check temperature settings rather than reusing an old profile. If you run long production prints, invest in a hotend with a reputation for thermal stability.
A well-maintained cooling system is the whole game. Treat the cold side of your hotend with the same care as the nozzle, and heat creep becomes a rare visitor rather than a recurring headache. Hobbyists who document their fixes often share the same lesson: the fan you ignore is usually the fan that fails. For a broader look at how airflow and cooling shape print quality, the best way to reheat steak is a fun reminder that heat management matters everywhere, though in printing it’s the difference between a finished part and a wasted spool.
Conclusion
Heat creep is sneaky, but it isn’t mysterious. The symptoms tell a clear story: jams that strike mid-print, filament that swells above the melt zone, and under-extrusion that worsens as a job drags on. Once you recognize that fingerprint, the fix usually comes down to cooling. Test the heatsink fan, clean the duct, tune your temperature, and upgrade the heatbreak only when the basics fall short. Do that, and your prints will finish the way they started: clean, consistent, and jam-free.
Frequently Asked Questions
What are the first signs of heat creep?
The earliest warning is often a clicking or grinding extruder sound partway through a print, followed by thinning extrusion. If you pull the filament and find a swollen section above the melt zone, heat creep is confirmed.
Does heat creep always mean a bad fan?
No, but cooling is the most common cause. Weak fans, dusty heatsinks, poor ducts, high temperatures, and weak heatbreak designs all contribute. Start with the fan because it’s the cheapest and most frequent culprit.
Can heat creep happen with PLA?
Yes, though PLA is more forgiving than high-temperature materials. PLA still softens well below its melting point, so a marginal cooling setup can produce heat creep on long or slow prints.
Why does my printer jam only on long prints?
Long prints give heat more time to soak upward through the heatbreak. A setup that survives a ten-minute test may fail after thirty minutes once the cold side warms up. This timing pattern is a strong heat-creep signal.
Will a bimetal heatbreak stop heat creep?
It significantly reduces it. Bimetal and titanium heatbreaks create a sharper thermal break than basic designs, so less heat reaches the cold side. Pair the upgrade with good cooling for the best results.
How do I check if my hotend fan is actually working?
Confirm it spins, then hold a tissue near the heatsink fins to see whether it moves real air. Clean dust from the blades and duct, and verify the fan matches the rated voltage. A spinning fan can still move too little air to prevent heat creep.



