
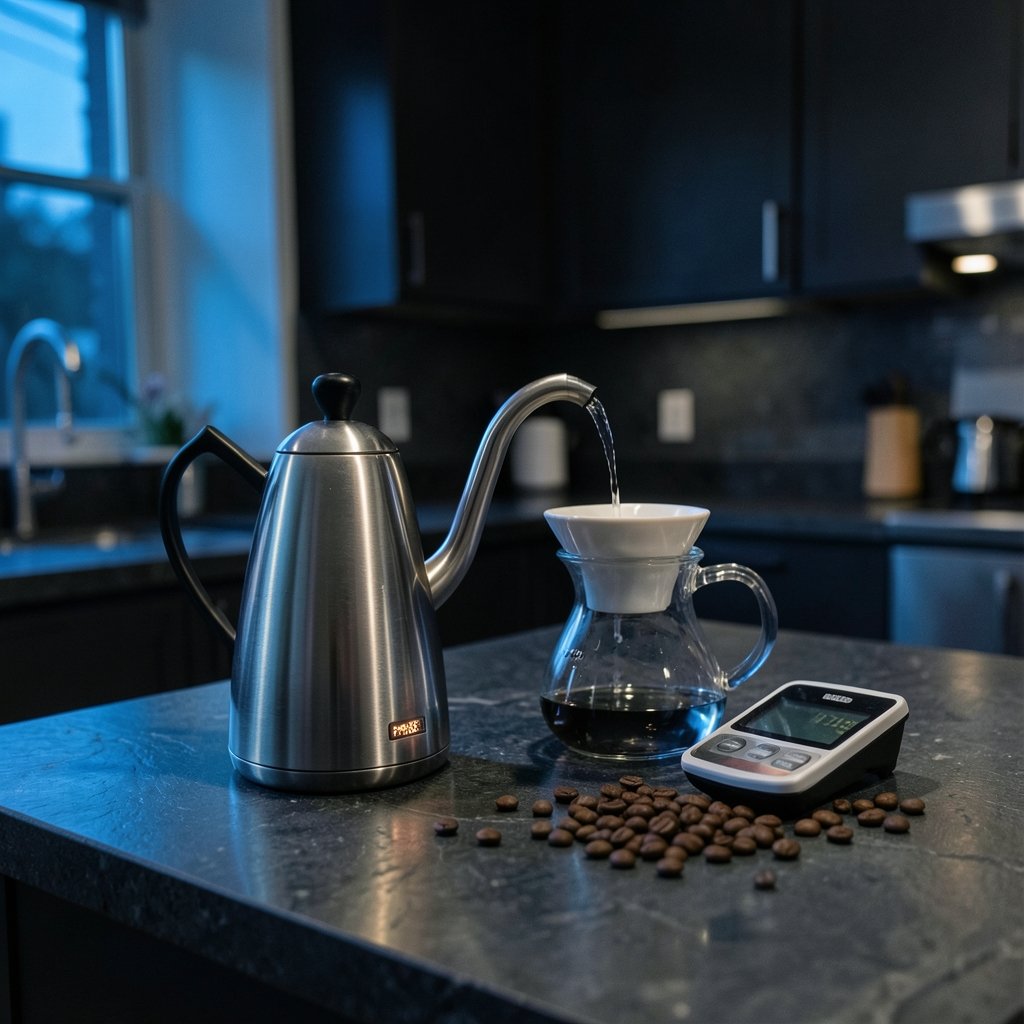
Does a variable-temperature gooseneck kettle actually pour water at the temperature shown on its display? That question drives a quiet frustration among pour-over brewers. You set the dial to 93 °C, wait for the beep, and pour. But the water hitting the coffee bed may be several degrees off, and the difference can flatten a bright, delicate roast or leave a dark one tasting thin and under-extracted. (Safe Minimum Internal Temperature Chart)
The honest answer is that most gooseneck kettles are reasonably accurate but not precise instruments. Their displays show a target, not a guarantee. Understanding where the error comes from, how large it typically is, and which habits shrink it will do more for your coffee than any upgrade.
What “Accuracy” Actually Means on a Kettle Display
Two numbers matter, and manufacturers rarely separate them clearly. Accuracy describes how close a reading is to the true value. Precision describes how repeatable that reading is. A kettle can be consistently wrong, which is precise but inaccurate, and that pattern is common in budget models.
Most consumer kettles use a thermistor or a small thermocouple mounted near the heating element or embedded in the base plate. The sensor reads the metal around it, then software estimates the water temperature. That estimate is where error creeps in. A probe that never touches the water responds more slowly and lags behind reality during heating and cooling.
Calibration standards exist precisely because ordinary thermometers need traceable references. National measurement institutes maintain the temperature scales that industrial instruments are checked against, and the same principle applies at home: a kettle’s display is only meaningful relative to a known-good reference. For a plain-language overview of how temperature measurement and calibration work, the Wikipedia entry on thermometers covers the basics without jargon.
How Big Is the Error in Practice?
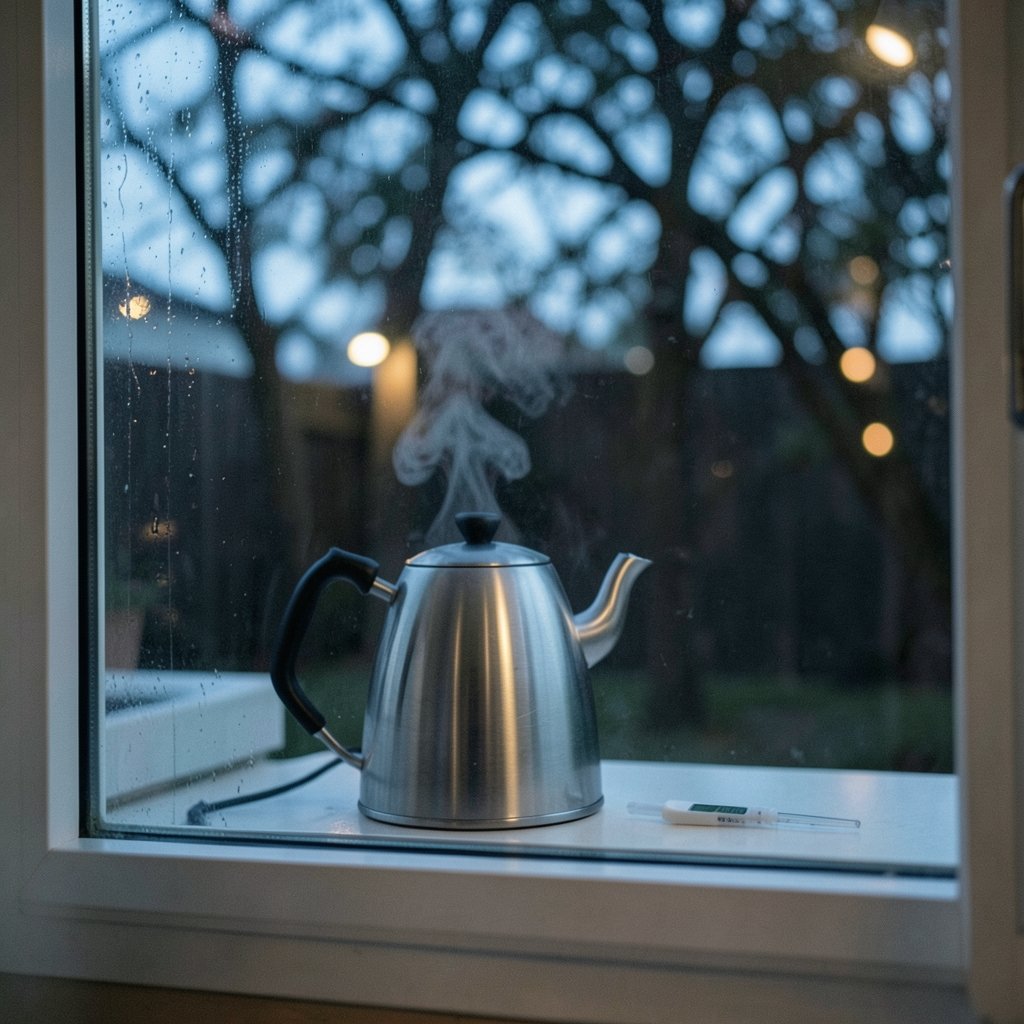
For typical consumer gooseneck kettles, expect a stated tolerance of roughly ±1 °C (±2 °F) on premium models and ±2 to ±3 °C on cheaper ones. Those figures are manufacturer claims, not independent measurements, and real-world performance often sits at the edge of the stated range.
| Kettle Tier | Typical Stated Tolerance | Common Real-World Behavior |
|---|---|---|
| Budget variable-temp | ±2 to ±3 °C | Slow response, noticeable overshoot, drift over months |
| Mid-range | ±1 to ±2 °C | Good steady-state accuracy, some lag during heat-up |
| Premium | ±1 °C or better | Faster sensor response, software compensation for lag |
The bigger issue is not steady-state error. It is thermal lag. When you set a kettle to 93 °C, the element keeps heating after the controller cuts power because the metal base retains heat. Water can overshoot by 1 to 3 °C before settling back. Some kettles compensate with predictive software; many do not. The result is that the first pour, taken right at the beep, is often hotter than the display suggests.
Brewing guidance generally cites ranges rather than single points. Specialty coffee references commonly place brewing water somewhere around 90 to 96 °C, with lighter roasts pushed toward the higher end to pull out more acidity and complexity. That range is wide enough to absorb most kettle error, which is why the topic matters less than enthusiasts sometimes claim. If your target is 93 °C and your kettle is off by 2 °C, you are still inside the useful window. (Kettle)
Where the Error Comes From
Several distinct problems stack up, and fixing one does not fix the others.
Sensor placement is the root cause. A probe in the base measures the heater, not the water. Kettles that place the sensor in contact with the water column respond faster and read truer, but they cost more to build.
Calibration drift accumulates over time. Thermistors change slightly with age and heat cycling. A kettle that was accurate when new may drift a degree or two after a year of daily use.
Pour dynamics add another layer. Water cools as it travels through the air and as it contacts the cooler coffee bed and dripper. A gooseneck’s thin, slow stream loses more heat in transit than a wide, fast pour. This is a real effect, though it is often conflated with the kettle’s own accuracy in marketing copy.
Preheating habits change everything. Pouring into a cold dripper and cold mug can drop the effective brewing temperature by several degrees regardless of what the kettle says. Rinsing the filter and warming the vessel matters more than chasing a perfect kettle reading.
If you want to measure how your own setup behaves, a systematic approach helps. A step-by-step method for checking hardware temperatures is laid out in this guide to how to check GPU temperature in 13 steps, and the same discipline applies to kettles: use one reliable reference, measure at a consistent moment, and repeat.
How to Test Your Kettle at Home
A simple test takes about ten minutes and tells you more than any spec sheet.
- Fill the kettle to a normal brewing level and set it to a mid-range target such as 90 °C.
- Heat a separate, known-good thermometer in a cup of hot water to stabilize it.
- At the moment the kettle signals ready, pour a small amount into the cup and stir gently.
- Read the thermometer immediately and record the difference from the set point.
- Repeat at two other targets, such as 80 °C and 96 °C, to see whether the error is consistent or varies with temperature.
- Wait five minutes and re-check to see how much the water cools in the kettle.
A consistent offset is easy to live with: just adjust your set point. A variable offset, where the kettle is accurate at low temperatures but off at high ones, is harder to work around and suggests the sensor or controller is struggling.
Instant-read kitchen thermometers are not perfect references either. Many are rated at ±1 °C, which means your test itself carries uncertainty. For a truly solid check, use a thermometer with a calibration certificate or compare against a second independent device. If both agree, you can trust the reading.
The Overshoot Problem and What to Do About It
Overshoot is the most practical accuracy issue most brewers face. The kettle beeps, you lift it, and the water is hotter than requested. Three habits reduce the impact.
First, let the kettle rest. After the ready signal, wait 20 to 30 seconds before pouring. The water equalizes and the overshoot dissipates.
Second, preheat everything. Rinse the filter, warm the dripper, and warm the carafe. This costs a little water and removes a large source of temperature loss downstream, so the temperature at the coffee bed lands closer to your target.
Third, set slightly low for light roasts and slightly high for dark ones if your kettle runs hot or cold. A consistent 2 °C offset can be dialed out in seconds once you know it exists.
Gooseneck geometry itself does not affect temperature accuracy directly, despite what some product pages imply. A narrow spout controls pour rate and steadiness. It changes how evenly water saturates the bed, which affects extraction, but the temperature of the water leaving the spout is set by the kettle’s sensor and controller. The two features are often marketed together, which blurs the distinction.
Do You Need a Temperature-Controlled Kettle at All?
This is worth asking honestly. A basic kettle plus a thermometer and a little patience can hit a target range reliably. Variable-temperature control mainly buys convenience and repeatability.
Where control earns its keep is in consistency across many brews. If you brew the same coffee every morning and want the same cup, a kettle that holds a set point removes a variable. If you brew casually and drink within a wide range, the difference is small.
Independent test data on gooseneck kettles is genuinely scarce. Most published numbers come from manufacturers or from enthusiast reviewers, both of which carry a conflict-of-interest caveat. Treat any single review with suspicion and look for agreement across several sources. The same caution applies to search tools that aggregate reviews, as this comparison of AI search engines’ features and accuracy shows: aggregation helps, but the underlying sources still matter.
Common Mistakes That Wreck Temperature Control
A few habits quietly undo good equipment.
- Filling the kettle too full. Large volumes heat slowly and hold heat unevenly. A moderate fill responds faster and reads truer.
- Trusting the display at the beep. The first reading after heating is the least reliable. Give it a moment.
- Skipping the preheat. A cold dripper steals heat from every pour.
- Ignoring seasonal room temperature. A cold kitchen pulls heat from the kettle and the slurry. Winter brews often need a degree or two more.
- Never re-checking. Sensors drift. A kettle that was accurate last year may not be now.
- Assuming expensive means accurate. Price buys build quality, pour control, and design. It does not guarantee a tighter temperature tolerance.
The pattern across all of these is the same: control the variables you can, and stop chasing the ones you cannot.
Reading Manufacturer Specs Without Being Fooled
Spec sheets reward careful reading. A tolerance stated as ±1 °C usually refers to the sensor’s rated accuracy, not the water temperature at the spout. Those are different numbers, and the gap between them is where disappointment lives.
Watch for these phrases. “Temperature accuracy” without a number is marketing. “Precise to 1 °C” may mean the display resolves to 1 °C, not that it is accurate to 1 °C. “Variable temperature” says nothing about tolerance at all.
A credible spec sheet states a tolerance with a range, such as ±1 °C across 40 to 100 °C, and ideally notes the measurement conditions. If a manufacturer will not state a number, assume the number is not flattering.
Conclusion
Gooseneck kettle temperature accuracy is real but modest. Most kettles land within a couple of degrees of their set point, and the brewing range is wide enough that this rarely ruins a cup. The bigger influences are thermal overshoot right after heating, cold equipment stealing heat downstream, and sensor drift over time.
Buy for pour control and build quality, then verify temperature yourself with a decent thermometer. Adjust your set point to match what your kettle actually does, preheat your gear, and give the water a moment to settle before pouring. Do that, and the number on the display becomes a useful guide rather than a promise it cannot keep.
Frequently Asked Questions
How accurate is a typical gooseneck kettle?
Most consumer models claim ±1 to ±3 °C, with premium kettles at the tighter end. Real-world performance often sits near the edge of the stated range, and the reading at the moment the kettle signals ready is usually the least reliable because of thermal overshoot.
Why does my kettle overshoot the set temperature?
The heating element and base plate retain heat after the controller cuts power, so water continues to warm briefly. Kettles with predictive software compensate for this; many do not. Waiting 20 to 30 seconds after the ready signal lets the water settle back toward the target.
Does a gooseneck spout affect water temperature?
Not directly. The spout shape controls pour rate and steadiness, which affects extraction evenness. Water does cool slightly in a thin, slow stream, but that is a transit effect rather than a flaw in the kettle’s temperature control.
Can I calibrate my kettle at home?
Most kettles have no user calibration. Instead, measure the offset with a separate thermometer and adjust your set point to compensate. If the offset is consistent across temperatures, this works well. If it varies, the sensor or controller may be failing.
Is an expensive kettle more accurate?
Not necessarily. Price tends to buy better build quality, nicer pour control, and design. Temperature tolerance is a separate specification, and some mid-range kettles match premium models on accuracy. Check the stated tolerance rather than assuming.
Does water temperature really matter that much for pour-over?
It matters, but within a range rather than at an exact point. Brewing guidance commonly cites roughly 90 to 96 °C, with lighter roasts toward the higher end. A kettle that is two degrees off still lands inside that window, so technique and grind size usually matter more.



