
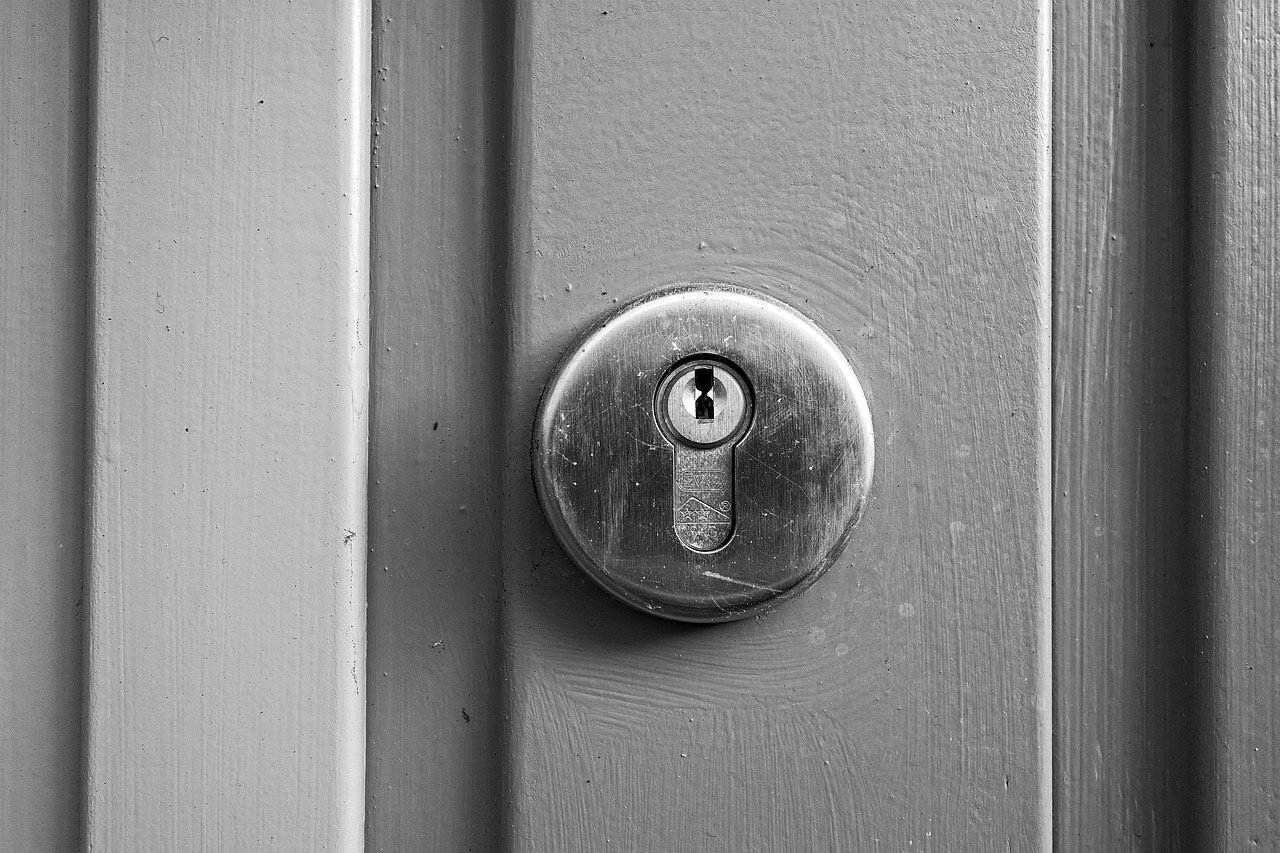
What if the hardest part of replacing a door lock isn’t the screwdriver work at all? Ask anyone who has done it a few times, and they will tell you the same thing: the swap itself takes twenty minutes. The trouble comes from a lock that almost fits. The screw holes are a hair off. The latch won’t reach the strike plate. The deadbolt binds every time the door swells in humid weather.
That gap between “almost fits” and “fits” is where most weekend projects go sideways. This guide walks through the whole job the way a careful homeowner would actually do it, from measuring before you buy to testing the bolt after the last screw is tight. It also covers the parts people skip: handing, fire-rated doors, rental rules, and the question of whether you should rekey instead of replace.
Start With Measurements, Not With Shopping
The single biggest mistake is buying a lock before measuring the door. Locks are not one-size-fits-all, and the dimensions are not suggestions.
In North America, a typical cylindrical lockset (the key-in-knob or lever style) fits a 2⅛-inch cross-bore through the face of the door and a 1-inch edge bore through the door’s edge. The backset is the distance from the door edge to the center of that cross-bore, and it comes in two standard sizes: 2⅜ inches and 2¾ inches. Get the backset wrong and the latch will not line up with the strike plate, no matter how carefully you install it.
That is exactly the headache covered in this walkthrough on how to measure door backset for a smart lock so you avoid a return trip to the store. The same measurement logic applies to a plain mechanical lock. (Lock (security device)))
Measure three things before you shop:
- Backset — door edge to the center of the bore.
- Cross-bore diameter — usually 2⅛ inches, but older doors vary.
- Door thickness — most residential doors are 1⅜ or 1¾ inches; hardware is sized accordingly.
Write those numbers down and bring them to the store. It sounds fussy. It saves a second trip.
A note for readers outside North America: European and UK locks often use euro-profile cylinders and DIN dimensions, which differ substantially from the numbers above. State your region when you ask for advice, because the conventions do not transfer.
Decide What You Are Actually Replacing
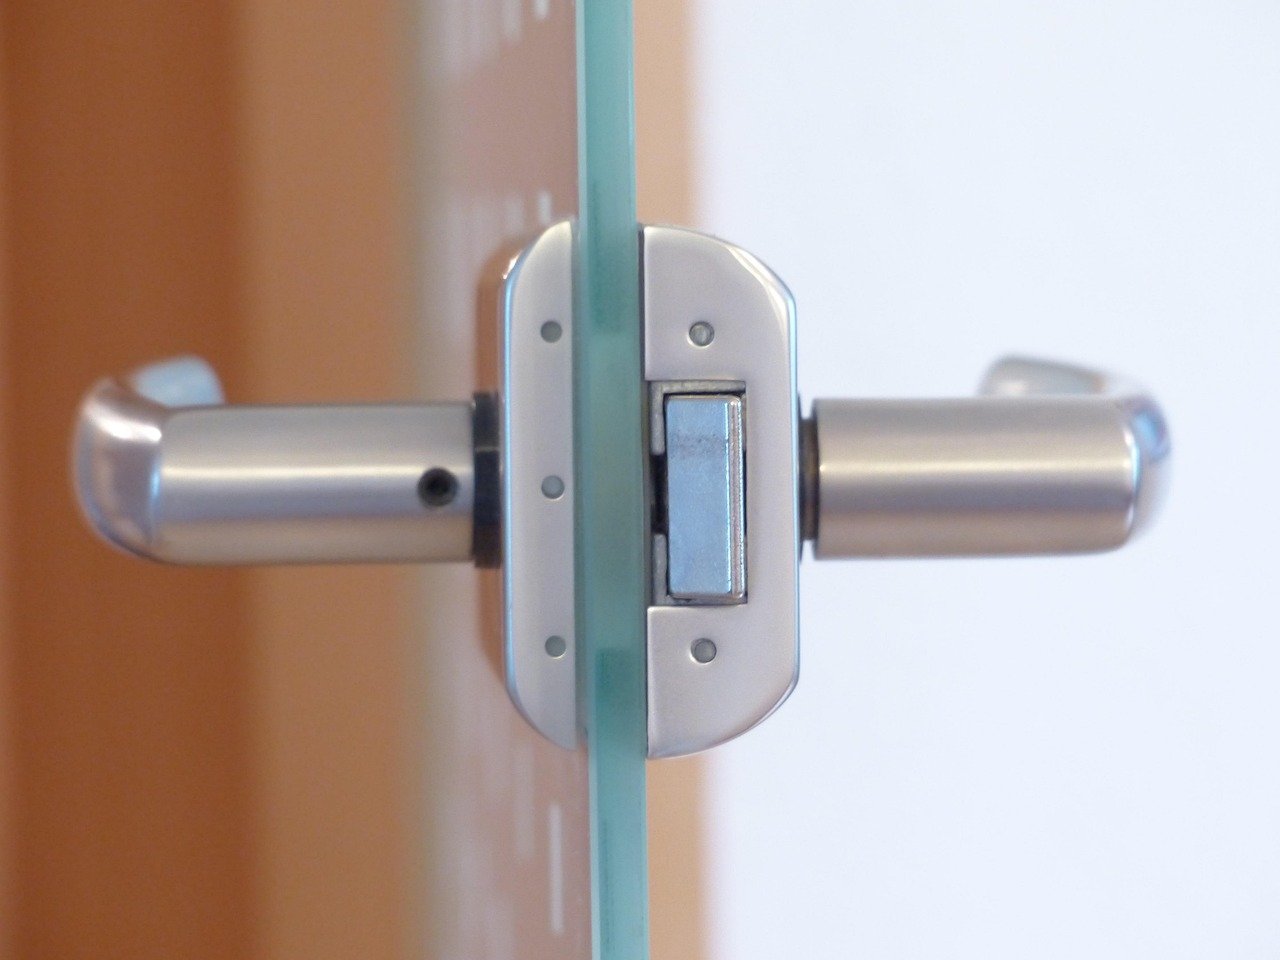
People say “replace the lock” to mean several different jobs. Sorting out which one you need changes the cost, the tools, and the time.
| Situation | Best approach | Why |
|---|---|---|
| Lost keys, no security concern | Rekey the existing cylinder | Cheapest, keeps the existing bore |
| Lock is worn, sticky, or loose | Replace the lockset | Worn internal parts can’t be tuned back |
| Upgrading security | Replace the deadbolt, keep the knob | The deadbolt is the primary barrier |
| Adding keyless entry | Retrofit smart lock or full replacement | Depends on the existing deadbolt |
| Moving into a rental | Ask the landlord first | Lease terms often restrict lock changes |
A deadbolt is the lock that actually protects the door; the knob or lever latch is secondary. Under the ANSI/BHMA grading system, deadbolts are rated Grade 1, 2, or 3, with Grade 1 being the strongest. Consumer articles frequently misquote these grades, so check the current standard edition rather than a blog summary.
If the existing lock is simply worn out and the keys are still accounted for, a locksmith can often rekey the cylinder without removing the lock at all. That preserves the door’s existing bore and usually costs less than new hardware. Replacement makes more sense when the mechanism itself is failing or when you want a different style or function.
Check Handing, Fire Rating, and Your Lease Before You Buy
Three checks take five minutes and prevent expensive mistakes.
Handing. Locks are handed: a door that opens inward on the left is not the same as one that opens inward on the right. Most cylindrical locksets are field-reversible, meaning you can flip the latch in the housing. Mortise locks and some smart locks are not. Verify before purchase, or you will be returning a lock that “opens the wrong way.”
Fire-rated doors. If the door is a fire door, which is common in apartment corridors and commercial buildings, the hardware is part of a rated assembly. Swapping in non-rated components can void that rating and violate local code. In the United States, NFPA 80 governs fire door assemblies and their hardware, and the standard is revised on a cycle, so confirm which edition is in force in your jurisdiction.
Lease terms. In many places, tenants may not change locks without landlord consent, and landlords may be required to rekey between tenants. The rules vary by state and country, and this is a legal question rather than a hardware one. Check your lease and your local housing authority before touching the cylinder.
If you are considering a keyless upgrade rather than a like-for-like swap, the practical constraints are different enough to deserve their own reading. This guide to smart locks that actually keep your door secure covers what separates a solid unit from a gimmick.
Gather the Right Tools First
Most replacements reuse the existing bore and strike, which keeps the tool list short.
- A Phillips and a flathead screwdriver, sized to the screws (a stubby driver helps on the interior side)
- A tape measure
- The new lock’s paper template or installation guide
- A chisel and hammer, only if the strike plate needs mortising
- Painter’s tape, for holding screws and marking alignment
- A pencil
A cordless drill is optional. If the existing bore matches, you should not need to drill anything. If you do need to enlarge a hole, stop and reconsider whether you bought the right lock.
Step-by-Step: Removing the Old Lock
Work from the inside of the door whenever possible. It is safer and easier to reach.
- Open the door and tape the latch so it cannot snap shut while you work. Locking yourself out mid-project is a classic.
- Remove the interior trim. Take out the screws holding the interior rosette or plate. Support the knob or lever as the screws come free so it does not drop.
- Separate the halves. Pull the interior and exterior assemblies apart. On some locks a through-bolt or clip holds them together.
- Remove the latch. Take out the two screws on the latch face plate at the door’s edge, then pull the latch straight out of the edge bore.
- Remove the strike plate from the jamb if you are replacing it, and keep the screws in a cup or taped to the door.
- Clean the bore. Vacuum out dust and old lubricant residue. A clean bore makes the new latch seat properly.
Keep every screw you remove until the new lock is fully installed. Threads differ between brands, and a mismatched screw can strip a hole.
Step-by-Step: Installing the New Lock
- Set the backset on the new latch. Many latches ship adjustable or with a removable face plate for 2⅜ versus 2¾ inches. Match it to your measurement.
- Check the handing and reverse the latch if needed. The curved side of the latch bolt should face the strike plate.
- Insert the latch into the edge bore and screw the face plate down snug, not gorilla-tight.
- Feed the spindle or connecting bar through the latch, then fit the exterior assembly against the door.
- Attach the interior assembly and start the mounting screws by hand. Tighten them evenly, alternating sides, so the two halves pull together straight.
- Test the action before final tightening. Turn the thumb-turn or key. The bolt should extend and retract smoothly with no grinding.
- Install the strike plate on the jamb at the height the bolt actually sits, not where the old one was.
- Test the closed door. Shut it gently and check that the bolt slides into the strike without force.
That last step matters more than people think. A bolt that does not fully seat in the strike leaves the door weaker than it should be, and a bolt that binds will wear out the mechanism early.
Fixing the Three Problems That Actually Happen
The bolt hits the strike plate. The plate is misaligned, or the door has settled. Loosen the strike screws, shift the plate a millimeter or two, and retest. If the jamb needs material removed, mark the outline with a pencil and chisel carefully. A metal file works too, just more slowly.
The lock binds when you turn it. The two halves are probably over-tightened or slightly skewed. Back the mounting screws off a quarter turn and retest. If the binding persists, the bore may be off-center, which is a bigger job.
The door won’t latch in humid weather. This is seasonal wood movement, not a lock defect. Widen the strike opening slightly rather than forcing the bolt.
For sliding doors, the geometry is different again, and standard cylindrical hardware does not apply. This explanation of how a smart lock for sliding doors actually works in practice covers the mounting and alignment issues specific to that door type. Narrow frames bring their own constraints, which this piece on smart locks for narrow door frames that actually fit addresses.
When to Call a Locksmith Instead
Most like-for-like swaps are genuinely DIY-friendly. Call a professional when:
- The door is fire-rated and you are unsure about rated hardware
- The existing bore is damaged, oversized, or off-center
- You want a mortise lock replaced, which involves internal door mortising
- The door itself is misaligned and no amount of strike adjustment fixes the latch
- Your lease or local rules require licensed work
A locksmith can also rekey on site, which is often the fastest route to “new keys, same lock.” (National Institute of Standards and Technology (NIST))
Conclusion
Replacing a door lock rewards preparation far more than technique. Measure the backset and bore before you shop, confirm the handing and fire rating, and check what your lease allows. Once the hardware is right, the swap itself is a screwdriver job that most people can finish in under an hour.
The test of a good install is not how it looks on the inside. It is whether the bolt slides home with a satisfying click every single time, in every season, without a shove. Get that right, and you have done the job properly.
FAQ
How long does it take to replace a door lock?
For a like-for-like cylindrical lockset swap that reuses the existing bore, most people finish in 20 to 40 minutes. Allow extra time if the strike plate needs adjusting or the door has settled. A first attempt with unfamiliar hardware often takes closer to an hour.
Do I need to drill new holes to replace a lock?
Usually not. Replacement locks are designed to fit standard bores of 2⅛ inches with a 1-inch edge bore, so the existing holes are reused. You only need to drill if the new lock has a different backset or the old bore is damaged. If you find yourself reaching for a drill, double-check that you bought the correct size first.
Can I replace just the deadbolt and keep the knob?
Yes, and it is often the smart move. The deadbolt is the primary security barrier, so upgrading it delivers most of the benefit at lower cost and effort. The knob or lever latch is secondary. Just confirm the two pieces look reasonably consistent, since mismatched finishes are noticeable from the street.
Should I rekey or replace the lock?
Rekey if the hardware works well and you only want old keys to stop working, such as after a move or a lost key. Replace if the mechanism is worn, sticky, or loose, or if you want a different style or function. Rekeying preserves the existing bore and is usually cheaper.
Can I change the locks in a rental apartment?
Often only with landlord consent. Many leases restrict lock changes, and some jurisdictions require landlords to rekey between tenants. Rules vary widely by state and country, so read your lease and check your local housing authority before changing anything. Keep a copy of any written permission.
Why won’t my new lock line up with the old holes?
The most common cause is a backset mismatch: the new latch is set for 2¾ inches when the door was bored for 2⅜ inches, or the reverse. The second most common cause is a latch that was installed with the wrong handing. Check both before assuming the door is the problem.



