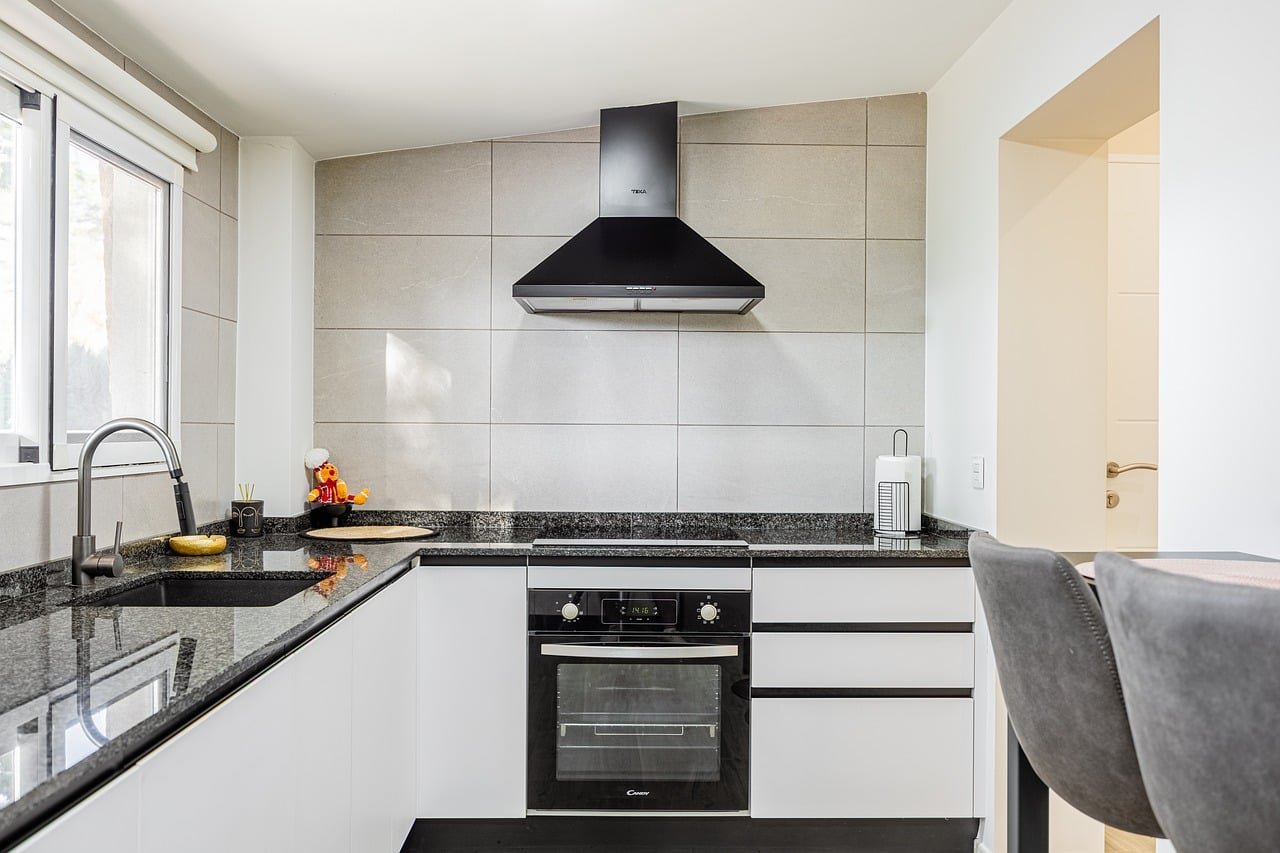
When did you last look at the bottom of your oven and wince? Most people wait until the smoke alarm gives a verdict. The good news is that oven cleaning is not hard. It is just badly explained. The internet is full of miracle pastes, and most of them waste an afternoon. What works is a boring, methodical approach: know your oven type, pick the right cleaner, soak the right parts, and give the chemistry time to do its job. (Oven)
This guide walks through the whole job, from the ten-minute weekly wipe to the deep clean you do twice a year. It also covers the mistakes that damage enamel, void warranties, and send people to the emergency room. None of that has to happen.
Why oven cleaning feels harder than it should
Ovens are one of the few appliances where burnt food becomes part of the machine. Every roast leaves a fine mist of fat that polymerizes onto the walls at high heat. That baked-on layer is essentially a plastic film. It does not dissolve in soapy water, and scrubbing it dry just scratches the enamel underneath.
The second reason is misinformation. Baking soda and vinegar make a satisfying fizz, so videos of that fizz get shared. But vinegar is a weak acid, and weak acids do not break down baked-on fat. Baking soda paste does soften light grease, which is why it works in demos on a barely used oven. On a genuinely dirty one, it mostly moves the grease around.
The third reason is safety. Many oven cleaners are built on sodium hydroxide, also called lye or caustic soda. It is genuinely corrosive, and public health agencies treat it as a serious chemical hazard. The US CDC’s NIOSH Pocket Guide to Chemical Hazards entry on sodium hydroxide notes that it is corrosive to the eyes, skin, and respiratory tract, and that exposure limits exist for good reason. That does not mean you should avoid it. It means you should read the label and wear gloves.
First, identify what kind of oven you have
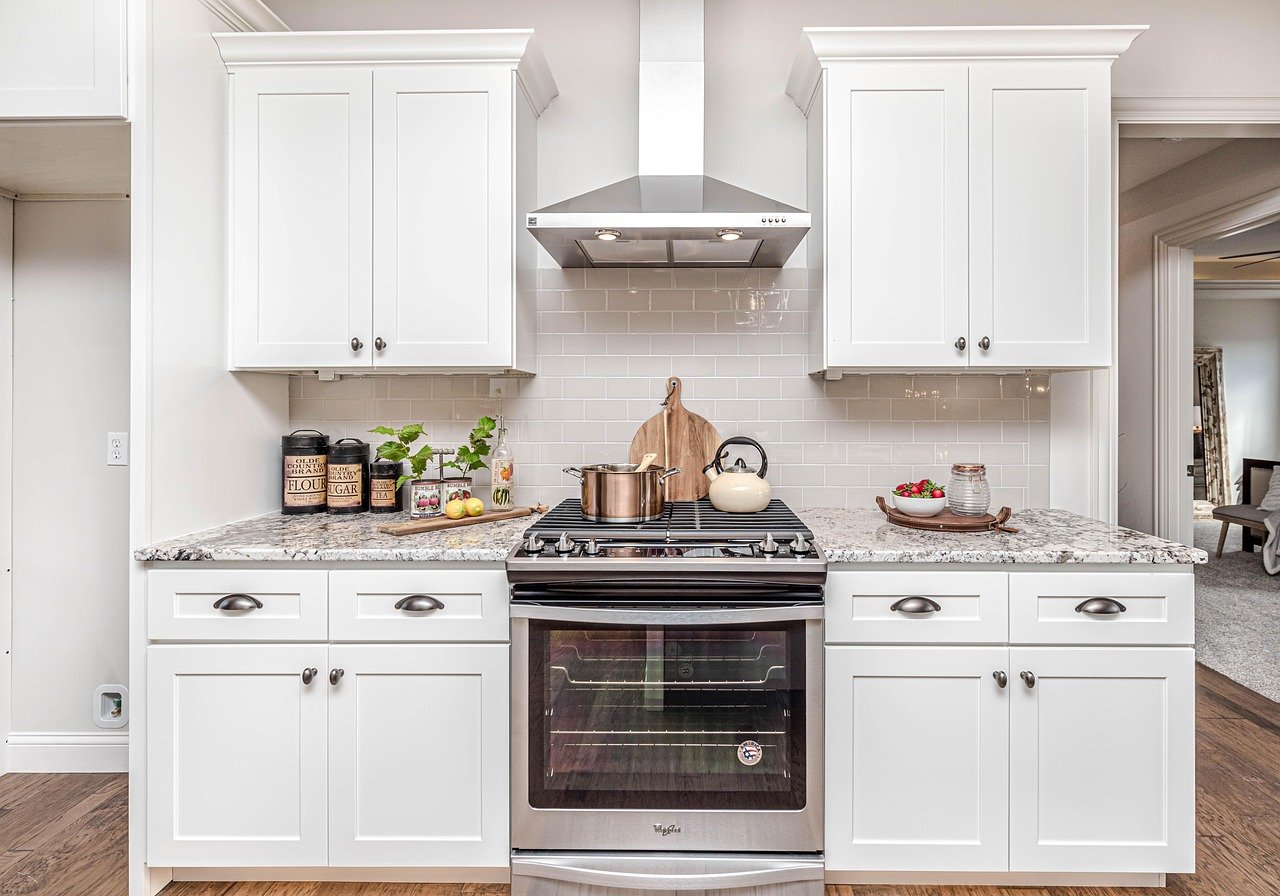
The right method depends entirely on the oven. Using a caustic cleaner in a self-cleaning oven is wasteful at best and damaging at worst. Check the manual or the model plate before you buy anything.
| Oven type | How it cleans | What to avoid |
|---|---|---|
| Pyrolytic (self-cleaning) | Heats to roughly 430–500 °C for 1–3 hours, turning residue to ash | Caustic sprays (unnecessary), racks unless the manual allows them |
| Steam or hydrolytic | Water plus lower heat softens light soil, then you wipe | Heavy chemical cleaners that can stain interior panels |
| Catalytic liners | Porous panels absorb and burn off fat during normal cooking | Scrubbing the liners, which destroys the coating |
| Standard enamel | Manual cleaning with a suitable cleaner | Metal scrapers and abrasive pads |
| Continuous-clean finish | A rough enamel that spreads and slowly burns off grease | Harsh caustics, which degrade the surface |
A quick note on self-cleaning cycles. They work well, but they are not free. The oven gets extremely hot, so the kitchen will smell of smoke, and some people find the fumes irritating. Open windows, run the extractor, and keep children and pets out of the room. Many manufacturers also warn against leaving racks in during pyrolysis because the high heat can discolour them and damage the sliding mechanism.
Gather the right supplies before you start
Having everything within reach saves the mid-job scramble, and a scramble is when people make mistakes.
- Rubber gloves that reach past the wrist. Dish gloves are fine for gentle cleaners; chemical-resistant gloves are better for caustic products.
- Safety glasses, especially if you are spraying anything overhead.
- A plastic scraper or an old credit card for lifting softened residue.
- Non-scratch scourers or a nylon brush. Steel wool and abrasive pads dull enamel and stainless trim.
- Hot water, dish soap, and a spray bottle.
- Old towels or newspaper for the floor, because drips are inevitable.
- A cleaner matched to your oven type, whether that is a commercial gel, a cream, or a homemade paste.
One supply that rarely gets mentioned: a small bowl of clean water and a microfiber cloth for the final rinse. Residue left behind is what causes that white haze and the smell on the next preheat.
Step-by-step: the deep clean that works
This sequence suits a standard enamel oven and adapts easily to other types. Set aside two to three hours, but understand that most of that is waiting, not scrubbing.
1. Clear the oven and remove the parts
Take out the racks, trays, and side supports. Most side supports lift out after you flip a small retaining clip, and the manual shows how. Wipe up loose crumbs with a dry cloth before anything gets wet, because wet crumbs turn into a paste that spreads into corners.
2. Soak the racks separately
Racks rarely need the full chemical treatment. Lay them in a bathtub or a large bin with hot water and a few drops of dish soap, then leave them for an hour. For heavy buildup, add a scoop of laundry powder or a dishwasher tablet. The same patience principle applies to small electronics with grimy contact points, which is why a guide to cleaning wireless earbuds charging contacts so they charge properly stresses gentle tools and short contact time rather than hard scrubbing.
3. Apply the cleaner and leave it alone
Spray or brush the cleaner onto the interior walls, the floor, and the door glass, avoiding the heating elements and the fan opening at the back. Then walk away. Most caustic gels need 20 to 60 minutes; some need longer. The active ingredient needs contact time to saponify the fat, and scrubbing early just removes the product before it has done its work.
For light soil, a thick paste of baking soda and water applied for 20 minutes is a reasonable, low-odour option. It will not cut through years of carbon, but it handles a recent spill well.
4. Scrape, then wipe, then rinse
Use the plastic scraper at a shallow angle to lift softened residue. Wipe with a damp cloth, rinsing it often. Then go over everything with clean water at least twice. This rinse step is the one people skip, and it is the one that matters most.
5. Clean the door glass properly
The inside of the door is usually the greasiest surface because splashes hit it directly. If your oven has a removable inner glass panel, the manual will explain how to release it, and washing it flat in the sink is far easier than reaching at an angle. Apply the same care you would when cleaning a projector lens safely without damaging the coating: no abrasives, no aggressive solvents on treated surfaces, and a soft cloth rather than paper towel that sheds fibres.
6. Handle the door seal with care
The rubber gasket around the opening is not designed for caustic cleaner. Wipe it with warm soapy water and a soft cloth, then dry it. A degraded seal leaks heat and makes the oven work harder, which is the same logic behind cleaning dehumidifier coils for better airflow and lower bills: small maintenance tasks protect efficiency.
7. Reassemble and run a short burn-off
Put the racks and supports back, then run the oven at around 200 °C for 15 minutes with the windows open. Any residue you missed will smoke off now rather than during dinner.
The weekly habit that prevents the big job
A 60-second wipe after each messy cook does more than any annual deep clean. While the oven is still warm but not hot, wipe the floor and door glass with a damp cloth and a drop of dish soap. Grease that has not yet polymerized comes off easily. Grease that has been through three more roasting cycles does not.
Line the bottom of the oven with a proper oven liner or a sheet of foil, but never on the floor of a fan oven unless the manual allows it, because it can block airflow and skew baking results. The same airflow logic applies to larger appliances: an air purifier in a large open room only delivers clean air when the intake is clear and the filters are not clogged. (Improving Indoor Air Quality)
Common mistakes that cost money
Spraying the heating elements. Elements and the fan cover are not meant to be coated. Cleaner baked onto them smells for weeks.
Using steel wool on enamel. It leaves permanent scratch marks that trap grease and make every future clean harder.
Skipping gloves. Caustic cleaners do not hurt immediately. They hurt twenty minutes later, and the burn can be serious. If any gets on skin, rinse with plenty of water. If it gets in an eye, flush and seek medical help. The UK NHS guide to poisoning and harmful household chemicals explains when a household exposure needs medical attention rather than a rinse at the sink.
Mixing products. Never combine an oven cleaner with bleach, vinegar, or another cleaner. Mixing can release heat or toxic gas. This is standard household-chemical advice from poison control services, and it applies even when both products are “natural”.
Cleaning a hot oven. Thermal shock can crack the inner glass. Let it cool completely.
Forgetting the shelves’ runners. The telescopic runners and side rails collect grease too, and a stiff runner is a common cause of trays tipping.
When to call it: signs your oven needs more than cleaning
If the oven smokes at normal temperatures after a clean, the residue may be behind the fan cover or in the cavity above the ceiling panel. If the door no longer seals, the gasket needs replacing. If the self-clean cycle produces heavy smoke and a burning smell that persists, stop the cycle and check the manual, because something may be trapped against an element. (Set up burp suite 2026 clean https traffic capture)
There is also a point where cleaning products stop being the answer. If the enamel is chipped or rusted through, no cleaner will fix it. Replacement panels are often cheaper than a new oven, and a technician can tell you which.
How to choose an oven cleaner without wasting money
Look at the active ingredient rather than the marketing. Sodium hydroxide and potassium hydroxide are the heavy-duty degreasers. They work fast and need gloves. Products labelled for “sensitive” or “fume-free” use surfactants and solvents instead, which are gentler but need more contact time and more elbow grease.
If you want a lower-hazard option, the US EPA’s Safer Choice program explains how cleaning products earn a safer-chemistry label, which is a useful shortcut when comparing bottles in an aisle. Also check the US Consumer Product Safety Commission for recall notices before using an old bottle found in the back of a cupboard.
For the DIY route, baking soda paste handles light grease, and a steam cycle handles a little more. Neither will strip years of carbon, and that is fine. Match the tool to the soil.
Conclusion
Cleaning an oven is mostly a test of patience. Identify the oven type, pick a cleaner that suits it, apply it, and then leave it alone long enough to work. Rinse more than feels necessary. Protect your hands and eyes. Wipe a little every week so the deep clean stays a twice-a-year job rather than a weekend project. The oven that smells of last month’s roast is not a sign of bad housekeeping. It is a sign that nobody explained the contact time.
Frequently asked questions
How often should you clean an oven?
Wipe the floor and door glass weekly if you cook often. Do a deeper clean every three to six months, or sooner if the oven smokes during preheating. Self-cleaning ovens can go longer between manual cleans, but the racks still need soaking.
Can you use baking soda and vinegar to clean an oven?
You can, but expect modest results. Baking soda paste softens light grease. Vinegar is a weak acid and does not break down baked-on fat, so the fizzing is mostly cosmetic. For heavy carbon, a caustic gel or a self-clean cycle does far more with less scrubbing.
Is it safe to leave the oven racks in during a self-cleaning cycle?
Usually not. Many manufacturers advise removing racks because the extreme heat can discolour the chrome and damage sliding mechanisms. Check your manual first, since guidance varies by model and some ovens are rated for it.
What should you do if oven cleaner gets on your skin?
Rinse with plenty of cool water for at least 15 minutes and remove any contaminated clothing. Caustic burns can deepen over hours, so seek medical advice if the skin is blistered, painful, or the area is large. For eye contact, flush immediately and get urgent help.
Why does the oven still smell after cleaning?
Residue is usually hiding behind the fan cover, above the ceiling panel, or in the door seal. Run a 15-minute burn-off at around 200 °C with windows open after every deep clean, and rinse the interior twice with clean water to remove cleaner film.
Can you use a steam cleaner on an oven?
Only on models and surfaces the manual allows. Steam helps soften light grease on enamel and glass, but it can force moisture into seals and electronics, and it does nothing for heavy carbon. A plastic scraper and a suitable cleaner remain the more reliable combination.