
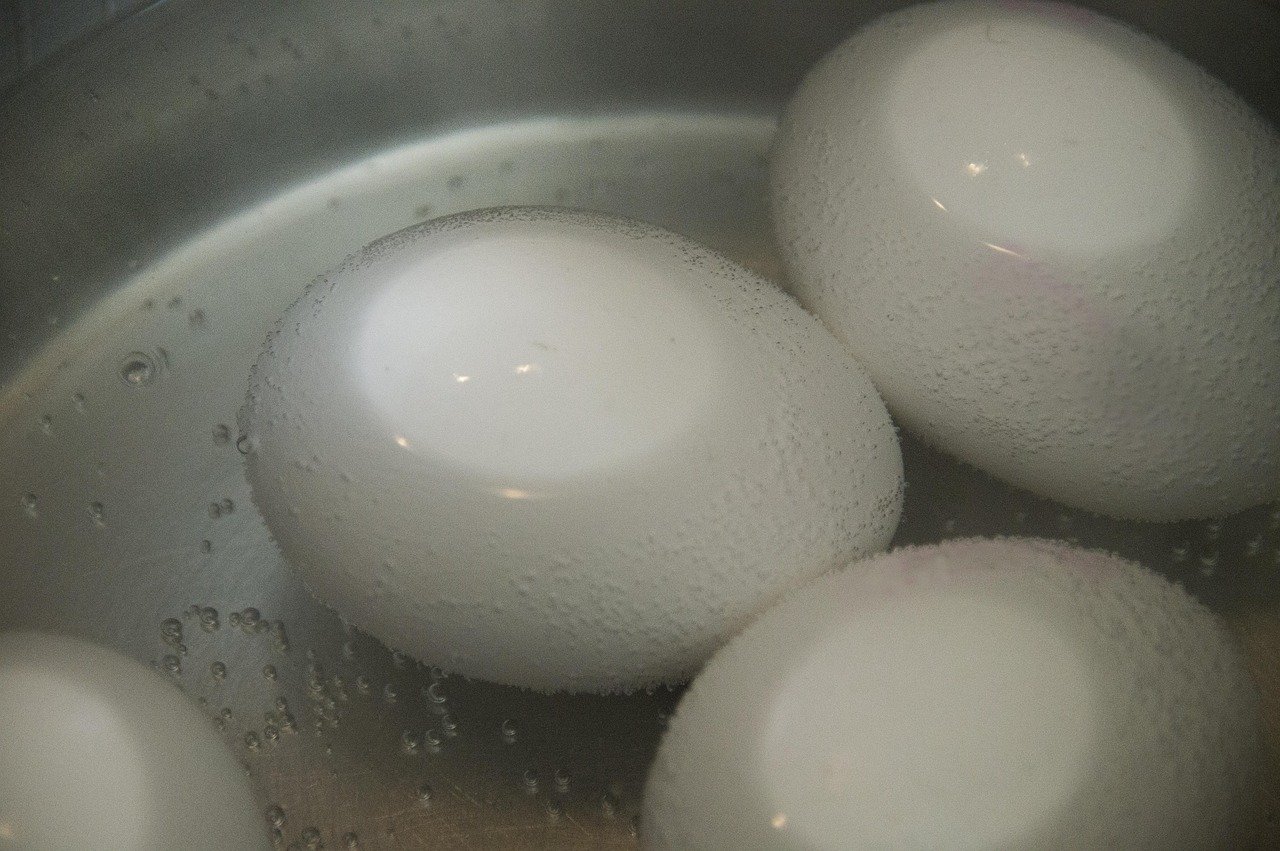
What if the difference between a rubbery, chalky yolk and a silky, jammy center came down to about ninety seconds? That is genuinely how narrow the window is. Boiling an egg looks like the simplest task in the kitchen, yet it is one of the few where a minute of inattention changes the entire result. The good news: once you understand what heat is doing inside the shell, you stop guessing and start getting consistent eggs every single time.
Why Boiling Eggs Trips Up So Many Cooks
Most people learn to boil eggs by watching someone else do it, which means they inherit that person’s pan, stove, egg size, and altitude without knowing it. Then they wonder why their eggs crack, peel badly, or turn out grey-green around the yolk.
An egg is a small chemistry experiment. The white, or albumen, is mostly water and protein. The yolk carries fat, protein, and a little iron. Heat makes those proteins unfold and link together, a process called coagulation, and each part sets at a different temperature. The white firms up first; the yolk follows. That gap is your entire window of control.
There is also a second reaction worth knowing about. When eggs are cooked too long or at too high a heat, iron in the yolk meets sulfur in the white and forms ferrous sulfide, the grey-green film around the yolk. It is harmless, but it looks unappetizing and signals overcooking. A gentler approach, much like the one used in a double boiler’s gentle heat, keeps proteins from seizing and produces a cleaner result. Eggs respond to the same principle: steady, moderate heat beats a violent rolling boil.
Boiling Start vs. Cold Start: Pick One and Stay Consistent
There are two legitimate methods, and both work. The real mistake is switching between them without adjusting your timing.
| Method | How it works | Best for | Trade-offs |
|---|---|---|---|
| Boiling start | Lower eggs into water already at a rolling boil, then reduce to a simmer | Consistent timing, easier peeling, precise doneness | Slight shell-cracking risk if eggs are fridge-cold |
| Cold start | Eggs go into cold water, brought to a boil, then timed from the boil | Gentler on shells, fewer cracks | Timing is fuzzier, since reaching the boil varies |
For most home cooks, the boiling start wins on repeatability. You control the clock from the moment the egg touches hot water, so a six-minute egg is a six-minute egg. If you use the cold start, always begin your timer when the water actually boils, not when you turn on the burner. (Boiled egg)
One practical tip that helps either way: take eggs out of the fridge a few minutes early, or lower them in with a slotted spoon rather than dropping them. A cold egg hitting boiling water is the classic cause of a cracked shell and a white that leaks out into the pan.
The Timing Chart That Actually Works
These times assume large eggs started in already-boiling water, then reduced to a gentle simmer. Treat them as a starting point, not gospel.
| Time | Result |
|---|---|
| 5–6 minutes | Soft-boiled: set white, fully runny yolk |
| 7–8 minutes | Jammy: set white, soft but spoonable yolk |
| 9–10 minutes | Medium: firm white, slightly fudgy center |
| 11–12 minutes | Hard-boiled: fully set, firm yolk |
Several variables push these numbers around. Egg size matters most: medium eggs need roughly a minute less, jumbo eggs a minute or more. Altitude matters too, because water boils at a lower temperature the higher you go, so eggs need longer. Pan shape and the ratio of water to eggs also shift things slightly. The first time you use a new pan or a new carton of eggs, cook one as a test and adjust. (What You Need to Know About Egg Safety)
If you want a genuinely foolproof route for soft yolks, cook them gently rather than fast. A steady simmer, rather than a hard boil, gives you more margin for error and keeps the whites tender instead of rubbery.
The Ice Bath Is Not Optional
The moment your timer goes off, move the eggs into a bowl of ice water. Two things happen at once. First, the cold stops carry-over cooking, the residual heat that would otherwise keep pushing the yolk past your target while the egg sits on the counter. Second, the rapid chill shrinks the egg slightly away from the shell membrane, which makes peeling noticeably easier.
Give them at least three to five minutes in the ice bath. Skipping this step is the single most common reason a perfectly timed egg still ends up with an ugly, torn white.
How to Peel Eggs Without Losing Half the White
Peeling is where technique matters more than luck. A few things genuinely help:
- Crack all over, not in one tap. Tap the egg on the counter, then roll it gently with your palm so the shell crazes into many small pieces.
- Start at the fat end. That end holds the air cell, which gives you a pocket to get your thumb under the membrane.
- Peel under running water or in the bowl. Water slips between shell and white and does much of the work for you.
- Use older eggs. Very fresh eggs are the enemy of easy peeling, because their whites are more acidic and cling harder to the inner membrane. Eggs a week or two old peel far more cleanly, so if you plan ahead, buy them early.
Methods involving baking soda or vinegar in the water circulate widely, but the evidence behind them is mostly anecdotal. The age of the egg and the ice bath do more real work than any additive.
Food Safety: What the Guidance Actually Says
Here is where home cooks get conflicting advice, and both sides have a point.
Public-health agencies generally advise cooking eggs until both the white and the yolk are firm, and refrigerating hard-cooked eggs within two hours of cooking (or one hour if the room is very warm). Hard-cooked eggs keep for about a week in the fridge. Raw or runny eggs carry a Salmonella risk, and pasteurized eggs are the safer choice for any dish that calls for soft or raw eggs.
At the same time, many chefs and some national food agencies allow runny yolks, particularly where eggs come from vaccinated flocks or carry a specific food-safety mark. The honest answer is that this depends on where you live and how your eggs are produced. If you are cooking for anyone pregnant, elderly, very young, or immunocompromised, err firmly toward fully set yolks. For everyone else, a jammy egg is a personal call.
Storage matters too. Keep hard-cooked eggs in the fridge, not at room temperature, and label them if you have raw eggs in the same fridge, because the two look identical and behave very differently.
Common Mistakes and How to Avoid Them
Boiling too hard. A violent rolling boil batters the eggs against each other, cracks shells, and toughens whites. Once the water is up to temperature, turn it down. You want lazy bubbles, not a Jacuzzi.
Timing from the wrong moment. Decide in advance whether your clock starts when the egg enters hot water or when cold water reaches a boil. Mixing the two is how people end up with a “six-minute” egg that is really an eight-minute egg.
Skipping the ice bath. Covered above, but worth repeating because it is the highest-return fix in the whole process.
Overcrowding the pan. Eggs need room to sit in a single layer. A crowded pan means uneven water temperature and uneven results.
Peeling too early or too late. Eggs are easiest to peel warm, right out of the ice bath. If you chill them overnight in the shell, expect more sticking.
Assuming all eggs are the same. A carton of jumbo eggs will not behave like large ones. Adjust once and note what worked.
Serving and Storing What You’ve Made
Hard-boiled eggs are best eaten fresh but hold well. Keep them in a covered container in the fridge and use them within a week. For deviled eggs or egg salad, cool them completely first; warm yolks make a grainy filling.
Soft-boiled eggs are a different story. They are best eaten immediately, ideally with toast soldiers and a pinch of salt. If you want to prep them ahead, peel them under cool water and store them in the fridge, but expect the yolk to firm up slightly.
One underrated use: a batch of medium-boiled eggs, jammy in the middle, sliced over rice or ramen. The timing chart above makes that a repeatable trick rather than a lucky accident.
Conclusion
Boiling eggs well is not about secrets or gadgets. It is about choosing one method, respecting the clock, and cooling the eggs fast. Start with large eggs in already-boiling water, simmer rather than boil, pull them at the time that matches the yolk you want, and plunge them straight into ice water. Adjust once for your pan, your altitude, and your egg size, and you will have a repeatable process you can trust for years. The green ring, the torn whites, and the rubbery yolks all come from the same handful of fixable habits.
Frequently Asked Questions
How long should I boil eggs for a hard-boiled result?
For large eggs started in boiling water, aim for 11 to 12 minutes at a gentle simmer. Medium eggs need about a minute less; jumbo eggs a minute more. Always finish with an ice bath to stop the cooking.
Why do my hard-boiled eggs have a green ring around the yolk?
That grey-green ring is ferrous sulfide, formed when iron from the yolk reacts with sulfur from the white during long or high-heat cooking. It is harmless but signals overcooking. Shortening the cooking time and cooling the eggs quickly prevents it.
Do I need to put eggs in cold water or boiling water?
Both work. Boiling start gives you more consistent timing and easier peeling. Cold start is gentler on the shells. The key is to time consistently from the same point every time, either when the egg goes in or when the water boils.
Why are my eggs so hard to peel?
Very fresh eggs are the usual culprit. As eggs age, their whites become less acidic and cling less to the inner membrane, so older eggs peel more cleanly. An ice bath right after cooking and peeling under running water also help a lot.
Are runny eggs safe to eat?
It depends on your circumstances and where you live. Public-health guidance generally recommends firm yolks, especially for pregnant people, young children, older adults, and anyone immunocompromised. Pasteurized eggs are the safer option if you want a runny yolk.
How long do hard-boiled eggs last in the fridge?
About one week, stored in a covered container. Refrigerate them within two hours of cooking, or one hour if the room is very warm. Keep them separate from raw eggs so you do not mix them up.
One last note on equipment: a slotted spoon or a small spider makes lowering and lifting eggs far safer than a spoon that lets them roll. If you boil eggs often, a kitchen timer you can reset with one hand earns its counter space. None of this is complicated, and that is the point. Good boiled eggs come from attention, not gear.



