

Ever watched your own edit back and felt something was off, but you couldn’t say what? The cuts land on time, the music swells at the right moment, and yet the video feels amateurish. Almost always, the problem isn’t the software or the footage. It’s a handful of small habits that separate a watchable edit from a forgettable one. This guide covers the video editing tips that fix those habits, from how to cut a conversation to how to export a file that doesn’t fall apart on someone else’s screen.
Start With the Story, Not the Timeline
The most common beginner mistake is opening the editor and dragging clips in the order they were shot. That’s assembly, not editing. Before touching a single clip, write one sentence that describes what the video is about and what the viewer should feel at the end. Every cut either serves that sentence or gets cut.
A practical version of this: watch all your raw footage once, at speed, and write down timecodes for the moments that made you react. Those reactions are your edit. Everything between them is connective tissue you can trim without mercy. Editors who skip this step end up polishing footage that never belonged in the video.
Cut on Motion, Not on the Beat
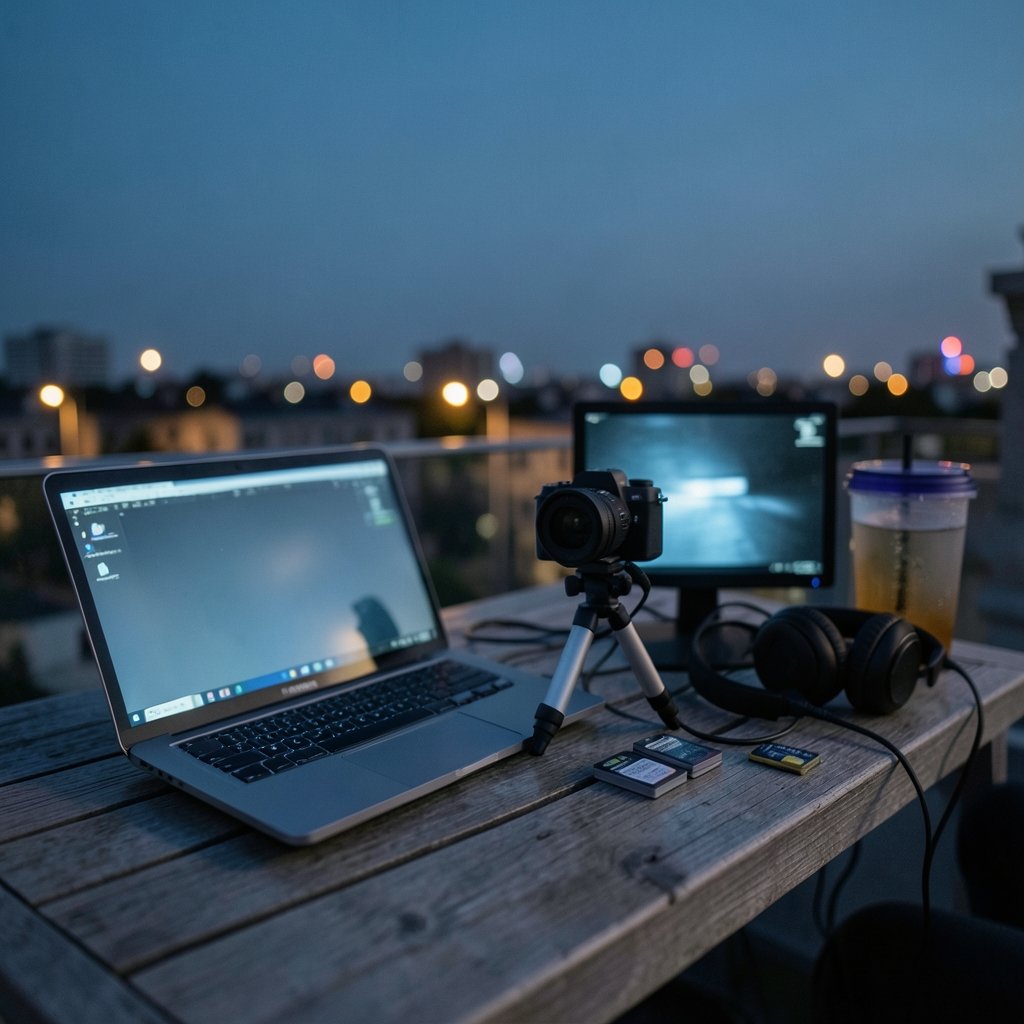
New editors often cut exactly on the music beat because it feels satisfying in the timeline. On screen, it can look mechanical, especially when the shot is static. A more natural approach is to cut during camera movement or a subject’s gesture, so the change of image is masked by motion the eye is already tracking.
The same logic applies to dialogue. Cutting mid-sentence can work, but cutting on a natural pause, a breath, or a head turn hides the edit far better. If a cut feels visible, move it a few frames earlier or later and watch again. Small nudges fix most awkward transitions.
Respect the Invisible Lines of Continuity
Film grammar exists so viewers don’t have to think. Two conventions matter most for anyone shooting and cutting their own material.
The 180-degree rule says that two people in conversation, or a person and an object, should stay on the same side of an imaginary line between them. If you cross that line between shots, both characters appear to face the same direction, and viewers lose track of who is where. If you must cross, insert a neutral shot, like a close-up or a cutaway, to reset the viewer’s sense of space. The explanation of the 180-degree rule and how crossing the line disorients viewers is worth reading once before your next two-person shoot.
The 30-degree rule is its sibling: change the camera angle by at least 30 degrees between consecutive shots of the same subject. Cut between two angles that are too similar and you get a jarring jump, which reads as a mistake even when the content is fine.
Use J-Cuts and L-Cuts to Make Dialogue Flow
If your interviews or vlogs feel choppy, audio is usually the culprit. Two techniques fix this almost instantly.
In a J-cut, the audio of the next clip starts before its picture appears. The viewer hears the next speaker a beat before seeing them, which pulls attention forward. In an L-cut, the audio from the outgoing clip keeps playing over the next shot, letting a speaker finish a thought while the visuals move on. Both are standard practice in dialogue scenes, and the overview of J-cuts and L-cuts as audio-led transitions explains where each one works best.
The practical habit: build your audio first, then lay picture over it. Editors who cut picture first and patch audio later spend twice as long fixing overlaps.
Judge the Rough Cut After a Night’s Sleep
Nothing improves an edit faster than distance. Export the rough cut, watch it once on a phone, and then leave it alone until the next day. Problems that were invisible at midnight are obvious by morning: a shot that lingers two seconds too long, a music cue that fights the narration, an opening that takes too long to get to the point.
Watching on a phone matters too. Most viewers will see your video on a small screen, often with sound off. If the story only works on a large monitor with headphones, it doesn’t work yet. Tools like the best AI video editing tools for content creators can speed up rough cuts and captions, but they can’t replace that review pass.
Match Your Frame Rate and Shutter Speed
Motion that looks “wrong” is often a settings problem, not an editing one. The classic convention is the 180-degree shutter rule: set shutter speed at roughly double your frame rate, so 24 fps gets about 1/48 second and 30 fps gets about 1/60 second. That produces natural motion blur. A much faster shutter gives you crisp, staccato movement that looks like a sports highlight even in a quiet scene.
For a plain-language explanation of how shutter speed and shutter angle interact with frame rate, the guide to shutter speed and motion blur in video covers the basics. Get this right in camera and you’ll spend far less time trying to fix motion in the timeline.
Keep Titles Inside the Safe Area
Text that sits comfortably in your editor’s preview can get clipped on a TV or hidden behind an app’s interface. Broadcasters historically kept titles inside a title-safe area of roughly 80 percent of the frame, with important action inside action-safe at about 90 percent. Those percentages vary by era and by platform, so treat them as a starting convention rather than a fixed rule. The overview of title-safe and action-safe areas) explains why overscanning existed and what replaced it.
A quick habit that works everywhere: keep all text at least a thumb’s width from every edge, and check the final export on a phone in both orientations before publishing.
Understand Containers and Codecs Before You Export
Two words get used interchangeably and shouldn’t be. A container (MP4, MOV, MKV) is the box that holds video, audio, and metadata. A codec (H.264, H.265, ProRes, AV1) is how each stream is compressed inside that box. The comparison of video container formats shows which containers support which codecs, which matters when a client or platform rejects your file.
H.264, standardised jointly by ITU-T and ISO/IEC and first published in 2003, remains one of the most widely supported delivery codecs. If a platform accepts only one format, it’s usually this one. For editing, many workflows convert long-GOP delivery files into an intermediate codec so scrubbing stays smooth. If you’re choosing software for that workflow, the roundup of video editing software that beginners can actually learn is a reasonable starting point, and the broader guide to the best video editing software covers how the options differ on export controls. (Video editing)
| Job | Sensible choice | Why |
|---|---|---|
| Editing source footage | Intermediate codec | Smooth scrubbing, less strain on the machine |
| Uploading to platforms | H.264 in MP4 | Widest compatibility |
| Archiving a finished project | High-bitrate master | Room to re-export later |
| Sending a review link | Compressed preview | Fast uploads, small files |
Mix Audio to a Real Target, Not to Taste Alone
Audio is where amateur videos give themselves away fastest. Two habits fix most of it. First, keep dialogue peaks consistent between clips so viewers don’t reach for the volume. Second, leave headroom: peaks near the ceiling distort on phone speakers and streaming compression.
For delivery to broadcast or clients with formal specs, EBU R 128 sets loudness normalisation at a target of −23 LUFS with a true-peak limit of −1 dBTP, measured using the algorithm defined in ITU-R BS.1770. Even for social video, measuring loudness instead of guessing gives you consistent results across a series. A cheap pair of closed-back headphones and one reference track you know well will teach you more than any plugin preset.
Back Up Before You Delete Anything
The 3-2-1 rule is the simplest backup habit worth adopting: three copies of your footage, on two different types of media, with one copy off-site. Memory cards fail, drives get dropped, and project files corrupt at the worst moment. Copy footage to your working drive and a second drive before you format a card, and keep the project file itself in cloud storage so a dead laptop doesn’t erase a week of work.
Trim Ruthlessly, Then Trim Again
The single biggest difference between a video that holds attention and one that doesn’t is length. New editors protect their favorite shots. Experienced editors ask whether each shot earns its place. A useful test: watch the edit and pause whenever your attention drifts. Whatever was on screen at that moment is a candidate for removal or shortening.
Practical targets help. If a video is meant to be two minutes, cut it to 1:45 and see whether anything important is lost. Usually nothing is. The same instinct applies to intros: if the first ten seconds are a logo and a greeting, the viewer has already scrolled. Start on the most interesting frame you have.
Conclusion
Good editing rarely comes from a clever effect. It comes from a clear story, cuts that hide themselves, audio that stays consistent, and the discipline to remove anything that doesn’t serve the viewer. Get the continuity conventions right, respect the technical basics of frame rate and export formats, mix to a measurable target, and back up before you touch a card. Then do the hardest part: watch your own work the way a stranger would, and cut the parts you’re tempted to defend.
Frequently Asked Questions
How long should a video be before viewers lose interest?
There’s no universal number, but attention drops fastest in the first ten seconds and again whenever the pace stalls. A tight two-minute video outperforms a padded four-minute one almost every time. Set a target length, cut it by 15 percent, and check whether anything essential disappeared. It usually doesn’t.
What is the difference between a J-cut and an L-cut?
In a J-cut, the next clip’s audio arrives before its picture, pulling the viewer forward. In an L-cut, the previous clip’s audio continues over the new shot, letting a thought finish. Both smooth dialogue and are standard practice in narrative and interview editing.
Do I need expensive software to edit well?
No. Modern free and low-cost editors handle multi-track timelines, color correction, and standard exports. What separates good edits is decision-making, not the tool. Spend your budget on storage and backup first, then on software once you’ve hit a genuine limit.
Why does my video look choppy after export?
Usually it’s a mismatch between the project frame rate and the source footage, or a shutter speed that was too fast when shooting. Set your timeline to match your footage, keep shutter speed near double the frame rate, and export at the same frame rate you edited in.
What is title-safe area and do I still need it?
Title-safe is a margin, historically about 80 percent of the frame, where text was guaranteed to survive overscan on older TVs. Modern displays have reduced the problem, but apps, captions, and platform interfaces still cover screen edges. Keeping text away from the borders remains a sensible habit.
How do I stop my cuts from feeling obvious?
Cut on motion or natural pauses rather than strictly on the music beat, change your camera angle by at least 30 degrees between shots of the same subject, and use audio overlaps to bridge transitions. If a cut still feels visible, nudge it a few frames and rewatch.



