
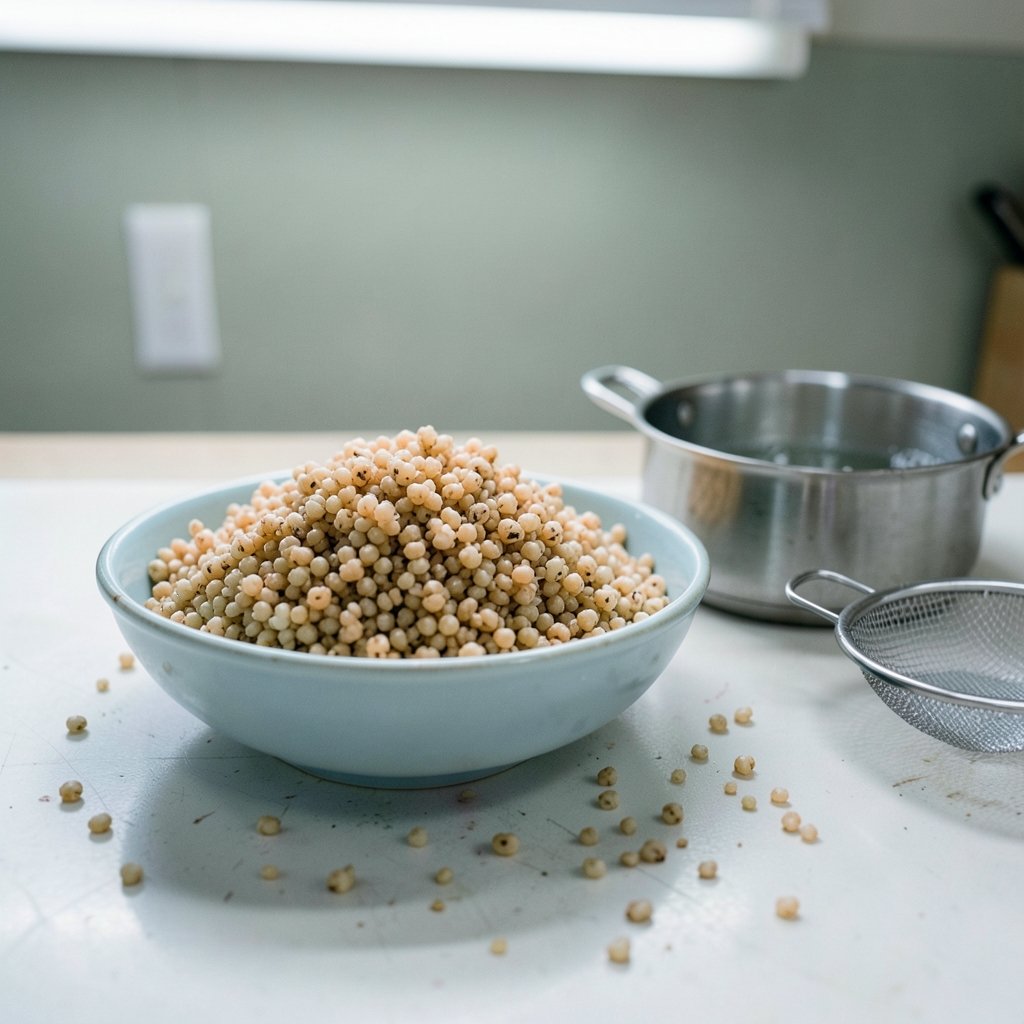
What if the grain that could rescue your weeknight dinners has been sitting on the shelf the whole time, hiding behind a name most shoppers can’t quite place? Farro looks like a chunky cousin of rice, cooks in a single pot, and has a nutty, satisfying chew that makes salads, soups, and bowls feel finished. Yet plenty of people buy a bag, take it home, and then stare at it, unsure whether to soak it, boil it, or treat it like pasta.
The good news: farro is forgiving. The trick is knowing which type you bought, because that single detail decides how long it cooks and how much water it needs. Get that right, and you have a grain that holds up in the fridge for days without turning to paste.
What Farro Actually Is (and Why the Label Matters)
Farro is an Italian word, and it doesn’t name one grain. It covers three hulled wheat species: emmer, einkorn, and spelt. In the United States, most farro sold is emmer, a wheat with deep roots in Mediterranean cooking, and the grain behind classic Italian dishes like minestra di farro, a hearty farro soup. If the species matters to you, it’s worth knowing that emmer is an ancient wheat with a long agricultural history.
Here’s the practical problem: most packages don’t name the species. They say “farro” and maybe “pearled” or “whole,” and that’s it. So the label you should actually read is the one about processing, not the one about the grain.
| Label on the bag | What it means | Soak? | Typical simmer time |
|---|---|---|---|
| Whole farro | Bran intact, longest cook, chewiest bite | Yes, several hours or overnight | 40 to 60 minutes |
| Semi-pearled farro | Some bran removed, no standard definition | Usually no | 25 to 40 minutes |
| Pearled farro | Most or all bran removed, fastest cook | No | 20 to 30 minutes |
Treat those times as a range, not a promise. Cooking times swing widely between brands because “semi-pearled” isn’t a regulated term, and older grain cooks slower than fresh grain. The only reliable doneness test is your teeth.
The Basic Stovetop Method That Works Every Time
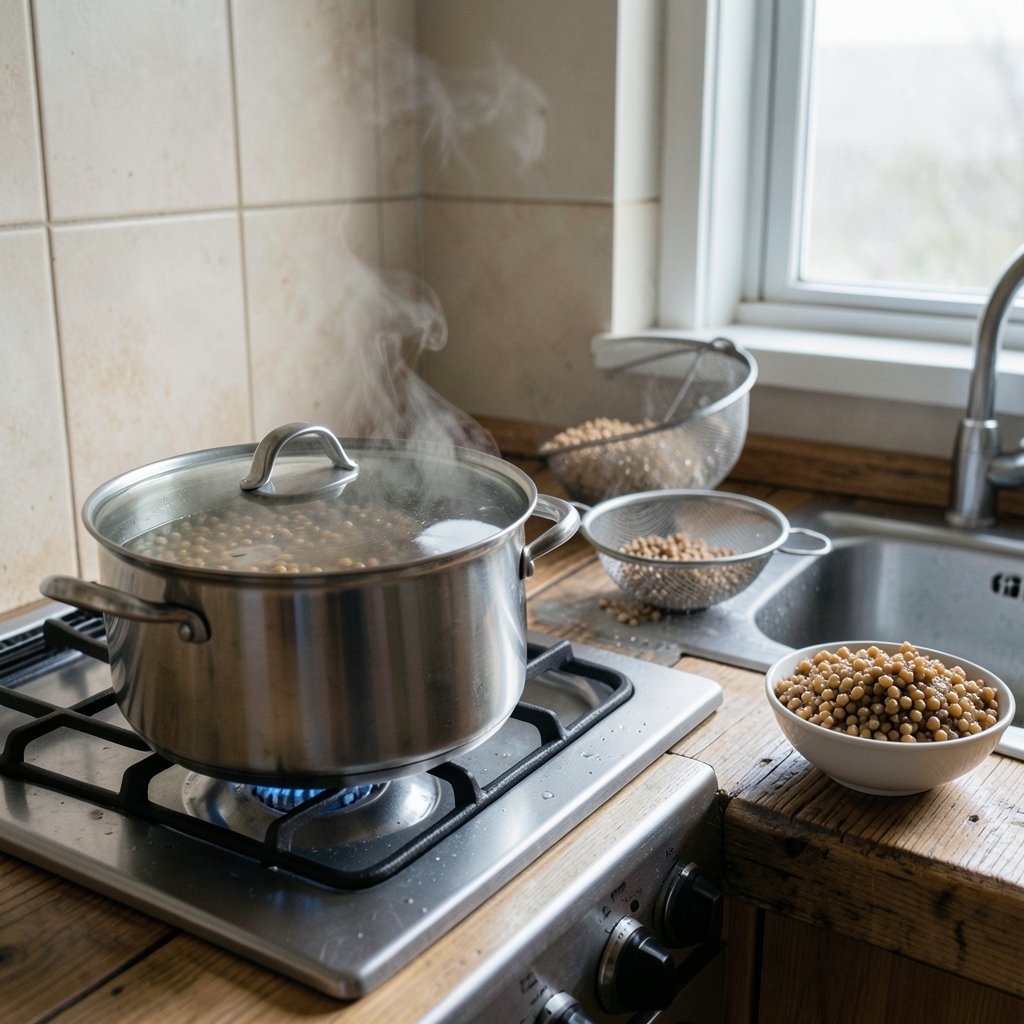
This is the method to learn first. It needs one pot, one colander, and about half an hour of attention.
- Measure. One cup of dry farro makes roughly three cups cooked, which feeds four as a side dish.
- Rinse. Run the grain under cool water in a fine-mesh strainer for about 30 seconds. This washes off surface starch and dust, and it keeps the cooking water from turning gluey.
- Boil salted water. Bring a large pot of generously salted water to a rolling boil. Use plenty of water, at least four to five cups per cup of farro. Think pasta, not rice.
- Add the farro and simmer. Drop the heat to a steady simmer. Don’t cover the pot completely; a lid set slightly ajar prevents boil-overs.
- Start tasting early. Begin checking at the 20-minute mark for pearled farro and 35 minutes for whole. You’re looking for tender grain with a clear, pleasant chew at the center. Slightly firm is better than soft, because farro keeps cooking as it cools.
- Drain and rest. Pour into a colander, let it drain for a minute, then spread it on a sheet pan or return it to the warm pot off the heat. Letting it steam-dry for five minutes keeps the grains separate instead of clumped.
This boil-and-drain approach is the most foolproof route for beginners because you can’t really overcook it by accident. If you wander off and the farro goes a few minutes long, you get softer grain, not ruined dinner.
The Absorption Method, and When to Choose It
The alternative is cooking farro like rice: a measured ratio, a covered pot, and no draining. A common starting point is 1 part farro to 2.5 or 3 parts water. Bring it to a boil, cover, drop to low, and cook until the liquid is absorbed and the grain is tender.
The absorption method has real advantages. The grain keeps more of its starch, so it tastes slightly creamier, which suits risotto-style dishes. You also don’t need a colander or a second pot. The catch is that the ratio is less forgiving, and because pearling levels vary, the same ratio can leave one brand soupy and another brand scorched.
If you like the absorption style, the same instincts that make rice work apply here. Cooking grains by absorption rewards paying attention to the pot rather than the clock, and the same logic behind cooking jasmine rice with reliable ratios and timing fixes transfers neatly to farro. Start with the lower end of the water range, then add a splash if the pot runs dry before the grain is tender. (Cook basmati rice so every grain stays separate)
Should You Soak Farro?
For whole farro, yes. A soak of several hours, often overnight, shortens the cooking time noticeably and evens out the texture so the outside doesn’t soften before the center does. Drain the soaking water and rinse before cooking.
For pearled and semi-pearled farro, soaking is optional. It won’t hurt, but the bran is already gone or partly gone, so the grain hydrates quickly on its own. If you’re cooking pearled farro on a weeknight, skip the soak and go straight to the pot.
One practical note: soaked whole farro cooks faster, so taste even earlier than you think you need to. A grain that would have taken 50 minutes dry might be ready in 35 after an overnight soak.
Common Mistakes That Turn Farro Mushy or Crunchy
Most farro disappointments come from a handful of fixable habits.
Cooking by the clock instead of by taste. Package times assume a specific species, pearling level, and freshness. Your bag is not that bag. Taste at intervals and pull the farro when it’s right for you.
Under-salting the water. Farro is a dense grain, and salt in the cooking water is the only chance to season it from the inside. If you drain the farro, you can’t fix blandness later with a sprinkle; the salt sits on the surface. Salt the water like you would for pasta.
Skipping the rinse. Surface starch makes grains stick together and turns the cooking water cloudy and thick. Thirty seconds under the tap solves it.
Crowding the pot. Farro needs room to move. A small pot with too little water produces uneven cooking, with some grains blown out and others still hard.
Draining too early or too late. Drain as soon as the grain is tender with a slight chew. Then let it rest and dry. If you leave it sitting in a colander over a full sink of hot water, it keeps steaming and softens further.
Assuming all bags behave the same. This is the big one. If you switch brands or move from pearled to whole, reset your expectations and taste early. The grain, not the label, tells you when it’s done.
How to Tell When Farro Is Done
Doneness in farro is a texture, not a time. Pinch a grain between your fingers: it should give with a little resistance, not squash instantly. Bite one: the center should be tender with no chalky crunch. If the center is still hard but the outside is soft, the grain is undercooked and needs more time, and possibly a splash more water if you’re using the absorption method.
For salads and grain bowls, cook farro slightly firmer than you would for soup. The dressing and the chill of the fridge will soften it further. For soups and stews, cook it a touch longer, or cook it separately and stir it in at the end so it doesn’t drink all the broth.
What Farro Brings to the Table
Cooked farro is a whole grain when you buy the whole or semi-pearled type, which means it delivers fiber, protein, and minerals such as magnesium and iron. Pearled farro loses some of that bran, so it’s lower in fiber, though it still counts as a grain with real nutritional value. Exact numbers vary by species and processing, so if you’re tracking nutrients closely, look up the specific product rather than relying on a generic figure. (Whole Grains 101: Whole Grains Council overview)
One thing farro does not bring: gluten-free status. Farro contains gluten, which rules it out for anyone with celiac disease or gluten sensitivity. If you’re cooking for a mixed table, keep farro in its own pot and its own serving bowl, and use separate utensils, because cross-contact is a real risk for people who react to even small amounts. (Farro: Wikipedia encyclopedia entry)
Ways to Use Cooked Farro
Farro is versatile enough to replace rice or barley in most dishes, and it brings a nutty flavor that plain rice can’t match.
- Grain salads. Toss cooled farro with roasted vegetables, herbs, lemon, and olive oil. It holds up for hours without wilting.
- Soups. Add a handful to vegetable or bean soup near the end, or cook it separately and stir it in per bowl so leftovers don’t turn thick.
- Risotto-style dishes. Use the absorption method with stock, finish with butter and cheese, and stir in mushrooms or squash.
- Bowls and stuffed vegetables. Swap it for rice under roasted chicken or inside peppers.
- Breakfast. Warm it with milk, cinnamon, and fruit for a chewier alternative to oatmeal.
If you enjoy branching out into other grains, the same principles of ratio, timing, and tasting for doneness apply to cooking barley with the right times and ratios, which behaves a lot like farro in soups and salads.
Storing Cooked Farro Safely
Cooked farro keeps in the refrigerator for several days when handled properly. The key is speed: spread it out to cool within about two hours of cooking, then refrigerate it promptly in a shallow container. Don’t leave a warm pot on the counter overnight.
For longer storage, farro freezes well. Portion it into bags or containers, press out the air, and freeze. It thaws quickly in the fridge or microwave, and the texture survives nicely, which makes it a strong candidate for batch cooking on a Sunday. Cook a big pot, freeze in meal-sized portions, and you have a grain ready for salads and bowls all week.
Conclusion
Cooking farro well comes down to one question and one habit. The question is which type you bought, because whole farro wants a soak and a longer simmer while pearled farro is ready in about half the time. The habit is tasting instead of trusting the clock, since species, processing, and freshness all shift the numbers on the bag.
Once you’ve cooked it a couple of times, farro stops being a mystery grain and becomes a default. It’s forgiving, it keeps well, it freezes beautifully, and it makes an ordinary bowl of vegetables feel like a real meal. Start with the boil-and-drain method, salt the water properly, and pull it while it still has some chew. That’s the whole secret.
Frequently Asked Questions
Do you have to soak farro before cooking?
Only whole farro really benefits from soaking. An overnight soak of several hours shortens the cooking time and helps the grain cook evenly. Pearled and semi-pearled farro hydrate fast on their own, so you can skip the soak entirely and still have dinner on the table in under half an hour.
How long does farro take to cook?
Expect roughly 20 to 30 minutes for pearled farro, 25 to 40 minutes for semi-pearled, and 40 to 60 minutes for whole farro. Those ranges are wide because the word farro covers three wheat species and several pearling levels, and older grain cooks slower. Taste early and often rather than relying on the package time.
Is farro gluten-free?
No. Farro is wheat, so it contains gluten and is not safe for people with celiac disease or gluten sensitivity. If you’re cooking for someone who avoids gluten, use a certified gluten-free grain instead and keep utensils and pots separate to avoid cross-contact.
What’s the difference between pearled and whole farro?
Whole farro keeps its bran layer, so it takes longer to cook, has more fiber, and delivers the chewiest bite. Pearled farro has most or all of the bran removed, which speeds up cooking and softens the texture but reduces the fiber. Semi-pearled sits in between, and the term isn’t standardized, so cooking times vary by brand.
Can you cook farro in a rice cooker?
Yes, and it works well with the absorption method. Use about 1 part farro to 2.5 parts water, add a pinch of salt, and run a standard white rice cycle. Pearled farro usually finishes in one cycle; whole farro may need a second short cycle or a 10-minute rest on the keep-warm setting. Check the texture before serving.
How long does cooked farro last in the fridge?
Cooked farro keeps for about three to five days in a sealed container in the refrigerator, as long as you cool it quickly and chill it promptly. For longer storage, freeze portioned amounts for up to a few months. Reheat with a splash of water so the grains loosen up again.



