Ever taken what looked like the perfect shot, then opened it later and found a bright white blob smeared across someone’s face or a window that turned into a glowing rectangle? Glare is one of the most frustrating photo problems on iPhone because it often looks fixable, yet the usual sliders barely make a dent. Here is the honest truth, plus a workflow that actually works: glare is mostly a capture-time problem, and the iPhone gives you a few solid tools to soften it after the fact. (Remove iphone calendar virus fixing calendar spam fast)
Why Glare Is So Hard to Fix After the Fact
Before touching a single slider, it helps to understand what glare actually is in a digital photo. Glare, or specular highlight, happens when light bounces off a shiny surface (glass, water, metal, skin oil, a glossy screen) and hits the camera sensor directly. If that reflection is bright enough, the sensor records pure white. The pixel value hits the ceiling and the detail underneath is gone.
This is called clipping, and it is the reason no editing app can “remove” severe glare. There is no hidden data to recover. A highlight slider can darken a bright area that still holds some color information, but it cannot invent detail that was never captured. That single fact explains why so many glare-removal apps disappoint people. (Remove background from picture iphone built app methods)
It also helps to separate two things people often call glare. Surface glare is light reflecting off your subject. Lens flare is a camera artifact, caused by internal reflections inside the lens, and it shows up as ghosting, haze, or colored streaks when a bright light source sits in or near the frame. The two problems need different fixes, and mixing them up wastes time.
The Built-In iPhone Tools and What They Really Do
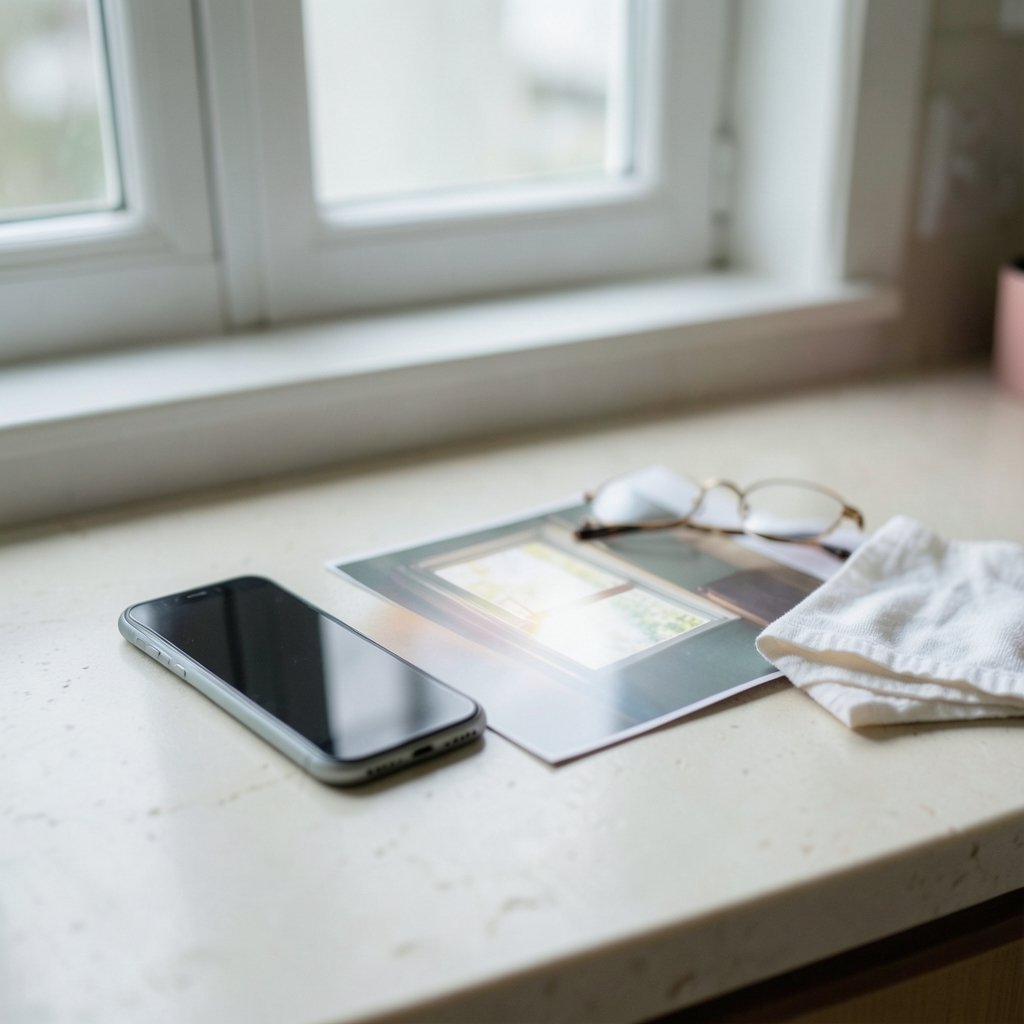
Apple’s Photos app has no dedicated “remove glare” button. What it does have is a set of adjustments that can rescue mild glare and make moderate glare less distracting. Open the photo, tap Edit, then tap Adjust.
| Tool | Best for | Limits |
|---|---|---|
| Highlights | Toning down bright specular areas | Cannot restore clipped white |
| Brilliance | Rebalancing bright and dark tones | Can look flat if pushed hard |
| Shadows | Lifting detail around the glare | Adds noise in dark areas |
| Exposure | Overall brightness control | Darkens the whole image |
| Retouch (iOS 18+) | Small blemishes and tiny reflections | Poor on large bright areas |
The Highlights slider is your first move. Pull it down and watch the brightest part of the image. If the glare area starts showing faint texture or color, you have something to work with. If it just turns from white to gray with no detail, the highlight is clipped and no amount of sliding will help. The official documentation for the built-in editor walks through each adjustment, and it is worth reading once so you know exactly what each slider touches.
Retouch, added in iOS 18, is handy for small distractions, like a tiny reflection on a pair of glasses or a small hot spot on a product. It is not built for glare and tends to smear on large bright patches. Use it surgically, not as a cure-all.
One practical tip from experience: edit a duplicate. Tap the photo, choose Duplicate, and experiment on the copy. Glare edits often go too far, and it is much easier to start fresh than to unwind a stack of aggressive adjustments.
Fix It at the Source: Shooting Techniques That Beat Any Editor
The most effective glare removal happens before you press the shutter. These habits cost nothing and outperform every app.
- Change your angle. Move a step left or right, or tilt the phone a few degrees. Reflections obey the law of reflection, so a small shift often moves the glare right off your subject.
- Shade the light source. Cup your hand above the lens, or step so your body blocks the sun or a lamp. This kills a lot of surface glare instantly.
- Get close to glass. Shooting through a window or display case? Press the lens almost against the glass. The closer you are, the less room there is for reflections to sneak in.
- Clean the lens. A smudged lens spreads light across the frame and creates a hazy wash that looks like glare. A quick wipe with a microfiber cloth is the cheapest fix in photography.
- Use a clip-on polarizer. A polarizing filter blocks light oscillating in one direction, which specifically reduces reflections from non-metallic surfaces like glass and water. The physics behind polarizing filters is well documented, and cheap clip-on versions exist for phones.
If you shoot a lot of products or windows, a polarizer is the single best investment you can make. It will not remove glare from metal, but for glass, water, and painted surfaces it is close to magic.
When HDR and ProRAW Give You More Room
Two capture settings change how much glare you can fix later.
HDR merges multiple exposures into one image, which can preserve more highlight detail in high-contrast scenes. It helps, but bright specular reflections still clip. Think of HDR as extra headroom, not a guarantee. The general principles of high dynamic range imaging explain why merged exposures help and where they stop helping.
ProRAW, available on Pro-model iPhones since the iPhone 12 Pro, records far more tonal data than a standard HEIC or JPEG. That extra data gives you more latitude to pull down highlights in editing before the image falls apart. It will not rescue a fully blown reflection, but it can save a borderline one. If you shoot in bright conditions regularly, turning on ProRAW for important shots is a smart habit.
A quick reality check: if you open the image in an editor with a histogram and see a tall spike pressed against the right edge, those highlights are clipped. That is your signal to stop fighting the edit and reshoot instead.
Third-Party Apps: What They Can and Cannot Do
Apps like Snapseed and Lightroom mobile offer more precise highlight and shadow control than the built-in editor, including selective adjustments that target only the bright area. That precision genuinely helps with mild to moderate glare. Some apps also include healing tools that work better than Retouch on medium-sized reflections.
What none of them can do is recover pure white pixels. Be skeptical of any app marketed as a “glare remover” that promises to erase reflections entirely. The honest ones are really highlight-recovery and healing tools with better controls. Test a free version before paying for anything.
A realistic hierarchy looks like this:
| Glare severity | Best approach |
|---|---|
| Mild (some detail visible) | Highlights slider, then Brilliance |
| Moderate (small hot spots) | Selective highlight edits in a third-party app |
| Severe (pure white, no texture) | Reshoot with a better angle or polarizer |
| Reflections on glass | Reshoot close to the glass with a polarizer |
Common Mistakes That Make Glare Worse
People tend to make the same errors when trying to fix glare, and each one costs quality.
- Cranking Highlights to the floor. This flattens the whole image and leaves a gray smudge where the glare was. Pull gradually and stop when detail appears.
- Overusing Retouch. Smearing a large bright area creates an obvious blurry patch that looks worse than the glare did.
- Adding contrast or clarity. These push highlights brighter and make glare more obvious, not less.
- Ignoring the histogram. If the highlights are clipped, editing is wasted effort.
- Forgetting the lens. A dirty lens mimics glare and confuses the diagnosis.
If you find yourself fighting the same photo for ten minutes, stop. That is the signal to reshoot. The best photographers treat glare as a shooting problem, not an editing one.
A Practical Workflow for Real Photos
When you cannot reshoot, here is the order that works best, from least destructive to most.
- Duplicate the photo so the original stays untouched.
- Open Edit, then Adjust, and lower Highlights in small steps.
- Add a touch of Shadows to balance the image.
- Nudge Brilliance down if the bright area still pulls the eye.
- Use Retouch only for small, specific reflections.
- Compare with the original before saving, and revert if it looks artificial.
For photos of people, be extra careful. Skin highlights are part of what makes a face look natural, and killing them entirely creates a plastic look. Aim for “less distracting,” not “gone.”
If your photo library is getting crowded with duplicate edits and experiments, it may be worth clearing space so you can shoot more freely. There are ways to free up storage on iPhone without deleting your favorite photos, which keeps room for the reshoots that actually solve glare problems.
Glare Versus Lens Flare: A Quick Diagnosis
If the bright artifact looks like a colored streak, a ghost image, or a general haze rather than a bright spot on a surface, you are probably dealing with lens flare. The causes and fixes are different, and the explanation of lens flare covers the optics in detail. In practice, flare is reduced by cleaning the lens, keeping the sun out of the frame, and shading the lens with your hand. Surface glare is reduced by changing your angle or adding a polarizer. Diagnosing correctly saves a lot of pointless slider work.
Conclusion
Removing glare from an iPhone photo is less about finding a magic button and more about understanding what glare is. Bright reflections clip the sensor, and clipped detail cannot be recovered. The built-in Highlights and Brilliance sliders can tame mild glare, third-party apps can refine moderate cases, and Retouch handles small hot spots. But the real wins come from capture: changing your angle, shading the light, getting close to glass, cleaning the lens, and using a polarizer when reflections matter. Shoot with glare in mind, and you will spend far less time trying to edit it out.
Frequently Asked Questions
Can the iPhone Photos app remove glare automatically?
No. There is no dedicated glare-removal feature in the Photos app. The Highlights and Brilliance sliders can reduce the visibility of bright areas, and Retouch can remove small reflections, but nothing removes glare automatically or restores clipped detail.
Why does lowering Highlights sometimes do nothing?
If the glare area is pure white, the pixel values are clipped. Lowering Highlights only darkens recorded data, and there is no data in a fully blown highlight. A gray patch with no texture is the telltale sign that the detail is gone for good.
Does a polarizing filter really help with glare on an iPhone?
Yes, for non-metallic surfaces. A polarizing filter blocks light oscillating in one direction, which reduces reflections from glass, water, and painted surfaces. Clip-on polarizers for phones are inexpensive and work well. They do not help much with metal reflections.
Is ProRAW worth using to prevent glare problems?
It can help in borderline cases. ProRAW captures more tonal data than a standard HEIC or JPEG, giving you more room to pull down highlights in editing. It cannot rescue a fully clipped reflection, but it adds flexibility for bright outdoor scenes.
What is the difference between glare and lens flare?
Glare is light reflecting off your subject and hitting the sensor. Lens flare is an internal camera artifact, appearing as streaks, ghosting, or haze when a bright light source is in or near the frame. Glare is fixed by angle and polarization; flare is fixed by shading the lens and keeping the sun out of frame.
Should I just reshoot instead of editing?
Often, yes. If the glare is large and pure white, a reshoot with a better angle takes less time than a doomed editing session. Treat editing as a rescue tool for mild cases, and treat capture technique as your main defense against glare.