

Ever spent months nurturing a batch of homemade wine, only to watch it oxidize because the cork went in crooked? It happens more often than most home winemakers admit. Corking looks like the simplest step in the whole process — push a plug into a hole — but it is also the last chance to protect everything you have made. Get it right and your wine ages quietly for years. Get it wrong and you introduce leaks, off-flavors, or a bottle that refuses to open without a fight.
This guide covers the practical mechanics: choosing the right cork, setting up your equipment, sanitizing properly, driving the cork to the correct depth, and storing bottles so the seal holds. It also flags the mistakes that trip people up most often and the points where home-winemaking advice genuinely splits.
Why Cork Still Dominates Wine Closures
Cork is the bark of the cork oak, Quercus suber, and it is harvested without felling the tree roughly every nine years. That renewable cycle is one reason it has stayed popular. The other is physics: cork is made of air-filled, elastic cells that compress under pressure and then push back outward against the glass, holding a tight seal for years. (Cork nbp fibre kanturk 3890 premises 2026)
Natural cork and its engineered cousins still account for roughly 60–70% of the global wine closure market, with screwcaps and synthetic stoppers filling out the rest. That share shifts depending on the source and the year, so treat it as an approximate picture rather than a fixed number. What matters for a home winemaker is simpler: cork works, it is widely available in small quantities, and it suits the tools most hobbyists already own.
Cork also has a well-known weakness. Cork taint — caused mainly by the compound 2,4,6-trichloroanisole, or TCA — gives wine a musty, damp-cardboard smell. Detection thresholds are usually cited in the low nanograms-per-litre range, which tells you how little it takes to ruin a bottle. Modern cork suppliers grade and screen for TCA far better than they did decades ago, but the risk has not vanished, and it is the main reason some winemakers switch to screwcaps or synthetics.
Choosing the Right Cork for Your Wine
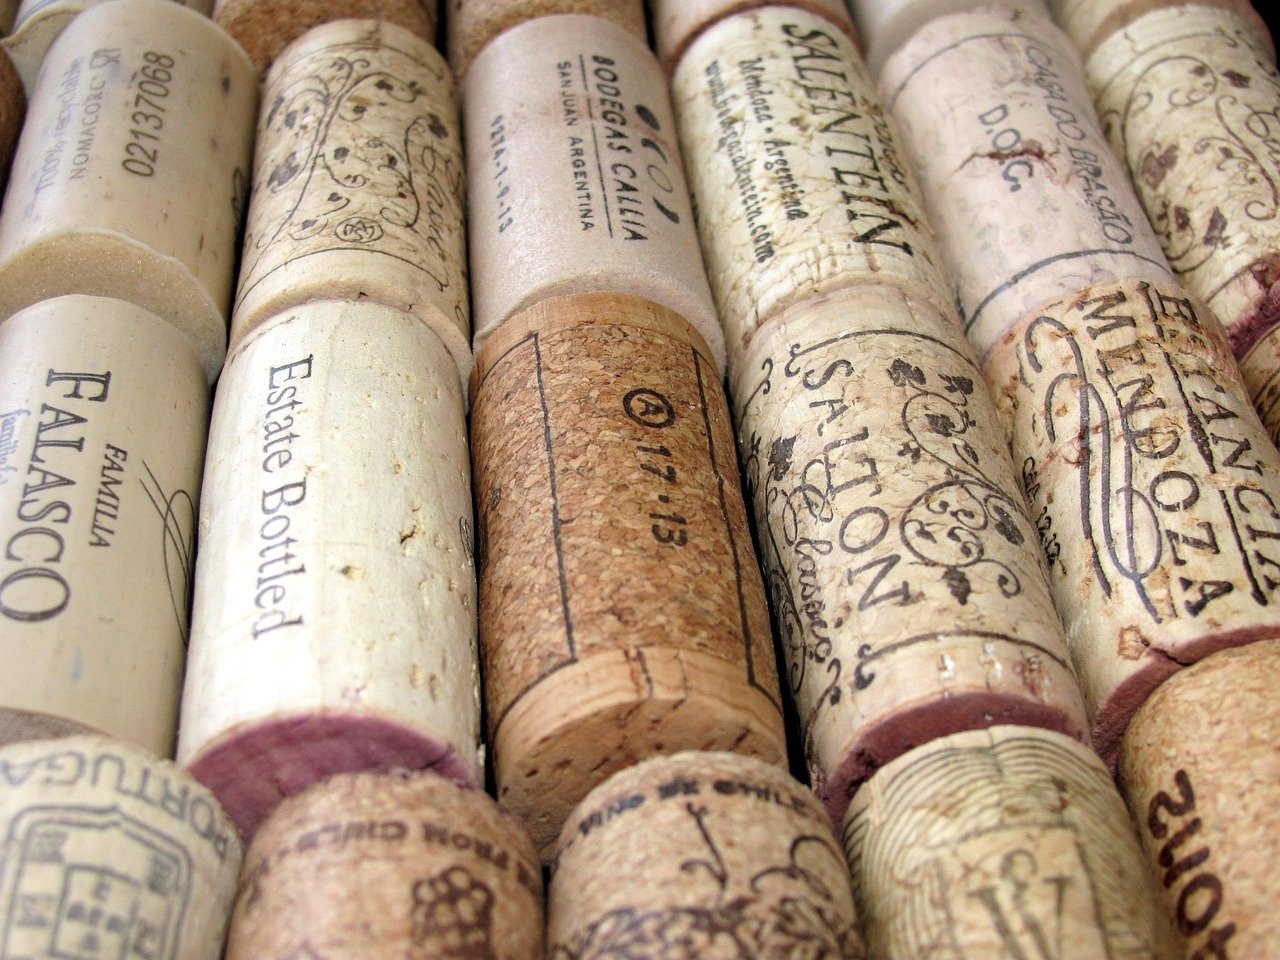
Not all corks behave the same way, and the choice depends on how long you plan to age the wine and how much you want to spend.
| Cork type | Best for | Trade-offs |
|---|---|---|
| Natural cork | Long aging, premium batches | Most expensive; highest variability; some taint risk |
| Agglomerated cork | Early-drinking wines, budget batches | Cheaper and more consistent; less elastic over long aging |
| Technical cork | Mid-term aging | Consistent performance; moderate cost |
| Synthetic cork | Wines where taint is a worry | No TCA risk; can be hard to reinsert and varies in extraction feel |
For a first or second batch, agglomerated or technical corks are a sensible middle ground: consistent enough to seal reliably, cheap enough that a ruined bottle is not a disaster. Save natural corks for a wine you actually intend to lay down.
Size matters as much as material. Still-wine bottles in the standard 750 ml format typically take a cork around 24 mm in diameter and 44 mm long, seated into a neck bore of roughly 18.5 mm. That means the cork is squeezed to about 75–80% of its diameter on the way in. Buy corks sized for your bottles rather than forcing whatever is on hand — an undersized cork leaks, and an oversized one can crack the neck. Exact tolerances vary between standards, so if you are buying in bulk, confirm the dimensions with your supplier.
Getting Your Equipment and Workspace Ready
Three corking setups cover almost every home winemaker:
- Hand corkers. A lever or hammer-type tool that seats the cork with manual force. Cheapest option, fine for a few bottles, tiring and inconsistent for a full batch.
- Floor-standing lever corkers. The sweet spot for most hobbyists. A lever compresses the cork and drives it to a set depth with far more consistency than a hand tool.
- Professional floor corkers and automatic lines. What commercial operations use. Overkill at home, but worth knowing they exist if you scale up.
Whichever you use, test it on an empty bottle before the real thing. A dry run shows you exactly where the plunger stops and whether the cork goes in straight. It takes thirty seconds and saves a bottle of wine.
Set up on a stable surface at a comfortable height, with bottles lined up in filling order and corks within easy reach. Corking is a two-hand job, and fumbling for supplies mid-insertion is how corks go in at an angle.
Sanitizing Bottles and Corks the Right Way
Clean equipment is not optional. Wash and sanitize bottles before filling, and treat corks as well: home winemaking guides commonly recommend sanitizing them in a sulphite mix immediately before corking.
The mistake almost everyone makes at least once is soaking corks. A quick dip or brief rinse in sulphite mix is one thing; leaving corks to wallow in liquid is another. Over-wetting softens the cork, and damp corks sitting against the wine are a good way to encourage mould. Sanitize, shake off the excess, and cork promptly.
The same principle applies to the bottles. Residual sanitizer or water left in the neck dilutes the wine at the surface and gives microbes a head start. Drain bottles thoroughly and let them air before filling.
Step by Step: Corking a Bottle Properly
Here is the sequence that works, whether you are using a hand tool or a floor corker.
- Fill to the right level. Leave the headspace the recipe calls for — usually a small gap below the cork. Overfilled bottles push wine out as the cork goes in; underfilled ones leave too much oxygen.
- Sanitize the cork. A brief dip in sulphite mix, then shake off the excess. Do not soak.
- Load the cork into the compressor. Most floor corkers have a jaws mechanism that squeezes the cork down as the lever is pulled. Make sure it sits square.
- Center the bottle. Line the neck up directly under the plunger. Off-center bottles are the number one cause of crooked corks.
- Drive the cork in one smooth motion. Steady pressure beats a sudden shove. Hesitating halfway leaves the cork partway in and harder to seat.
- Check the depth. The top of the cork should sit roughly flush with, or slightly below, the bottle lip. Too deep and the cork is hard to remove; too shallow and you risk leakage.
- Wipe the neck and inspect. Look for cracks, a tilted cork, or wine seeping past the seal. A bad cork is much easier to fix now than in six months.
If you are corking a large batch, work in a rhythm but do not rush. Consistency comes from repeating the same motion, not from speed. And if a cork goes in crooked, pull it, discard it, and start with a fresh one. Reusing a compressed cork rarely seals well.
Common Mistakes and How to Avoid Them
Most corking failures trace back to a handful of habits.
Skipping the dry run. Every corker seats corks at a slightly different depth. One test bottle tells you where yours lands before you commit a whole batch.
Buying corks without checking size. Corks come in different diameters and lengths. Match them to your bottle necks rather than assuming one size fits everything.
Over-wetting corks. As above, a dip is enough. Soaking is a classic beginner error that shows up months later as mould or off-flavors.
Corking wine that is not ready. Wine that has not finished fermenting or has not been properly stabilized will keep working in the bottle, building pressure and pushing corks out. Confirm fermentation is complete before bottling.
Storing bottles standing up indefinitely. More on this below, but the short version is that a dry cork can shrink and lose its seal.
Ignoring the room. Corking in a cold garage makes corks stiffer and less cooperative. Room temperature is kinder to both cork and winemaker.
Storage and Aging After Corking
What happens after the cork goes in matters as much as the insertion itself. Commercial practice often stands bottles upright for a short period after corking, then lays them down. Home guides are less consistent — some say upright for a few days, others go straight to horizontal storage. This is genuinely contested advice, so treat it as a judgment call rather than a rule.
The reasoning behind laying bottles down is that wine keeps the cork moist, and a moist cork stays swollen and sealing. A cork that dries out over years of upright storage can shrink and let air in. For anything you plan to age beyond a few months, horizontal storage in a cool, dark, stable place is the safer bet.
Temperature swings are the quiet enemy. A steady cool space beats a warm one that fluctuates. And if you are tracking down performance problems elsewhere in your setup — a slow machine, a stuttering workflow — the same diagnostic instinct applies: find the real bottleneck before changing everything at once, whether that means fixing the actual bottleneck on a MacBook or balancing a CPU and GPU so frames stay smooth.
When Cork Goes Wrong: Taint and Other Failures
Even a perfectly inserted cork can fail. TCA taint is the most famous problem, producing that musty, damp-cardboard character. It comes from the cork itself, not from your winemaking, which is why suppliers now screen heavily for it.
Other failures are mechanical. A cork that was slightly too dry, slightly too small, or slightly damaged can leak, and a leaking bottle oxidizes. A cork inserted at an angle can let air past one side. A bottle stored in a warm spot can push its cork out entirely.
The practical defense is inspection at every stage: look at each cork before it goes in, check each bottle after corking, and check again before you open anything you have aged. If you are running several batches and want to compare approaches, the same principle that applies to choosing between compatibility layers like Heroic, Lutris, and Bottles applies here — understand the workflow differences before committing, rather than switching methods mid-batch and losing track of what changed.
Conclusion
Corking a wine bottle is a small skill with an outsized effect on everything that comes after. The recipe is not complicated: pick corks that match your bottles and your aging plans, sanitize without soaking, center the bottle, drive the cork in one steady motion, and store the finished bottles on their sides in a cool, dark place. Do those things and the cork does its quiet job for years.
The mistakes are equally simple to avoid — the dry run you skip, the corks you soak, the size you assume. None of them are hard to fix, and all of them are much easier to fix before the wine goes in. Whether you are corking your first batch or your fiftieth, the same discipline applies: slow down at the last step, because it is the one that protects everything before it.
FAQ
How deep should a wine cork go into the bottle?
The top of the cork should sit roughly flush with, or just slightly below, the bottle lip. Driving it too deep makes the cork difficult to remove later, while leaving it too shallow risks leakage and a poor seal. Run a test bottle through your corker first to see exactly where your tool seats a cork. (Cpu gpu bottleneck fix balance your pc smooth frames)
Can I reuse a cork from a commercial bottle?
It is not recommended. Once a cork has been compressed and removed, it does not re-expand reliably, and the seal will be weaker. Corks are also cheap relative to the wine you are protecting, so use a fresh one every time.
Do I need to sanitize corks before corking?
Yes, home winemaking guides commonly recommend a brief dip in sulphite mix right before corking. The key word is brief. Soaking corks for a long period softens them and can encourage mould, so dip, shake off the excess, and cork promptly.
What causes corked wine?
Corked wine is usually caused by 2,4,6-trichloroanisole, known as TCA, which gives the wine a musty, damp-cardboard smell. Detection thresholds are commonly cited in the low nanograms-per-litre range. Modern cork suppliers screen for TCA far more thoroughly than in the past, but the risk has not been eliminated entirely.
Should bottles be stored upright or on their side after corking?
Commercial practice often stands bottles upright briefly after corking and then lays them down, while home guides vary. For wine you plan to age, horizontal storage is generally safer because it keeps the cork moist and swollen. A cork that dries out over years of upright storage can shrink and let air in.
How long does wine last in a corked bottle?
It depends on the wine, the cork type, and the storage conditions. Natural corks suit long aging best, while agglomerated and technical corks are better for wines meant to be drunk within a year or two. Cool, dark, stable storage with bottles on their side gives any cork the best chance of holding its seal.



