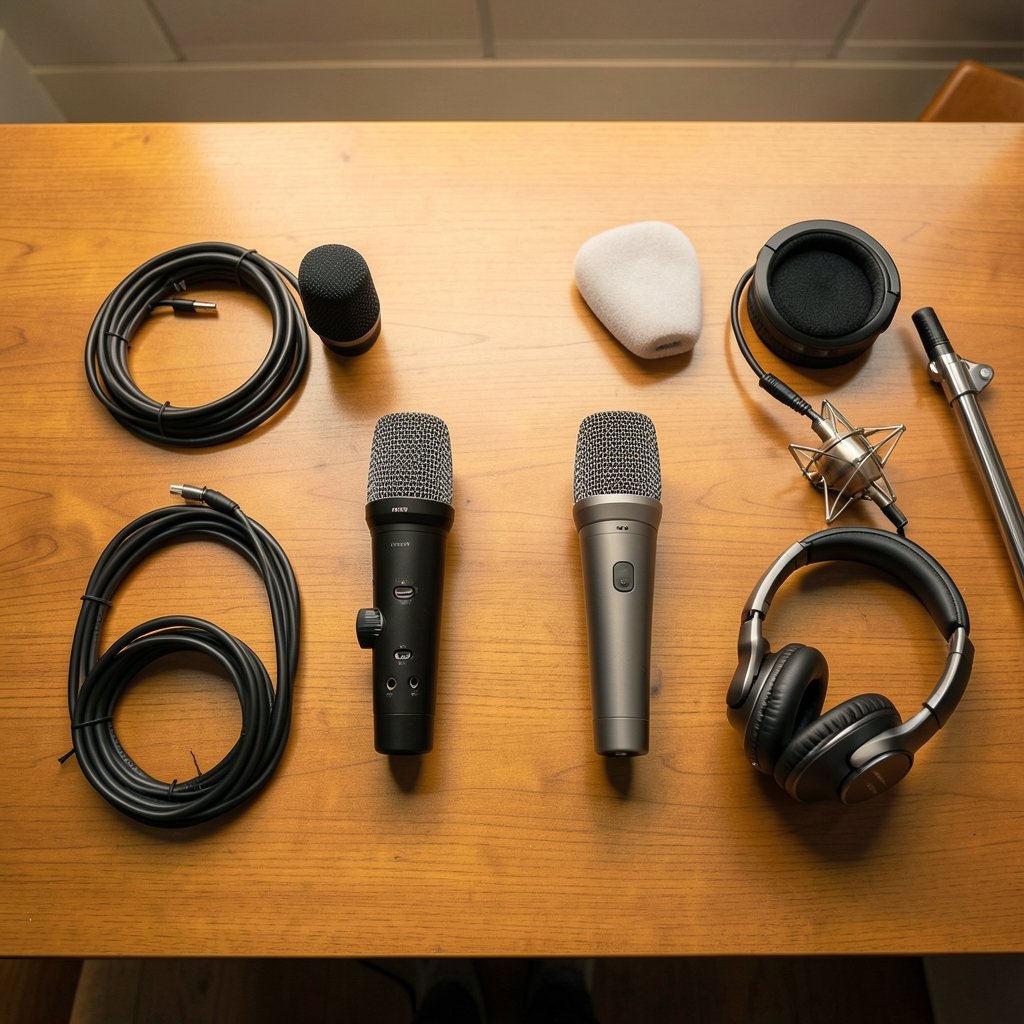
Quick Answer: What are the best streaming microphones for new streamers?
The best streaming microphones for new streamers are USB models like the Blue Yeti, HyperX QuadCast, Elgato Wave:3, and Rode NT-USB Mini, because they plug straight into a computer with no extra gear. Budget-minded beginners can also look at the Samson Q2U, a hybrid that works over both USB and XLR. Dynamic mics such as the Shure SM7B and Rode PodMic reject room noise better than sensitive condensers, but the SM7B is XLR-only and needs extra gain.
Before buying, compare connection type, capsule type, polar pattern, sampling rate and bit depth, included accessories, and how noisy the room is.
Why do so many new streamers buy a microphone, plug it in, and immediately sound worse than they did on their headset? It happens constantly. The mic is rarely the problem. The mismatch between the mic’s design and the room it sits in is usually the culprit. A sensitive condenser in an echoey bedroom picks up the fridge, the keyboard, and the neighbor’s dog with equal enthusiasm.
This guide cuts through the spec sheets. It covers what genuinely matters for a first streaming mic, which models make sense at different budgets, and the mistakes that make even good microphones sound bad.
Start With the Connection, Not the Brand
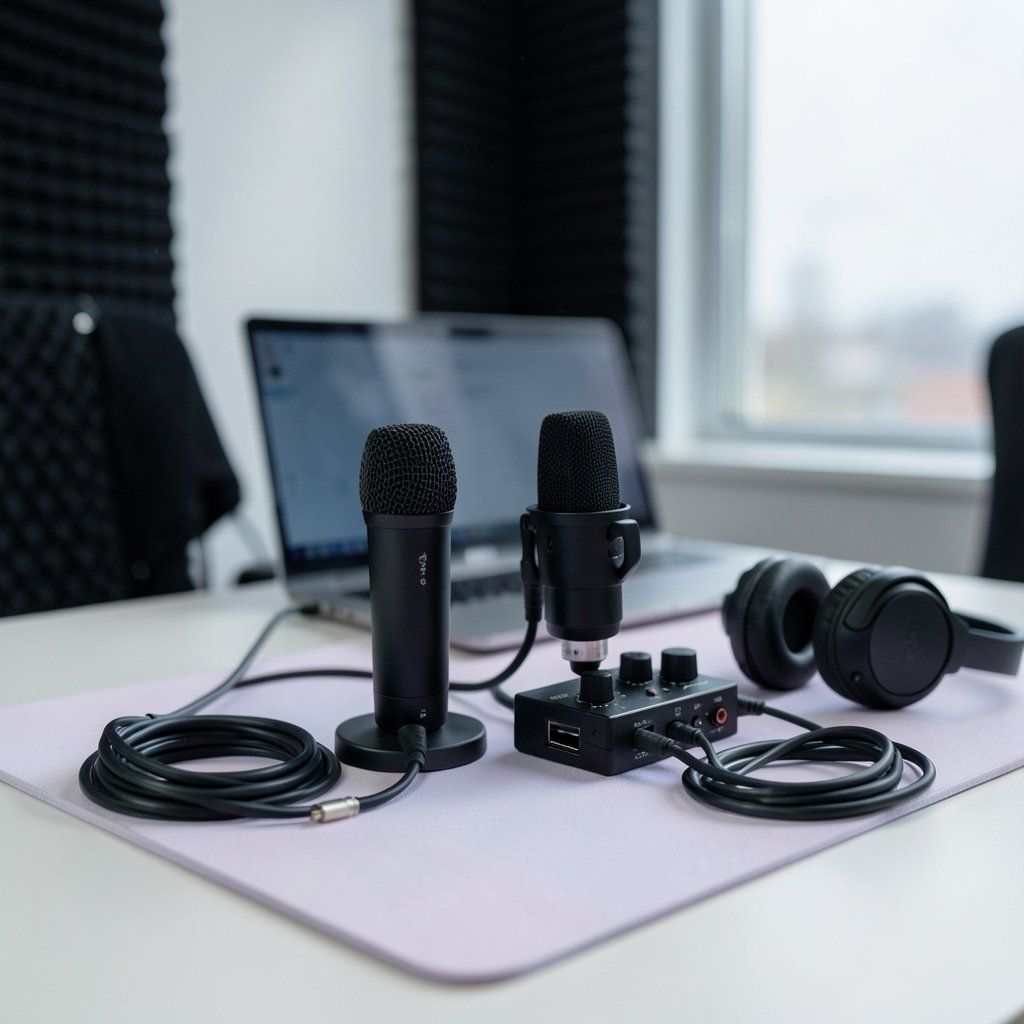
The first fork in the road is USB versus XLR, and it decides everything downstream.
A USB microphone has the audio interface built in. One cable goes to the computer, and the operating system recognizes it as an input device. No mixer, no preamp, no gain-staging headaches. For someone setting up a first stream, this is the lower-friction path by a wide margin.
An XLR microphone outputs analog audio and needs an audio interface or mixer to convert it to digital. That adds cost and complexity, plus one more thing to troubleshoot when audio drops mid-stream. The upside is a modular upgrade path. If you later want a second mic, a mixer, or a better preamp, XLR gear grows with you.
Here is the practical split most beginners face:
| Factor | USB microphone | XLR microphone |
|---|---|---|
| Setup | One cable, plug and play | Mic plus interface plus cables |
| Upfront cost | Lower | Higher |
| Upgrade path | Limited | Flexible |
| Noise floor control | Fixed by the mic | Tunable via interface gain |
| Best for | First stream, solo creator | Multi-mic setups, long-term builds |
The honest advice: start with USB unless you already own an interface. There is no shame in it, and plenty of full-time streamers still run USB mics years in.
Condenser or Dynamic? This Choice Changes How You Sound
The second big decision is the capsule type, and it matters more than most buying guides admit.
Condenser microphones are more sensitive. They capture detail and brightness, which flatters a quiet, treated room. In an untreated room, that same sensitivity captures every reflection off bare walls. Large-diaphragm condensers are the classic studio vocal choice, but a studio is not a bedroom with a hard floor.
Dynamic microphones are less sensitive by design. They reject background noise better, which is exactly why broadcasters have used them for decades. A dynamic mic close to your mouth sounds full and present while ignoring much of the room behind you. The tradeoff is that dynamics usually need more gain, and low-output models can push a cheap interface to its noisy limit.
For streamers without acoustic treatment, a dynamic mic is often the smarter first purchase. That is not a universal rule, but it is the pattern that plays out again and again in real rooms.
Polar pattern matters here too. Cardioid patterns pick up sound mainly from the front and reject the sides and rear, which is what a solo streamer wants. Omnidirectional and stereo patterns have their uses, but they are not your friend in a shared apartment.
The Shortlist: Microphones Worth Considering
These models come up repeatedly in beginner conversations for good reason. Availability and pricing shift constantly, so verify current specs with the manufacturer before buying.
Blue Yeti
The Blue Yeti is the default first mic for a generation of creators. It offers multiple polar patterns, a headphone jack for zero-latency monitoring, and a sturdy desk stand in the box. It is a condenser, so it hears the room. It also has a reputation for picking up keyboard clatter, which is worth knowing if you stream games with a mechanical keyboard.
HyperX QuadCast
The QuadCast is built for streamers specifically. It includes a shock mount and pop filter, has a tap-to-mute touch sensor on top, and offers multiple pickup patterns. The built-in shock mount genuinely helps with desk bumps, a problem most beginners underestimate until their first rage-quit desk slam.
Elgato Wave:3
The Wave:3 pairs a cardioid condenser capsule with software that handles mixing and routing. The clipguard feature reduces distortion if you get loud. It suits streamers who want their audio routing handled without learning a full mixer.
Rode NT-USB Mini
Compact, simple, and cardioid-only. The NT-USB Mini strips away pattern switches and extra controls in favor of doing one job well. It is a strong pick for someone who wants to plug in, set a level, and forget about it.
Samson Q2U
The budget champion. The Q2U is a dynamic mic that works over both USB and XLR, which makes it a rare bridge between the two worlds. It comes with a stand and cables. It will not sound like a studio condenser, but it will sound clean and reject room noise better than most cheap USB condensers.
Shure SM7B and Rode PodMic
These are the broadcast-style dynamics people see on professional streams. The SM7B is a widely cited reference mic for spoken word, and it is XLR-only with low output, often requiring a cloudlifter or a high-gain interface. The PodMic is a more affordable XLR dynamic with a similar vibe. Both are excellent and both are probably overkill for week one.
If you are also planning to record voice content beyond streaming, the same tradeoffs apply to podcasting setups, and a guide to the best microphones for podcasting that actually sound good in a real room covers that overlap well.
The Accessories That Matter More Than the Mic
Here is the uncomfortable truth: a $100 mic on a boom arm will usually beat a $400 mic sitting on a desk.
Boom arms get the mic off the desk, close to your mouth, and out of the path of keyboard vibrations. This single upgrade changes more than swapping microphones does.
Pop filters tame plosives, the little bursts of air on P and B sounds that cause thumps. Foam windscreens help too. Many USB mics ship with a basic stand but no boom arm, which is why the arm is often the first real accessory purchase.
Shock mounts isolate the mic from handling noise and desk bumps. If your mic did not include one, and your desk takes abuse during games, consider it.
Room treatment does not have to mean foam panels. A rug, curtains, bookshelves, and a blanket behind you all reduce reflections. Even hanging a duvet on a wall behind the mic helps. This is the cheapest audio upgrade available and almost nobody does it first.
One more practical tip: set your sample rate and bit depth to 48 kHz and 24-bit if your software allows it. That combination is standard for video and streaming workflows and gives you headroom when processing audio later.
Common Mistakes That Ruin Good Microphones
Micing too far away. A mic two feet from your face picks up the whole room. Move it to a fist’s width and the ratio of voice to room noise flips in your favor.
Setting gain too high. Beginners crank input gain to make the waveform look big, then clip on loud moments. Aim for peaks around minus 12 to minus 6 dB and raise volume in software instead.
Ignoring monitoring. Hearing yourself through headphones while you stream catches problems in real time, from plosives to keyboard noise to a fan spinning up.
Skipping the mute button. A hardware mute is faster than software. The QuadCast’s tap-to-mute exists for a reason.
Buying for the flex. The SM7B looks great on camera. It also needs a cloudlifter and an interface, and it will not fix an echoey room. Buy for your room, not for someone else’s setup.
There is a parallel lesson in streaming software: the tool matters less than the configuration. That is true of OBS workflows across emulators, as this breakdown of Bluestacks vs GameLoop vs MEmu OBS streaming workflows shows, and it is equally true of microphones.
Matching the Mic to Your Streaming Setup
Different content types pull toward different microphones.
Game streamers benefit from dynamic mics or tight cardioid patterns, since keyboard and mouse noise sit right under the mic. A boom arm plus a dynamic capsule is the classic fix.
Just Chatting and talk-focused streamers can use condensers if the room is quiet, because the detail flatters close speech.
Music and variety streamers may want multiple patterns or XLR flexibility for instruments.
Podcast-style interview streams push toward XLR and an interface, since multiple mics need proper routing.
If your streaming extends to watching sports or events on a second screen, audio setup for that is a separate puzzle, and a guide to where to watch Dallas Cowboys vs New York Giants TV streaming covers the logistics side.
Testing Before You Commit
Most microphones can be returned within a window, so test properly during that period. Record a five-minute clip of normal streaming behavior: typing, mouse clicks, talking, laughing, a fan running. Listen back with headphones. If the room noise dominates, the mic is wrong for that room, not broken.
Compare two mics side by side if possible. The difference is usually obvious within thirty seconds, and it is almost never the difference the marketing promised.
Conclusion
The best streaming microphone for a new streamer is the one that matches their room, their budget, and their willingness to learn. For most people, that means a USB microphone with a cardioid pattern, mounted on a boom arm, positioned close to the mouth, in a room with at least some soft surfaces. The Blue Yeti, HyperX QuadCast, Elgato Wave:3, and Rode NT-USB Mini all fit that brief. The Samson Q2U is the budget pick with a genuine upgrade path. The Shure SM7B and Rode PodMic are excellent and can wait.
Spend less on the mic than you think you need to, and more on placement and room treatment than you planned. That combination produces better audio than any single purchase.
FAQ
Do I need an audio interface for a USB microphone?
No. A USB microphone has the interface built in, so it connects directly to a computer with a single cable. An interface is only required for XLR microphones, which output analog audio that needs converting to digital.
Is a dynamic microphone better than a condenser for streaming?
Not universally, but dynamics are often the better fit for untreated rooms. They are less sensitive, so they pick up less background noise and room reflection. Condensers capture more detail and suit quiet, treated spaces.
How far should a streaming microphone be from my mouth?
Roughly a fist’s width, about four to six inches, is a good starting point for most dynamic mics. Condensers can sit slightly farther back. The closer the mic, the better the ratio of your voice to room noise.
Why does my microphone pick up my keyboard?
Because the mic is on the desk, sharing a surface with the keyboard, and because sensitive capsules hear everything. A boom arm, a shock mount, and a tighter polar pattern all reduce it. Moving the mic closer to your mouth also lets you lower gain, which reduces keyboard pickup.
Can I use a gaming headset microphone instead of a dedicated mic?
Yes, and many new streamers do. A headset mic is convenient and keeps the mic close to your mouth. The tradeoff is usually thin sound quality and limited control. A dedicated USB mic is a noticeable step up when budget allows.
What sample rate and bit depth should I use for streaming?
48 kHz and 24-bit is the standard combination for video and streaming workflows. It matches common video standards and gives headroom for processing. Most consumer USB mics support it, though you should confirm in your software settings.