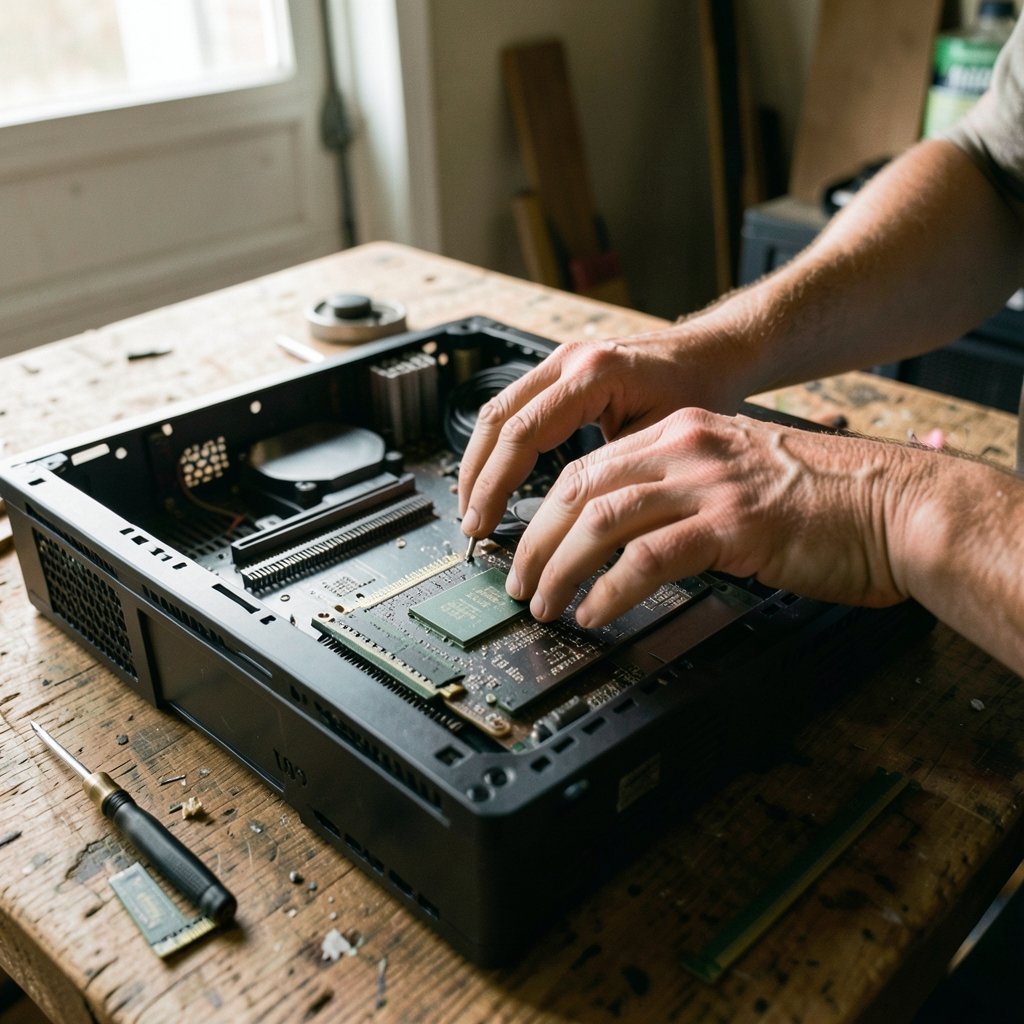
What if the biggest performance gain in your next PC build isn’t a faster CPU, but a memory profile you never turned on? That’s the odd reality of AMD’s EXPO technology in 2026. Plenty of builders buy fast DDR5 kits, boot them at default speeds, and leave a big chunk of performance sitting on the table. The “ULL” label (short for ultra-low-latency) makes this even more confusing, because it describes a class of tuned memory kits rather than an official AMD standard. This guide walks through what EXPO actually does, how low-latency kits differ, and the practical steps that get them running without crashes, boot loops, or corrupted Windows installs. (AMD EXPO)
What AMD EXPO Actually Does
EXPO stands for Extended Profiles for Overclocking. It’s AMD’s DDR5 memory profile standard, introduced with the AM5 platform and Ryzen 7000 series in 2022, and it works much like Intel’s XMP: the memory module stores a validated profile in its onboard SPD chip, containing frequency, primary timings, and voltage. Enable the profile in BIOS and the board applies those values automatically instead of running JEDEC baseline speeds.
The key word is validated. A kit sold with an EXPO profile has been tested by the vendor at those settings on a reference platform. That doesn’t guarantee your specific CPU sample and motherboard combination will cooperate, but it dramatically raises the odds compared with manually punching in timings from a forum post.
Two details trip people up. First, EXPO is a profile, not a promise. Second, the memory controller lives inside the CPU, so silicon quality varies. A kit that runs flawlessly on one Ryzen chip may need a small voltage nudge on another.
Why “ULL” Is a Marketing Label, Not a Standard
Here’s where honesty matters. ULL RAM is not a term AMD publishes in its EXPO documentation, and there’s no formal “ULL” certification. In practice, the label gets used by vendors and retailers to describe ultra-low-latency kits: DDR5 modules with tightened primary timings (think lower CL numbers at a given speed) rather than the highest possible frequency.
That distinction changes your tuning priorities:
| Kit Type | Typical Priority | What You Gain | What You Risk |
|---|---|---|---|
| High-frequency kit | Raw bandwidth (e.g., very high MT/s) | Throughput in large workloads | Looser timings, harder memory controller load |
| Ultra-low-latency kit | Tight timings at moderate speed | Lower access latency, snappier response | Needs careful voltage and stability tuning |
For gaming and general responsiveness, latency often matters more than the last few hundred MT/s. For rendering, compression, and large datasets, bandwidth tends to win. Knowing which camp your kit belongs to tells you what “success” looks like before you touch a single BIOS setting.
Before You Touch BIOS: The Prep Work
Skipping preparation is the single most common mistake. A failed memory training session can leave a system unable to boot, and if that happens mid-driver-update, you’re reinstalling Windows.
- Update the BIOS first. Memory compatibility on AM5 has improved substantially through AGESA firmware updates. Board vendors publish memory QVL lists that change with each BIOS release. Check your board’s support page and flash the latest stable version before enabling EXPO.
- Confirm your kit is on the QVL. If your exact part number appears on the vendor’s validated list, your odds improve considerably. If it doesn’t, proceed but expect to tune.
- Note your current BIOS settings. Photograph the screens or save a profile. You want a known-good fallback.
- Run a baseline test. Boot at JEDEC defaults, record temperatures and stability, then enable EXPO and compare. Without a baseline, you can’t tell whether a crash is new.
- Check cooler clearance. Tall low-latency kits with elaborate heat spreaders collide with big air coolers more often than people expect.
If you’re also configuring developer tooling on the same machine, it’s worth handling one change at a time. Mixing a memory profile change with a fresh editor or API setup makes troubleshooting miserable. The same discipline applies when you work through a VS Code extensions Cursor setup or a Mistral large 4 API configuration: isolate variables, verify each step, then move on. (Playfab multiplayer servers setup 2026)
Step-by-Step: Enabling EXPO on an AM5 Board
The menu names vary by vendor, but the flow is consistent.
- Enter BIOS (usually Delete or F2 during POST).
- Switch to advanced mode if the board boots into an easy-mode dashboard.
- Find the memory profile section. On most boards it’s labeled EXPO, DOCP, or A-XMP depending on the vendor’s naming.
- Select Profile 1. Most kits ship with one primary profile; some include a second, slower fallback profile.
- Leave memory frequency on Auto so the profile controls it.
- Save and exit. The board will retrain memory, which can take 30 seconds to several minutes on a first boot. Do not power off during training.
- Boot into the OS and confirm the speed in Task Manager or a utility like CPU-Z.
- Run a stability test before trusting the system with real work.
A practical tip from repeated builds: if the board fails training three times, it usually reverts to safe defaults automatically. Let it. Booting at JEDEC speeds and diagnosing calmly beats fighting a boot loop.
Tuning Voltages and Timings Without Going Too Far
Most users should stop after enabling the profile. But if you bought an ultra-low-latency kit and want it fully dialed in, a few adjustments matter.
SoC voltage feeds the memory controller. Higher values can stabilize faster or tighter memory, but pushing it too far stresses the CPU. Many community guides recommend staying conservative and testing thoroughly; the exact safe ceiling depends on your chip and cooling, so treat any number you read as a starting reference, not gospel.
VDDP and VDDIO voltages affect signal integrity between the CPU and DIMMs. Small bumps sometimes fix instability that appears only under load.
Primary timings (the CL, tRCD, tRP, tRAS quartet) are what the ULL label is really about. Tightening them beyond the profile is expert territory. Secondary and tertiary timings offer smaller gains for much more effort.
A balanced approach works best:
- Enable EXPO and test for a week before changing anything else.
- If stable, try a modest timing tightening on one parameter at a time.
- If unstable, raise the relevant voltage slightly or revert.
- Never change frequency, timings, and voltage simultaneously. You’ll have no idea what caused the failure.
This mirrors good practice elsewhere in PC tuning. Whether you’re adjusting emulator settings for a Pokemon pinball Ruby Sapphire mGBA rumble setup or working through the thirteen stages of a RetroArch cheats PC configuration, changing one variable at a time is what separates a working system from an afternoon of frustration.
Stability Testing: What Actually Counts
A machine that boots is not a stable machine. Memory errors often appear only under sustained load, and they can silently corrupt files rather than crash outright.
| Test | Duration | What It Catches |
|---|---|---|
| Short stress run | 10–15 minutes | Obvious instability, immediate errors |
| Extended stress run | 1–2 hours | Marginal timing issues |
| Overnight run | 6–8 hours | Rare errors, thermal drift |
| Real workload | Days | Practical stability under your actual apps |
Run at least one extended pass before trusting the system. If errors appear, drop the memory speed one step or loosen the tightest primary timing, then retest. Documenting each change saves hours later.
Common Mistakes and What Actually Works
Mistake one: assuming the kit will just work. EXPO profiles are validated, not guaranteed. Two identical kits on identical boards can behave differently because the CPU’s memory controller varies.
Mistake two: chasing maximum frequency. On AM5, extremely high DDR5 speeds can force the memory controller into a slower coupled mode, sometimes erasing the gains. A moderate speed with tight timings frequently outperforms a headline-grabbing number.
Mistake three: ignoring BIOS updates. Firmware updates regularly add memory compatibility fixes. A kit that failed to train six months ago may work perfectly after an update.
Mistake four: no baseline. Without a before-and-after comparison, you can’t prove the change helped. Benchmark something you actually use.
Mistake five: testing with the case closed and forgetting airflow. Memory sticks run warm, and low-latency kits with tight timings generate more heat. Verify temperatures under load, not at idle.
What works, consistently: update firmware, enable the profile, test for a week, then tune one variable at a time with documentation. It’s unglamorous and it beats every shortcut.
How Memory Fits Into the 2026 Build Picture
Memory pricing and platform choices have been unusually volatile, and buyers are watching component costs closely. If you’re weighing a CPU purchase alongside a memory kit, it helps to understand how launch timing affects prices. Coverage of the AMD Ryzen 5 5500F and 7500 launch and RAM price trends is useful context, as is analysis of the Intel and AMD stock slide tied to Nvidia’s N1X PC chip. Neither changes how EXPO works, but both shape whether a low-latency DDR5 kit is the right spend right now. (AMD Ryzen Desktop Processors)
The broader lesson: platform stability matters as much as raw specs. A well-tuned mid-range kit on a mature BIOS often delivers a smoother experience than an aggressive kit fighting an immature firmware release.
Conclusion
AMD EXPO in 2026 is a mature, genuinely useful feature, and enabling it remains one of the highest-value minutes you can spend in BIOS. The “ULL” part deserves skepticism as a marketing term, but the underlying idea, low-latency DDR5 tuned for responsiveness rather than headline frequency, is sound. Update your firmware, confirm your kit, enable the profile, and test properly before chasing manual timings. Do that, and your memory will quietly do its job instead of becoming the thing you troubleshoot every weekend.
FAQ
What does AMD EXPO stand for?
EXPO stands for Extended Profiles for Overclocking. It’s AMD’s DDR5 memory profile standard for the AM5 platform, introduced with Ryzen 7000 series processors in 2022. It stores validated frequency, timing, and voltage values in the memory module’s SPD chip, similar to Intel’s XMP.
Is ULL RAM an official AMD specification?

No. AMD does not publish a formal “ULL” standard in its EXPO documentation. The term is used informally by vendors and retailers to describe ultra-low-latency DDR5 kits with tightened primary timings. Treat it as a product description rather than a certification.
Does enabling EXPO void my warranty?
Enabling a vendor-provided memory profile is generally treated as supported configuration rather than extreme overclocking, since the profile is validated by the memory manufacturer. Warranty terms vary by vendor and region, so check your specific CPU, motherboard, and memory documentation before assuming coverage.
Why won’t my system boot after enabling EXPO?
The most common causes are an outdated BIOS, a kit that isn’t validated for your board, or a memory controller that can’t handle the profile at stock voltages. Most boards revert to safe defaults after repeated failed training attempts. Update the BIOS first, then try the profile again or drop to a lower speed.
How long should I stress test EXPO memory?
Run at least a one-to-two-hour stress test before daily use, and ideally an overnight pass. Memory errors often appear only under sustained load, and they can corrupt files silently rather than causing an obvious crash. Testing longer than feels necessary is the safer choice.
Should I pick a high-frequency kit or a low-latency kit?
For gaming and everyday responsiveness, tight timings at moderate speed usually feel better. For rendering, compression, and large datasets, higher bandwidth tends to win. On AM5, extremely high frequencies can push the memory controller into a slower mode, so a balanced kit with tight timings is often the smarter buy.