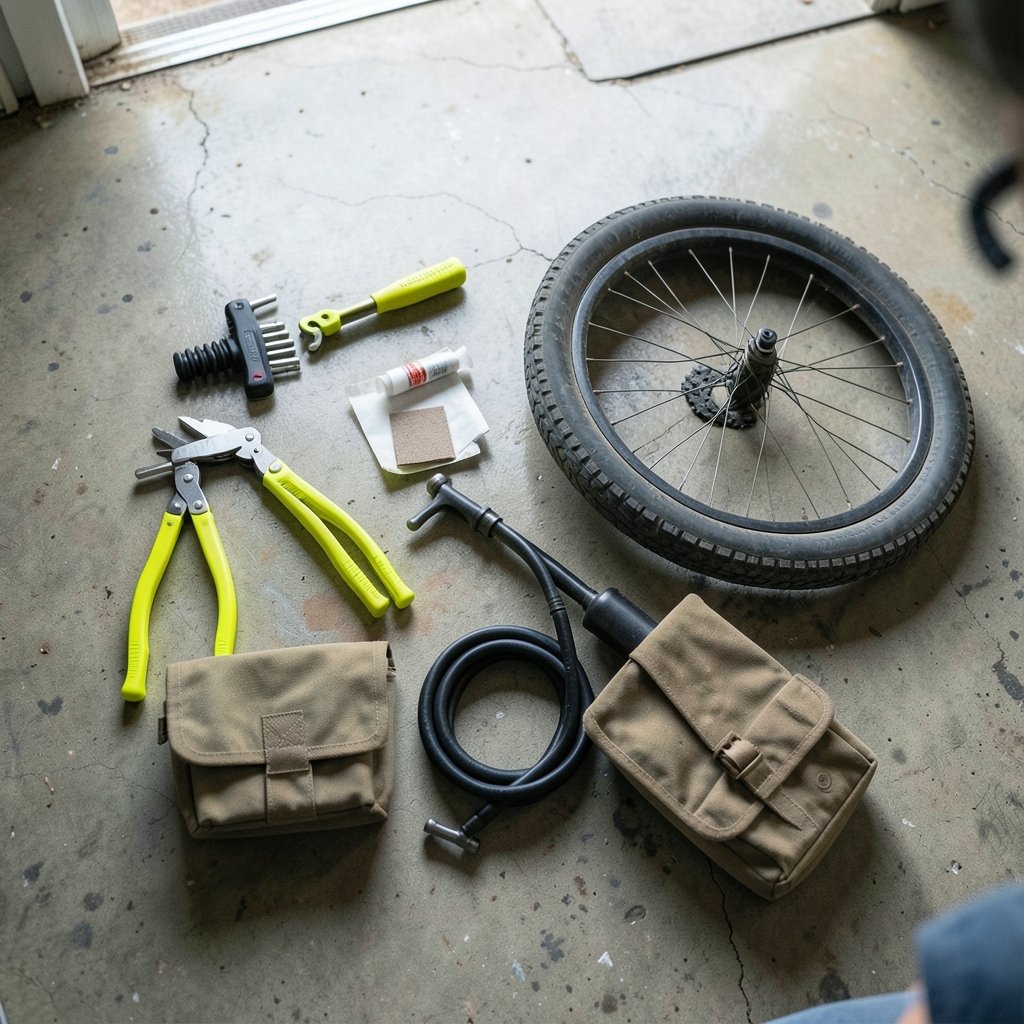
What is the one thing most new cyclists forget to budget for? Not a helmet, not lights, not even the bike itself, but the tools that keep it running. A flat tyre twenty kilometres from home, a rattling stem, a chain that drops on every bump: these are the moments when a small, well-chosen kit turns a ruined ride into a five-minute roadside fix. The problem is that the market for beginner kits is crowded and confusing, and a lot of what is sold as “complete” is anything but. This guide walks through what actually belongs in a first kit, which kits make sense for which riders, and the mistakes that catch beginners out again and again.
What a beginner bike repair kit should actually contain
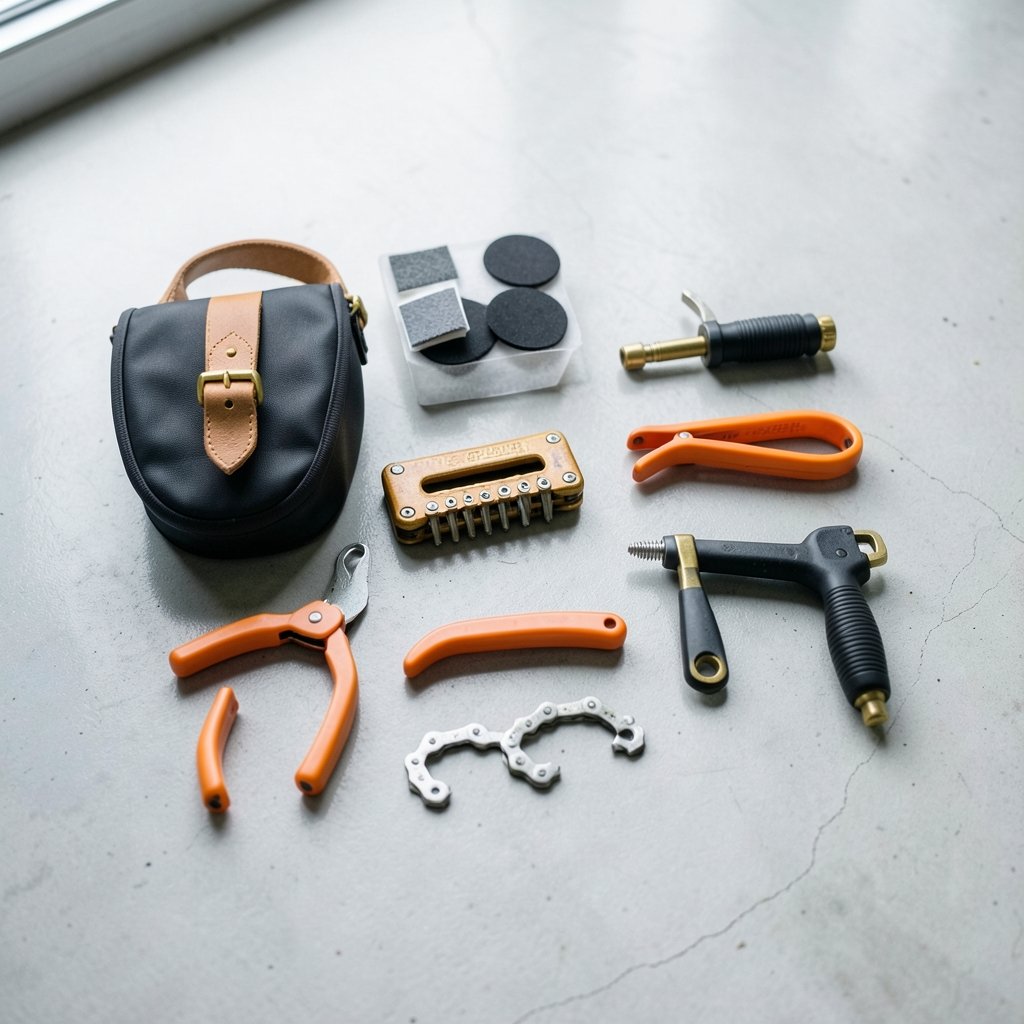
A useful starter kit covers the jobs a new rider will genuinely face in the first year: punctures, loose bolts, chain problems, and basic adjustments. Industry convention, rather than any single published standard, has settled on a fairly predictable set of contents:
- Tyre levers, ideally plastic, because metal levers can scratch or bend rims
- A patch kit with vulcanising solution, or self-adhesive patches for quicker roadside repairs
- A mini pump or CO2 inflator
- A multi-tool with hex keys from 2 mm to 8 mm, plus a screwdriver
- A chain tool matched to the chain’s speed
- Spoke wrenches and, for some riders, a small torque wrench
Hex key sizes follow the hardware on the bike rather than a formal standard. Most stem, seatpost and brake bolts use 4, 5 or 6 mm keys, derailleur limit screws usually take 2 or 3 mm, and some crank bolts need 8 mm. A kit that skips 5 mm, the single most common size on modern bikes, is not a beginner kit. It is a decoration.
The kits that make sense for three kinds of beginner

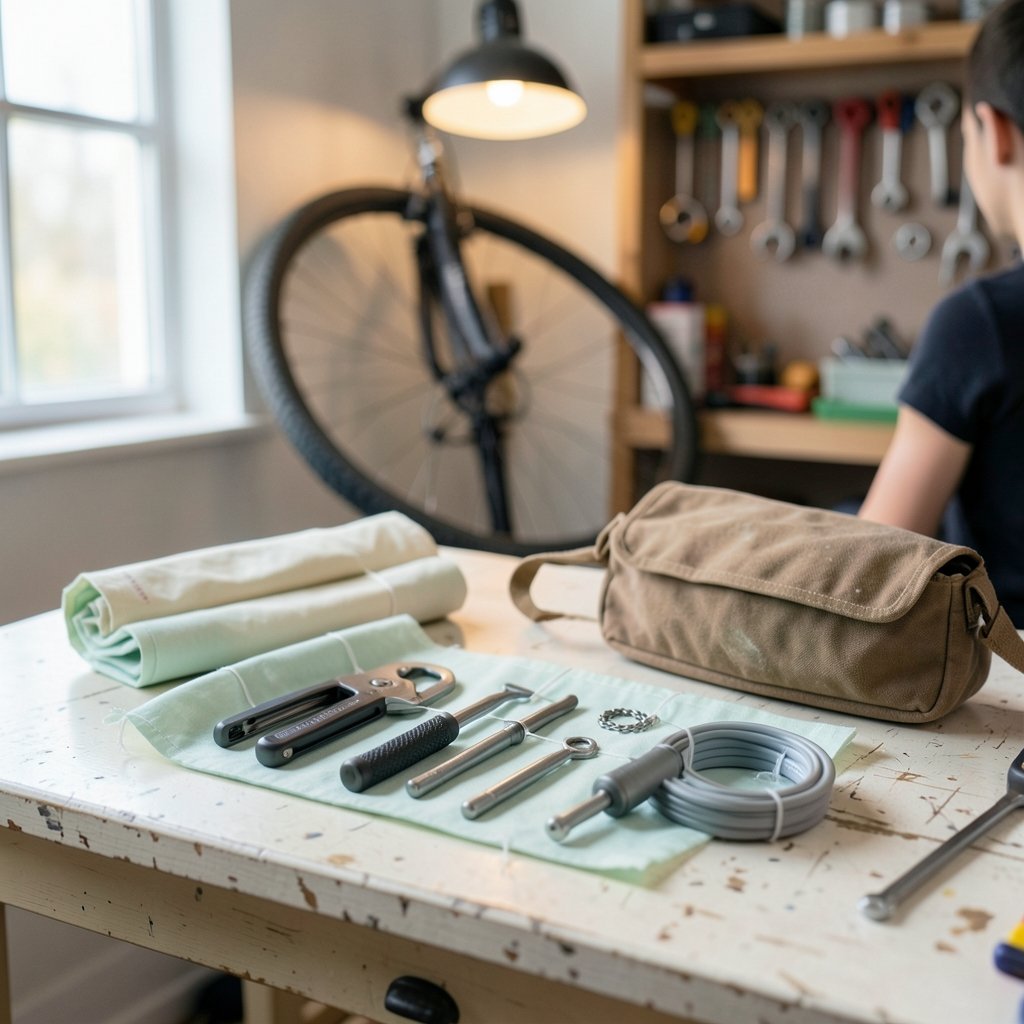
There is no single best kit, because “best” depends on the bike, the budget and whether the kit lives in a saddlebag or on a workshop wall. The table below compares the three broad categories a first-time buyer will encounter.
| Kit type | What it covers | Best for | Watch out for |
|---|---|---|---|
| Roadside mini kit | Tyre levers, patches, mini pump, compact multi-tool | Riders who want to fix flats and loose bolts on the go | Tiny tools can be hard to grip; check for 5 mm hex |
| Home workshop starter kit | Larger multi-tool, chain tool, cable cutters, spoke wrench, sometimes a torque wrench | Riders who want to learn maintenance properly | Bulkier tools rarely travel well |
| Hybrid kit | A solid multi-tool plus a pump, levers and patches | Most beginners, most of the time | Quality varies wildly at the low end |
For most people starting out, the hybrid route is the sensible first purchase. It covers the emergency jobs without pretending to be a full workshop, and it leaves room to add specialist tools later as the rider’s confidence grows. The same logic applies across software: beginners comparing productivity suites often find the same lesson, that a focused tool beats an overwhelming one, as this guide to Trello alternatives for beginners comparing board tools points out. Choosing a bike kit is a decision about scope, not about owning everything at once.
Why tool quality matters more than tool count
A 37-piece kit for the price of a coffee looks like a bargain until the first bolt rounds off. Cheap multi-tools often use soft steel, and a hex key that deforms under load will chew the head of a bolt rather than turn it. Once a bolt is rounded, the repair gets harder, more expensive and occasionally impossible without drilling. Reviewers have warned about this for years, and it remains one of the most common beginner mistakes.
The practical test is simple. Hold the tool, check that the hex ends are crisp rather than painted over, and look for a brand that publishes replacement parts. A kit with twelve well-made tools will outlast a kit with thirty poor ones. The same principle shows up whenever beginners choose software, as this comparison of ClickUp alternatives for beginners picking the right tool makes clear: capability without reliability is a trap.
Torque: the beginner mistake that costs the most
Over-tightening is the quiet killer of bike components. Carbon frames, carbon seatposts and lightweight alloy parts can crack or strip when a bolt is cranked past its limit, and the damage is often invisible until something fails. A small torque wrench, typically covering 2 to 10 or 2 to 15 newton-metres, is one of the best additions a beginner can make. It is not glamorous, and it will not fix a puncture, but it protects the parts that cost the most to replace.
In practice, the routine is straightforward. Check the torque value printed near the bolt, set the wrench, tighten until it clicks, and stop. Riders who skip this step usually learn the lesson the expensive way, often on a seatpost clamp.
Chain tools and compatibility: read the label
Chain tools are where beginner kits most often fall short. A chain tool must match the width of the chain it is working on, and chains are sold in 8, 9, 10, 11 and 12-speed variants with different dimensions. Manufacturers publish compatibility charts, and it is worth checking the bike’s chain before buying. A tool that pushes a pin into the wrong chain can damage both.
For beginners, the safest approach is to buy a chain tool that explicitly lists the speeds it handles and to practise on an old chain before using it on the real thing. A dropped chain on a quiet lane is a fine classroom. A dropped chain in traffic is not.
What to practise before you need the kit
Buying tools is the easy part. Knowing how to use them is what separates a rider who fixes a flat in eight minutes from one who walks home. A sensible practice sequence looks like this:
- Remove and refit a wheel, front and rear, until the process is automatic.
- Fix a puncture at home with the patch kit, including the curing time.
- Adjust a seatpost and stem bolt with the torque wrench.
- Break and rejoin an old chain with the chain tool.
- Check brake pad alignment and cable tension.
Each of these takes under half an hour to learn and pays back many times over. Free technical references help here. The long-running Sheldon Brown bicycle technical site covers component standards and repair basics in unusual depth, and Park Tool’s repair help index explains procedures step by step. A printed repair manual is also worth having on the shelf for the jobs that need more than a video.
Building a kit over time
No beginner needs a complete workshop on day one. A more realistic path is to start with the roadside essentials, add a torque wrench and chain tool within the first few months, and then buy specialist tools only when a specific job demands them. Cable cutters, a cassette tool and a bottom bracket tool can wait until the rider actually needs them.
This staged approach also keeps costs sane. It lets a rider learn what a good tool feels like before spending on the expensive items, and it avoids the common trap of buying a big kit full of tools that never leave the box. The same staged thinking appears in other beginner tool decisions, such as this breakdown of Figma alternatives for beginners choosing the right design tool, where starting small and adding capability beats buying everything upfront.
Common mistakes beginners make with bike tool kits
A few errors come up again and again, and most are avoidable with a little care.
- Buying on piece count alone. Thirty tools of poor quality are worse than ten good ones.
- Skipping the pump. A patch kit without a way to inflate the tyre is half a repair.
- Using metal tyre levers. Plastic levers protect rims and cost very little.
- Ignoring chain speed. A chain tool that does not match the chain can damage it.
- Forgetting torque values. Over-tightening cracks carbon and strips alloy.
- Leaving the kit at home. The best kit is the one in the saddlebag when the puncture happens.
Each of these is a small decision with an outsized effect. The riders who avoid them tend to be the ones who keep riding through the winter rather than abandoning the bike in the shed.
How much should a beginner spend?
Prices vary by region and change constantly, so treat any figure as a rough guide rather than a rule. A basic roadside kit with levers, patches, a mini pump and a compact multi-tool sits at the low end of the market. A hybrid kit with better tools and a torque wrench costs more but covers far more jobs. A full home workshop setup is a longer-term project, not a first purchase.
The useful question is not “what is the cheapest kit” but “what will I actually use in the next twelve months”. A rider who commutes daily needs a reliable pump and patches. A rider who rides a carbon road bike needs a torque wrench sooner. A mountain biker who rides rocky trails needs a chain tool and spare link. Matching the kit to the riding is what makes the money well spent.
Conclusion
The best bike repair tool kit for a beginner is not the biggest one or the cheapest one. It is the one that matches the bike, covers the jobs that actually happen, and uses tools that will not damage the components they touch. Start with the roadside essentials, add a torque wrench and a chain tool early, practise the basic repairs at home, and expand the kit only as real needs appear. Do that, and a flat tyre stops being a disaster and becomes a ten-minute interruption on an otherwise good ride.
Frequently asked questions
What tools should a complete beginner buy first?
Start with tyre levers, a patch kit, a mini pump and a multi-tool that includes 4, 5 and 6 mm hex keys. These four items cover punctures and loose bolts, which are the two most common roadside problems. Add a chain tool and torque wrench within the first few months.
Do I really need a torque wrench as a beginner?
It is strongly recommended, especially on carbon frames and seatposts. Over-tightening can crack or strip components, and the damage is often invisible until something fails. A small torque wrench covering roughly 2 to 15 newton-metres handles most bike bolts.
Are expensive multi-tools worth it?
Usually yes. Cheap multi-tools often use soft steel that rounds bolt heads, turning a simple adjustment into a difficult repair. A well-made tool with crisp hex ends and available replacement parts will outlast several cheap ones.
Can I use one kit for road and mountain bikes?
Often, yes, but check the chain tool. Chains come in 8, 9, 10, 11 and 12-speed variants with different widths, and the tool must match. A kit built around a road bike may need a different chain tool for a mountain bike.
How often should I check my kit?
Before every long ride, and at least once a season. Check that patches have not dried out, that the pump works, and that no tools have gone missing from the saddlebag. A kit that fails when opened is worse than no kit at all.
Is it cheaper to build a kit piece by piece?
Sometimes, and it teaches you what good tools feel like. Buying the essentials individually and adding specialist tools only when a job demands them often works out better than a large budget kit full of items that never leave the box.