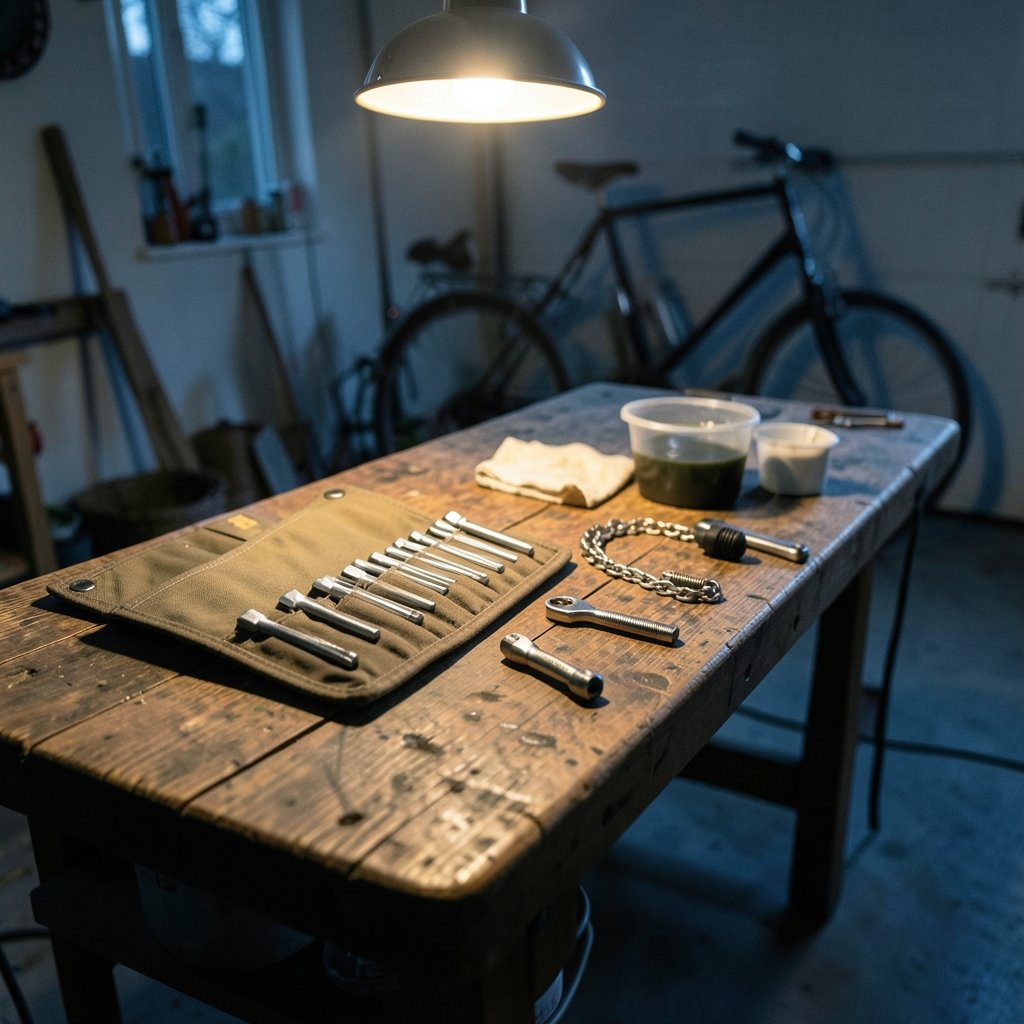
What is the one thing most home mechanics regret after buying a bike repair kit? Not the price. It is the tool they reach for on a Sunday afternoon and discover is missing, or the cheap hex key that rounds off a bolt head and turns a ten-minute job into a trip to the shop.
A bike repair tool kit looks simple from the outside: a folding wallet of hex keys, a chain tool, maybe a cassette tool. But the difference between a kit that serves you for a decade and one that frustrates you within a month comes down to a handful of specific decisions. This guide walks through those decisions in plain terms, from what actually belongs in a starter kit to the standards that make certain tools worth paying for.
Start With the Jobs You Actually Do
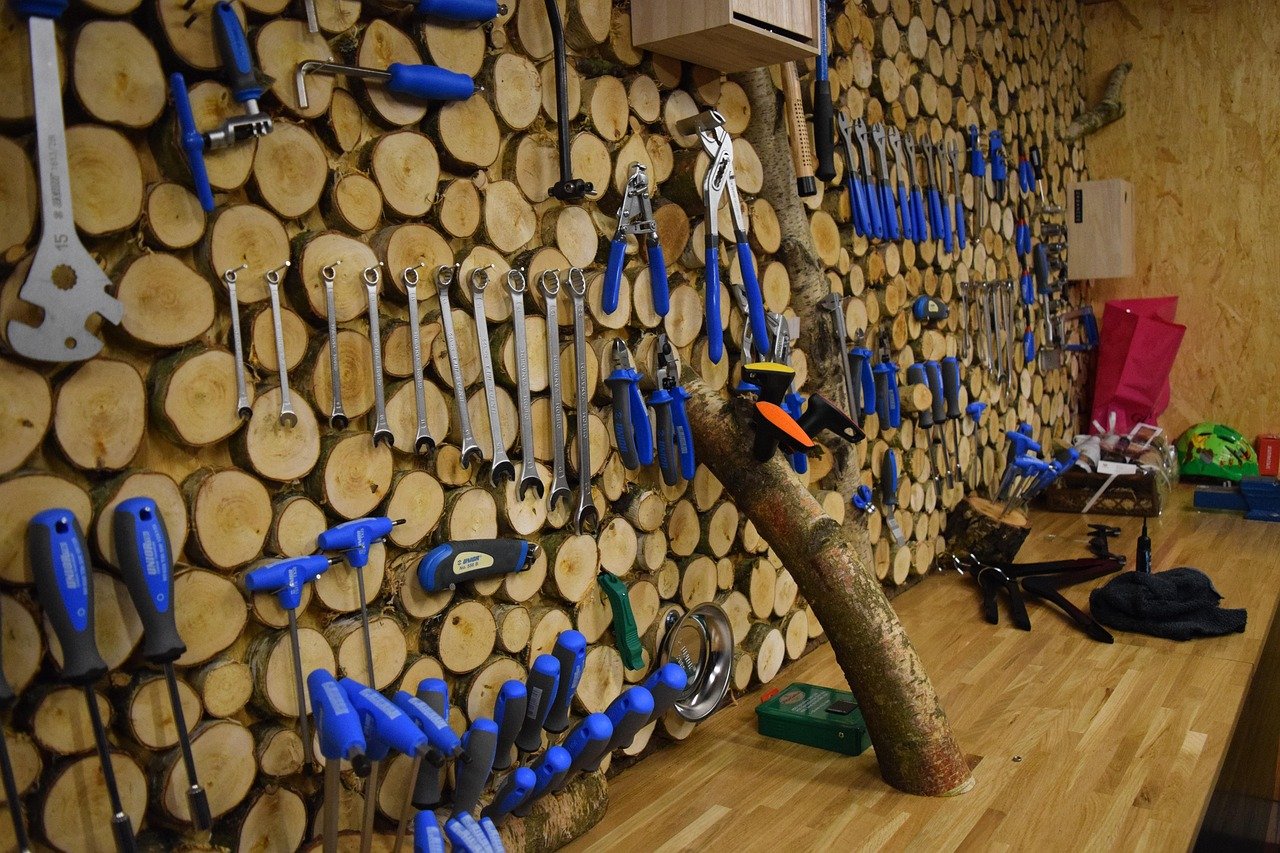
Before comparing kits, it helps to be honest about the work. Most riders fall into one of three groups, and each needs a different level of tooling.
| Rider type | Typical jobs | Kit level needed |
|---|---|---|
| Casual rider | Tire changes, brake pad swaps, chain lube, bolt checks | Compact starter kit plus tire levers and a pump |
| Regular home mechanic | Cassette swaps, chain replacement, derailleur adjustment, bearing service | Mid-range kit with drivetrain tools |
| Enthusiast or multi-bike owner | Bottom bracket replacement, wheel truing, hydraulic brake bleeds | Modular tool collection, not a single kit |
The mistake people make is buying for the third column when they live in the first. A giant kit with forty tools sounds like value, but a good chunk of those tools will fit bottom bracket standards or freehub types you do not own. Meanwhile, the parts you genuinely need, like a decent chain tool and a set of quality hex keys, may be the weakest items in the box.
The reverse mistake is just as common: buying a tiny multi-tool meant for saddlebags and expecting it to handle home repairs. Those tools are designed for emergencies on the road. They are not built for repeated use with real turning force.
The Tools That Separate Good Kits From Bad Ones
Hex Keys and Torx Keys
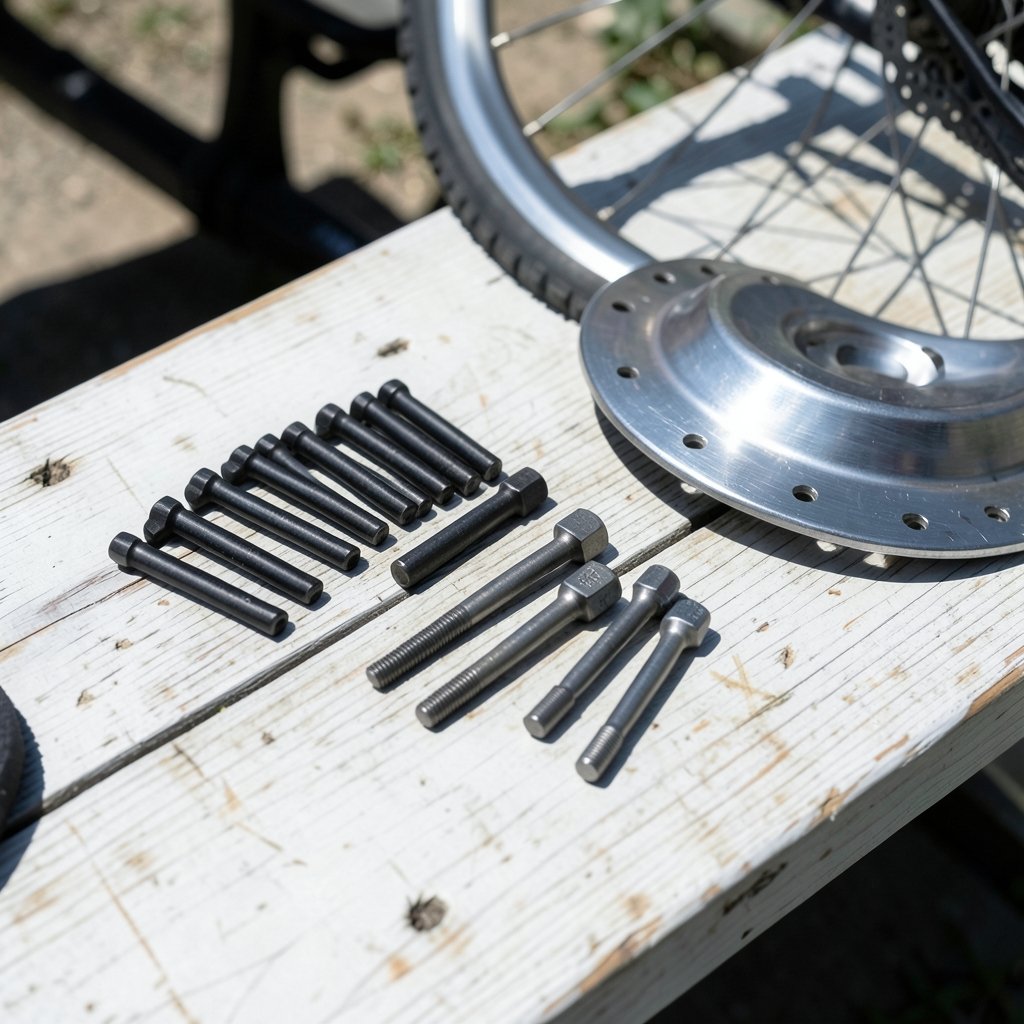
Hex (Allen) keys do most of the work on a modern bike, and they are where cheap kits cut corners most visibly. Look for keys made from proper tool steel with crisp, sharp edges on the hex flats. Soft metal keys round off at the corners, and a rounded key chews up the bolt head it touches. A set covering 2 mm through 8 mm handles nearly everything, with 4, 5, and 6 mm getting the heaviest use.
Torx keys matter more than they used to. Disc brake rotors and many modern components use Torx fasteners, so a kit without T25 and T30 keys is already incomplete.
A Torque Wrench
This is the single most underrated item in home bike tooling, and many kits leave it out entirely. Component makers publish torque specifications for stem bolts, seatpost clamps, brake mounts, and more, and those values vary widely across parts. Many stem bolts sit in the 5–6 N·m range, while some bottom bracket and crank bolts call for considerably more. Guessing with a standard hex key is how carbon seatposts get crushed and stems get over-tightened.
A small click-type torque wrench in the 2–15 N·m range covers most bike fasteners. If a kit does not include one, budget for it separately. It is not optional equipment for anyone touching a modern bike.
Chain Tools and Chain Checkers
Every mid-range kit should include a chain tool, but quality varies. A good chain tool drives pins squarely and does not bend the side plates of the chain. Cheap ones flex under load and can leave a chain link distorted.
A chain checker is a separate, cheap tool that measures wear. Chain elongation of roughly 0.5% is commonly cited as the point to replace a chain on multi-speed drivetrains, though some recommendations push that to about 0.75% for 11- and 12-speed setups. Treat it as a range rather than a hard rule. The point is that a worn chain wears out the cassette and chainrings, which cost far more than a new chain. Checking regularly is one of the cheapest habits in cycling.
Cassette and Drivetrain Tools
Here is a frequent gap in budget kits: a cassette lockring tool without a chain whip. Removing a cassette generally requires both. The lockring tool holds the locking ring, and the chain whip holds the cassette body so it does not spin. A kit that ships one without the other cannot actually do the job it appears to promise.
Check that the lockring tool matches your drivetrain. Shimano and SRAM cassettes use compatible splines in most cases, but some systems differ, and older freewheels need a different tool entirely.
Bottom Bracket Tools
Bottom bracket standards are a maze. Threaded BSA, press-fit BB86 and BB92, T47, and others all exist, and a single bottom bracket tool rarely fits them all. This is the clearest argument against buying a huge kit blind: unless you know your frame’s standard, a bottom bracket tool in the box may be dead weight. If you plan to service your own BB, buy the specific tool for your frame rather than relying on whatever came bundled.
Tire Levers and Wheel Tools
Tire levers should be plastic. Metal levers can pinch and damage tubes and rims on tubed setups, and plastic levers are cheap enough that there is no reason to risk it. A spoke wrench is worth having if you plan to true wheels, but note that a universal spoke wrench often fits poorly. Dedicated sizes work better.
Hydraulic Brakes: A Separate Purchase
If your bike has hydraulic disc brakes, no general-purpose kit will cover bleeds. Bleed kits are brand-specific because the fluids are different: Shimano systems use mineral oil, while SRAM systems use DOT fluid. Mixing fluids or borrowing the wrong kit is unsafe and can damage seals.
The practical approach is to buy the bleed kit made for your brake brand and treat it as its own purchase. Do not expect a folding tool wallet to include one.
Folding Kits vs. Modular Collections
There are two philosophies, and both are legitimate.
Folding kits pack everything into a case or wallet. They are tidy, portable, and easy to store in a small apartment. The trade-off is that you accept the manufacturer’s choices on every tool, including the weak ones.
Modular collections are built one tool at a time, usually starting with hex keys and a torque wrench and growing as jobs demand. This costs more up front in small increments but produces a kit where every item earns its place.
A sensible middle path: buy a mid-range folding kit for the core tools, then replace the two or three items you use most with better versions as they wear or annoy you. The chain tool and hex keys are usually first in line.
What to Check Before You Buy
A short checklist saves a lot of returns:
- Confirm the hex key range covers 2–8 mm and includes Torx T25 and T30.
- Verify the kit includes both a cassette lockring tool and a chain whip, or plan to buy the whip separately.
- Check whether a torque wrench is included. If not, add one to the budget.
- Match any bottom bracket or freehub tools to your actual bike, not to the kit’s marketing photos.
- Look at the chain tool closely. Reviews that mention bent pins or flexing bodies are a warning.
- Confirm the case has room for a few additions, because you will add tools.
One more practical note: tool quality shows up in fit, not in finish. A chrome-plated tool can still be soft steel. Reviews from people who have actually removed a stubborn bottom bracket tell you more than a spec sheet.
Where Kits Fit in the Wider Gear Picture
A repair kit is one piece of a broader setup, and it helps to think about how it connects to everything else you own. Riders who are also sorting out their electronics, for example, often find the same logic applies: the tool you actually use beats the tool with the longest feature list, whether that is a controller configuration utility or a design app. The same principle shows up in guides like this comparison of ds4windows vs rewasd vs steam input, where matching the tool to the job matters more than raw capability.
Safety gear deserves the same scrutiny. A helmet is not a place to save money, and the reasoning in this guide to the best bike helmets that actually protect you mirrors the tool kit logic: certification and fit matter more than styling. If you are building out a whole riding setup from scratch, the same practical buying approach appears in this tablet buying guide for beginners and in this breakdown of budget gaming chairs worth buying. The pattern is consistent across categories: buy for the job you have, not the job you imagine.
Common Mistakes That Cost Money
Buying the biggest kit available. More tools is not more capability. It is more clutter and often more low-grade steel.
Skipping the torque wrench. This is the mistake with the most expensive consequences, especially on carbon components.
Using metal tire levers. A pinched tube on the side of the road is a bad time to learn this lesson.
Ignoring chain wear. A stretched chain quietly destroys a cassette. A cheap checker prevents that.
Assuming one bottom bracket tool fits all. It does not. Standards vary too much.
Buying a bleed kit for the wrong brake brand. Mineral oil and DOT fluid systems are not interchangeable, and the kits are not either.
Conclusion
A bike repair tool kit is not a single purchase so much as a small system. The winning approach is unglamorous: buy for the repairs you actually perform, insist on quality hex keys and Torx keys, add a torque wrench no matter what the box claims, and make sure the drivetrain tools come as a complete pair. Skip the forty-piece kits that pad their count with tools for bikes you do not own. Spend the difference on the handful of items you will touch every month, and the kit will pay for itself the first time you avoid a shop visit for a job that takes fifteen minutes at home.
FAQ
Do I really need a torque wrench for home bike repairs?
For any bike with carbon parts or modern lightweight components, yes. Torque specifications vary by component and manufacturer, and many stem bolts sit around 5–6 N·m while other fasteners need more. A small 2–15 N·m click-type wrench covers most of what a home mechanic touches and prevents the expensive kind of over-tightening.
How often should I check my chain for wear?
Monthly is a reasonable habit for regular riders, and more often in wet or gritty conditions. Chain elongation around 0.5% is a common replacement point, with some guidance suggesting roughly 0.75% for 11- and 12-speed drivetrains. A chain checker costs very little and protects the cassette and chainrings, which cost far more.
Why do some kits include a cassette tool but no chain whip?
Because including both costs more, and a lockring tool alone looks impressive in a product photo. In practice, removing a cassette needs the lockring tool to hold the ring and a chain whip to stop the cassette from spinning. If a kit omits the whip, plan to buy one.
Can I use one bleed kit for all hydraulic brakes?
No. Bleed kits are brand-specific because the fluids differ. Shimano systems use mineral oil and SRAM systems use DOT fluid. Mixing fluids or using the wrong kit can damage seals and create a safety hazard, so buy the kit made for your brake brand.
Are folding multi-tools good enough for home repairs?
The compact multi-tools designed for saddlebags are built for emergencies, not repeated use with real turning force. They are fine to carry on rides. For home work, a proper set of full-length hex keys and a dedicated chain tool will be more comfortable and less likely to damage fasteners.
What should a beginner buy first?
Start with quality hex keys covering 2–8 mm, Torx T25 and T30 keys, plastic tire levers, a chain tool, a chain checker, and a small torque wrench. That set handles tire changes, brake pads, chain replacement, and bolt checks. Add drivetrain and bottom bracket tools only when a specific job calls for them.