What if the reason your tomatoes sulk and your lawn looks patchy has nothing to do with watering, and everything to do with chemistry you can’t see? That’s the quiet frustration behind most failed first gardens. You plant, you water, you wait, and the plants just sit there looking unimpressed. A soil test is the closest thing to a conversation with your dirt, and for beginners, the right kit makes that conversation surprisingly easy. (Beginners can spot ai hallucinations without any technical)
This guide walks through what beginner kits actually measure, where they fall short, how to pick one without wasting money, and the sampling mistakes that ruin good results. No lab coat required.
What Soil Testing Kits for Beginners Actually Measure
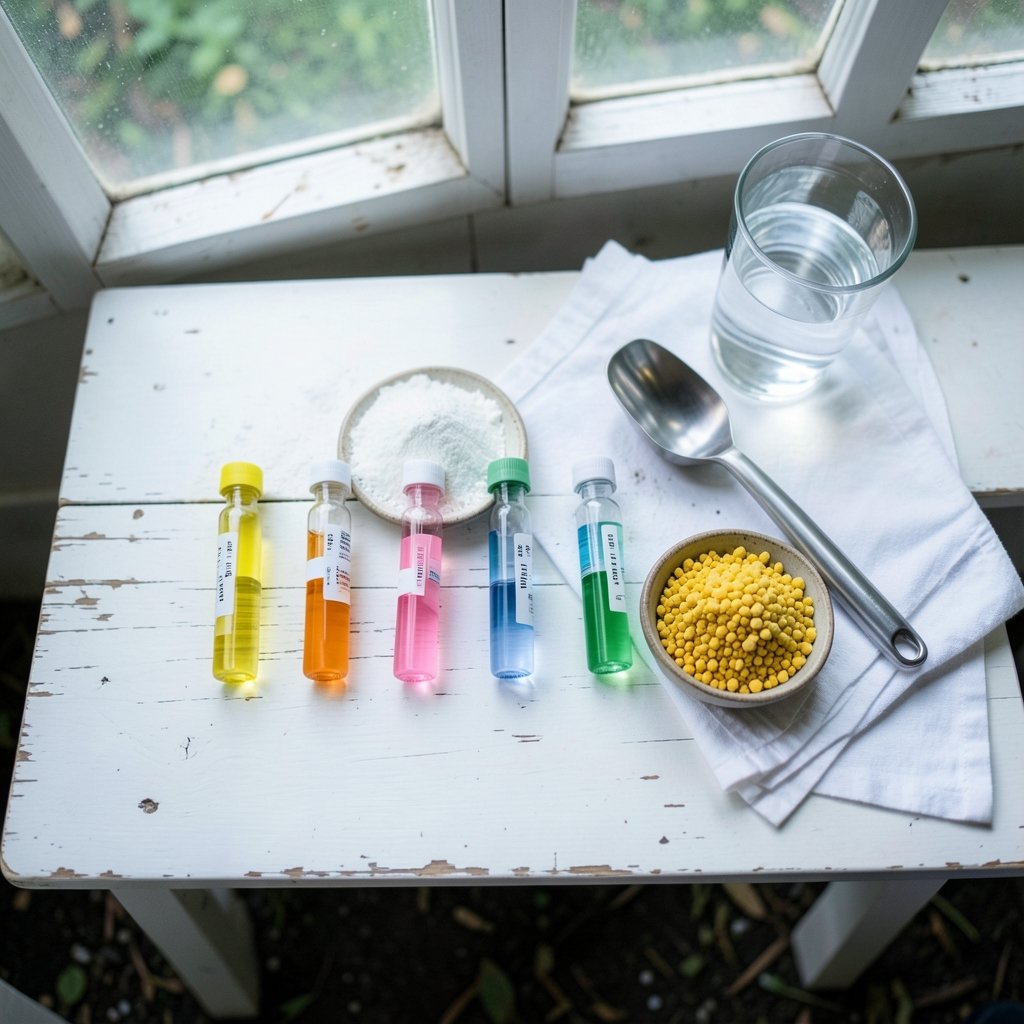
Most consumer kits focus on two things: soil pH and the three major nutrients, nitrogen (N), phosphorus (P), and potassium (K). The classic format is a colorimetric test, where you mix a soil sample with a reagent, wait a set number of minutes, and match the resulting color against a printed chart.
Some kits add a digital pH probe or capsule-based tests. A few bundle in tests for things like lime content. What almost none of them do is test for heavy metals such as lead, which matters if you garden in an urban yard or near older buildings. Those require a laboratory.
It helps to understand that these kits are semi-quantitative. You get ranges or categories, like low, medium, and high, rather than precise numbers. That’s not a flaw so much as the nature of the tool. For a beginner deciding whether to add lime or compost, a range is often enough to act on.
Why pH Deserves Your Attention First
If a kit only tests one thing, pH is the one to care about. Soil pH controls how available nutrients are to plant roots. You can have plenty of phosphorus in the ground and still see deficiency symptoms if the pH is wrong, because the nutrient is chemically locked up.
Most vegetables and many ornamentals do best in slightly acidic soil, roughly pH 6.0 to 7.0. University extension services consistently treat pH as the first thing to test, since it’s also the easiest thing to correct. Lime raises pH; sulfur lowers it. Both take time to work, which is why testing before planting season, often in fall or early spring, gives you room to adjust before crops go in.
A beginner who tests pH and nothing else is already ahead of most gardeners. A beginner who tests pH and ignores it has simply bought a science experiment.
The Honest Limits of Home Kits
Here’s where a balanced view matters. Quick N-P-K color kits are widely sold and widely used, but their accuracy is debated. Extension sources have cautioned that home nutrient kits are less reliable than lab analysis, particularly for nitrogen, which shifts quickly in soil as temperature and moisture change. A reading taken on a hot, dry afternoon may not reflect what your plants experience a week later.
Color matching also introduces human error. Lighting, timing, and the way you read a printed chart all affect the result. Two people testing the same sample can land on different categories.
None of that makes kits useless. It makes them screening tools. Use them to spot obvious problems and track general trends, not to fine-tune fertilizer to the ounce.
Kits vs. Lab Tests at a Glance
| Feature | Home Kit | Lab Test |
|---|---|---|
| Cost | Low, one-time purchase | Per-sample fee, often modest through extension programs |
| Speed | Minutes | Days to weeks |
| Precision | Ranges and categories | Calibrated numbers |
| Nutrient detail | N-P-K plus pH, roughly | Full profile with recommendations |
| Heavy metals | Generally not included | Available on request |
| Best use | Quick screening, pH checks | Baseline testing, problem diagnosis |
Many state extension programs and university labs offer low-cost homeowner soil tests, and they typically return calibrated results plus fertilizer recommendations. For a first-ever test on a new garden, that combination is hard to beat. A kit then becomes your between-lab-tests tool.
How to Choose a Kit Without Wasting Money
The market is crowded, and packaging promises more than most kits deliver. A few practical filters cut through the noise.
Match the kit to your actual question
If you want to know whether to lime the lawn, a pH-only kit or a decent digital pH meter is enough. If you’re starting a vegetable bed and want a broad picture, a combined pH and N-P-K kit makes sense. Buying a 40-test laboratory-style kit for a single raised bed is overkill.
Check what’s in the box
Reagent tablets or capsules tend to be more consistent than liquid drops, which can degrade. Look for a kit that includes clear instructions, a color chart printed on decent paper, and enough test tubes or vials to run several samples without washing between each one. Cheap kits often skimp on the chart, and a faded chart is a useless chart.
Treat digital meters with suspicion until calibrated
Inexpensive digital pH meters can drift and need calibration with buffer solutions. Probe-style meters sold for garden use are often less reliable than a lab test. If you buy one, budget for calibration solution and treat the reading as a rough guide, not gospel.
Read the accuracy claims carefully
There’s no single federal standard for consumer soil-test kits in the United States, so accuracy claims are largely manufacturer-stated. That’s a real gap, and it means reviews and independent comparisons matter more than the box copy.
Sampling: Where Most Beginners Go Wrong
You can own a perfect kit and still get a misleading result, because the sample is where accuracy is won or lost. A representative sample means taking several cores from the root zone, commonly cited as about 6 to 8 inches deep for lawns and gardens, mixing them in a clean bucket, and subsampling from that mix.
Common mistakes worth avoiding:
- Testing one spot. A single core from the middle of the bed tells you about that spot, not the bed. Take six to eight cores in a zigzag pattern.
- Testing the surface only. Surface soil is not where roots feed. Go down to the root zone.
- Using dirty tools. Rusty trowels and buckets that held fertilizer or detergent contaminate samples. Use clean stainless steel or plastic.
- Testing right after fertilizing. Fresh fertilizer skews results badly. Wait several weeks.
- Ignoring depth differences. Recommended sampling depth varies by crop and by source, so check guidance for what you’re growing rather than assuming one depth fits all.
Label each sample if you’re testing multiple beds. It sounds obvious until you’re staring at three identical bags of dirt.
Getting Reliable Readings From a Color Kit
Once the sample is right, technique decides the rest. A few habits make colorimetric kits far more trustworthy.
Test in consistent, natural daylight, not under a warm kitchen bulb or in deep shade. Stick to the timing in the instructions; a minute too long can shift the color a full category. Rinse test tubes with distilled water rather than tap water, which carries its own minerals. Run the same sample twice if a result looks odd, and if the two readings disagree, treat the result as uncertain.
Keep a simple log. Date, bed, pH, N-P-K category, and what you did about it. After a season or two, that notebook becomes more valuable than any single test, because it shows trends rather than snapshots.
And if you’re building out a broader toolkit for a garden or homestead project, the same principle of testing before committing applies elsewhere. It’s the logic behind setting up API security testing that actually catches real flaws before they bite, or understanding how a web application firewall explained for beginners blocks what it blocks. Test first, act second.
When to Skip the Kit and Go Straight to a Lab
Some situations call for the real thing. If you’re gardening in an urban area, near an older painted structure, or on a site with an industrial past, test for lead and other contaminants through a laboratory. Home kits generally don’t cover heavy metals, and this is not a corner worth cutting, especially if children garden there.
Go to a lab if you’re making a significant investment in a perennial crop, establishing a new lawn, or troubleshooting a problem that has resisted two seasons of guessing. A lab test with recommendations often costs less than the fertilizer you’d waste following a bad reading.
For everything else, a decent kit plus disciplined sampling covers most beginner needs.
Practical Tips That Actually Work
- Test the same beds at the same time each year. Comparability beats frequency.
- Fix pH before chasing nutrients. Adjusting N-P-K while pH is off is pouring money into locked soil.
- Change one thing at a time. If you lime and fertilize in the same week, you learn nothing.
- Store kits dry and sealed. Reagents degrade in humid sheds.
- Don’t over-test. Twice a year is plenty for most home gardens.
If you’re the type who likes getting the gear right before starting, the same instinct applies to picking tools for other hobbies, whether that’s choosing among Figma alternatives for beginners to choose the right design tool or finding the best ukulele for beginners. Good tools don’t make you skilled, but bad ones make learning harder than it needs to be.
Conclusion
The best soil testing kit for a beginner isn’t the biggest or the most expensive one. It’s the one that answers the question you actually have, paired with a sampling routine you’ll follow properly. Start with pH, take representative samples from the root zone, read the chart in daylight, and log what you find. If you garden in an urban yard or want a true baseline, send one sample to a lab and use your kit to track changes between tests.
Soil is not static. It responds to what you add, what you grow, and how the seasons treat it. A cheap kit used carefully will teach you more about your garden in one season than years of guessing. The dirt has been trying to tell you something. Now you have a way to listen.
Frequently Asked Questions
Are cheap soil testing kits accurate enough to rely on?
For pH, yes, within reason. For nutrients, treat results as broad categories rather than precise numbers. Color-match kits are semi-quantitative and depend on lighting, timing, and chart reading. They’re good for spotting obvious problems and tracking trends, but lab tests remain the benchmark for calibrated results and fertilizer recommendations.
How often should a beginner test their soil?
Twice a year is plenty for most home gardens: once before planting season and once mid-season if something looks off. Testing the same beds at the same time each year gives you comparable results and shows trends, which is more useful than frequent one-off tests.
Do I need to test for lead in my garden soil?
If you garden in an urban area, near an older painted building, or on a site with an industrial history, yes. Home kits generally don’t test for heavy metals like lead, so that requires a laboratory. It’s a step worth taking, particularly if children play or grow food there.
Can I adjust my soil based on a home kit reading alone?
For pH, generally yes. Lime raises pH and sulfur lowers it, and both take time to work, which is why testing before planting helps. For nutrients, use kit results as a guide and avoid fine-tuning fertilizer based on a single color match. When in doubt, confirm with a lab test.
Why do my test results change between seasons?
Soil chemistry is not fixed. Nitrogen in particular shifts quickly with temperature and moisture, and pH can drift with rainfall, fertilizer use, and what you grow. Seasonal variation is normal, which is why consistent timing and a written log matter more than any single reading.
Is a digital pH meter better than a color kit?
Not automatically. Inexpensive digital meters can drift and need calibration with buffer solutions, and probe-style garden meters are often less reliable than a lab test. A well-run color kit with careful timing can be just as useful for a beginner, and it costs less to replace when reagents age out.