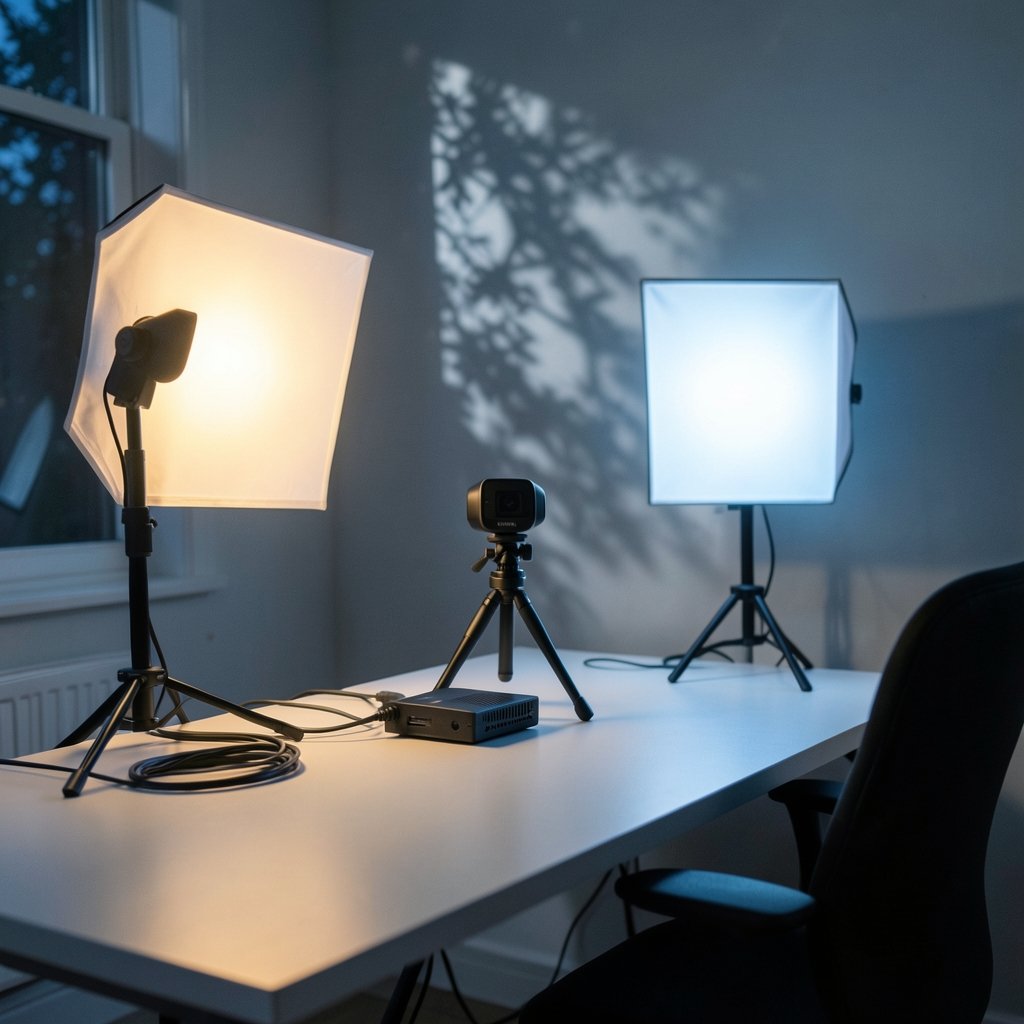
Quick Answer: What are the best streaming lights for new streamers?
The best streaming lights for new streamers are bi-color LED panels with a high color rendering index, placed in a simple key-and-fill setup rather than blasted straight at the face. Panels beat ring lights for most talking-head streams because they are more directional and easier to shape, while ring lights remain a fine budget pick for solo webcam setups.
Bi-color models that adjust from roughly 2700K to 6500K let a streamer match warm room lamps or cool daylight without buying gels. Soft, diffused light flatters skin, while small bare LEDs create harsh shadows and shiny foreheads.
Before buying, compare color rendering index, TLCI rating, color temperature range, brightness at your camera distance, power source, flicker behavior, and mounting options.
Why Lighting Decides Whether People Stay
Ever clicked a stream, watched for eight seconds, and left because the host looked like a hostage video? Grainy, orange, half-shadowed faces do that. Viewers rarely say “bad lighting” out loud. They just leave.
Lighting is the cheapest upgrade most new streamers can make. A $40 webcam under good light looks better than a $200 webcam in a dark room. Cameras, even good ones, need photons. Sensors amplify whatever light they get, and amplifying a weak signal amplifies noise with it. Fix the light and half your image problems vanish before you touch a single setting.
There is also a technical trap nobody warns beginners about: cheap LEDs and webcams can fight each other. If your picture shows rolling dark bands, that is flicker banding, and it is fixable. There is a solid walkthrough on why your webcam flickers under LED lights and how to fix it that covers shutter speed and driver frequency in plain language.
The Specs That Actually Matter
Color Rendering Index and TLCI
The Color Rendering Index (CRI) runs from 0 to 100. A score of 100 means the light shows colors the same way a reference source does. For on-camera work, look for CRI 95 or higher. Below that, skin tones drift, reds go muddy, and your branded overlays stop matching your shirt.
Broadcasters use a different yardstick: the Television Lighting Consistency Index (TLCI), built specifically because CRI was designed for human eyes in rooms, not camera sensors. A TLCI of 85 or above is commonly treated as broadcast-acceptable. Manufacturers love quoting CRI because it is usually the friendlier number. When both are listed, trust the pair, not one.
Neither number perfectly predicts how a light behaves on your specific sensor. Treat them as a filter for the shortlist, not a guarantee.
Color Temperature and Bi-Color Flexibility
Color temperature is measured in Kelvin. Two numbers matter: 3200K (classic tungsten warmth) and 5600K (daylight). A bi-color light sweeps between roughly 2700K and 6500K, which means you can match a cozy lamp-lit room or a bright window without gaffer tape and gels.
This matters more than raw brightness for beginners. A dim-but-correct light beats a blinding light at the wrong temperature, because you cannot fix a mismatched color cast without wrecking everything else in frame.
Softness Beats Power
Here is the counterintuitive rule: bigger and closer equals softer. A large light source relative to your face produces gentle shadow falloff. A small source produces hard edges and shiny patches. This is why a cheap panel with a diffusion sheet often looks better than a powerful bare LED.
Practically, that means buying a panel with a diffuser, or adding a cheap softbox or shoot-through fabric. Do not point a bare LED at your nose and wonder why you look like a deer in headlights.
Power: The USB Ceiling
Small USB lights are convenient and often disappointing. Standard USB 2.0 delivers just 0.5 A at 5 V, about 2.5 W. USB 3.x raises that, and USB Power Delivery allows far more, up to 100 W, or 240 W under PD 3.1. Many budget lights quietly run on the weak end, so their advertised brightness never materializes.
Check the power spec before you fall for a lumen number. A light that needs its own adapter usually has more headroom than one sipping from a laptop port.
Ring Light vs. Panel: The Real Trade-Off
| Feature | Ring Light | LED Panel |
|---|---|---|
| Look on camera | Flat, even, circular catchlight in the eye | Directional, shapeable, more depth |
| Shadow behavior | Can create a halo shadow behind the head | Controllable with placement and diffusion |
| Best for | Solo webcam, makeup, quick setup | Talking-head streams, multi-light setups |
| Flexibility | Limited angles | Tilts, rotates, stacks with fill and back lights |
| Typical weakness | Flat, slightly unnatural look | Needs diffusion or it runs harsh |
There is no universal winner. Ring lights are the friendlier first purchase for a single-webcam streamer with one desk. Panels scale better when you add a second and third light later.
The Three-Point Setup, Simplified
Three-point lighting is the baseline taught in film and video production, and it works for a bedroom just as well as a studio. The three roles are key, fill, and back.
- Key light: your main source, placed about 45 degrees to one side of your face and slightly above eye level. This creates the shape and shadow that make a face look three-dimensional.
- Fill light: a softer, dimmer source on the opposite side. It lifts the shadows the key created without erasing them. A window, a bounce board, or a second panel at half brightness works fine.
- Back light: placed behind and above you, aimed at your hair and shoulders. It separates you from the background so you do not melt into the wall.
Beginners usually skip the back light and then wonder why they look flat. Even a cheap small LED behind the shoulder helps.
For a one-light budget, put everything into the key, diffuse it, and use a white wall or a sheet of foam board as fill. That single move fixes most starter setups.
Practical Tips That Save Money and Regret
Place lights before buying more. Move your existing lamp around for ten minutes. You will learn more about your room than any review can teach you.
Kill the overhead ceiling light first. It casts raccoon shadows under the eyes and makes everyone look tired. Turn it off and let your key do the work.
Match your background. If your wall is warm-toned, a 5600K key will make it look sickly. Nudge the light temperature toward the room instead of repainting.
Watch reflections. Glossy monitors, picture frames, and glasses all catch stray light. Angle panels slightly off-axis to keep flare out of the lens.
Test at your real camera distance. A light that looks great at arm’s length may fall off badly two meters away.
Do not trust lumen claims alone. Beam angle changes everything. A narrow spot at 800 lumens can look brighter than a wide flood at 1500.
Check the mount. Cheap plastic clamps strip and droop. A light that sags mid-stream is worse than no light.
Consider your whole streaming chain. Lighting interacts with capture and encoding. If you stream games through an emulator, the workflow quirks are their own beast, and this breakdown of Bluestacks vs GameLoop vs MEmu OBS streaming workflows is worth a read before you blame your lights for a soft picture.
Plan for portability. If you ever stream away from home, a light that packs flat and runs on USB-C PD is worth the premium. Hotel rooms and borrowed desks are lighting nightmares, and even a streaming stick setup has its own quirks, as this guide to Roku hotel wi-fi setup shows. The same “adapt to the room” mindset applies to light.
Mistakes Beginners Make Over and Over
The most common error is buying three cheap lights instead of one decent one. Three bad sources create three bad shadows.
The second is ignoring diffusion. Bare LEDs are harsh, period. A sheet of diffusion material costs almost nothing.
The third is over-brightening. Blown-out highlights cannot be recovered. Aim for a face that reads naturally, not a face that glows.
The fourth is forgetting the room. A light rated beautifully on paper will still bounce off a dark green wall and tint your skin. Neutral walls and a dark backdrop behind the camera help enormously.
The fifth is chasing gear instead of placement. Most new streamers would improve more from twenty minutes of rearranging than from a new purchase.
What About Budget and Brand Choices?
Specific model recommendations age fast. Prices shift, lineups refresh, and a panel that was the value king last year may be discontinued. Rather than chase a name, shop by the checklist: CRI 95+, TLCI 85+, bi-color range, diffused output, honest power specs, and a mount that does not wobble.
That approach also protects you from marketing. A light advertising “studio quality” without a CRI number is telling you something by omission.
If you stream sports or watch-along content and your face is only part of the frame, lighting still matters, but so does the source feed. Viewers comparing where to watch Dallas Cowboys vs New York Giants TV streaming care about the game, yet a host who looks crisp keeps them around during breaks. Similarly, hobby streamers who run radio or audio content should know that AM radio streaming actually works with the right capture chain, and a well-lit host desk sells the whole production.
Conclusion
The best streaming lights for new streamers are not the brightest or the most expensive. They are bi-color LED panels with strong color rendering, softened by diffusion, arranged in a simple key-and-fill setup with a small back light if the budget allows. Ring lights remain a reasonable one-desk option, but panels give more room to grow.
Buy one good light before three cheap ones. Diffuse it. Move it around before you spend another dollar. Fix the overhead ceiling light, match your color temperature to the room, and test at your real camera distance. Do those things and your stream will look intentional, which is most of what “professional” means on camera.
Frequently Asked Questions
Do I need three lights to start streaming?
No. One diffused key light plus a white wall or foam board for fill gets most new streamers 80 percent of the way there. Add a back light when you want separation from the background.
Is CRI or TLCI more important for streaming?
Both matter, and they measure different things. CRI was built for human vision in rooms, while TLCI was designed for camera sensors. Look for CRI 95+ and TLCI 85+ together rather than trusting either number alone.
Can I just use a desk lamp I already own?
Often yes, with caveats. A desk lamp with a diffuser and an adjustable bulb can work as a starter key light. The problems are usually color temperature mismatch and harsh falloff, both of which you can fix with a daylight bulb and some diffusion material.
Why does my video show rolling dark bands?
That is flicker banding, caused by the interaction between your camera’s frame rate or shutter speed and the LED driver’s dimming frequency. Adjusting shutter speed, matching your region’s mains frequency, or swapping the light usually solves it.
Are USB-powered lights bright enough?
Sometimes, but the ceiling is real. Standard USB 2.0 supplies only about 2.5 W, which caps brightness hard. Lights that support USB Power Delivery, or that use their own adapter, generally have far more usable output.
How far should my key light be from my face?
Close enough to be soft, far enough to be comfortable. A rough starting point is one to two arm lengths, angled about 45 degrees to the side and slightly above eye level. Move it closer for softer shadows, farther for more contrast.