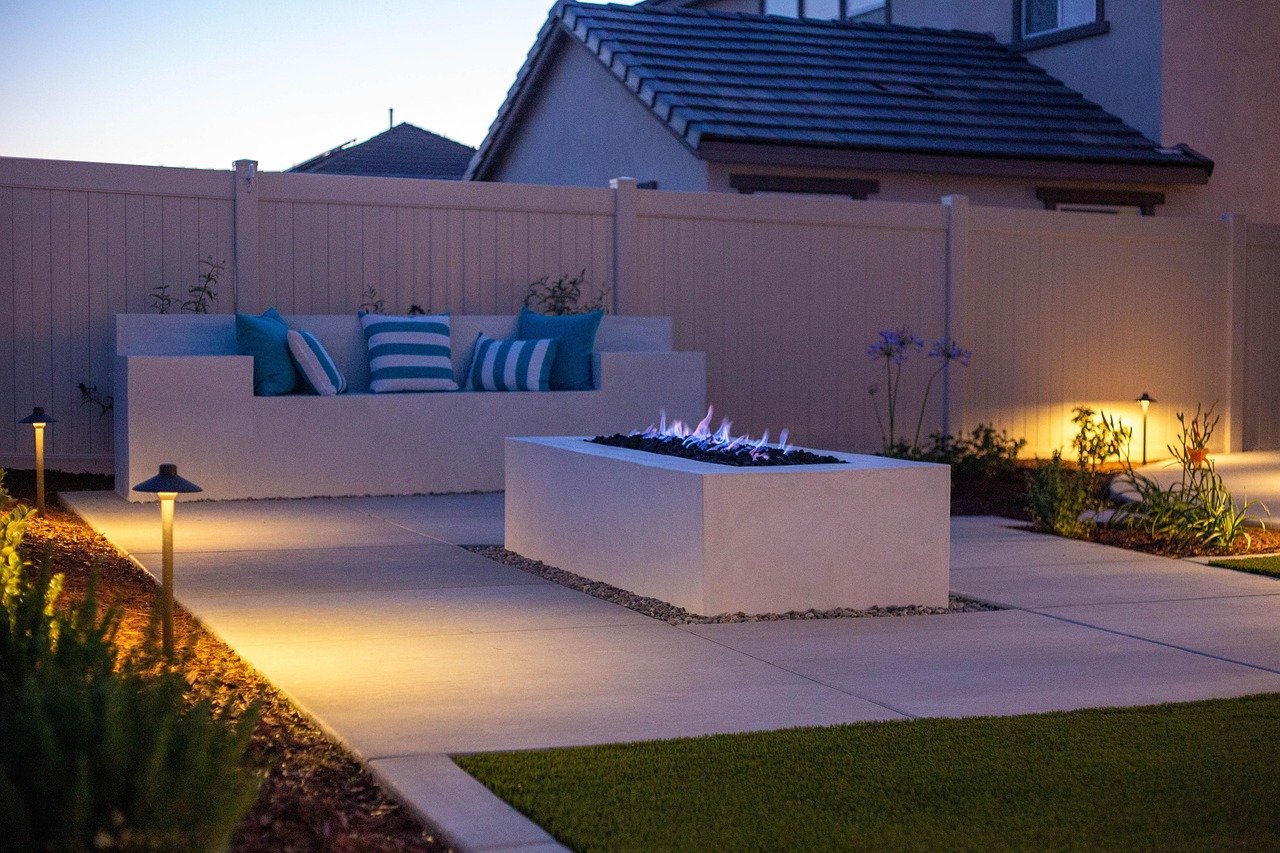
What is the fastest way to turn a plain backyard into the spot where everyone gathers on a cool evening? A fire pit. It is one of the few home projects that delivers instant atmosphere, works in almost any yard, and can be finished in a weekend with basic tools. But the gap between a fire pit that lasts ten years and one that cracks, smokes, or gets a visit from the fire department is mostly planning.
This guide walks through the real decisions: checking local rules first, choosing between a simple block ring and a mortared pit, picking materials that will not explode from heat, and building in the drainage and airflow that make a fire burn clean. It also covers the mistakes that trip up first-time builders, because most fire pit failures happen before the first match is lit.
Start With the Rules, Not the Stones
The single biggest mistake people make is buying blocks and digging a hole before checking whether they are allowed to burn at all. Many municipalities restrict open burning, require a permit, or ban it outright during fire-risk seasons. Rules change with the weather, so a pit that was fine in spring may be illegal in August.
Before anything else, call the local fire department or check the municipal code. Ask three specific questions: Is a recreational fire pit allowed here? How far must it sit from structures and property lines? Are there seasonal burn bans or air-quality restrictions? Getting answers in writing or email saves a lot of grief later.
Setbacks vary widely by jurisdiction, so there is no universal number to build to. Common guidance puts pits roughly 10 to 25 feet from structures, fences, and overhanging branches, but the exact figure comes from local code. Treat any number read online as a starting point and confirm it locally.
Air quality is the other half of the legal picture. Some areas restrict wood burning because of smoke and particulate pollution, especially in valleys or dense neighborhoods. A portable propane pit may sidestep some of those rules, but not all of them, since some bans target portable units too. Check before assuming a gas pit is exempt.
Pick the Right Build Type for Your Yard
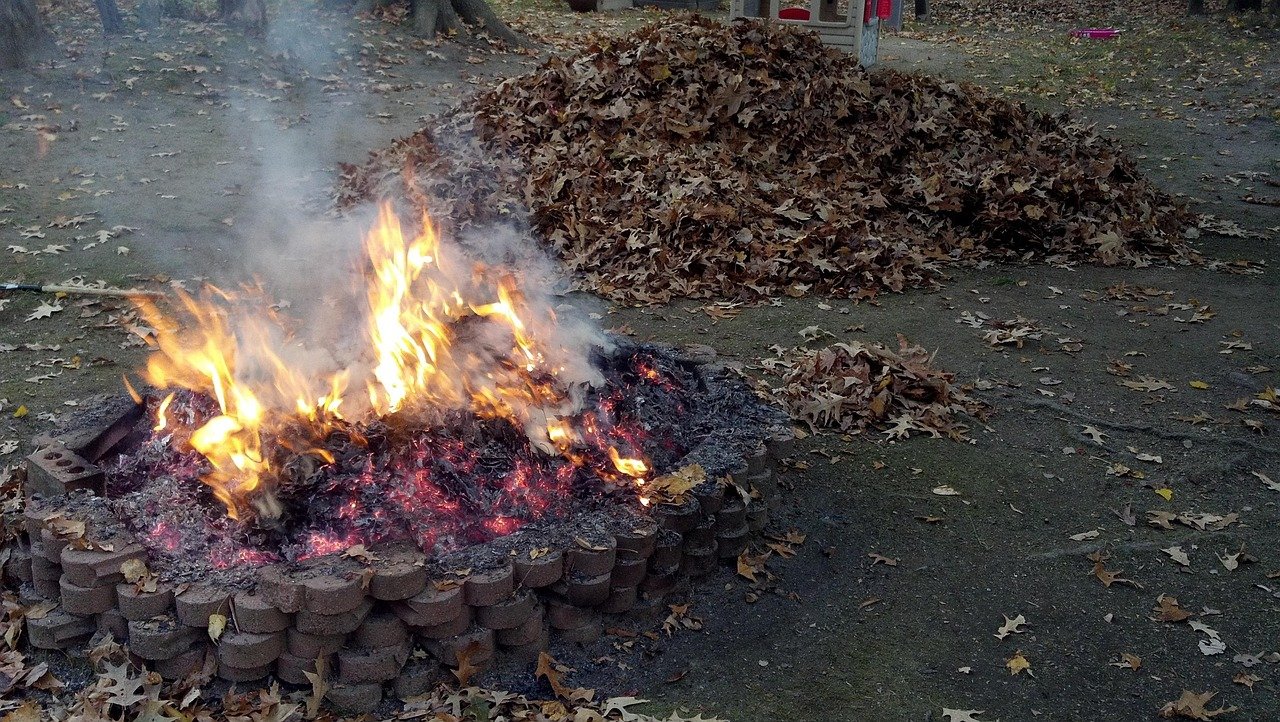
There are two main approaches, and the choice shapes cost, difficulty, and lifespan.
| Feature | Dry-laid block ring | Mortared or kit-built pit |
|---|---|---|
| Cost | Low | Medium to high |
| Skill needed | Beginner | Intermediate |
| Build time | A few hours | A weekend or more |
| Lifespan | Years, with upkeep | Many years |
| Drainage | Easy, gaps allow water out | Needs a designed drain |
| Movability | Can be rebuilt or moved | Permanent |
| Best for | Renters, quick projects, tight budgets | Long-term landscaping, built-in look |
A dry-laid ring is exactly what it sounds like: landscape blocks or stones stacked in a circle, set into a shallow excavated area, with no mortar. It is cheap, forgiving, and easy to fix if a block shifts. Because the joints are not sealed, water drains out naturally.
A mortared pit or kit uses adhesive, concrete, or a metal liner. It looks more finished and holds up better to weather and heavy use, but it demands a level footing and a real drainage plan. Water trapped inside a mortared pit will freeze, crack the joints, and turn the firebox into a soggy bowl.
A third option is a portable steel or propane unit, which needs no excavation at all. It is the least permanent choice and the easiest to relocate, but it still has to follow local setback and burn rules.
Choose Materials That Handle Heat
Not all stone is fire-safe, and this is where people get hurt. River rocks and stones pulled from wet ground can trap moisture. When heated, that moisture turns to steam and the stone can crack or spall, throwing sharp fragments. Porous concrete and some landscaping blocks behave the same way.
The safe choice for the firebox is firebrick or a rated concrete product made for high heat. These materials are designed to expand and contract without failing. For the surrounding ring, dense landscape block or natural stone rated for heat works well. When in doubt, ask the supplier whether the material is rated for direct flame contact.
A metal liner is worth considering for mortared pits. It contains the fire, protects the masonry from direct heat, and makes cleaning easier. Pair it with a gravel base so water has somewhere to go.
Site Selection and Ground Prep
Pick a spot that is flat, open, and away from anything that can catch fire. Look up before digging: low branches, power lines, and roof overhangs are all problems. Look sideways too, since prevailing wind decides where smoke and embers travel.
Clear the ground completely. Remove grass, roots, and organic material under and around the pit, then lay down a non-combustible base such as gravel or sand. This stops underground roots from smoldering and gives you a stable footing.
Mark the circle with string or spray paint and check the size against real seating. A 36- to 44-inch inner diameter suits most families, but measure where chairs will actually sit. Too small and the fire feels cramped; too big and you burn far more wood than needed.
Step-by-Step: Building a Dry-Laid Block Ring
This is the most approachable build and the one most first-timers should start with.
- Confirm local rules and mark the circle with string or paint.
- Excavate 4 to 6 inches inside the marked area and level the base.
- Fill the bottom with 2 to 3 inches of gravel or sand for drainage.
- Lay the first course of blocks tight against the edge, checking level as you go.
- Add a second and third course, staggering the joints like brickwork.
- Leave small gaps between blocks in the lower courses for airflow.
- Line the inner firebox with firebrick if the blocks are not heat-rated.
- Add a metal spark screen and a grate for airflow under the fuel.
- Test with a small fire before committing to a full burn.
The staggering matters more than it looks. Joints that line up vertically create weak seams that shift over time. Offsetting each course locks the ring together.
Step-by-Step: Building a Mortared Pit
A mortared pit takes longer but gives a permanent, finished result.
- Check local rules and confirm setbacks before any digging.
- Dig a footing trench slightly wider than the block and about 6 inches deep.
- Fill the trench with compacted gravel, then pour a level concrete footing if the design calls for it.
- Set the first course in mortar or construction adhesive, checking level in every direction.
- Build up courses, staggering joints and keeping the inner face clean.
- Install a metal liner or line the firebox with firebrick.
- Add a drainage gap or gravel sump at the base so water can escape.
- Cap the top course for a clean edge and better weather resistance.
- Cure the mortar fully before the first fire, following the product instructions.
Rushing the cure is a classic error. Heat too soon drives moisture out fast and weakens the joints. Give it the full recommended time.
Airflow, Drainage, and Smoke Control
A fire pit needs two things to work: air under the fuel and a way for water to leave. Without airflow, wood smolders, produces thick smoke, and burns inefficiently. Without drainage, the pit fills with water and becomes unusable after every rain.
Airflow comes from gaps in the lower ring, a grate that lifts the fuel off the base, and a firebox that is not sealed airtight. Drainage comes from a gravel base, a gap in the ring, or a designed sump under a liner.
Smoke is mostly a fuel and technique problem. Dry, seasoned wood and a hot, small fire produce far less smoke than wet wood and a smoldering pile. If smoke is a persistent issue, check local air-quality rules, since some areas limit wood burning for exactly this reason.
Practical Tips and Common Mistakes
Experienced builders tend to agree on a few things that separate a good pit from a frustrating one.
- Do not use accelerants on a smoldering fire. It is unpredictable and dangerous.
- Fully extinguish with water and stirring before leaving, every single time.
- Keep a bucket of water, sand, or a fire extinguisher within arm’s reach.
- Never leave a fire unattended, even for a few minutes.
- Skip river rocks and wet stones in the firebox entirely.
- Build the pit where smoke will not blow straight into a neighbor’s window.
- Check the burn ban again before each season, not just at build time.
The pattern behind most mistakes is impatience. People dig, stack, and light in one afternoon, then discover the pit sits too close to a fence or that the blocks were never rated for heat. A few hours of planning prevents nearly all of it.
If you enjoy the planning side of projects like this, the same discipline shows up in other builds. A serverless computing tutorial that walks through your first function is a good example of starting small and getting the foundation right before scaling up, and a cloud networking tutorial on building a secure VPC the right way covers the same lesson about groundwork. The habit of checking constraints first carries over to almost anything you build. (Make alternatives examples real build tools that beat)
Safety Gear and Setup That Actually Matters
A fire pit is an open flame in a residential yard, so a few pieces of gear are non-negotiable. (Wildfires)
A metal spark screen reduces ember escape, which matters most near dry vegetation and on windy days. A fire grate lifts fuel off the base and improves airflow. A bucket of water and a shovel handle the end of the night. Keep a hose nearby if the pit sits within reach of one.
Think about seating distance too. Chairs should sit far enough back that guests are not leaning over open flame, and the surface around the pit should be non-combustible. Gravel, stone, or concrete is safer than dry grass or mulch.
Maintaining the Pit Over Time
Maintenance is simple but easy to skip. Clear ash once it builds up, since a deep ash bed chokes airflow. Check blocks for shifting or cracks after winter. Re-seal mortar joints if they start to crumble. Keep the area around the pit clear of leaves and debris.
For a dry-laid ring, maintenance mostly means re-leveling a block or two after frost. For a mortared pit, it means watching the joints and the liner. Small repairs done early prevent full rebuilds later.
Conclusion
Building a fire pit is less about stacking stones and more about sequencing decisions. Check the rules first, choose a build type that matches your budget and skill, use heat-rated materials, and design in airflow and drainage from the start. Get those four things right and the actual building is a weekend’s work that pays off for years.
The best fire pits are the boring ones: legal, level, well-drained, and built from materials that do not crack under heat. Skip the shortcuts, respect the local rules, and the reward is a backyard that people gravitate toward long after the sun goes down.
Frequently Asked Questions
How far should a fire pit be from a house?
Setbacks vary by jurisdiction, so there is no single universal number. Common guidance puts pits roughly 10 to 25 feet from structures, fences, and overhanging branches, but the exact figure comes from local code. Confirm the distance with the local fire department or municipal office before digging.
Do I need a permit to build a fire pit?
It depends entirely on where you live. Some municipalities require a permit for open burning, some restrict it seasonally, and some ban it outright. Others allow small recreational pits with no paperwork. Always check with the local fire authority or municipal code office first.
Can I use river rocks in a fire pit?
It is a bad idea. River rocks and stones pulled from wet ground can trap moisture, and heating them can cause cracking or spalling that throws sharp fragments. Firebrick or rated concrete products are the safer choice for the firebox.
What is the best material for a DIY fire pit?
For the firebox, firebrick or a heat-rated concrete product is best. For the surrounding ring, dense landscape block or heat-rated natural stone works well. Avoid porous concrete and any stone that has been sitting in water.
How much does it cost to build a fire pit?
A dry-laid block ring is the cheapest option and can often be built with basic tools and a modest materials budget. A mortared or kit-built pit costs more because of mortar, liners, and footing work. Portable steel or propane units sit somewhere in between, and none of these figures include permit fees if your area requires them.
How do I stop my fire pit from smoking so much?
Use dry, seasoned wood and keep the fire hot and small rather than letting it smolder. Make sure the pit has airflow under the fuel through gaps or a grate, and check that local air-quality rules allow wood burning in the first place. Wet wood and poor airflow are the two biggest causes of heavy smoke.